

Page 1
Supplement 2
75 DeviceNet PLC
FCD WCAIM2062-00 (Part 14142)
Test and Operation Example
Using an Allen Bradley SLCProgrammable Logic Controller
Assumption: working knowledge of Allen Bradley SLC processor
and software
CAUTION: The PLC/Process Controller logic should never
a
set bits 5 and 6 on (1) at the same time in output word 1.
These bits control actuator CCW and CW rotation and damage to the relay interface module and motors will result if
these bits are set on (1) simultaneously. The output word 1
corresponds to an actuator at Address 1.
Hardware and Software Used
in this Example
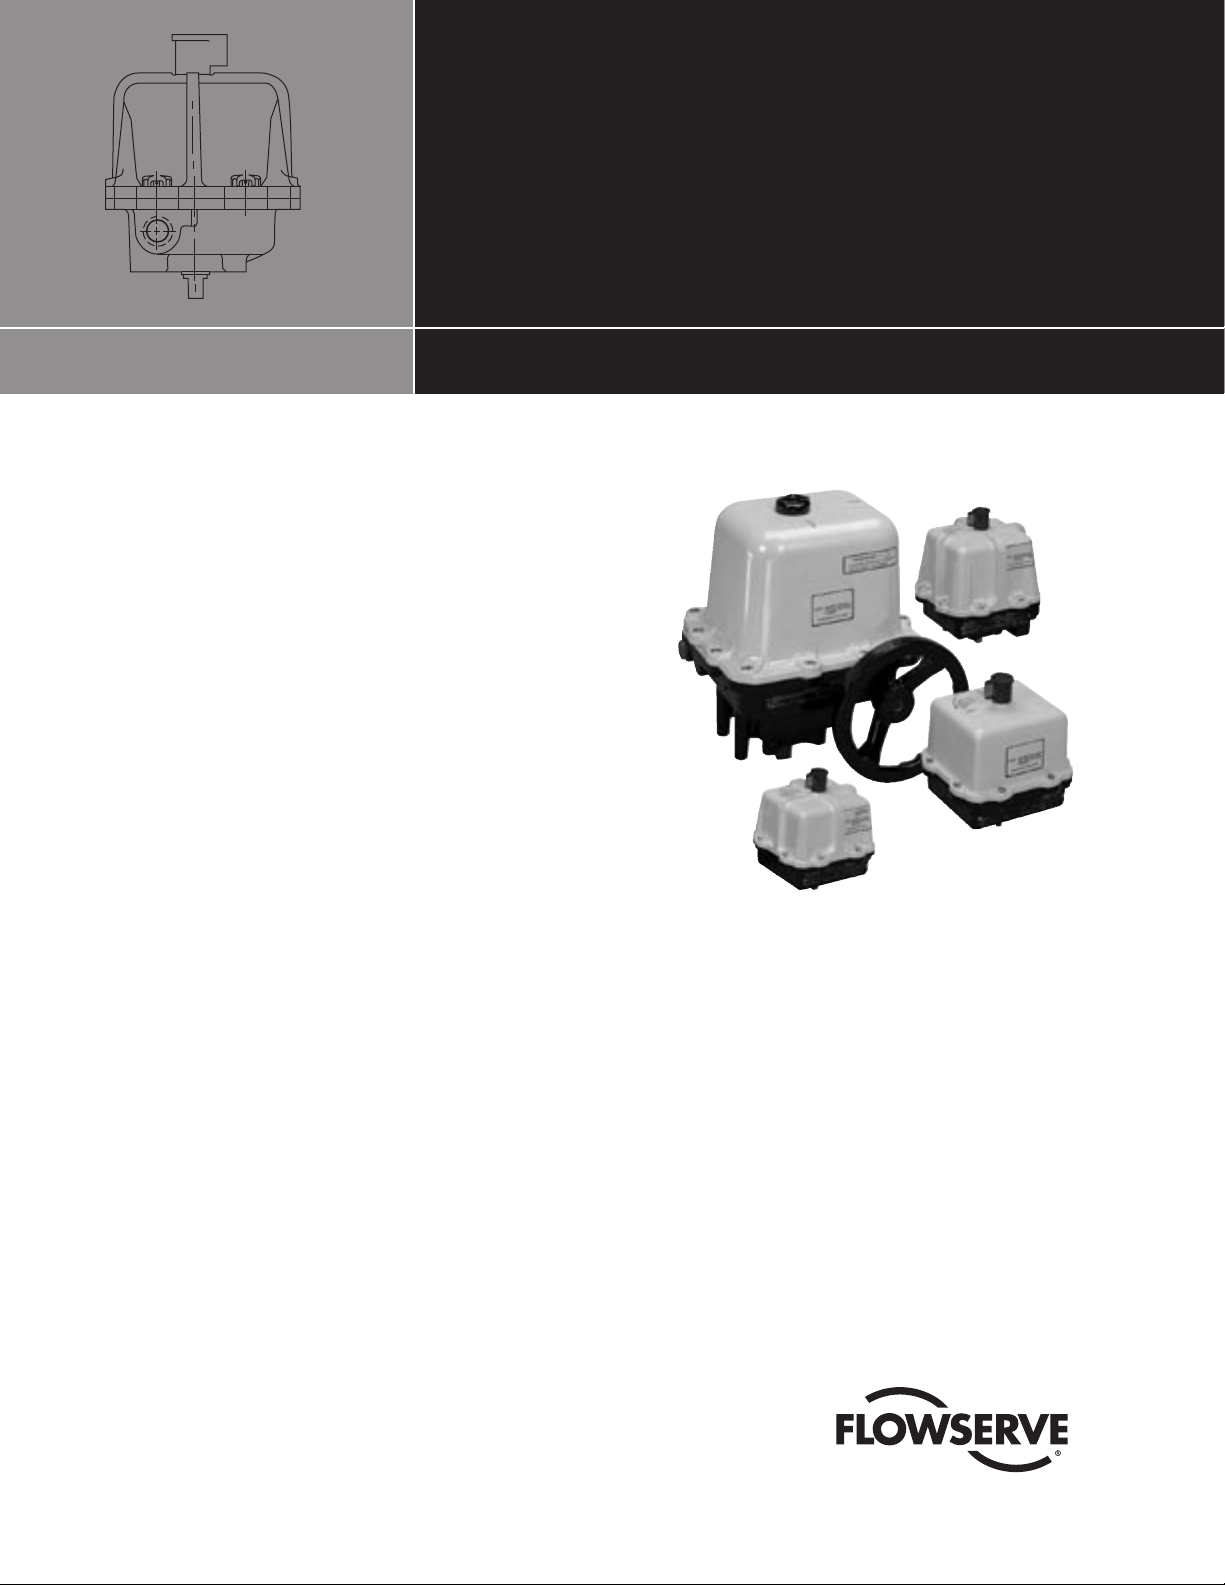
Installation, Operation and Maintenance
Flowserve Worcester Control Series 75 Actuators
WORCESTER CONTROLS
• 75 Actuator with Integral DeviceNet Interface Module
• Computer Disk of Electronic Data Sheet (.eds)—Supplied with
ACCESS Actuator
ALLEN BRADLEY
• SLC-503—Processor
• Four Slot Rack
• P2 Power Supply
• DeviceNet Scanner Module 1747-SDN (located in slot 4)
• KF2-RS-232—Communication Interface Module
• PC to Processor Cable—1747-CP3
• RS LOGIC Software
• RS LINX Software
• RS Networx for DeviceNet Software
• PC to SLC/PLC Cable—1747-CP3
OTHER
• Regulated—24 VDC Power Supply
• DeviceNet System of Cables and Connectors
• 120 ohm Network Terminating Resistors
Page 2

Test Procedure
1. Installing Electronic Data Sheet (.EDS) File
Install the .EDS file (disk supplied with actuator) from the disk
to the Rockwell .eds folder found on the hard drive as follows:
Rockwell Software \ RS COMMON \ EDS
With the .EDS file placed as above, the RS Networx program
wiII automatically load the ACCESS .EDS file parameters when
a network browse is performed. The .EDS file-access actuator
(07159) can be found in the vendor category when running RS
Networx.
2. Connect the SLC Processor to the PC-COM-1 Port and the KF2
module to PC-COM-2 port.
3. On the Actuator DeviceNet Board
a) Set Switch 1 and 2 to the desired address, i.e., for Address
1 set Switch 1 to 1 and Switch 2 to 0. It is important that
the address is set correctly prior to turning 24 VDC power
on to the network. If the address is changed and power is
cycled, LED2 will flash to indicate that the current network
does not agree with what had previously been loaded to the
master/scanner.
b) Set Switch 3 to the desired communication Baud Rate, i.e.,
Position O = 125K Baud Rate.
4. With the equipment installed and connected, and with power
turned on to the SLC and 24 VDC turned on to the DeviceNet
Network, LED1 should be steady and LED2 will be flashing
green until this node has been mapped into the PLC Master/
Scanner.
A red LED-D2 indicates that there is an address conflict. See
step 13.
5. Using RS-LINX Configure Drivers
PC-COM-1 Port- to SLC- DF1-l-DH485 To be running
PC- COM-2 Port- to KFD-1 To be running
6. Using RS-Networx: Configure network, should consist of scanner at node-00; actuator 07159(1) at node-01; KFD module at
node-62.
7. Go online with the Network and upload the slave parameters to
the scanner module.
8. Double click the scanner module and select “module” and
upload scanner parameters.
9. At the scanner module screen, select “module” and set the slot
number to the value that the scanner module resides in, i.e., the
scanner was installed in slot #4 in this example.
10. At the scanner module screen, select “scanlist” and highlight
-01,07159(1) (which is the 75 actuator module) in the left
window. Using the right arrow move the device into the right
window.
11. At the scanner module screen, select “input.” The display will
show the default mapped location of the 11 bytes of slave (01)
75 actuator output (produced) data.
Output data from slaves is input data to the scanner. The
default mapped address of 11 bytes of input data starts at
1:4.1 through 1:4.6 (1st byte). Note that the “4” represents the
scanner slot number.
12. At the scanner module screen, select “output.” The display will
show the default mapped location of the 1 byte of slave (01) 75
actuator input (consumed) data.
Input data to the slaves is output data from the scanner. The
default mapped address of 1 byte of output data starts at word
O:4.1 (1st byte).
The input/output data can be remapped at these screens, which
is beyond the scope of this example. It is important to note that
whenever any slaves are added or removed, or, remapping has
been performed, the “apply” button has to be activated with the
processor in the program mode to download the changes to the
scanner.
13. A red LED-D2 indicates that there is an address conflict. A Slave
on the network already has been assigned this address.
To correct this problem, assign and set switches 1 and 2 to an
unused address for this node and cycle the 24 VDC BUS power.
Perform a new Network Browse and go on-line, and upload the
network to the scanner. Select the correct scanner “slot.” In
the “scanlist” delete the slave(s) that have been removed from
the network and add the new slave(s) to the network. Put the
processor in the Program mode and select “apply.” Download
the new data to the scanner. When this is complete both LEDs
D1 and D2 should be on steady green.
2 Supplement 2: 75 DeviceNet PLC FCD WCAIM2062-00
Page 3

14. In this example, with the scanner located in slot 4 the addresses
of I/O data in the PLC are as follows:
CAUTION: The PLC/Process Controller logic should never
a
set bits 5 and 6 on (1) at the same time in output word 1.
PLC Input Table: 11 bytes of data (output data from the slave)
BYTE-I
1:4.0 (word-O-not used)
1:4.1/0 Bit 0 Actuator Closed CW Switch
1:4.1/1 Bit 1 Actuator Open CCW Switch
1:4.1/2 Bit 2 Not used
1:4.1/3-Bit 3 Actuator CCW Relay (Coil 1) Continuity
1:4.1/4 Bit 4 Actuator CW Relay (Coil 2) Continuity
1:4.1 Bits 5-7 Not used
BYTES-2,3,4,5
1:4.1/Bit 8 to 1:4.3/Bit 7 Maintenance Counter Binary
Format
BYTES-6,7,8,9
1:4.3/Bit 8 to 1:4.5/Bit 7 Cumulative Counter Binary
Format
BYTE-10
Not used
These bits control actuator CCW & CW rotation. Damage to
the relay interface module and motors will result if these bits
are set on (1) simultaneously. The output word 1 corresponds
to an actuator at Address 1.
O:4.1/0 Bits 0,1,2,3,4 Not Used
O:4.1/5 Bit 5 CCW Relay (Coil 1) Actuator goes in CCW direction
when =1 and stays in position when =0.
O:4.1/6 Bit 6 CW Relay (Coil 2) Actuator goes in CW direction
when =1 and stays in position when =0.
O:4.1/7 Bit 7 Resets Maintenance counter when =1.
BYTE-11
Not used
PLC Output Table: 1 byte of data (input data to the slave)
0:4.0/0- WORD-0/Bit 0 Establishes the operating mode of
the scanner
Bit 0 =1 Scanner maps I/O from the slaves. This Bit has to
be on for the outputs to be under PLC proqram control.
Bit 0 =0 Scanner stops mapping output data to the slaves.
Input data is still returned from the slaves. Outputs on the
network are not under PLC program control.
FCD WCAIM2062-00 Supplement 2: 75 DeviceNet PLC 3
Page 4

Flowserve Corporation has established industry leadership in the design and manu-
facture of its products. When properly selected, this Flowserve product is designed to
perform its intended function safely during its useful life. However, the purchaser or
user of Flowserve products should be aware that Flowserve products might be used in
numerous applications under a wide variety of industrial service conditions. Although
Flowserve can (and often does) provide general guidelines, it cannot provide specific
data and warnings for all possible applications. The purchaser/user must therefore
assume the ultimate responsibility for the proper sizing and selection, installation, operation, and maintenance of Flowserve products. The purchaser/user should read and
understand the Installation Operation Maintenance (IOM) instructions included with the
product, and train its employees and contractors in the safe use of Flowserve products
in connection with the specific application.
While the information and specifications contained in this literature are believed to be
accurate, they are supplied for informative purposes only and should not be considered
certified or as a guarantee of satisfactory results by reliance thereon. Nothing contained
herein is to be construed as a warranty or guarantee, express or implied, regarding any
matter with respect to this product. Because Flowserve is continually improving and
upgrading its product design, the specifications, dimensions and information contained
herein are subject to change without notice. Should any question arise concerning
these provisions, the purchaser/user should contact Flowserve Corporation at any one
of its worldwide operations or offices.
For more information about Flowserve Corporation, visit www.flowserve.com or call
USA 1-800-225-6989.
FLOWSERVE FLOW CONTROL
Worcester Actuation Systems
5114 Woodall Road
P.O. Box 11318
Lynchburg, VA 24506-1318
Phone: 434-528-4400
Fax: 434-845-9736
© 2004 Flowserve Corporation, Irving, Texas, USA. Flowserve is a registered trademark of Flowserve Corporation. FCD WCAIM2062-00 Printed in USA.
(Part IOM 14142)
 Loading...