

Page 1

Operator Manual
Pallet Weigh Plus
4100 SERIES
PALLET JACK SCALE
© Copyright 2012-2013 Fairbanks Scales, Inc.
All Rights Reserved 10/13
51287 Revision 2
Page 2

Page 3

Amendment Record
PALLET WEIGH
DOCUMENT 51287
Manufactured by Fairbanks Scales Inc.
821 Locust
Kansas City, Missouri 64106
Created 05/2012
Revision 1 05/2012 Released Manual
Revision 2 10/2013 Updated specifications and Error codes.
10/13 3 51287 Rev. 2
Page 4

Disclaimer
Every effort has been made to provide complete and accurate information in this manual. However,
although this manual may include a specifically identified warranty notice for the product, Fairbanks
Scales makes no representations or warranties with respect to the contents of this manual, and
reserves the right to make changes to this manual without notice when and as improvements are
made.
© Copyright 2012-2013
This document contains proprietary information protected by copyright. All rights are reserved; no part
of this manual may be reproduced, copied, translated, or transmitted in any form or by any means
without prior written permission of the manufacturer
10/13 4 51287 Rev. 2
Page 5

Table of Contents
SECTION 1: GENERAL INFORMATION .................................................................. 6
1.1. Description ................................................................................................................. 6
1.2. Technical Specifications ............................................................................................. 6
SECTION 2: GENERAL POLICIES ............................................................................ 8
2.1. Customer Responsibility ............................................................................................ 8
2.1.1. Unpacking ............................................................................................................................ 9
2.1.2. Equipment Location ............................................................................................................. 9
2.1.3. Safety ................................................................................................................................. 10
2.2. Users’ Responsibilities ............................................................................................. 11
SECTION 3: INSTALLATION ................................................................................... 12
3.1. System Set up ......................................................................................................... 12
3.2. Installing the batteries .............................................................................................. 13
SECTION 4: OPERATION ........................................................................................ 14
4.1. Proper Operation ..................................................................................................... 14
4.2. Front panel layout .................................................................................................... 14
4.3. Front keys and indications ....................................................................................... 15
4.4. Operating the Scale ................................................................................................. 16
4.4.1. Power-Up the Scale ........................................................................................................... 16
4.4.2. Zeroing the Scale ............................................................................................................... 16
4.4.3. Gross Weight ..................................................................................................................... 16
4.4.4. Manual Tare Entry ............................................................................................................. 17
4.4.5. Automatic Tare Entry .......................................................................................................... 18
4.4.6. ID Code Entry ..................................................................................................................... 18
4.4.7. Sample Entry ..................................................................................................................... 19
4.4.8. Piece Weight Entry ............................................................................................................ 20
4.4.9. Totaling .............................................................................................................................. 21
4.4.10. Change Units ................................................................................................................... 22
4.4.11. Setting Time and Date (Optional) .................................................................................... 22
SECTION 5: PRINTER ............................................................................................. 24
5.1. Introduction .............................................................................................................. 24
5.2. Print Examples ......................................................................................................... 24
5.3. Changing Printer Paper ............................................................................................ 25
SECTION 6: SERVICE AND MAINTENANCE ......................................................... 26
6.1. Cleaning .................................................................................................................. 26
6.2. Error Messages ....................................................................................................... 26
6.3. Troubleshooting ....................................................................................................... 26
10/13 5 51287 Rev. 2
Page 6

Section 1: General Information
1.1. DESCRIPTION
The Pallet Weigh Plus™ Pallet Jack Scale is a NTEP scale designed for
determining pallet shipping weights, checking pallet weights on incoming goods, and
helps prevent overloading of trailers. Some of the primary features include the
following:
• It includes an easy to read LCD display
• A capacity of 5000 pounds. NTEP approved.
• 0.1% accuracy of applied weight
• Battery operation (12Vdc battery pack).
• Totalizing with a sequential number
• Piece sampling and counting
• Automatic Power Saving feature after 30 minutes of no scale activity.
• Optional printer
1.2. TECHNICAL SPECIFICATIONS
Models
Capacity
Resolution
Maximum Inaccuracy
Power Supply
Battery Life
Battery Charging Time
Battery Charger
Display
Junction Box
Load Cells
Excitation
Keypad
Printer
Steering Wheels
Loading Wheels
Pallet Truck Weight
Color
Pump
Environment
Ratings
Operating Temperature
Product No. 32155 [Model 4103]
Product No. 32156 [Model 4103] w/Printer
[Model 4103] 3000 lbs [Model 4105] 5000 lbs
[Model 4103] 1.0 lbs [Model 4105] 2.0 lbs
0.1% of applied load
12 Vdc 1.5Ah (Replaceable Battery Pack)
Up to 35 hours
Approximately 6 hours
117VAC/ 12Vdc 300mA
LCD 0.7” height with backlight
Potentiometers for summing of load cells. Push terminals for load cell connections.
350 ohm @ 3mV/V
5 Vdc
Five (5) function keys
Thermal Roll Tape
Polyurethane
Polyurethane, Single
Approximately 285 lbs
Yellow epoxy
Quick Lift
Indicator: NEMA 4 Load cells and cabling: NEMA 5
-10˚C (15˚F) to +40˚C (105˚F)
Product No. 32098 [Model 4105]
Product No. 32099 [Model 4105] w/Printer
10/13 6 51287 Rev. 2
Page 7

Section 1: General Information
Figure 1-1
Dimensions
A
Fork Length 47.5 inches
B
Fork Width 6.7 inches
C
Minimum Fork Height
Minimum space between forks and floor
D
Maximum Fork Height
Lifting Height
E
Width over Forks 27 inches
F
Height to Top of Indicator 30 inches
3.25 inches
0.87 inches
8 inches
4.75 inches
10/13 7 51287 Rev. 2
Page 8
Section 2: General Policies
2.1. CUSTOMER RESPONSIBILITY
It is the customer/operator's responsibility to ensure the equipment
provided by Fairbanks is operated within the parameters of the
equipment's specifications and protected from accidental or
malicious damage.
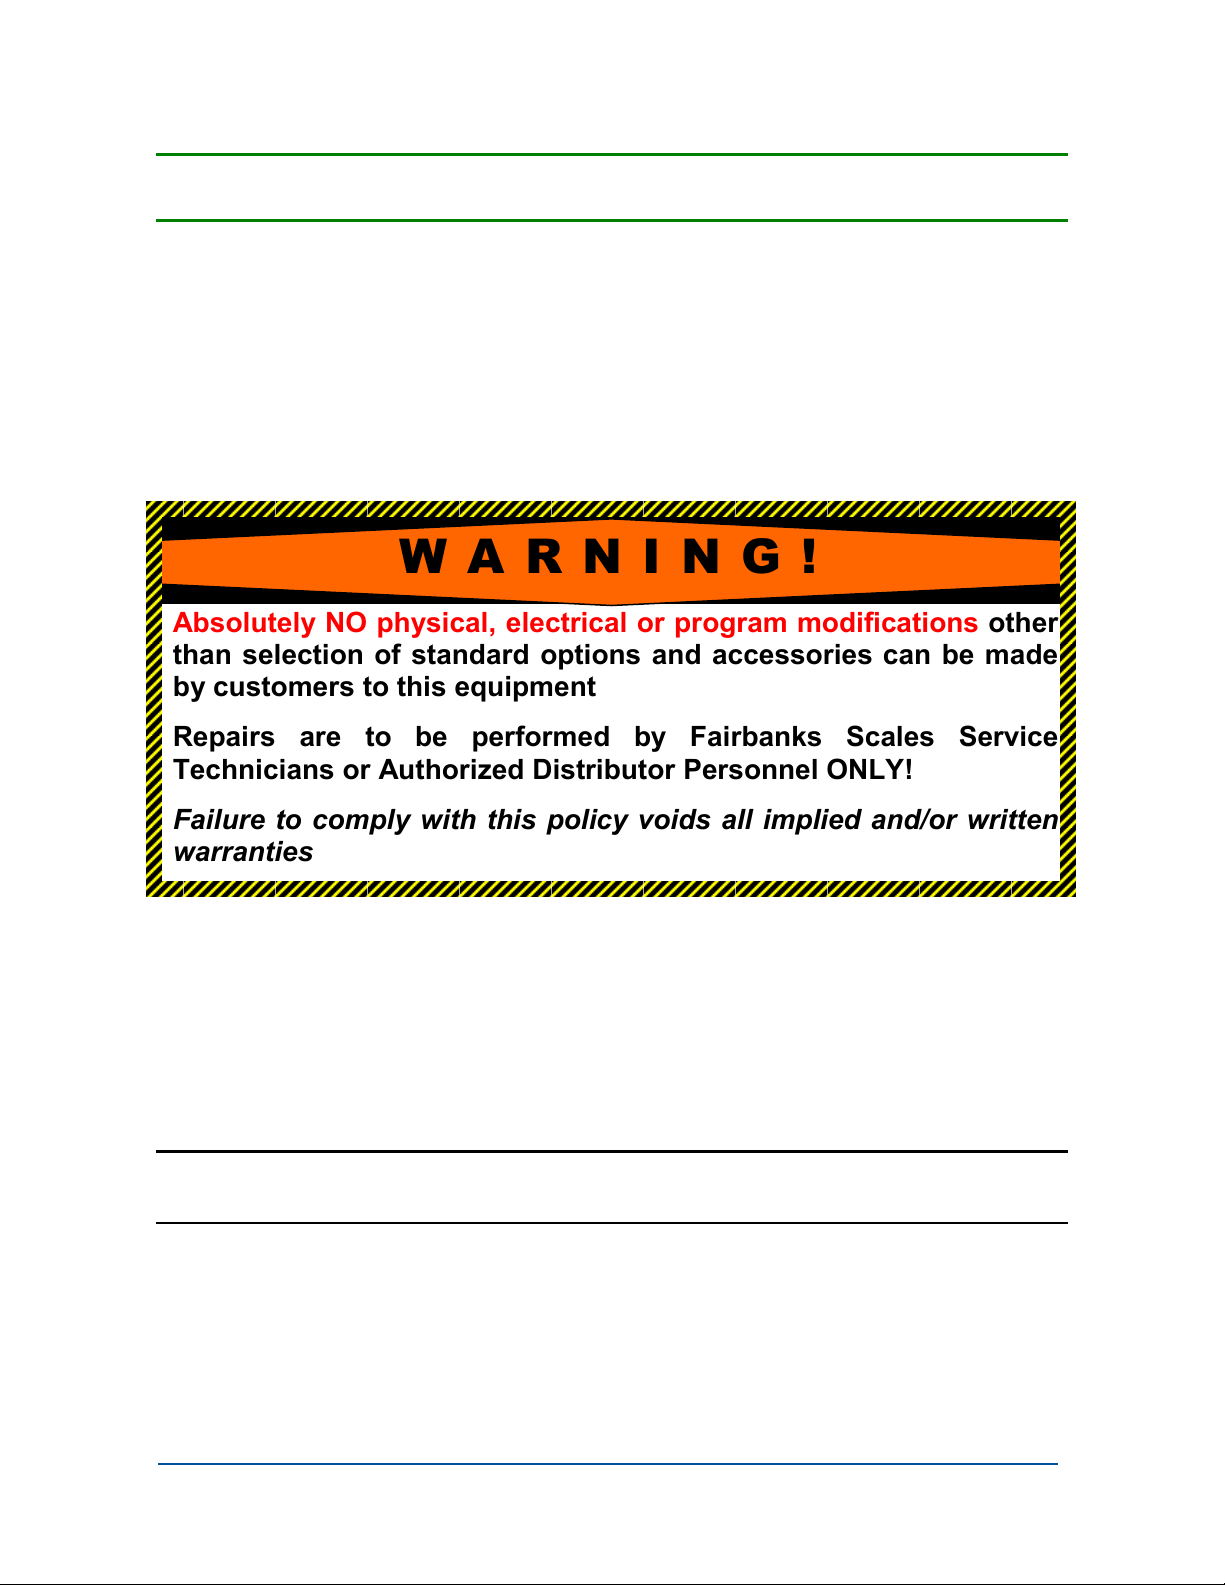
W A R N I N G !
Absolutely NO physical, electrical or program modifications other
than selection of standard options and accessories can be made
by customers to this equipment
Repairs are to be performed by Fairbanks Scales Service
Technicians or Authorized Distributor Personnel ONLY!
Failure to comply with this policy voids all implied and/or written
warranties
IMPORTANT NOTICE
Electric arc welding can severely damage scale components
such as digital weight indicators, junction boxes, power
supplies, and load cells.
NOTE:
Representative.
For additional information, please contact a
Fairbanks Scales Service
Failure to comply with this policy voids all implied and/or
written warranties.
10/13 8 51287 Rev. 2
Page 9

Section 2: General Policies
2.1.1. Unpacking
Follow these guidelines when unpacking all equipment:
• Check in all components and accessories according to the customer's order.
• Remove all components from their packing material, checking against the invoice
that they are accounted for and not damaged.
• Advise the shipper immediately, if damage has occurred.
• Order any parts necessary to replace those which have been damaged.
• Keep the shipping container and packing material for future use.
• Check the packing list.
• Collect all necessary installation manuals for the equipment and
accessories.
• Open the equipment and perform an inspection, making certain
that all hardware, electrical connections, and printed circuit
assemblies are secure.
• Do not reinstall the cover if the final installation is to be
performed after the pre-installation checkout.
2.1.2. Equipment Location
Position the equipment with these points in mind:
• Intense direct sunlight can harm the display.
• Work areas should be relatively free from drafts and
vibrations.
• Do not locate near magnetic material or equipment/instruments which use
magnets in their design.
• Avoid areas which have extreme variations in room temperatures. Temperatures
outside the instrument’s specifications will affect the weighing accuracy of this
product.
10/13 9 51287 Rev. 2
Page 10

Section 2: General Policies
2.1.3. Safety
1. NEVER lift a heavy load with just the points of the
forks. This could damage the electronic weighing
elements permanently.
2. NEVER weigh without a pallet. This could affect the
accuracy of the weighing result.
3. The unit may be loaded with weights up to 5000 lb.
However, we advise you not to move any weights
above 1650 lb. (750 kg) with the unit. Fairbanks
Scales is not responsible for injury that may result
when moving heavy loads.
4. Use caution in the vicinity of moving parts - these parts can cut and/or crush
hands, arms, feet and legs.
5. Always center the load you are lifting on both of the forks.
6. Do not operate the weighing system on ramps, inclines, or declines, without the
addition of our optional parking brake.
7. Do not operate the weighing system while others are on or near the unit.
No riding!
8. All modifications must be approved in writing from the supplier, prior to any work
being completed.
9. It is the sole responsibility of the purchaser to train their own employees in the
proper use and maintenance of this equipment.
10. Do not operate this unit unless you have been fully trained of its capabilities.
11. Do not use the weighing system in potentially explosive areas.
12. Do not carry passengers with the truck.
13. Do not weld or make changes to the weighing system without consulting the
supplier.
14. Do not lift unstable loads.
15. Check the accuracy of the scale on a regular basis to prevent faulty readings.
16. Only trained and authorized personnel are allowed to operate the truck.
17. Always follow the operating, maintenance and repair instructions of this truck and
ask the supplier when in doubt.
10/13 10 51287 Rev. 2
Page 11

18. Never lower loads if you are unsure you can place the goods on a stable surface.
Personal injury may result from placement on an unstable environment.
19. Always remain with the scale during dosing applications. Incorrect lifting of the
pallet can cause overflowing.
20. Fairbanks Scales is not responsible for errors that occur due to incorrect weighing
or inaccurate scales.
Section 2: General Policies
2.2. USERS’ RESPONSIBILITIES
The equipment consists of printed circuit
assemblies which must be handled using
ESD handling procedures, and must be
replaced as units.
─ Replacement of individual components is not
allowed.
─ The assemblies must be properly packaged in ESD
protective material and returned intact for
replacement credit per normal procedures.
Failure to comply with this policy voids all implied and/or
written warranties.
10/13 11 51287 Rev. 2
Page 12

Push the silver part “A” on the outside of the
At the same time; insert the chain into
Section 3: Installation
3.1. SYSTEM SET UP
Installation of pump handle
Make sure the lever is pushed down to the
“pump” position.
Thread the chain through the hole in the
triangle and through the hole in the axle.
Place the handle bar onto the triangle and
insert the bolts.
Tighten the bolts firmly.
10/13 12 51287 Rev. 2
pump downwards.
the open side of the slot “B” on the
inside of the pump.
Page 13

Section 3: Installation
3.2. INSTALLING THE BATTERIES
The power supply to the system utilizes a 12 Vdc battery pack. In the original
packing, the battery and charger are in separate boxes. It is recommended to place
the battery on the charger before use. The battery will last for approximately 35
hours before a recharge is required. When the voltage level of the batteries is
running low, the display will show LobA and or . When the battery output is
extremely low, the weighing system will shut down.
To install/ replace the battery pack:
Lift the gray lever and the battery will slide out.
To re-install, slide the battery with the slot on top into the battery holder and push
until it snaps into place.
10/13 13 51287 Rev. 2
Page 14

Section 4: Operation
4.1. PROPER OPERATION
The following describes the proper manner of operating the Pallet Weigh pallet jack
scale.
For accurate weights, do not weigh on a grade greater than 2
degrees.
Use the pallet jack scale on a smooth surface. Irregular
surfaces may cause damage the scale and inaccurate weights.
Do not load the scale greater than the rated capacity
otherwise the scale can be damaged.
Do not lift loads by the end of the forks only as this could
damage the scale weighing mechanisms.
4.2. FRONT PANEL LAYOUT
10/13 14 51287 Rev. 2
Page 15

Section 4: Operation
C
1
4.3. FRONT KEYS AND INDICATIONS
Key Function
On/ Off Power Switch. This also serves as an escape switch during
data entry or programming. This key also functions as a Units key if
pressed for two (2) seconds).
Sample Piece Weight Switch. This key permits entry of piece weights
and functions as a scroll left key.
Print Switch. This key functions as a print weight and add to total as
well as check subtotal and print total. This key also functions as a
Scroll Up key.
Tare Switch. Allows an Automatic or Manual entry of a tare weight.
This key also functions as a Scroll Down key.
Zero Key. Zeroes the scale. This key also functions as a Select Digit
key and allows the user to select the flashing digit. It also serves as
an Enter key.
Indication Function
Stable/Motion: Indicates the scale weight is stable. The annunciator
is off when motion is present.
Center of Zero: The scale is at an absolute zero condition when
displayed.
Net Mode: The scale is in the Net Mode. The scale is in the Gross
Mode when the annunciator is off.
10/13 15 51287 Rev. 2
▼
Displayed weight is in range 1.
Page 16

Section 4: Operation
Indication Function
C2
C3
SP1
SP2
▼
▼
▼
▼
Displayed weight is in range 2.
Displayed weight is in range 3.
Feature not available.
Feature not available.
4.4. OPERATING THE SCALE
4.4.1. Power-Up the Scale
1. Press the key for two (2) seconds.
2. Allow 3 to 5 minutes until the electronics and load cells have reached
operational temperature. Inaccurate weights of up to 0.3% may occur if this
initial warm-up time is not observed.
4.4.2. Zeroing the Scale
1. If the scale does not indicate a zero, press the key to zero the scale.
2. The scale will indicate zero and is ready to perform weighments.
3. Before each weighment it is necessary to check whether the system is
unloaded and at a zero condition. The indicator is equipped with an automatic
zero correction. This means that small deviations of the zero point will be
corrected automatically. If the indicator does not determine the zero point
automatically, it must be performed manually using the key.
4.4.3. Gross Weight
1. After lifting a load, the display indicates the gross weight of the applied load.
10/13 16 51287 Rev. 2
Page 17

Section 4: Operation
4.4.4. Manual Tare Entry
A tare weight can be entered at any moment, either in a loaded or unloaded
condition. For a higher accuracy, a tare weight can be entered with a smaller
graduation step, independent of the applied load and the active graduation of the
indicator.
Note:
The scale must be at a zero condition to enter a manual tare.
1. Pressing the key for three (3) seconds.
2. The display shows the current tare value.
3. The digit on the right hand side of the display will begin blinking.
4. Press the key if the tare is correct.
OR
5. Pressing the key for three (3) seconds.
6. The display shows the current tare value.
7. The digit on the right hand side of the display will begin blinking.
8. Pressing the key will scroll the digit numeric value down or press the
key to increase the numeric value.
9. Press the key to change to the next digit.
10. Repeat this procedure until the required tare value is displayed.
11. Press the key to activate the tare weight.
12. The tare weight is activated.
13. The “NET” pointer lights up.
14. Lift the load
15. When the system is loaded, the NET weight appears in the display
10/13 17 51287 Rev. 2
Page 18

Section 4: Operation
16. When the system is unloaded, the display indicates the negative value of the
tare.
17. The entered value remains active until a new tare weight is entered (display
shows the new net weight).
18. Press the key to return to gross weighing mode.
Note:
The scale must be at a zero condition to enter a manual tare.
4.4.5. Automatic Tare Entry
The indicator offers the possibility to reset tare weights to zero automatically.
1. Lift load.
2. Press the key.
3. The indicator is set to zero.
4. The “NET” pointer shows that a tare weight is activated.
5. Place or remove the net load.
6. The display shows the net value of the weighed load.
7. When removing load, this is a negative value.
8. By pressing the key again, the gross weight is displayed.
4.4.6. ID Code Entry
The indicator offers the possibility to enter 1 numeric ID code of 5 digits. Entry of ID
codes is useful when the weighing system is connected to a printer or other
peripheral equipment, in order to identify various weighments during processing of
the information.
1. Press the key for 3 seconds.
2. The display will show the last used code.
3. The right digit flashing.
10/13 18 51287 Rev. 2
Page 19

Section 4: Operation
4. To accept the old value press the key
5. The ID code is activated and the display returns to the weighing mode.
OR
6. Press the key for 3 seconds.
7. Press the key to go up a value or press the key to go down a value
until the required value is reached.
8. Press the key to change to the next digit.
9. Repeat this procedure until the required ID code is displayed.
10. To accept the new ID code press the key
11. The ID code is activated and the display returns to normal weighing mode.
12. You may make a printout and add up the weights. A special printout will be
made which includes the code.
NOTE:
if the code is “000000” it will be ignored and not printed on the ticket.
4.4.7. SAMPLE ENTRY
If an unknown piece weight is to be determined, this may be accomplished by
sampling a certain number of pieces. The number of pieces taken from or placed on
the weighing system determines the accuracy of the sample. The total weight of the
pieces taken from or placed on the weighing system for the sample should be no less
than 9-12 lbs. The greater the weight difference, the greater accuracy. The standard
sample amount is 10 pieces, but this number can be increased up to 95 pieces.
NOTE:
If the accuracy is too low when sampling, the indicator will show “ERR05”. Press any
key to return to piece counting mode and increase the sampling amount.
1. Press the key.
10/13 19 51287 Rev. 2
Page 20

Section 4: Operation
2. The display shows “add10”. The lb indication turns off and the pcs indication
is indicated.
3. Take or place 10 pieces from/on the weighing system and press the key.
4. The sampling is done and the display will show the total number of pieces on
the weighing system.
OR
5. Press the key or the key to change the number of pieces to add.
6. The display will show the new value to add (for example “add50”).
7. Take or place the correct number of pieces from/on the weighing system and
press the key.
8. The sampling is done and the display will show the total number of pieces on
the weighing system.
You may make a printout and add up the weights. A special printout will be made
which includes the piece weight sampled and the number of pieces Return to the
normal weighing mode is accomplished by pressing the
key for 1 second. Upon the return to normal weighing mode, the piece count
total will be lost.
4.4.8. PIECE WEIGHT ENTRY
1. Press the key for 3 seconds.
2. The last used piece weight will be displayed.
3. The right digit flashing.
4. To accept the old value press key.
5. The display shows the number of pieces currently on the weighing system.
OR
6. Press the key for 3 seconds.
10/13 20 51287 Rev. 2
Page 21

Section 4: Operation
7. Press the key to go up a value or press the key to go down a value
until the required value is reached.
8. Press the key to change to the next digit.
9. Repeat this procedure until the required piece weight is displayed.
10. To accept the new value press key.
11. The display shows the number of pieces currently on the weighing system.
You may make a printout and add up the weights. A special printout will be made
which includes the piece weight sampled and the number of pieces.
Return to the normal weighing mode is accomplished by pressing the key for 1
second. Upon the return to normal weighing mode, the piece count total will be lost.
4.4.9. TOTALING
The indicator offers the possibility to add weighments and display the total weight.
When a tare weight is active, the net weight is added automatically.
1. Load the system with the weight that should be added.
2. Press the key to add the weighed load to the total weight.
3. The display shortly shows the message ADDED and then automatically
returns to the weighing mode.
4. If a printer is installed, a printout will be made
5. The gross, net and tare weights are totaled.
6. No weight can be recorded twice. The system needs to be returned to the net
zero-range before another weight can be added up.
7. The subtotal can be checked by pressing the key for 3 seconds.
8. The display shows the net total weight and the number of weighments totaled
thus far repeatedly for 3 seconds.
9. If the key is pressed shortly during this period, the total is printed out (if
option is installed) and reset to 0.
10/13 21 51287 Rev. 2
Page 22

Section 4: Operation
10. If the key is pressed during this period, the total is reset but not printed
out.
11. If no key is pressed during this period, the subtotal stays in memory and the
system returns to the weighing mode after 60 seconds.
4.4.10. CHANGE UNITS
The system is set to start up in lb. or in kg. However you may, at any time in the
weighing mode, change to the secondary unit (lb/kg or kg/lb).
1. Press the key for 1 second.
2. The display will show the current weight in the new units for 5 seconds and
then automatically change back to the startup units.
The same key is used to change from the piece counting mode back to the weighing
mode. (See 6.4.7.)
NOTE:
It is not possible to use any of the scale functions when the display has been
changed to the secondary unit. If any key is pressed the indicator will display ERR99
and return to normal weighing mode.
4.4.11. SETTING TIME AND DATE (Optional)
If the Pallet Weigh Plus system has been equipped with a printer, and an option
board, the date and time can be printed together with the weight information.
1. Press the key for 6 seconds.
2. The display will show “ho_00” or the previous hour time setting
3. The right digit flashing.
4. To accept the old value press the key
OR
10/13 22 51287 Rev. 2
Page 23

Section 4: Operation
5. Press the key to go up a value or press the key to go down a value
until the required value is reached.
6. Press the key to change to the next digit and use the or keys to
change the value until the required value is reached.
7. To accept the new value press the key
8. The display will show “m_00” or the previous minute time setting.
9. The right digit flashing.
10. Repeat the above procedure to accept or change the minute setting.
11. The display will show “dA_00” or the previous date of the month setting
12. The right digit flashing.
13. Repeat the above procedure to accept or change the date of the month
setting.
14. The display will show “m_00” or the previous month setting.
15. The right digit flashing.
16. Repeat the above procedure to accept or change the month setting.
17. The display will show “YE_00” or the previous year setting.
18. The right digit flashing.
19. Repeat the above procedure to accept or change the year setting.
20. The indicator will return to normal weighing mode.
10/13 23 51287 Rev. 2
Page 24

Section 5: Printer
5.1. INTRODUCTION
If the weighing system has been equipped with a printer, obtained, and entered
weighing data may be printed. Date and time are only printed out with the option
board installed.
5.2. PRINT EXAMPLES
In the printout, a gross weight is indicated with the letters B/G and a net weight with
the letter N. A manually entered tare weight will also be printed and is indicated with
the letters PT. The total weight is shown with the letters TOT.
10/13 24 51287 Rev. 2
Page 25

Section 5: Printers
5.3. CHANGING PRINTER PAPER
10/13 25 51287 Rev. 2
Page 26

Section 6: Service and Maintenance
6.1. CLEANING
• Wipe the scale assembly with a damp cloth using water only.
─ Do not spray cleaners onto scale indicator.
─ Do not wash-down with a pressure cleaner or water hose.
─ Do not allow water or liquids to drip onto scale indicator.
6.2. ERROR MESSAGES
Error Description Solution
ERR 1 Weight exceeds scale capacity Remove weight from scale.
ERR 2 Scale is Overloaded. Remove weight from scale. If no
weight is on scale. contact a
Fairbanks service representative.
ERR 3 or 7 Load cell signal is too low or too
high.
ERR 4 Out of Zero range. Contact a Fairbanks service
Weight is unstable.
LobA Battery voltage is low. Recharge battery.
LL _ _-- Out of level Move pallet jack to a level surface.
Contact a Fairbanks service
representative.
representative.
Stabilize the weight on the scale.
Excessive vibration on floor.
Contact a Fairbanks service
representative.
6.3. TROUBLESHOOTING
No power No power to indicator
Place Battery on
recharger.
10/13 26 51287 Rev. 2
Page 27

Section 5: Printers
6.3. TROUBLESHOOTING, continued
Accuracy
Instability Weight is unstable Humidity
No repeatability
Mechanical
interference
between lower and
upper fork construction.
One or more bad load
cells
Mechanical bind.
Contact a Fairbanks
service representative.
Contact a Fairbanks
service representative.
10/13 27 51287 Rev. 2
Page 28

Page 29

Page 30

Pallet Weigh Plus
Manufactured by Fairbanks Scales, Inc
821 Locust Street
Kansas City, MO 64106
www.fairbanks.com
.
4100 Series
Pallet Jack Scale
Document 51287
 Loading...