


Stylus Photo 870
Table of contents
 Loading...
Printing Your
First Page
Attaching the
Paper Support
Checking
the Printer
Installing the
Ink
Cartridges
Plugging
in the
Printer
Connecting
the Printer
Installing the
Printer
Software
4011307
XXX-00
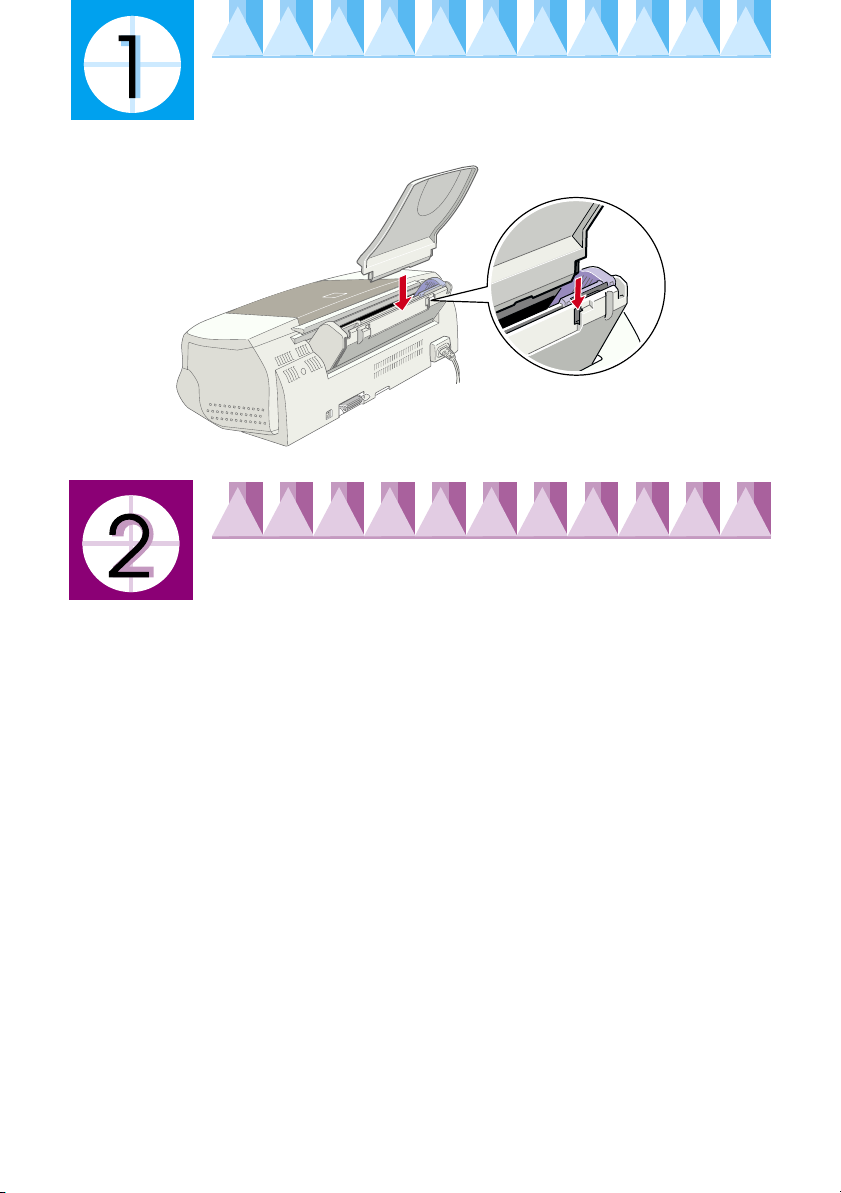
Attaching the Paper Support
Insert the paper support into the slots at the rear of the printer.
Plugging in the Printer
1. Make sure that the printer is turned off. It is off when the
button protrudes slightly from the surface of the control panel.
2. Check the label on the back of the printer to make sure the voltage
required by the printer matches that of the electrical outlet you will be
plugging it into. Also, make sure that you have the correct power cable
for your power source.
Caution:
c
3. If the power cord is not attached to the printer, connect it to the AC inlet
on the back of the printer.
4. Plug the power cord into a properly grounded electrical outlet.
It is not possible to change the printer's voltage. If the rated voltage and
your outlet voltage do not match, contact your dealer for assistance. Do
not plug in the power cord.
P
power
Connecting the Printer
If you have a PC, it is possible to connect to your printer via the parallel or
USB interface. Macintosh can only be connected via the USB interface.
Depending upon your geographic location, you may have to acquire the
appropriate cable. See "Options and Consumable Products" in the
guide for details.
Note:
In order to connect your PC via the USB interface, your computer must be a
Windows 98 pre-installed model which is equipped with a USB port.
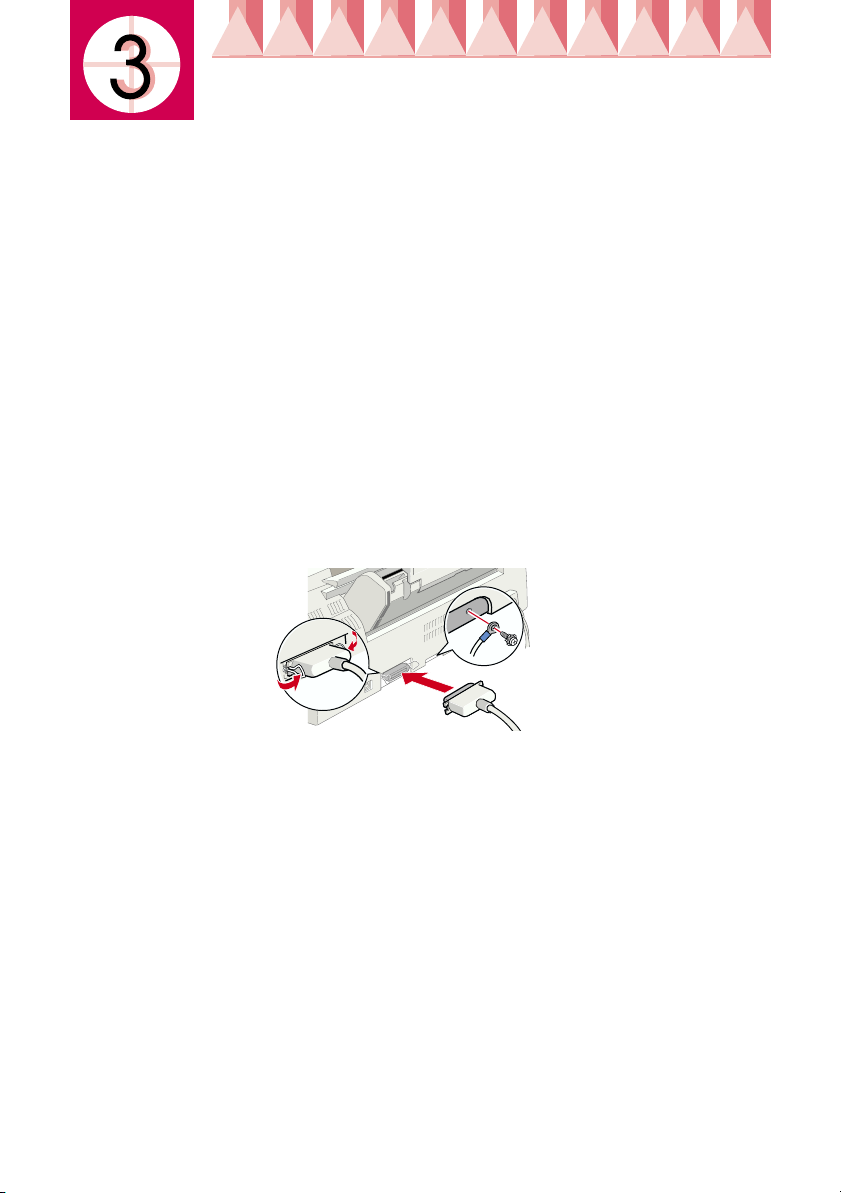
Using a parallel interface for PCs
To connect the printer to your PC, you need a shielded, twisted-pair parallel
cable.
1. Make sure both the printer and computer are turned off.
2. Plug the cable connector securely into the printer's interface connector.
Then squeeze the wire clips together until they lock in place on both
sides. If your cable has a ground wire, connect it to the ground connector
below the interface connector.
Daily Use
3. Plug the other end of the cable into the computer's parallel interface. If
there is a ground wire at the computer end of the cable, connect it to the
ground connector at the back of the computer.
Using a USB interface for PCs and Macintosh
To connect the printer to a USB port, you need a standard shielded USB
cable. Follow these steps.
1. Make sure both the printer and computer are turned off.
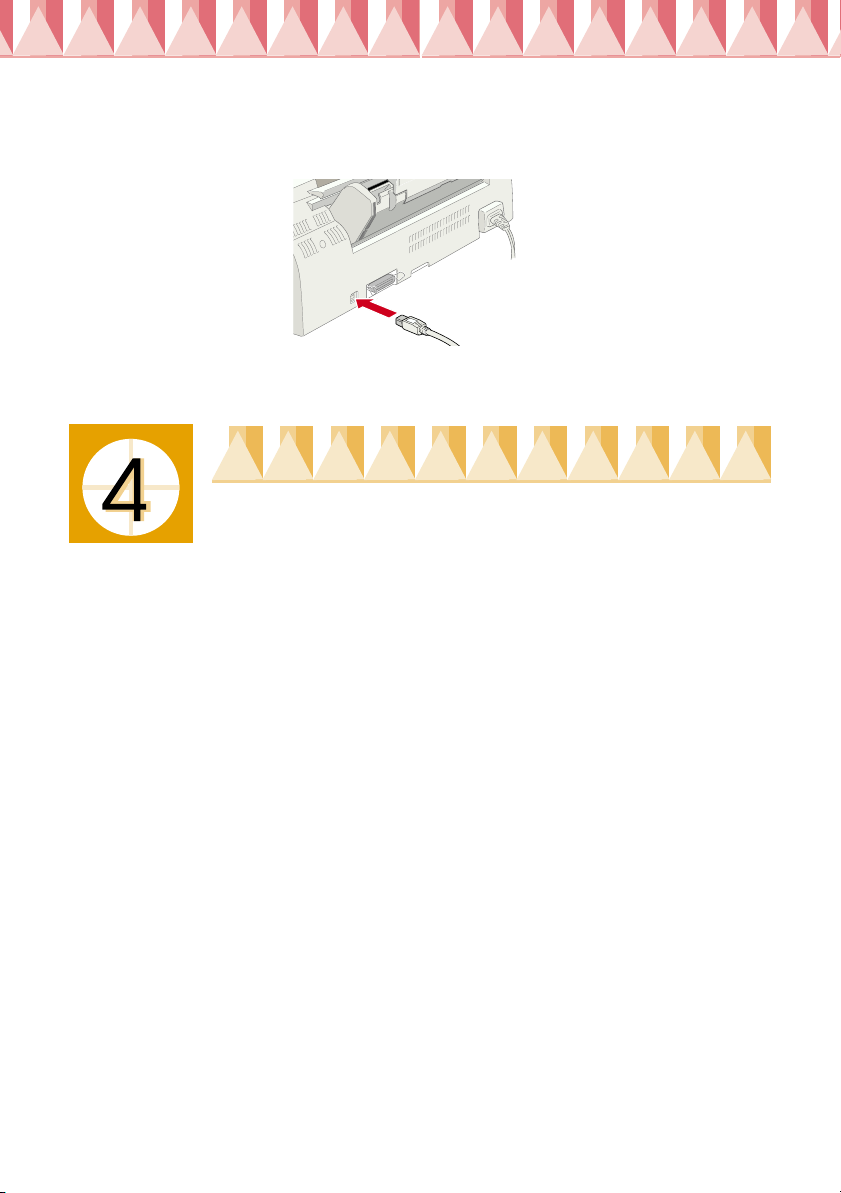
2. Plug the appropriate end of the cable into the USB port on the back of
the printer. (The end that fits the printer has a different shape from the
end that fits the computer.)
3. Connect the other end of the cable to the computer’s USB port.
Installing the Printer Software
After connecting the printer to your computer, you need to install the
software included on the “Printer Software for EPSON Stylus Photo 870”
CD-ROM shipped with your printer.
Your printer software includes:
Printer driver and utilities
❏
The printer driver runs, or “drives,” your printer; use it to make settings
such as print quality, speed, media type, and paper size. The Nozzle
Check, Head Cleaning, and Print Head Alignment utilities help you
keep your printer in top operating condition. EPSON Status Monitor 3
(for Windows) or EPSON StatusMonitor (for Macintosh) notifies you of
printer errors and displays printer status information such as the
amount of ink remaining. The Status Monitor also guides you through
the ink replacement process.
Online guides
❏
The online
your printer and color printing.
If you are using the floppy disk version of the software, make a backup copy
of the EPSON printer software disk before you begin installation. If you
wish to make a floppy disk version of the printer software on your CDROM, you can use the driver disk creation utility included on the CD.
Reference Guide
and
Color Guide
help you learn more about
Installing in Windows
Follow these steps to install your printer software.
1. Make sure that your printer is off.
2. Turn on your computer and start Windows. If the New Hardware
Found screen or any other Wizard appears, click
3. Insert the printer software CD shipped with your printer in the CDROM drive. The Installer dialog box appears. (For floppy disk users,
insert the disk in a disk drive and double-click the
then the floppy disk drive icon, and then
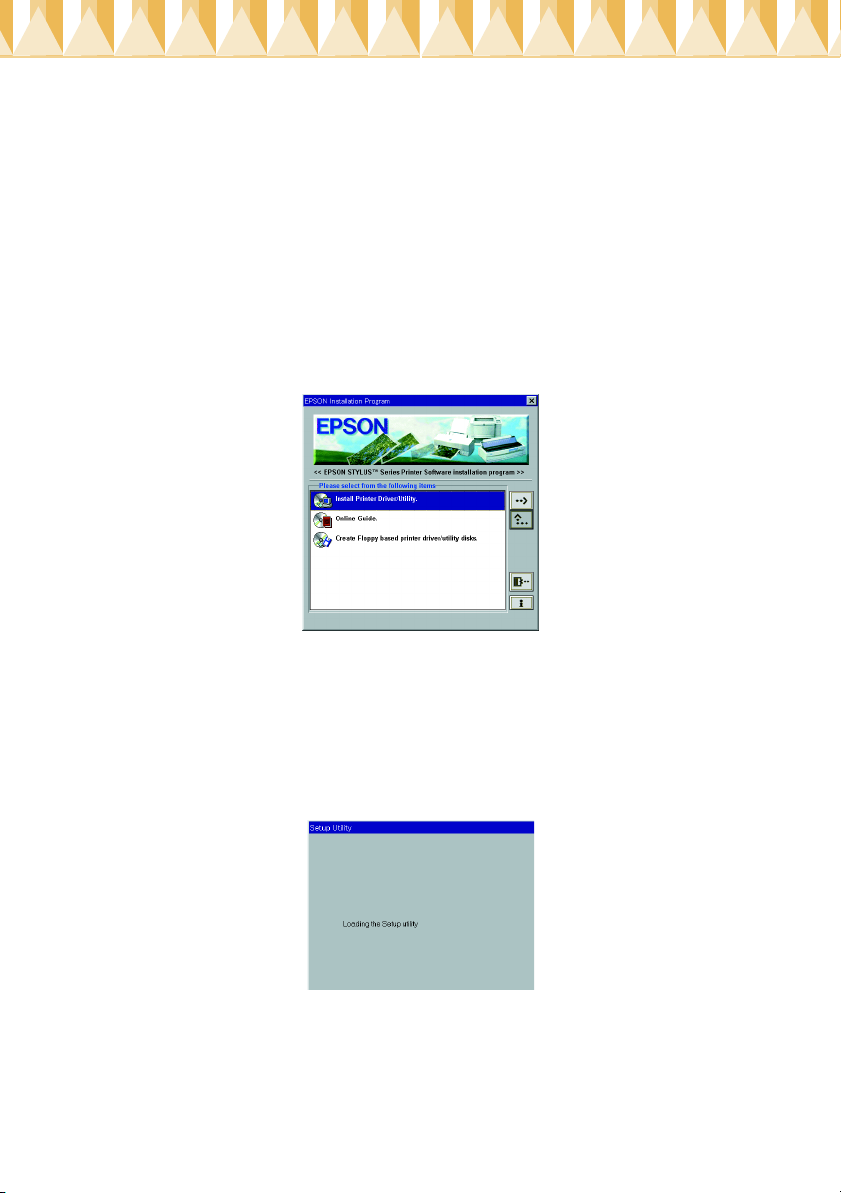
4. Double-click
Install Printer Driver/Utility
Setup.exe.
, then click OK in the dialog box
that appears to start the printer software installation.
5. Follow the on-screen instructions to turn on your printer.
For Windows 98 users, the printer port configuration starts
automatically.
For printers connected via USB cable, the USB device driver installation
starts automatically at this point.
6. After turning on the printer, the Setup utility opens automatically.
Cancel
My Computer
)
.
icon,
Follow the on-screen instructions to install the ink cartridges, check the print head nozzles, and clean the print head. When a message appears in forming you th at the setup is com plete, click OK.
Follow the on-screen instructions to install the ink cartridges, check the
print head nozzles, and clean the print head. When a message appears
informing you that the setup is complete, click OK.
Copyright© 1999 by SEIKO EPSON CORPORATION,
Nagano, Japan.
Printed in Japan.xx-xx
Loading...