


ES8

MICRO AUDIO SYSTEM
with CD PLAYER
and DIGITAL TUNER
OWNER'S MANUAL
ES8
Visit our web site at www.emersonradio.com
ES8_ib.p65 8/10/01, AM 11:0120
BEFORE WE BEGIN
Thank you………………
for purchasing this Emerson audio product. The Emerson brand is your assurance
of quality, performance and value, and has been since 1912.
Our engineers have included many useful and convenient features in this product.
Please be sure to read this Owner’s Manual completely to make sure you are
getting the maximum benefit from each feature.
This product was manufactured using the highest quality components and standards
of workmanship. It was tested by Emerson inspectors and found to be in perfect
working order before it left our factory. However, there is always the chance that
some problem may occur because of rough handling during shipment to the retail
store or to the final consumer.
If, after reading this Manual, you experience any problems with the operation of this
product, please refer to the instructions for obtaining service at the end of this Manual.
Emerson and Emerson retailers are committed to your satisfaction.
Once again, thanks for purchasing this Emerson audio product.
For future reference, record the serial number in the space provided.
Model No: ES8
Serial Number :
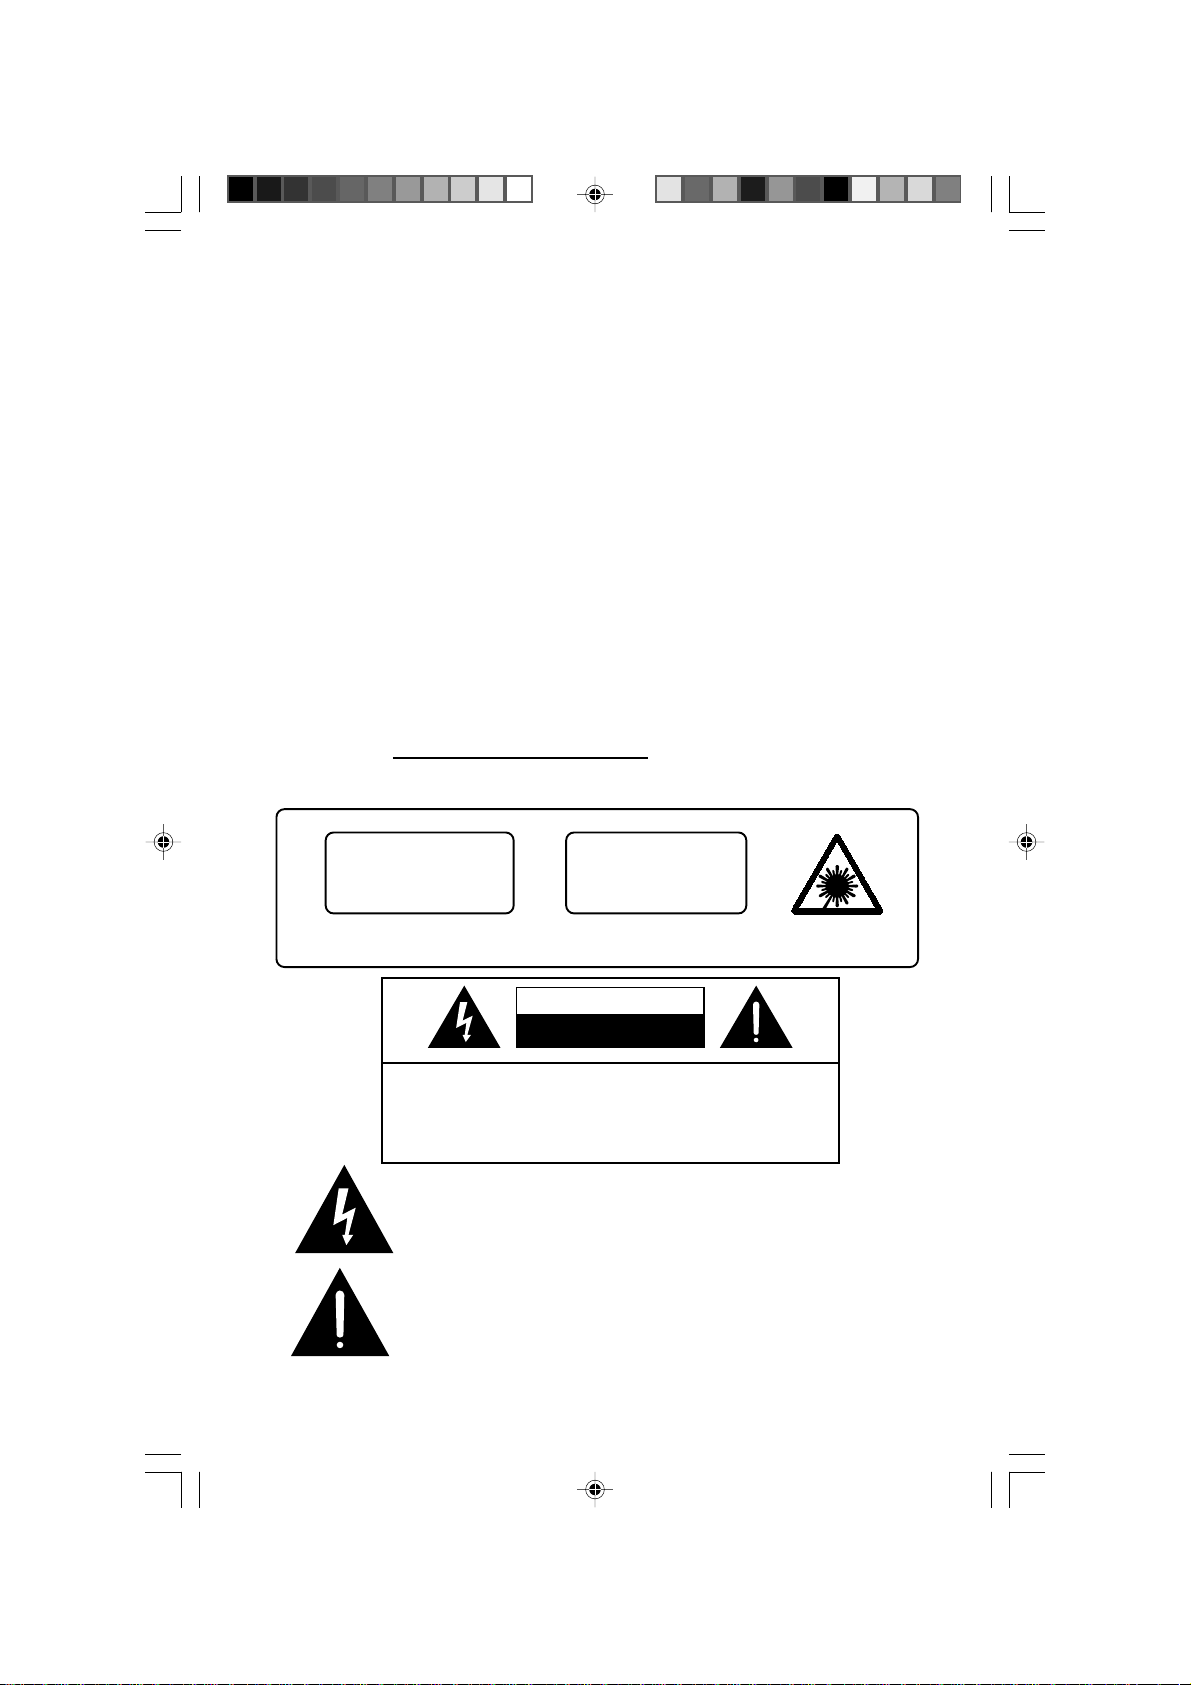
CLASS 1 LASER PRODUCT
CLASS 1 LASER PRODUCT
APPAREIL Á LASER DE CLASSE 1
PRODUCTO LASER DE CLASE 1
CAUTION
INVISIBLE LASER RADIATION
WHEN OPEN AND INTERLOCKS
DEFEATED.
AVOID EXPOSURE TO BEAM
This product contains a low power Laser Device.
CAUTION
RISK OF ELECTRIC SHOCK
DO NOT OPEN
CAUTION: TO REDUCE THE RISK OF ELECTRIC
SHOCK, DO NOT REMOVE COVER(OR BACK). NO
USER SERVICEABLE PARTS INSIDE. REFER
SERVICING TO QUALIFIED SERVICE PERSONNEL.
DANGEROUS VOLTAGE
Uninsulated Dangerous Voltage, that may be of sufficient
magnitude to constitute a risk of electric shock to persons is
present within this product's enclosure.
ATTENTION
The Owner's Manual contains important operating and
maintenance instructions.
For your safety, it is necessary to refer to the manual.
ES8_ib.p65 8/10/01, AM 11:001
1
IMPORTANT NOTES
• Avoid installing this unit in places
exposed to direct sunlight or
close to heat radiating appliances
such as electric heaters, on top
of other stereo equipment that
radiates heat, places lacking
ventilation or dusty areas, places
subject to constant vibration and/
or humid or moist areas.
• Do not attempt to clean this unit
with chemical solvents as this
might damage the finish. Use a
• Operate controls and switches as
described in the manual.
• Before turning on the power,
make certain that the connecting
cords and power cord are
properly installed.
• Store your CDs in a cool area to
avoid damage from heat.
• When moving the set, be sure to
first disconnect the power cord
and remove cords connected to
other equipment.
clean dry cloth.
WARNING: TO PREVENT FIRE OR SHOCK HAZARD,
DO NOT EXPOSE THIS UNIT TO RAIN OR MOISTURE.
FCC INFORMATION
This equipment has been tested and found to comply with the limits for a Class B
digital device, pursuant to Part 15 of the FCC Rules. These limits are designed to
provide reasonable protection against harmful interference in a residential
installation. This equipment generates, uses, and can radiate radio frequency
energy and, if not installed and used in accordance with the instructions, may
cause harmful interference to radio communications. However, there is no
guarantee that interference will not occur in a particular installation. If this
equipment does cause harmful interference to radio or television reception, which
can be determined by turning the equipment off and on, the user is encouraged to
try to correct the interference by one or more of the following measures:
• Reorient or relocate the receiving antenna.
• Increase the separation between the equipment and receiver.
• Connect the equipment into an outlet on a circuit different from that to which the
receiver is connected.
• Consult the dealer or an experienced radio/TV technician for help.
This device complies with Part 15 of the FCC Rules. Operation is subject to the
following two conditions:
(1) This device may not cause harmful interference, and
(2) This device must accept any interference received, including interference
that may cause undesired operation.
2
ES8_ib.p65 8/10/01, AM 11:002
PREPARATION FOR USE
UNPACKING AND SET-UP
Carefully remove the unit from the carton and remove all packing material
•
from the unit.
• Remove any labels or stickers which may be on the front or top of the set, but
do not remove any labels from the back or bottom.
• We suggest that you retain the original carton and packing materials in case it
ever becomes necessary to return your unit for service. This is the only sure
way to protect the unit from damage in transit.
• If you do dispose of the carton and packing materials, please do so properly.
Emerson cares about our environment.
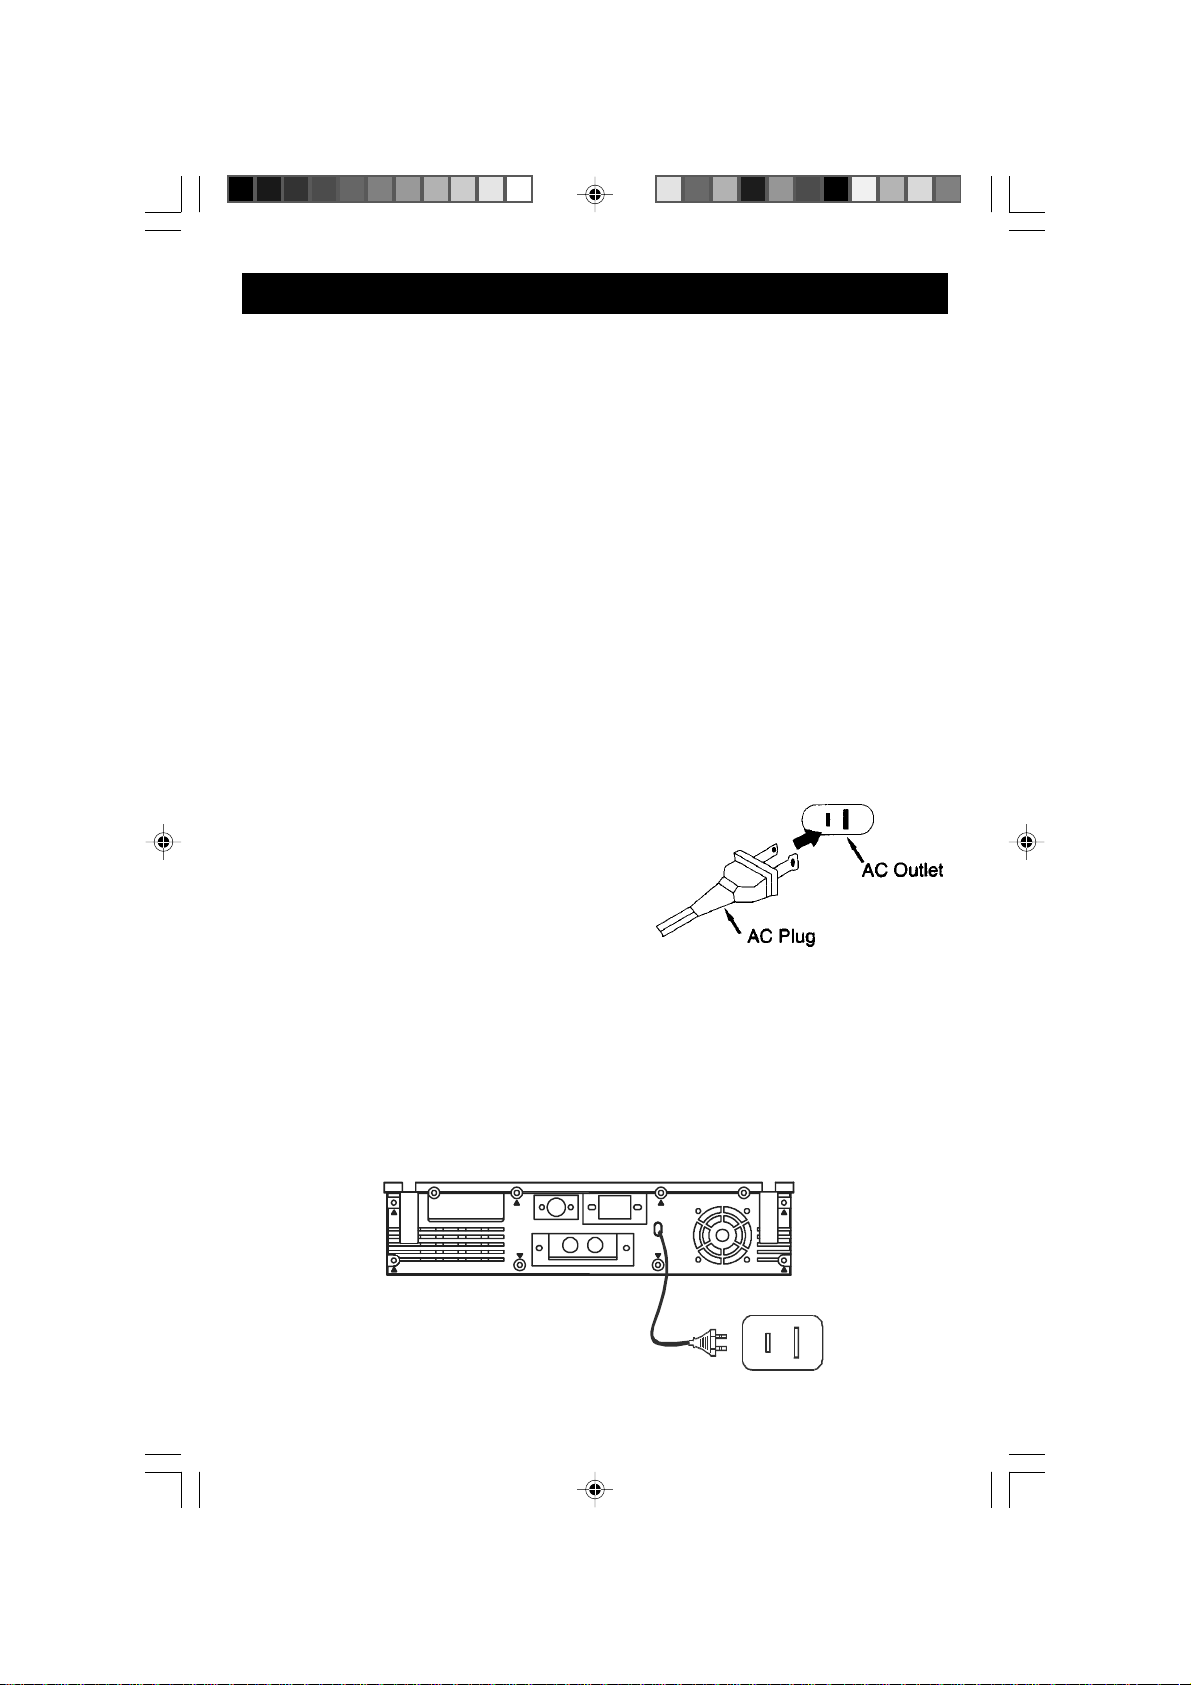
POWER SOURCE
This system is designed to operate on 120V 60Hz AC house current . Connecting
this system to any other power supply could result in damage to the unit which is
not covered by your warranty.You will note
that this system is equipped with a polarized
AC power plug having one blade wider than
the other. This is a safety feature. If this plug
does not fit into your existing AC outlet, do not
try to defeat this safety feature by filing the
wide blade to make it fit into your outlet. If this
plug will not fit into your outlet, you probably
have an out-dated non-polarized AC outlet.
You should have your outlet changed by a qualified licensed electrician.
AC OPERATION
1. Unwind the AC Power Cord completely.
2. Insert the plug into any convenient 120V 60Hz AC outlet.
3
ES8_ib.p65 8/10/01, AM 11:003
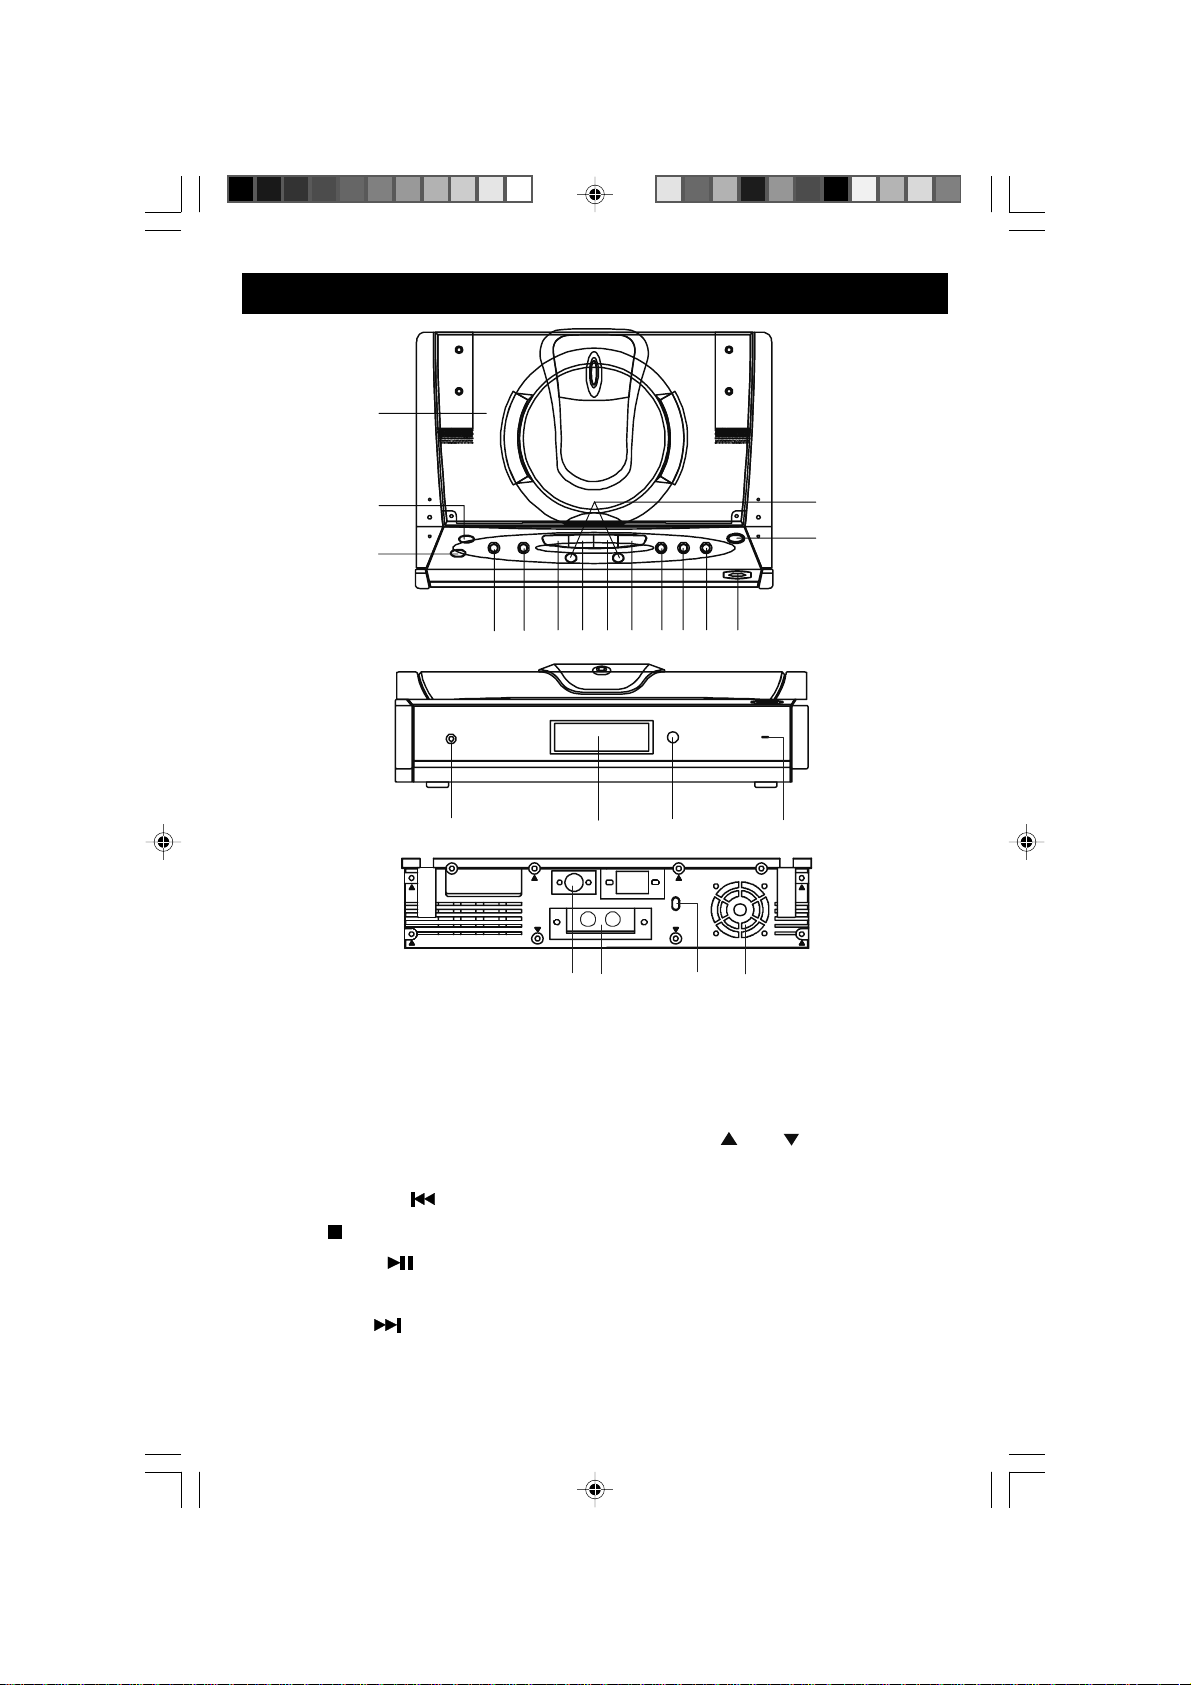
LOCATION OF CONTROLS
1
2
3
5
4
16
1. CD Compartment.
2. MUTE Button.
3. Preset EQ Button.
4. MEMORY / PROGRAM Button.
5. MEM. UP / REPEAT Button.
6. Reverse Skip / Search /
TUNE DOWN Button.
7. Stop Button.
8. Play/Pause Button.
9. Forward Skip/Search/
TUNE UP Button.
10. CD Button.
15
14
678910111213
17
18 19
20 21 22 23
11. TUNER Button.
12. BAND Button.
13. POWER On/Off Button.
14. CD OPEN / CLOSE Button.
15. VOLUME Up / Down Buttons.
16. PHONES Jack.
17. Multi Function Display.
18. Remote Control SENSOR.
19. STANDBY / MUTE Indicator.
20. FM Wire Antenna.
21. Speaker Jacks.
22. AC Cord outlet.
23. Cooling Fan.
ES8_ib.p65 8/10/01, AM 11:004
4
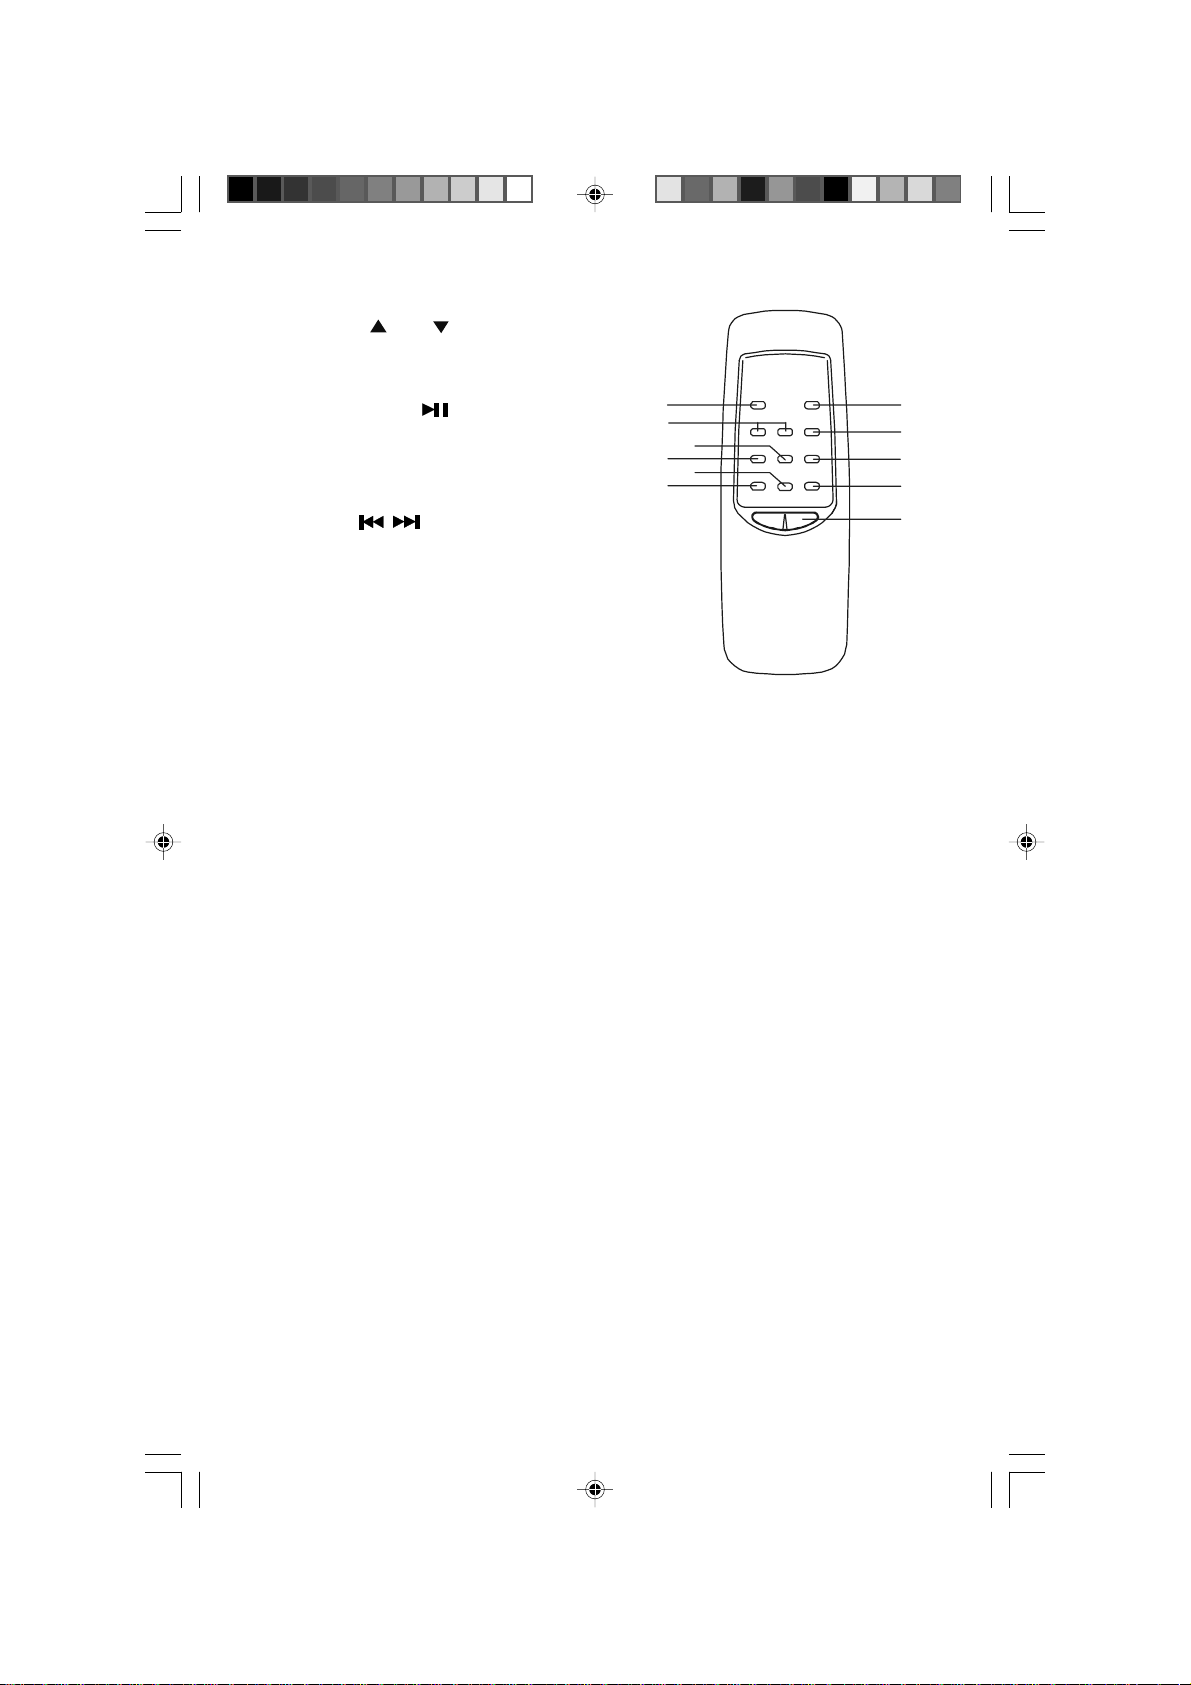
REMOTE CONTROL
1. VOLUME Up / Down Buttons.
2. POWER On/Off Button.
3. CD STOP Button.
11
6
7
8
9
10
4. CD Play/Pause Button.
5. CD Button.
6. TUNER Button.
7. Tuning UP/DOWN/
CD Skip Buttons.
8. MEMORY/PROG.(PROGRAM) Button.
9. MEM. UP/REPEAT Button.
10. BAND Button.
11. MUTE Button.
BATTERY INSTALLATION
Insert 2 pcs ‘AAA’ (Alkaline) size batteries (not included) into the battery compartment
of the remote controller and close the cover.
BATTERY REPLACEMENT
5
4
3
2
1
When the batteries become too weak, the operating distance of the remote
controller is greatly reduced and you will need to replace the batteries.
NOTES:
• To maintain the accuracy and long life of the transmitter, do not press two or
more buttons simultaneously.
• If the remote control is not to be used for a long time, remove the batteries to
prevent possible damage through leaking batteries.
• Do not mix different types of batteries, or old batteries with new ones.
USING THE REMOTE CONTROLLER CORRECTLY
• Point the remote controller at the Remote Sensor.
• The functions of the buttons on the remote control are the same as the corresponding
controls on the main unit.
• When there is a strong ambient light source, the performance of the infrared
Remote Sensor may be degraded, causing unreliable operation.
• The maximum effective distance for remote control operation is about 15 feet.
5
ES8_ib.p65 8/10/01, PM 12:055
 Loading...