

Page 1

Dräger Medizintechnik
Contents
DrägerService Mode
A
B
C
1 General notes 3
1.1 Overview of possible tests ............................................................................................4
1.2 Accessing the DrägerService Mode ........................................................................... 5
1.3 Exiting the DrägerService Mode ..................................................................................6
2 DrägerService Mode "Information" 7
2.1 O2 sensor .........................................................................................................................8
2.1.1 Reading out the O2 sensor data ................................................................ 8
2.2 Software/operating hours .......................................................................................... 10
2.3 Options ........................................................................................................................... 11
2.4 Service interval .............................................................................................................. 13
3 Calibrations 15
3.1 O2 sensor ......................................................................................................................16
3.2 Scales ............................................................................................................................. 18
3.3 Height adjustment ........................................................................................................ 20
3.3.1 Adjusting the manual threshold ............................................................... 20
3.3.2 Adjusting the automatic threshold ........................................................... 21
3.4 Tilt adjustment ............................................................................................................... 22
3.4.1 Adjusting the manual threshold ............................................................... 22
3.4.2 Adjusting the automatic threshold ........................................................... 23
4 Logs 24
4.1 Error log .......................................................................................................................... 25
4.2 Error history ................................................................................................................... 26
4.3 Operation history .......................................................................................................... 27
For internal use only. Copyright reserved.
R6150000SM1IVZ.fm
6150.000 Caleo DrägerService Mode Page I
Page 2
Dräger Medizintechnik
Contents
5 Diagnosis 28
A
B
C
5.1 Operating voltages ....................................................................................................... 29
5.2 Keypad ............................................................................................................................ 30
5.2.1 Control keys test ......................................................................................... 30
5.3 Sensor PCB .................................................................................................................. 31
5.4 Actuator PCB ................................................................................................................ 32
5.5 Output signals ............................................................................................................... 34
5.6 Digital signals ................................................................................................................36
5.7 Interface board .............................................................................................................. 37
5.7.1 Nurse call ...................................................................................................... 37
5.7.2 Medibus ........................................................................................................ 39
5.7.3 Modem .......................................................................................................... 40
For internal use only. Copyright reserved.
R6150000SM1IVZ.fm
6150.000 Caleo DrägerService Mode Page II
Page 3
Dräger Medizintechnik
DrägerService Mode
1 General notes
A
B
C
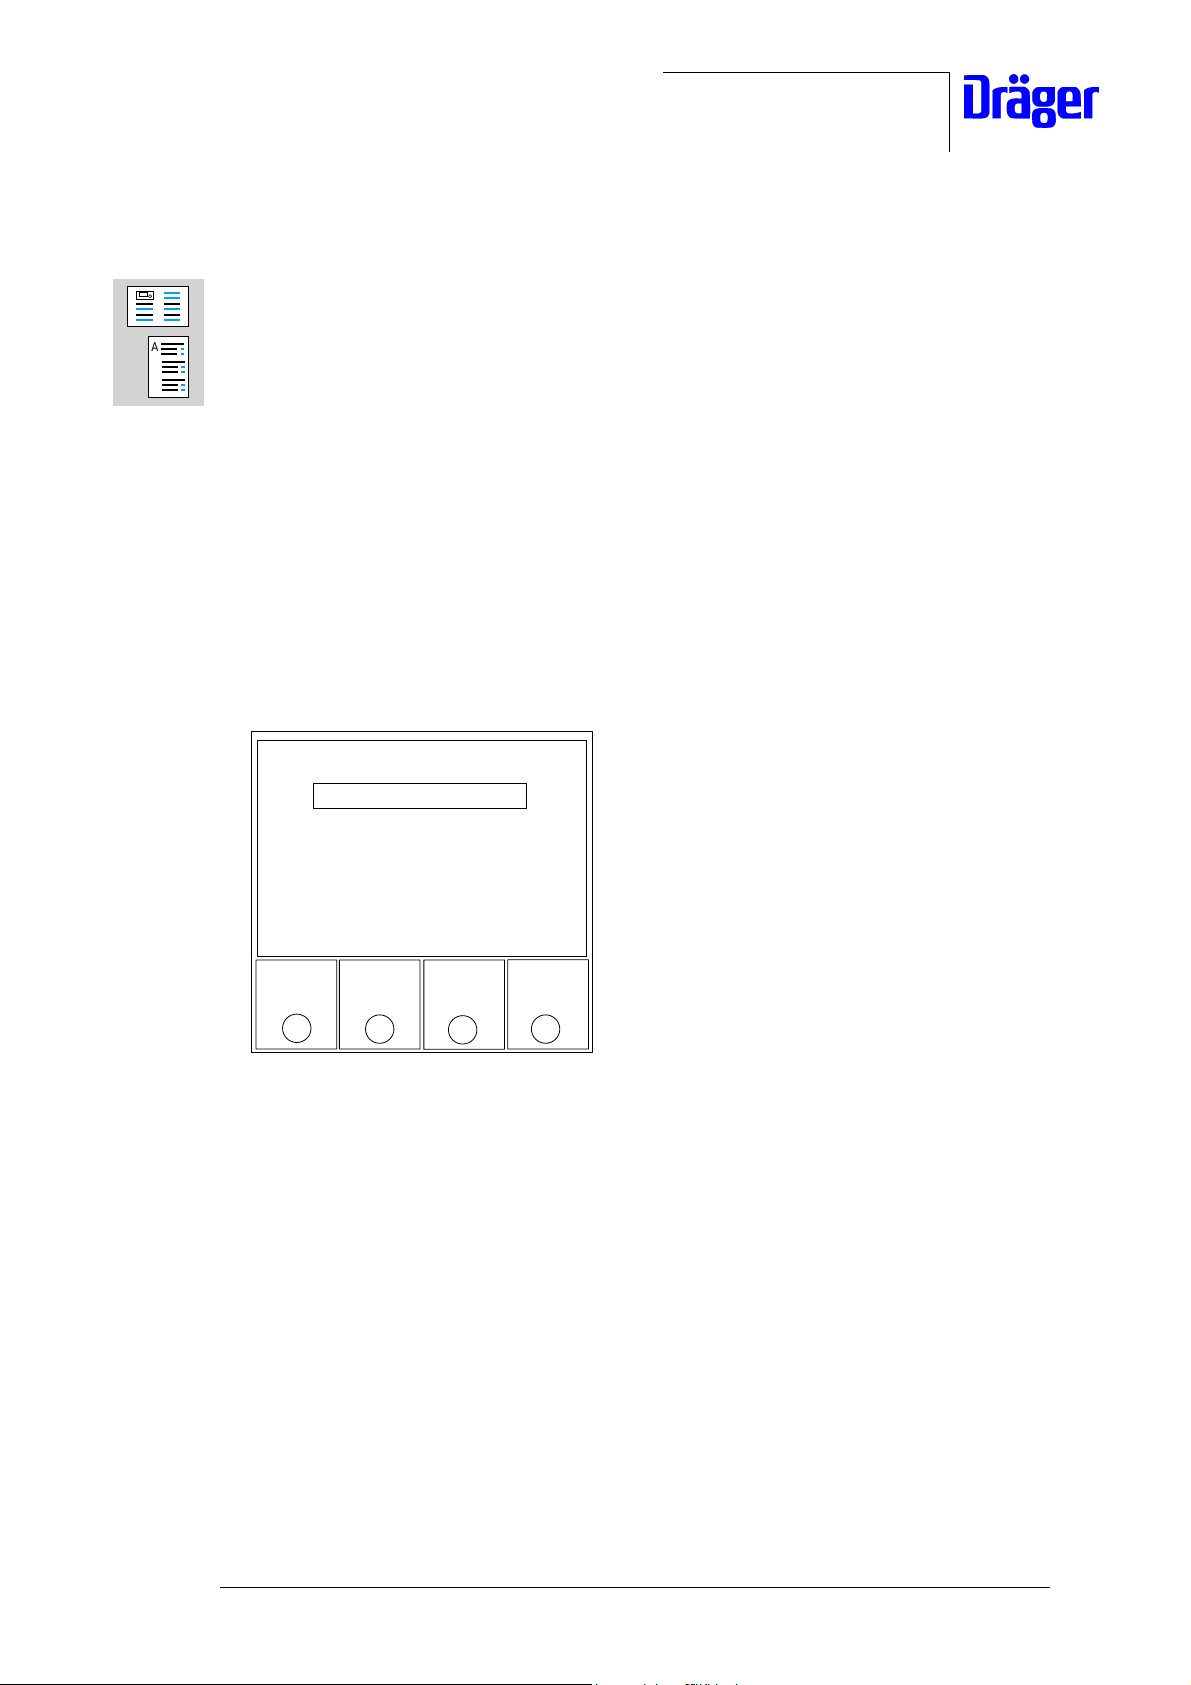
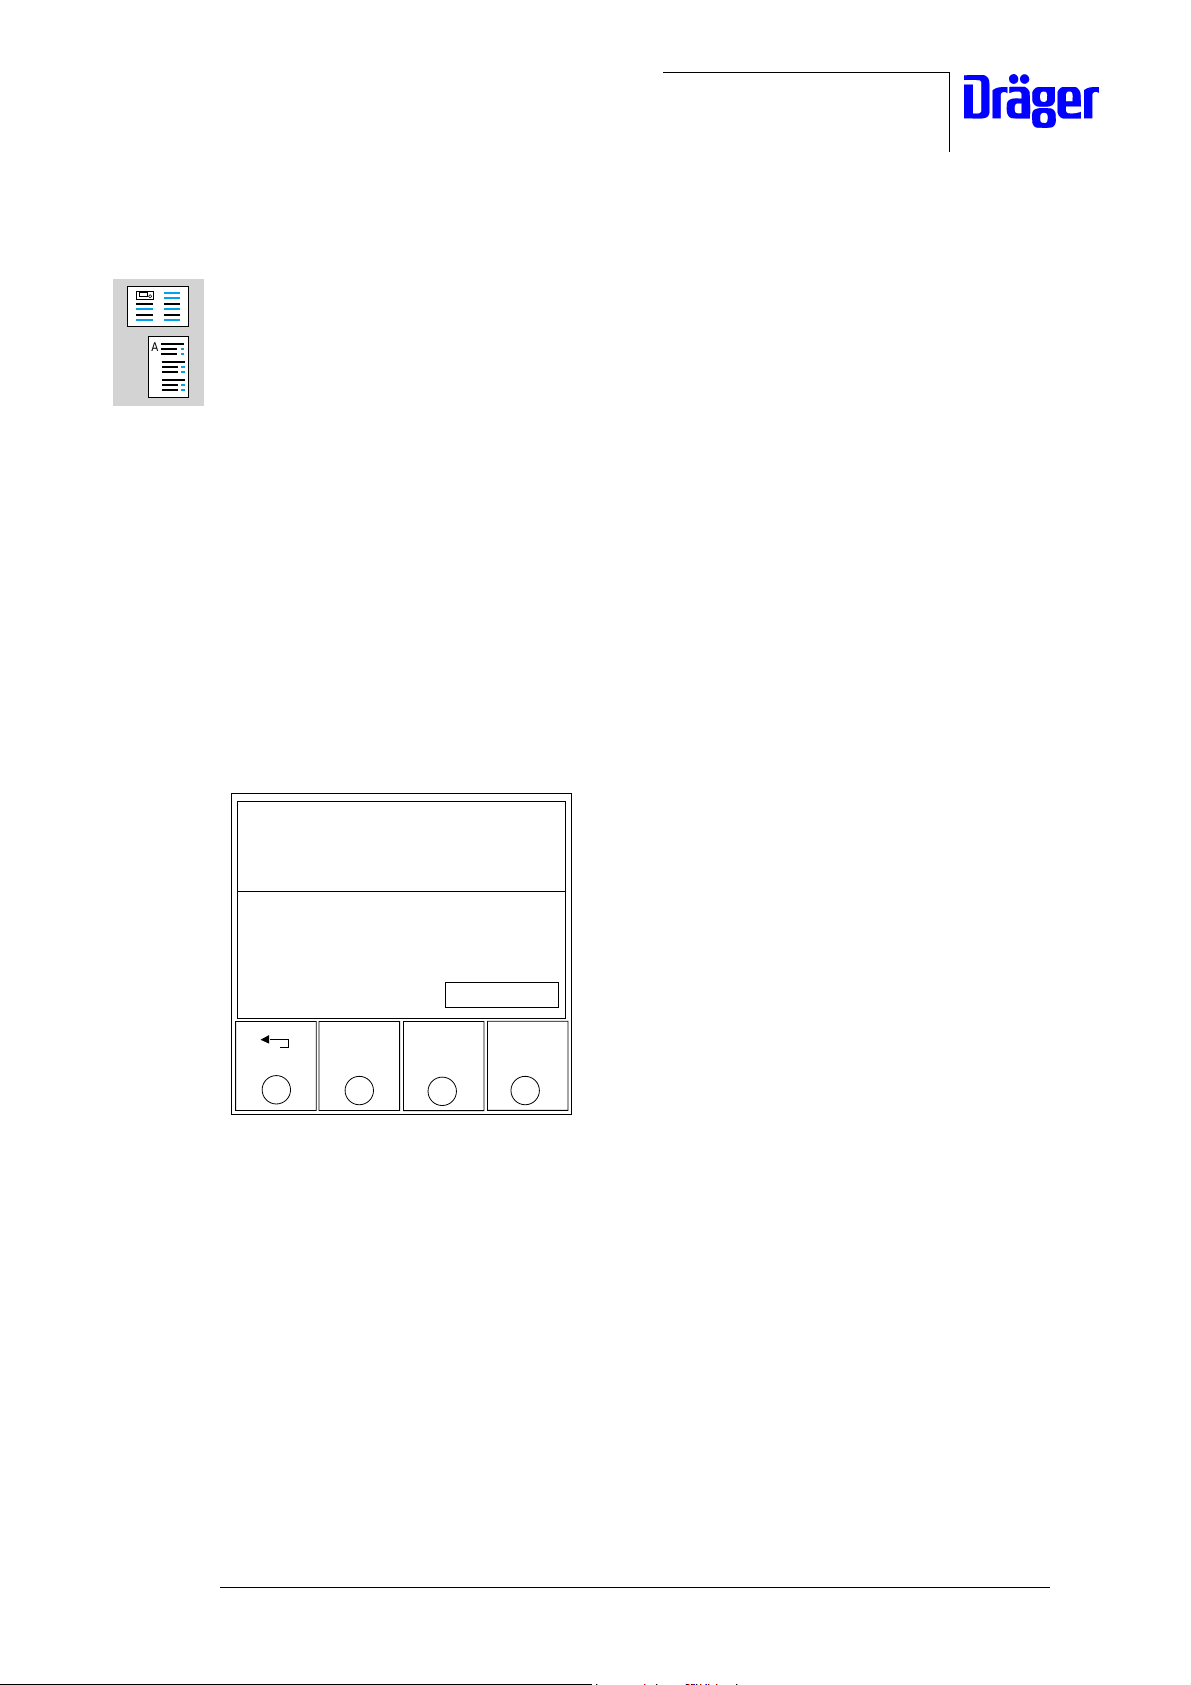
The DrägerService Mode has four menu levels.
The first menu level contains the following items:
− Information
− Calibrations
− Logs
− Diagnosis
− Back
Service Mode
Information
Calibrations
Logs
Diagnosis
Back
Fig. 1: Start page of DrägerService Mode
Each menu level has submenus.
DrägerService Mode can be used to read out device data and activate/deactivate optional
features.
For internal use only. Copyright reserved.
R6150000SM1.fm 06.02.01
6150.000 Caleo Released 01/2001 DrägerService Mode Page 3 of 40
Page 4
Dräger Medizintechnik
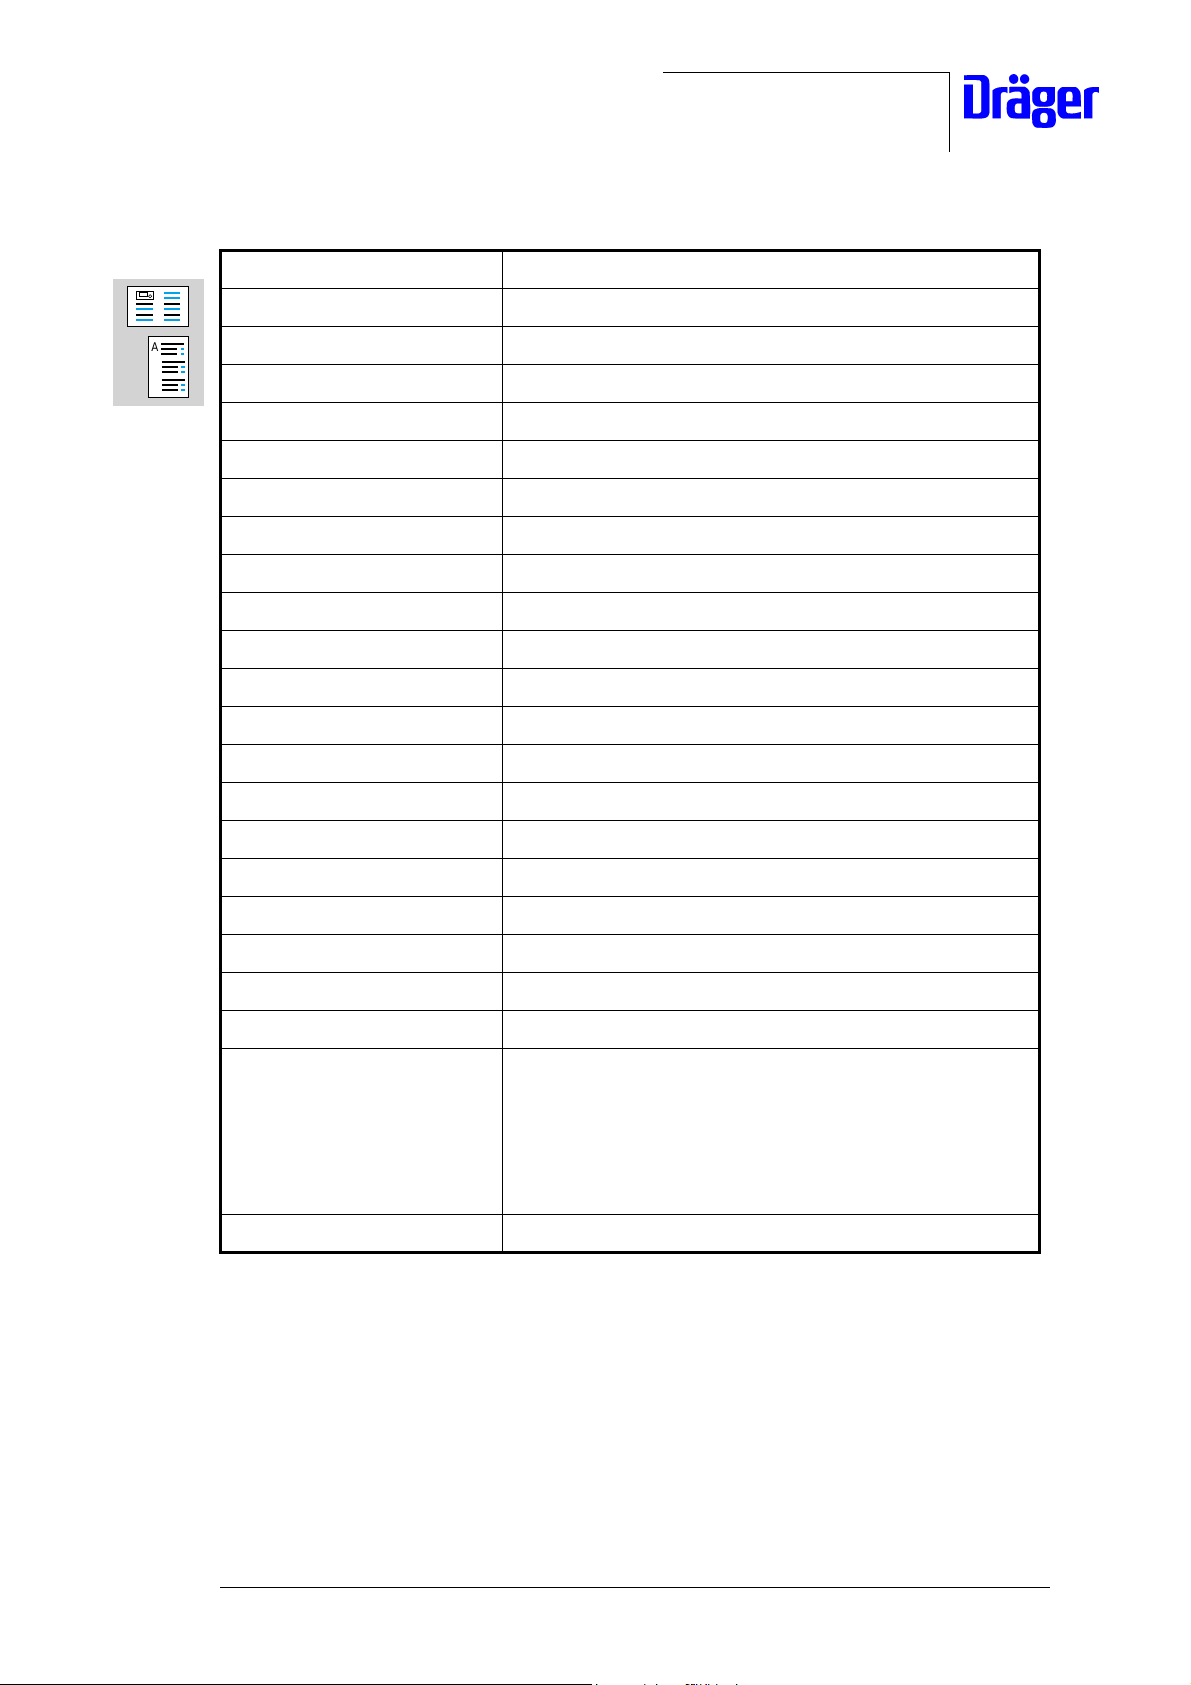
1.1 Overview of possible tests
Information
sensor O2 sensor
O
2
A
B
C
Software/operating hours Software/operating hours
Options Options
Service intervals Service interval
Calibrations
sensor O2 sensor
O
2
Scales Scales
Height adjustment (optional) Height adjustment (optional)
Tilt adjustment Tilt adjustment
Logs
Error log Error log
Error history Error history
Operation history Operation history
Diagnosis
Operating voltages Operating voltages
Keypad Keypad
Sensor PCB Sensor PCB
WT2 Actuator PCB Actuator PCB
Output signals Output signals
Digital feedback signals Digital signals
Interfaces
Nurse call Nurse call
Medibus Medibus
Modem Modem
For internal use only. Copyright reserved.
R6150000SM1.fm 06.02.01
6150.000 Caleo Released 01/2001 DrägerService Mode Page 4 of 40
Page 5

Dräger Medizintechnik
1.2 Accessing the DrägerService Mode
• Plug the power plug of the Caleo into the mains socket.
• Switch on the Caleo at the power switch.
A
B
C
The Caleo runs through its self-test.
• Press the "menu" and "silence" keys (a) simultaneously for 4 seconds.
Dräger
a
Fig. 2: Front view of the display housing
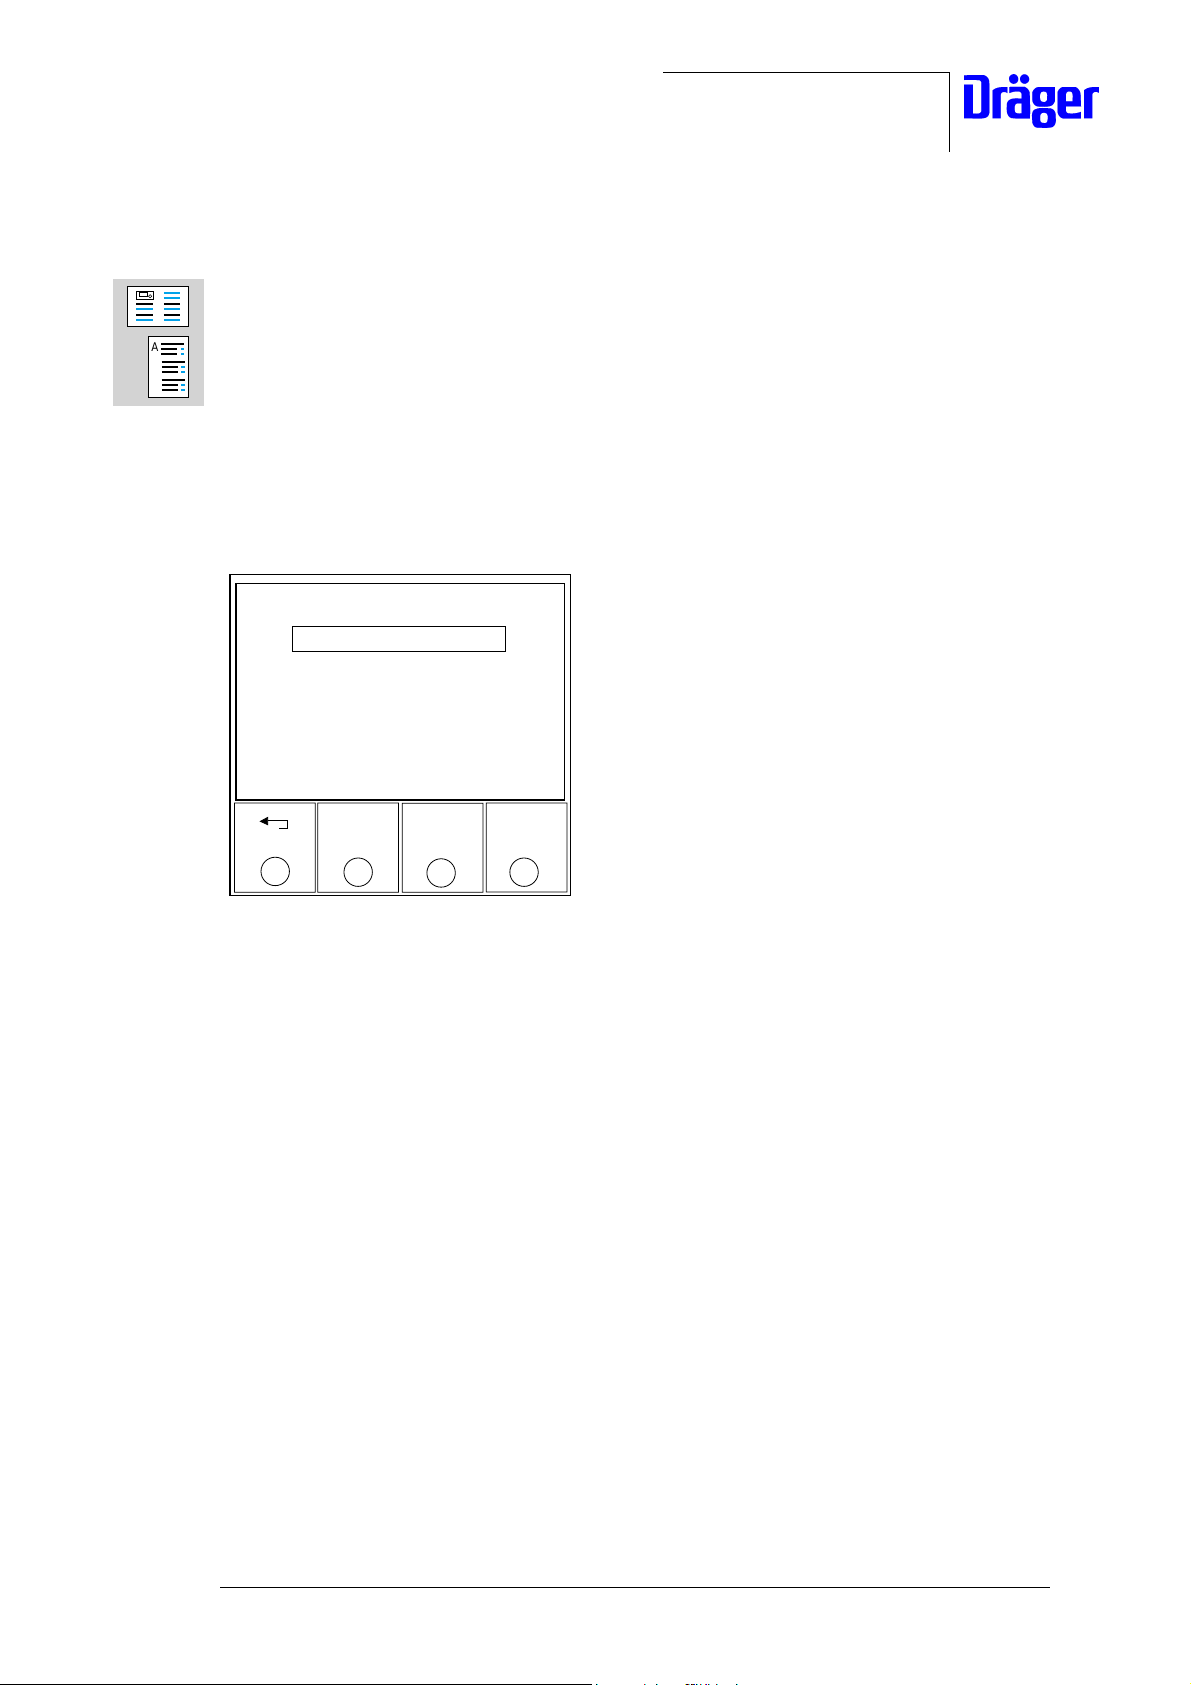
The following menu appears on the EL display:
Service Mode
Information
Calibrations
Logs
Diagnosis
Back
Fig. 3: Menu page of DrägerService Mode
• Use the control knob to select the desired menu.
• Press the control knob to activate the desired menu.
The EL display shows the respective submenu.
• Use the control knob to select the desired submenu.
• Press the control knob to activate the desired submenu.
For internal use only. Copyright reserved.
R6150000SM1.fm 06.02.01
6150.000 Caleo Released 01/2001 DrägerService Mode Page 5 of 40
Page 6

Dräger Medizintechnik
If the control knob has additional functions, the required command will be shown directly on
the EL display.
If additional functions can be selected using the EL display key, it will be shown on the EL
display.
A
B
C
1.3 Exiting the DrägerService Mode
• Exit the DrägerService Mode as follows: Switch off the Caleo or select the „Back“
functions in the respective EL display pages until Caleo is in the operating mode.
For internal use only. Copyright reserved.
R6150000SM1.fm 06.02.01
6150.000 Caleo Released 01/2001 DrägerService Mode Page 6 of 40
Page 7
Dräger Medizintechnik
2 DrägerService Mode "Information"
DrägerService Mode "Information" has the following submenus:
sensor
− O
A
B
C
2
− Software/operating hours
− Options
− Service interval
− Back
Service Mode: Information
O2 sensor
Software/Operating hours
Options
Service interval
Back
Fig. 4: DrägerService Mode "Information"
For internal use only. Copyright reserved.
R6150000SM1.fm 06.02.01
6150.000 Caleo Released 01/2001 DrägerService Mode Page 7 of 40
Page 8

Dräger Medizintechnik
2.1 O2 sensor
DrägerService Mode "O2 sensor" shows the following O2 measurement data on the EL
display:
A
B
C
− Serial number of the O
− Serial version of the O
− Serial numbers of the O
− Date of manufacture of the O
Module PCB
2
Module PCB
2
sensors: sensor 1 and sensor 2
2
sensors
2
− Last calibration date
− Next calibration
2.1.1 Reading out the O2 sensor data
• Switch on the Caleo at the power switch.
• As soon as the device has finished its self-test, press the "menu" and "silence" keys
simultaneously for 4 seconds.
The Caleo should now be in DrägerService Mode.
• Use the control knob to select the menu item "Information".
• Press the control knob.
The EL display shows the "Information" menu.
• Use the control knob to select the menu item "O
Sensor".
2
• Press the control knob.
The EL display shows the serial numbers, the date of manufacture, and the calibration date.
Service Mode: O2 sensor
Sensor 1
PCB serial number:
PCB software version:
Sensor serial number:
Sensor date of manufacture:
Fig. 5: DrägerService Mode, O
Last calibration:
Next calibration:
Sensor 2
sensor 1
2
For internal use only. Copyright reserved.
R6150000SM1.fm 06.02.01
6150.000 Caleo Released 01/2001 DrägerService Mode Page 8 of 40
Page 9

Dräger Medizintechnik
•If a second O2 sensor is fitted, press the right-hand display key (sensor 2) in order to
switch over to the data of the second O
sensor.
2
Sensor 2
2 sensor
Sensor 1
sensor 2
2
Service Mode: O
A
B
C
PCB serial number:
PCB software version:
Sensor serial number:
Sensor date of manufacture:
Last calibration:
Next calibration:
Fig. 6: DrägerService Mode, O
• Exit the DrägerService Mode as follows: Switch off the Caleo.
For internal use only. Copyright reserved.
R6150000SM1.fm 06.02.01
6150.000 Caleo Released 01/2001 DrägerService Mode Page 9 of 40
Page 10
Dräger Medizintechnik
2.2 Software/operating hours
DrägerService Mode "Software/operating hours" shows the software version and the
operating hours on the EL display. The operating hours can be adjusted.
A
B
C
• Switch on the Caleo at the power switch.
• As soon as the device has finished its self-test, press the "menu" and "silence" keys
simultaneously for 4 seconds.
The Caleo should now be in DrägerService Mode.
• Use the control knob to select the menu item "Information".
• Press the control knob.
The EL display shows the "Information" menu.
• Use the control knob to select the menu item "Software/operating hours".
• Press the control knob.
The EL display shows the software version and number of operating hours.
Service Mode: Software/Operating hours
Caleo
Software version:
Current operating hours
Adjust using control knob
Operating hours:
Fig. 7: DrägerService Mode, software version/operating hours
• Press the control knob to activate the operating hours.
• Use the control knob to adjust the desired operating hours.
• Press the control knob to store the desired operating hours (Note: The operating hours
should be adjusted within max. 2 minutes. Otherwise the Caleo will return to its normal
operating mode.).
• Exit the DrägerService Mode as follows: Switch off the Caleo.
For internal use only. Copyright reserved.
R6150000SM1.fm 06.02.01
6150.000 Caleo Released 01/2001 DrägerService Mode Page 10 of 40
Page 11
Dräger Medizintechnik
2.3 Options
DrägerService Mode "Options" shows the following options on the EL display:
− O2 module
A
B
C
− Humidity module
− Mattress module
− Scales module
− Interface board
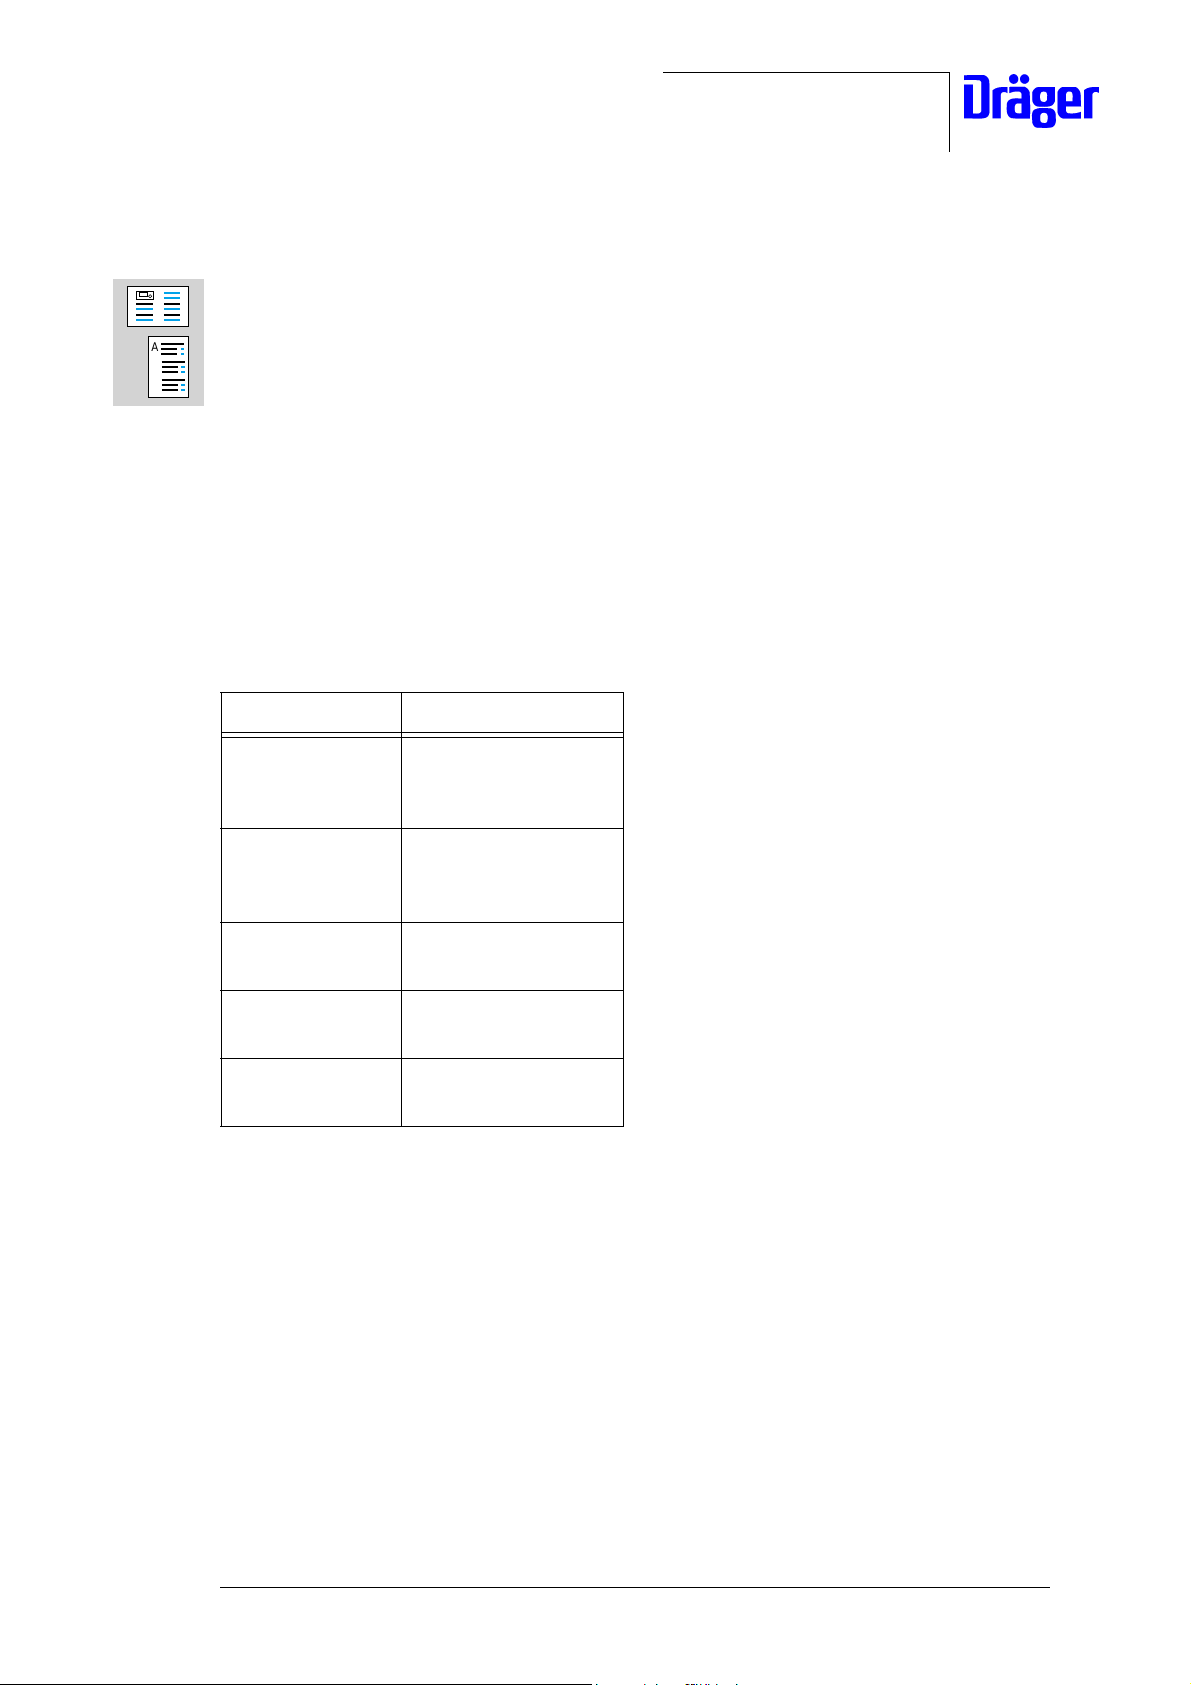
Each module can be addressed individually: The individual modules have different control
functions which can be selected using the control knob. Activated device options will be
tested during the self-test. Device options that are not available/not installed are marked as
"not installed" in the status field of the EL display.
Module Function
O2 module not installed
Monitoring
Closed-loop control
Humidity module not installed
Closed-loop control
Control
Mattress module not installed
installed
Scales module not installed
installed
Interface board not installed
installed
• Switch on the Caleo at the power switch.
• As soon as the device has finished its self-test, press the "menu" and "silence" keys
simultaneously for 4 seconds.
The Caleo should now be in DrägerService Mode.
• Use the control knob to select the menu item "Information".
• Press the control knob.
The EL display shows the "Information" menu.
• Use the control knob to select the menu item "Options".
For internal use only. Copyright reserved.
R6150000SM1.fm 06.02.01
6150.000 Caleo Released 01/2001 DrägerService Mode Page 11 of 40
Page 12
Dräger Medizintechnik
• Press the control knob.
Service Mode: Options
A
B
C
O2 module:
Humidity module:
Mattress module:
Scales module:
Interface:
not installed
not installed
not installed
not installed
not installed
Fig. 8: DrägerService Mode, options
• Use the control knob to select the respective menu item.
• Press the control knob to activate the menu item.
• Use the control knob to select the desired function.
• If necessary, switch the Caleo off and on again in order to enable the desired function.
• Exit the DrägerService Mode as follows: Switch off the Caleo.
For internal use only. Copyright reserved.
R6150000SM1.fm 06.02.01
6150.000 Caleo Released 01/2001 DrägerService Mode Page 12 of 40
Page 13

Dräger Medizintechnik
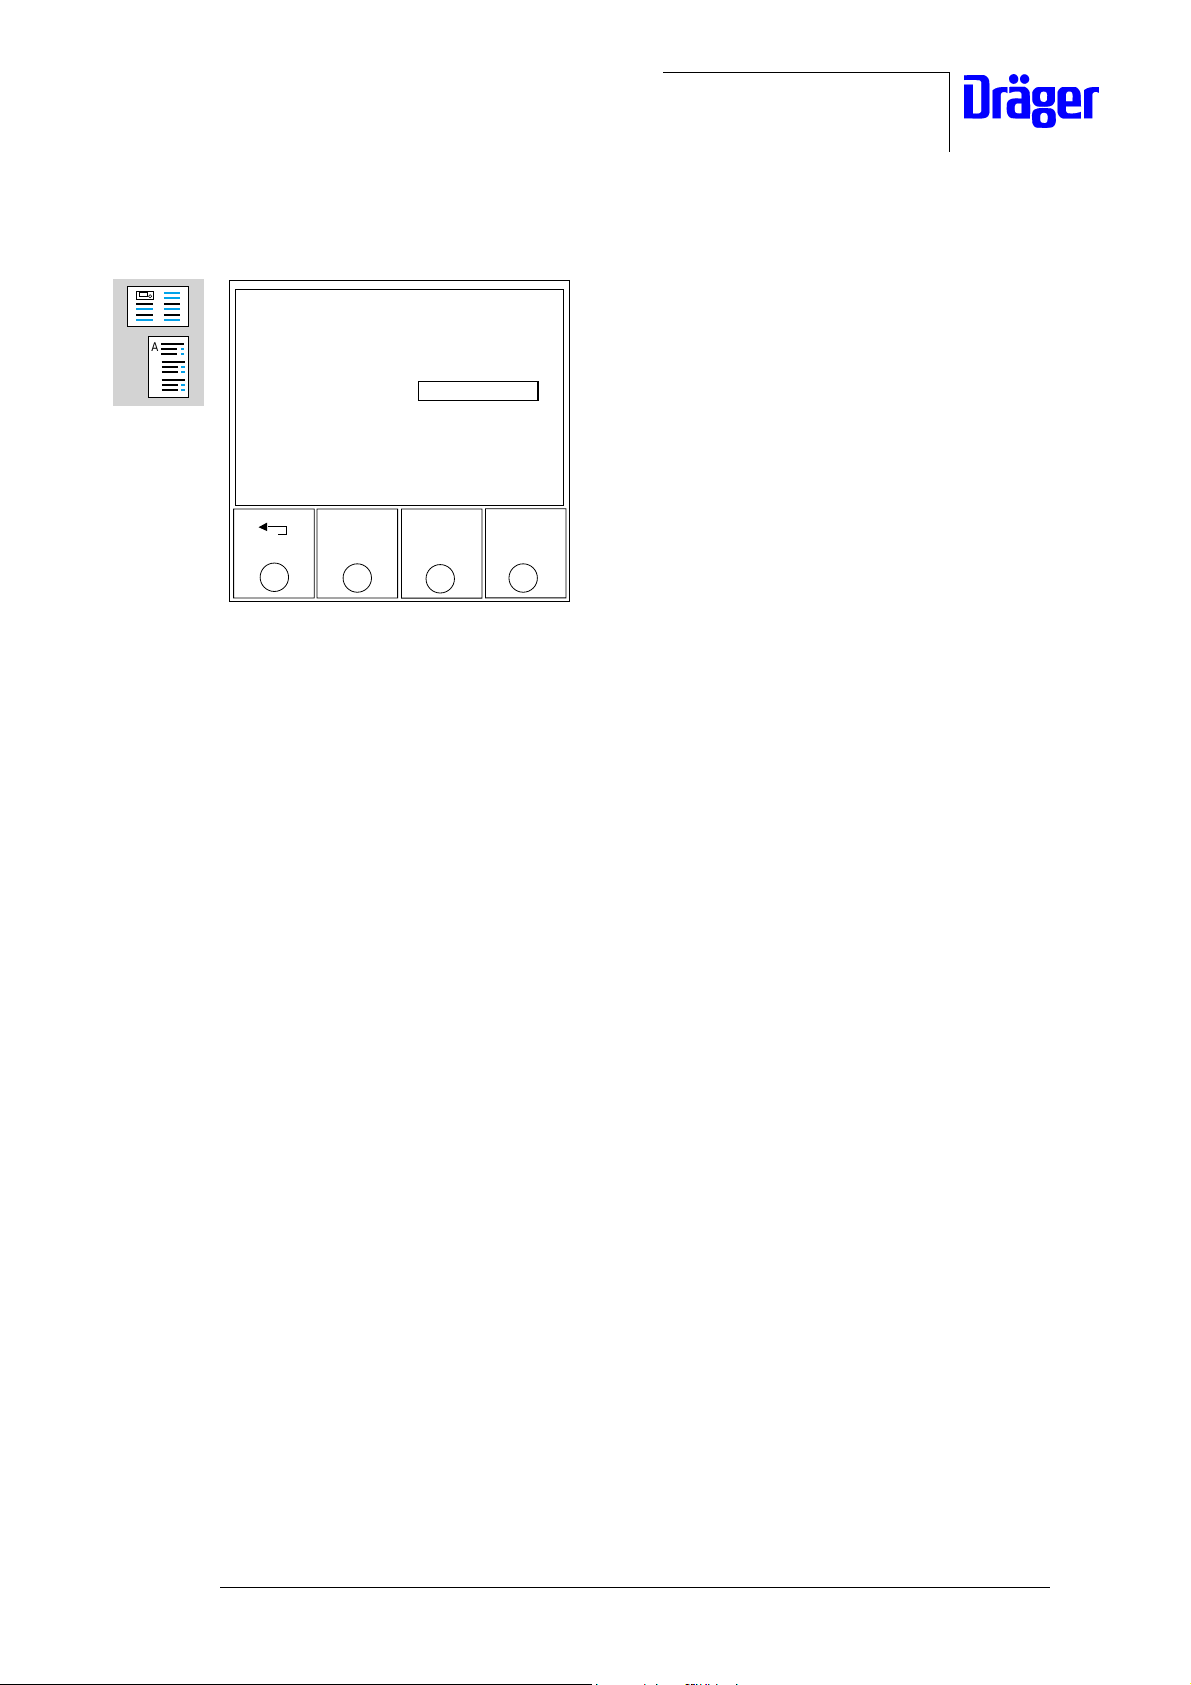
2.4 Service interval
DrägerService Mode "Service interval" shows the service interval data on the EL display: A
message is displayed when 80% of the set service interval time has elapsed. The values in
the right-hand column show the remaining time until the next service interval.
A
B
C
− Inspection data
− Operating hours
− MTK (metrological check of skin-temperature measurement)
Deactivated messages are indicated by three double dashes. Switch on the Caleo at the
power switch.
• As soon as the device has finished its self-test, press the "menu" and "silence" keys
simultaneously for 4 seconds.
The Caleo should now be in DrägerService Mode.
• Use the control knob to select the menu item "Information".
• Press the control knob.
The EL display shows the "Information" menu.
• Use the control knob to select the menu item "Service interval".
• Press the control knob.
Service Mode: Service interval
Adjustment of service intervals
Inspection: -- -- -- -- -- --
Operating hours: -- -- -- -- -- --
MTK: -- -- -- -- -- --
For internal use only. Copyright reserved.
R6150000SM1.fm 06.02.01
Fig. 9: EL display, service intervals
• Use the control knob to select the desired menu item "Inspection".
• Press the control knob to activate the desired menu item.
• If applicable, enter the inspection time using the control knob.
• Press the control knob to store the inspection time.
6150.000 Caleo Released 01/2001 DrägerService Mode Page 13 of 40
Page 14

Dräger Medizintechnik
• If applicable, enter the operating hours using the control knob.
• Press the control knob to activate the menu item.
• If applicable, enter the operating hours using the control knob.
A
B
C
• Press the control knob to store the operating hours.
• Use the control knob to select "MTK".
• Press the control knob to activate the menu item.
• If applicable, use the control knob to enter the time for the metrological check.
• Press the control knob to store the time for the metrological check.
• Exit the DrägerService Mode as follows: Switch off the Caleo.
For internal use only. Copyright reserved.
R6150000SM1.fm 06.02.01
6150.000 Caleo Released 01/2001 DrägerService Mode Page 14 of 40
Page 15

Dräger Medizintechnik
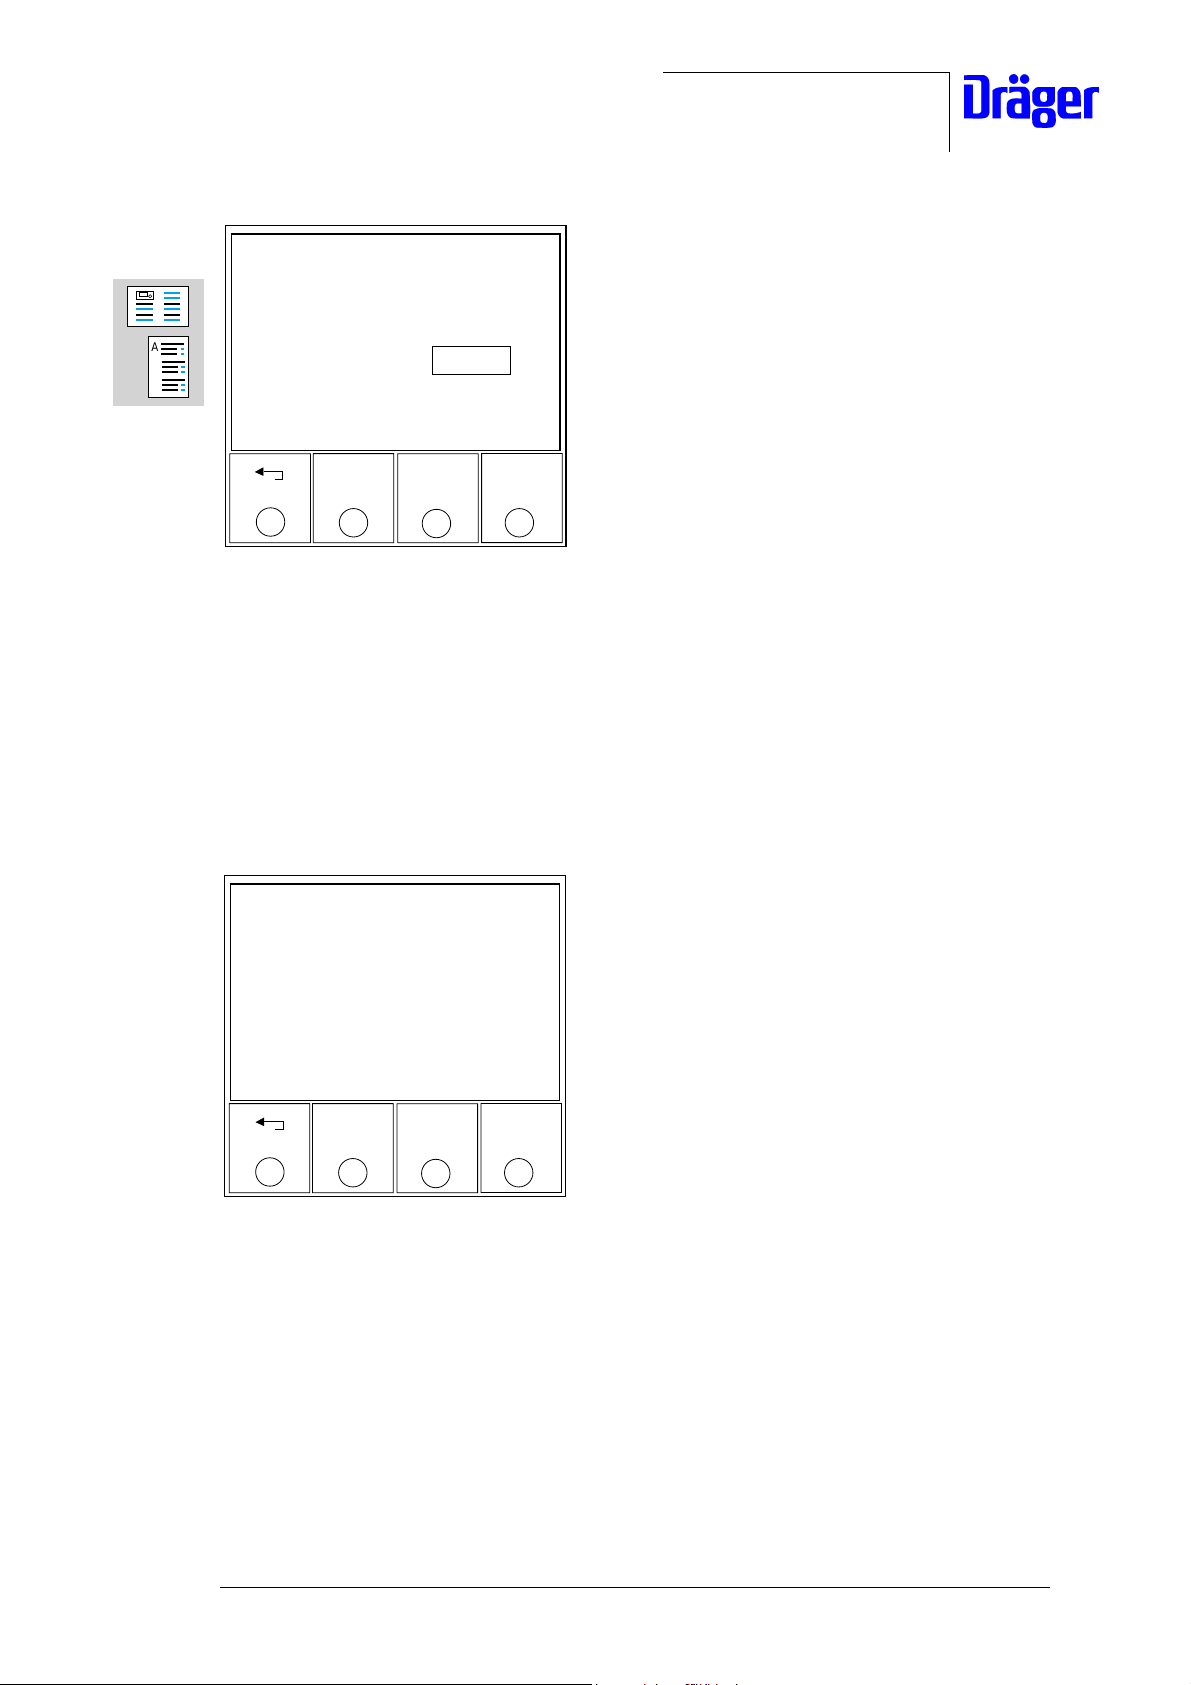
3Calibrations
DrägerService Mode "Calibrations" can be used to calibrate the O2 sensor, the scales, the
height adjustment, and the tilt adjustment.
A
B
C
DrägerService Mode "Calibrations" has the following submenus:
− O
sensor
2
− Scales
− Height adjustment
− Tilt adjustment
− Back
• Switch on the Caleo at the power switch.
• As soon as the device has finished its self-test, press the "menu" and "silence" keys
simultaneously for 4 seconds.
The Caleo should now be in DrägerService Mode.
• Use the control knob to select the menu item "Calibrations".
• Press the control knob.
The EL display shows the possible calibrations.
Service Mode: Calibrations
2 sensor
O
Scales
Height adjustment
Tilt adjustment
Back
For internal use only. Copyright reserved.
R6150000SM1.fm 06.02.01
Fig. 10: DrägerService Mode, calibrations
• Press the return key to jump to the next higher menu level, or
• Exit the DrägerService Mode as follows: Switch off the Caleo.
6150.000 Caleo Released 01/2001 DrägerService Mode Page 15 of 40
Page 16

Dräger Medizintechnik
3.1 O2 sensor
DrägerService Mode "O2 sensor" can be used to calibrate O2 sensors to 21 vol.% O2.
• Make sure 21% O2 is available.
A
B
C
• Switch on the Caleo at the power switch.
• As soon as the device has finished its self-test, press the "menu" and "silence" keys
simultaneously for 4 seconds.
The Caleo should now be in DrägerService Mode.
• Use the control knob to select the menu item "Calibrations".
• Press the control knob.
• Use the control knob to select the menu item "O
sensor".
2
• Press the control knob.
Service Mode: O2 calibration
Last calibration:
Next calibration:
Sensor 1
Measured O2 : 0 %
Sensor 2
Measured O2 : 0 %
Press control knob to calibrate
For internal use only. Copyright reserved.
R6150000SM1.fm 06.02.01
Fig. 11: DrägerService Mode, O
• Press the control knob to start calibration of the O
calibration 1
2
sensors. (Note: If the O2 sensors
2
are not sufficiently warm it is not possible to carry out a calibration. The EL display
shows the remaining time until the O
The O
6150.000 Caleo Released 01/2001 DrägerService Mode Page 16 of 40
sensors are calibrated.
2
sensors can be calibrated.)
2
Page 17

Dräger Medizintechnik
Service Mode: O2 calibration
Service Mode: O2 calibration
Calibrating sensor
Calibrating sensor
Please wait
Please wait
A
B
C
###
###
Fig. 12: DrägerService Mode, O2 calibration 2
The message "calibration successful" or "not calibrated" appears on the EL display as soon
as the O
sensor calibration is finished.
2
Service Mode: O2 calibration
Sensor 1
Sensor 2
Fig. 13: DrägerService Mode, O
Measured O2 : 0 %
Status : calibration successful
Measured O2 : 0 %
Status : not calibrated
2
calibration 3
• Exit the DrägerService Mode as follows: Switch off the Caleo.
For internal use only. Copyright reserved.
R6150000SM1.fm 06.02.01
6150.000 Caleo Released 01/2001 DrägerService Mode Page 17 of 40
Page 18

Dräger Medizintechnik
3.2 Scales
DrägerService Mode "Scales" is used to calibrate the scales to a specific reference value.
The EL display shows the following information:
A
B
C
− Number of previous calibrations
− Current weight
− Adjusting the scales
• Switch on the Caleo at the power switch.
• As soon as the device has finished its self-test, press the "menu" and "silence" keys
simultaneously for 4 seconds.
The Caleo should now be in DrägerService Mode.
• Use the control knob to select the menu item "Calibrations".
• Press the control knob.
• Use the control knob to select the menu item "Scales".
• Press the control knob.
The EL display shows the following data:
Service Mode: Scales calibration
Number or calibrations: 00
Current weight: 0 g
Adjustment of scales:
Remove any weight from mattress tray
Press control knob to continue
Fig. 14: DrägerService Mode, calibrating the scales 1
Calibration is done in several steps:
• Remove any weight from the mattress tray before adjusting.
• Press the control knob.
The scales are adjusted.
For internal use only. Copyright reserved.
R6150000SM1.fm 06.02.01
6150.000 Caleo Released 01/2001 DrägerService Mode Page 18 of 40
Page 19
Service Mode: Scales calibration
Put reference weight
on mattress tray
Dräger Medizintechnik
A
B
C
Reference weight: 0000 g
Set reference weight
using control knob
Press control knob
to calibrate
Fig. 15: DrägerService Mode, calibrating the scales 2
• Put a reference weight on the scales.
Use the control knob to enter the reference weight.
•Confirm weight.
The scales are calibrated. The EL display shows the reference weight in grams.
Service Mode: Scales calibration
Number of calibrations: 00
Measured weight: 0 g
Press control knob to exit
Fig. 16: DrägerService Mode, calibrating the scales 3
• Press the control knob to exit the menu.
• Exit the DrägerService Mode as follows: Switch off the Caleo.
For internal use only. Copyright reserved.
R6150000SM1.fm 06.02.01
6150.000 Caleo Released 01/2001 DrägerService Mode Page 19 of 40
Page 20

Dräger Medizintechnik
3.3 Height adjustment
DrägerService Mode "Height adjustment calibration" is used to calibrate the height
adjustment motor. The EL displays shows the previous height adjustment value, the new
height adjustment value, and the automatic calibration.
A
B
C
• Switch on the Caleo at the power switch.
• As soon as the device has finished its self-test, press the "menu" and "silence" keys
simultaneously for 4 seconds.
The Caleo should now be in DrägerService Mode.
• Use the control knob to select the menu item "Calibrations".
• Press the control knob.
• Use the control knob to select the menu item "Height adjustment".
• Press the control knob.
The EL display shows the following information:
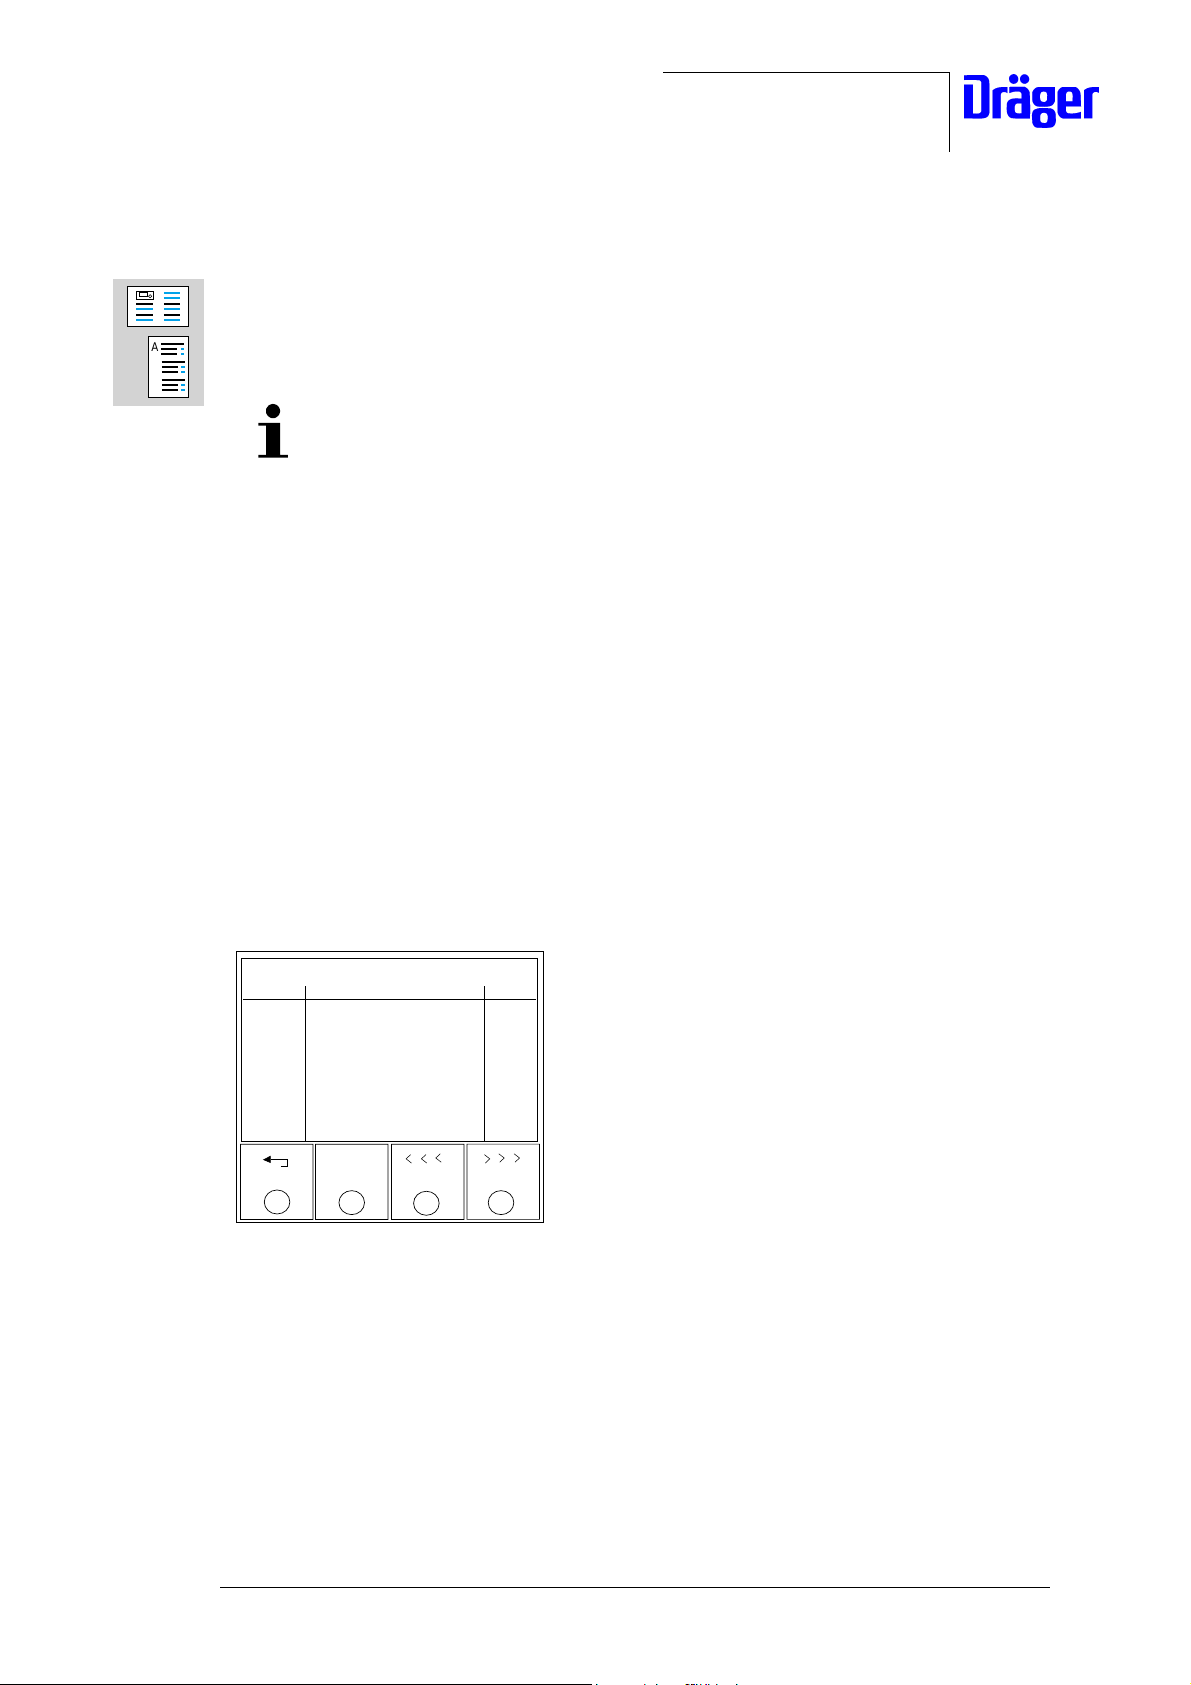
Service Mode: Height adjustment calibration
Start autocalibration using control knob
Old threshold: 0
New threshold: 0
Automatic calibration: start
accept
Fig. 17: DrägerService Mode, height adjustment
3.3.1 Adjusting the manual threshold
• Turn the control knob to place the cursor on the "new threshold" field and then press the
control knob.
For internal use only. Copyright reserved.
R6150000SM1.fm 06.02.01
• Use the control knob to adjust the new threshold and then press the control knob.
• Use the control knob to select the "Accept" field.
• Press the control knob to confirm.
6150.000 Caleo Released 01/2001 DrägerService Mode Page 20 of 40
Page 21

Dräger Medizintechnik
3.3.2 Adjusting the automatic threshold
• Turn the control knob to place the cursor on the "start" field.
• Press the control knob.
A
B
C
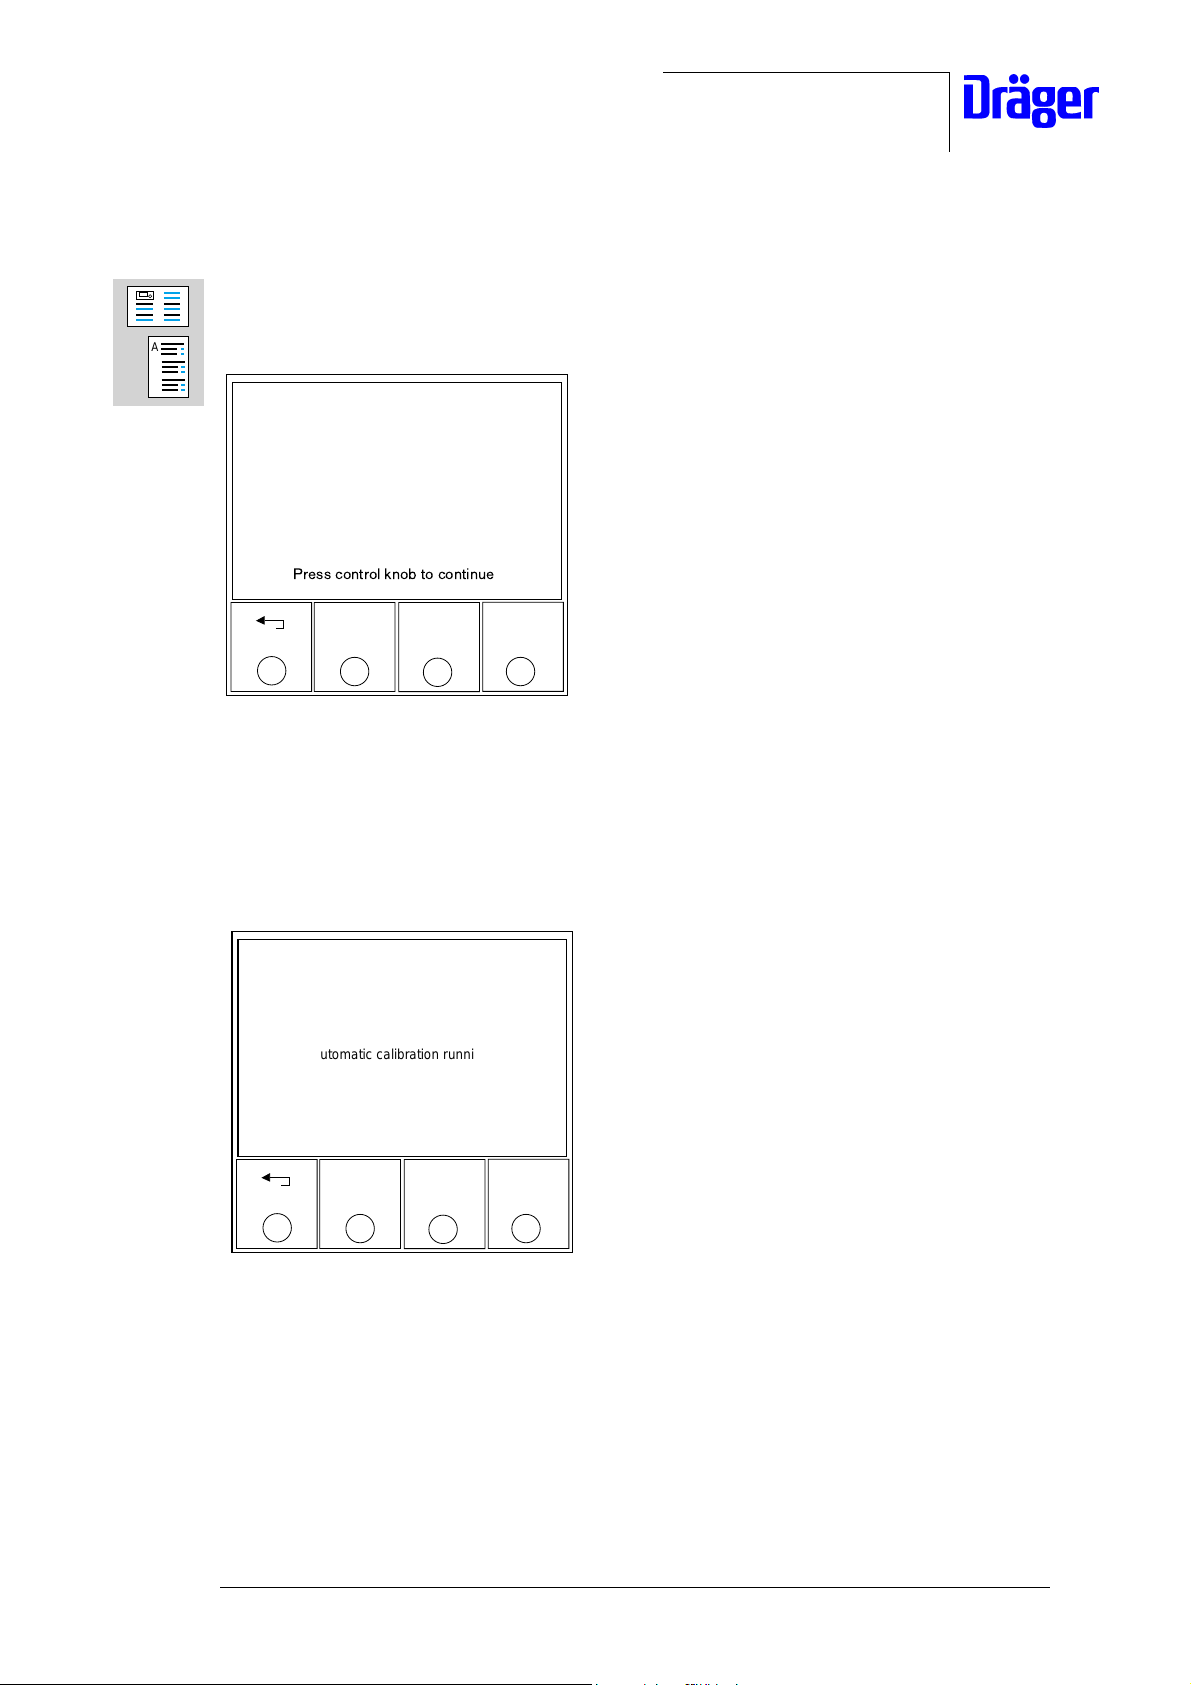
Service Mode: Height adjustment calibration
Device runs automatically!
WARNING!
Risk of hand crush
Keep hands away!
CAUTION!
Risk of damage to hoses etc.
Keep hoses etc. away!
Press control knob to continue
Fig. 18: DrägerService Mode, height adjustment 2
• Press the control knob.
Calibration is carried out automatically.
Service Mode: Height adjustment calibration
Automatic calibration running
###
Fig. 19: DrägerService Mode, height adjustment 3
For internal use only. Copyright reserved.
R6150000SM1.fm 06.02.01
• Use the control knob to select the "Accept" field.
• Press the control knob to confirm.
• Exit the DrägerService Mode as follows: Switch off the Caleo.
6150.000 Caleo Released 01/2001 DrägerService Mode Page 21 of 40
Page 22

Dräger Medizintechnik
3.4 Tilt adjustment
DrägerService Mode "Tilt adjustment calibration" is used to calibrate the tilt adjustment
motor.
A
B
C
• Switch on the Caleo at the power switch.
• As soon as the device has finished its self-test, press the "menu" and "silence" keys
simultaneously for 4 seconds.
The Caleo should now be in DrägerService Mode.
• Use the control knob to select the menu item "Calibrations".
• Press the control knob.
• Use the control knob to select the menu item "Tilt adjustment".
• Press the control knob.
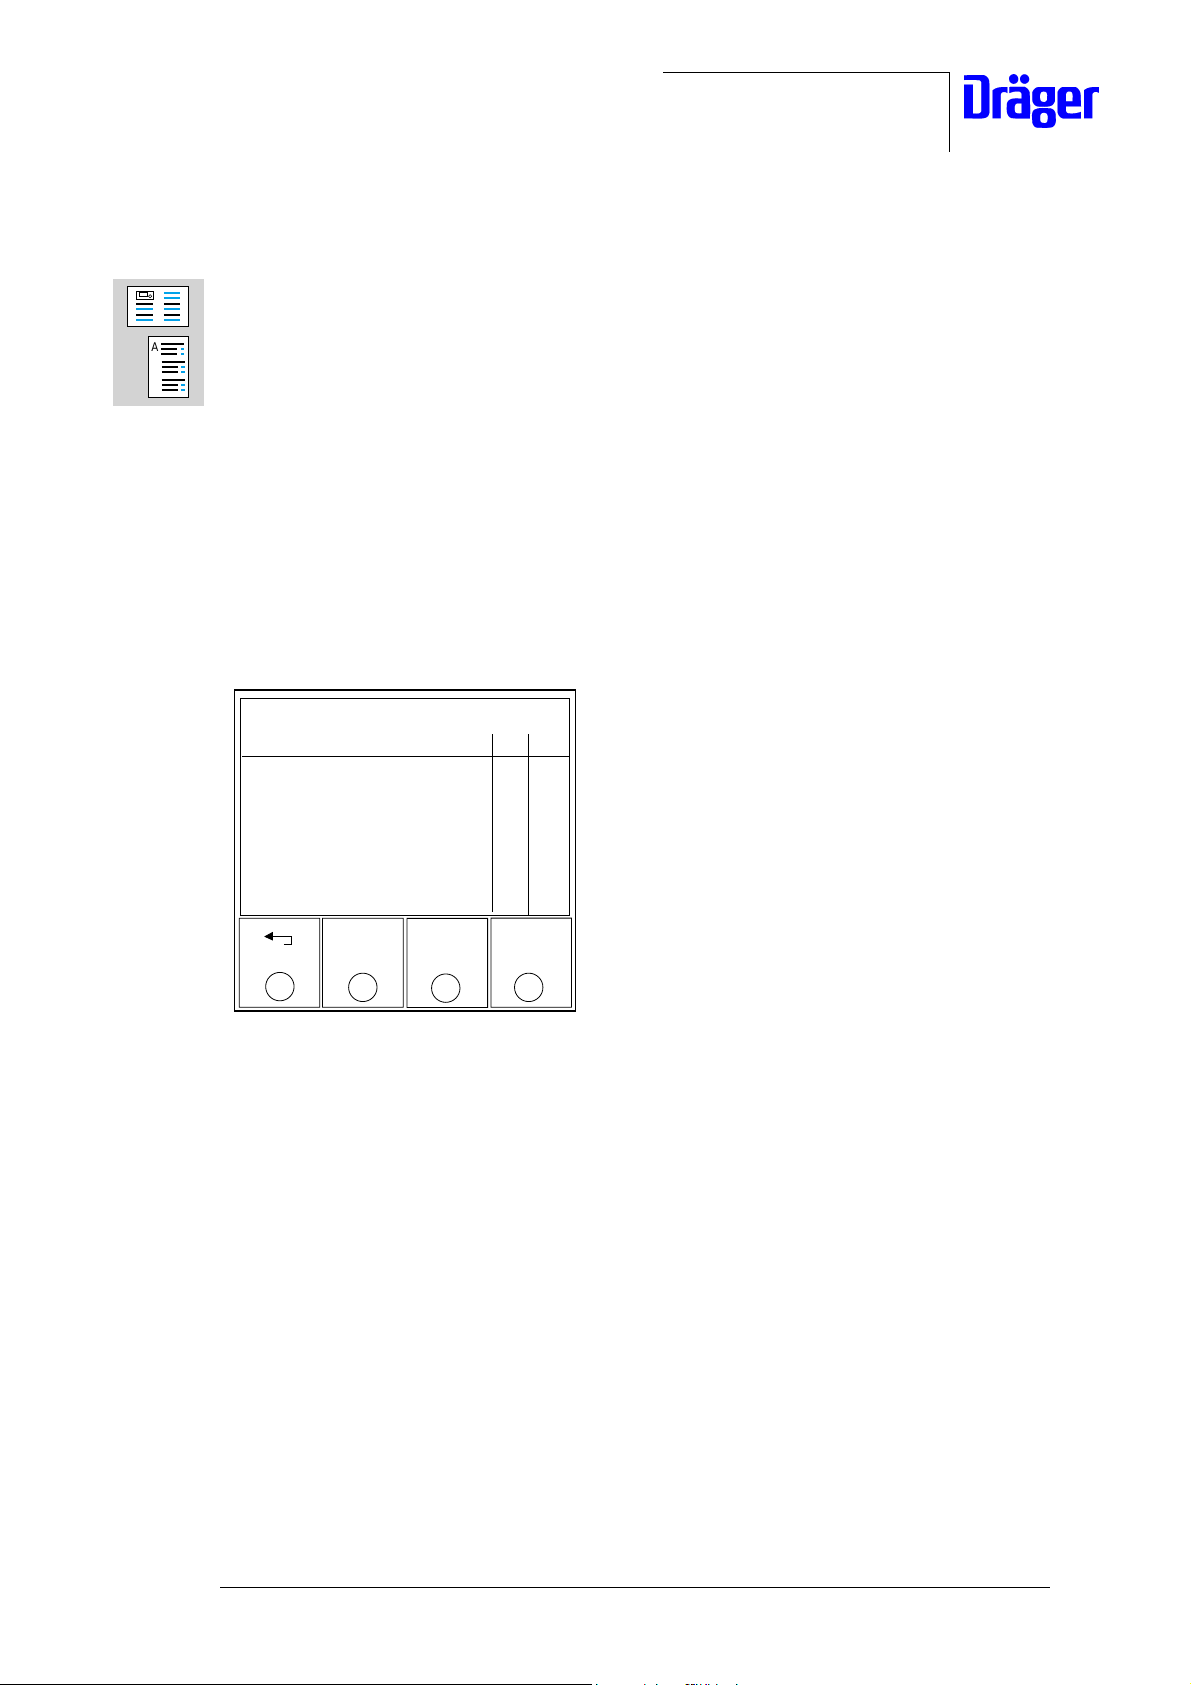
Service Mode: Tilt adjustment calibration
Start autocalibration using control knob
Old threshold: 0
New threshold: 0
Automatic calibration: start
accept
For internal use only. Copyright reserved.
R6150000SM1.fm 06.02.01
Fig. 20: DrägerService Mode, tilt adjustment motor
3.4.1 Adjusting the manual threshold
• Turn the control knob to place the cursor on the "new threshold" field and then press the
control knob.
• Use the control knob to manually adjust a new threshold and then press the control
knob.
• Use the control knob to select the "Accept" field.
• Press the control knob to confirm.
6150.000 Caleo Released 01/2001 DrägerService Mode Page 22 of 40
Page 23
Dräger Medizintechnik
3.4.2 Adjusting the automatic threshold
• Turn the control knob to place the cursor on the "start" field.
• Press the control knob.
A
B
C
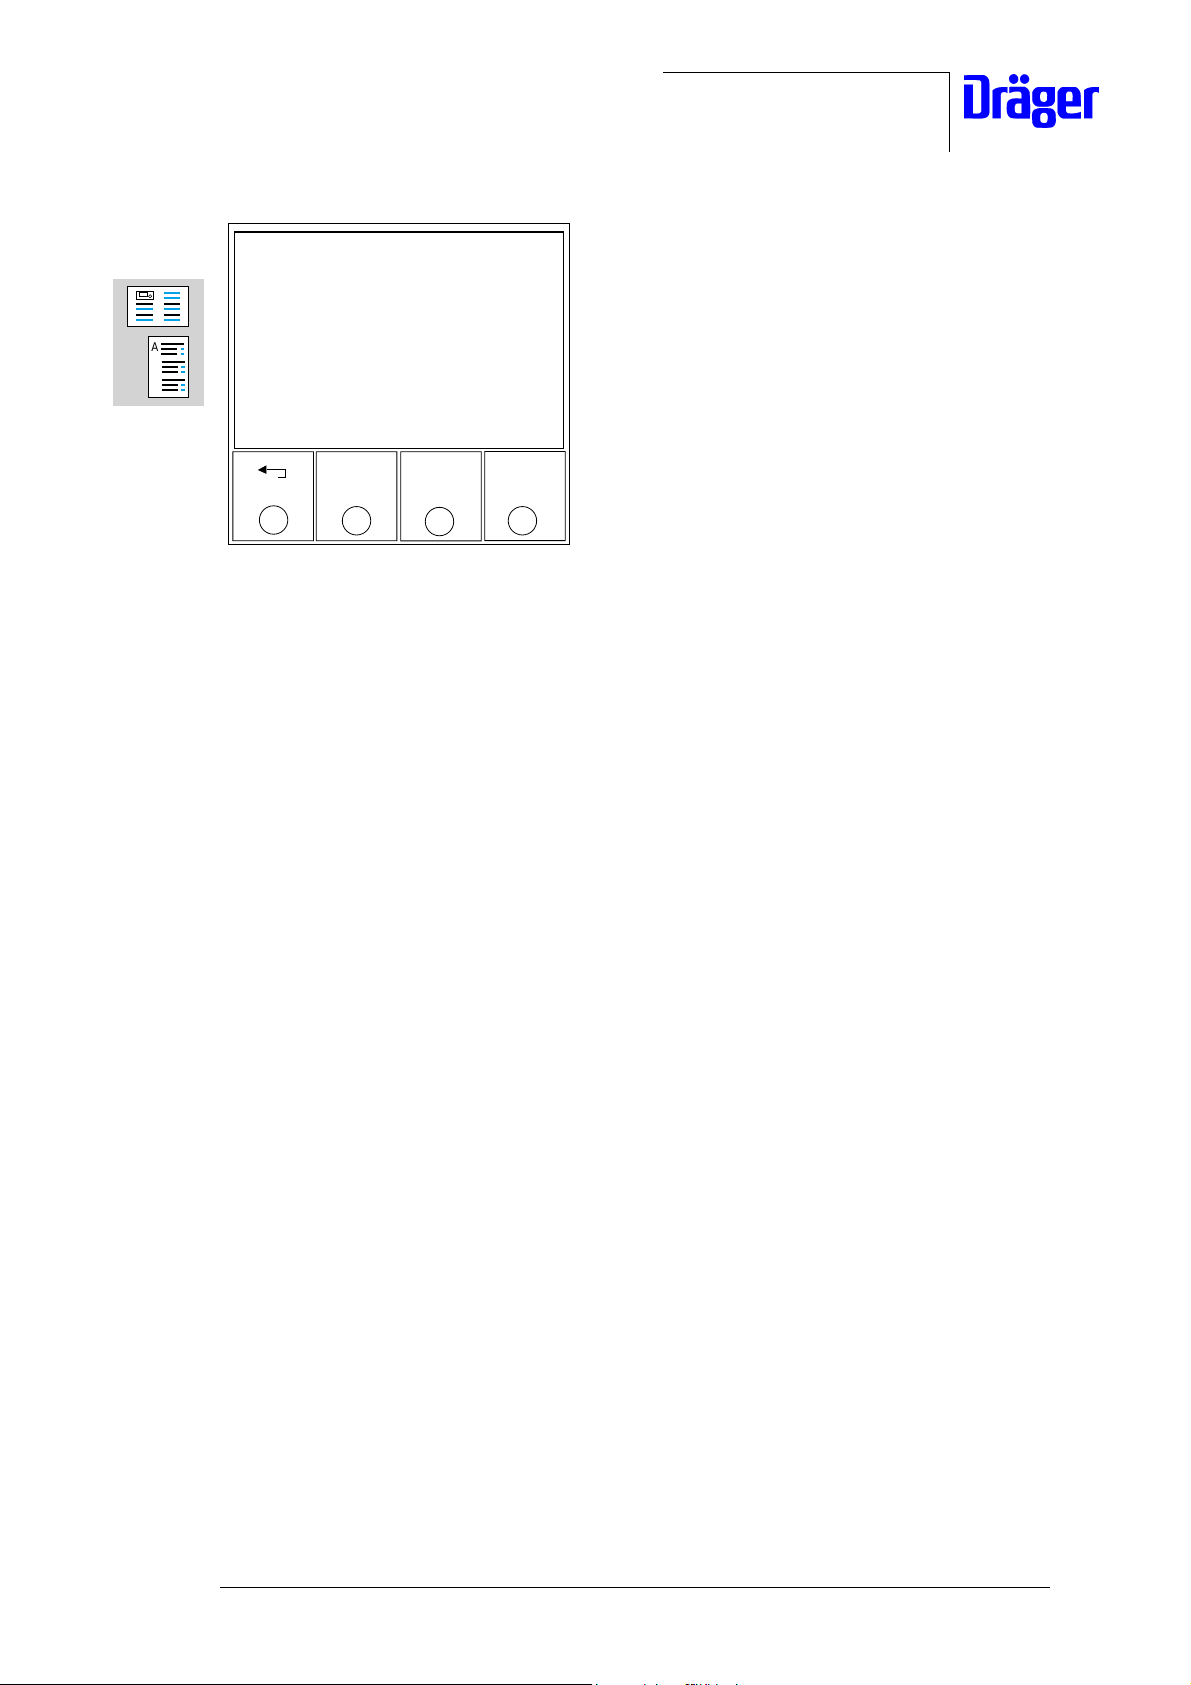
Service Mode: Tilt adjustment calibration
Device runs automatically!
WARNING!
Risk of hand crush
Keep hands away!
CAUTION!
Risk of damage to hoses etc.
Keep hoses etc. away!
Press control knob to continue
Fig. 21: DrägerService Mode, tilt adjustment motor 2
• Press the control knob.
Calibration is carried out automatically.
Service Mode: Tilt adjustment calibration
Automatic calibration running
###
Fig. 22: DrägerService Mode, tilt adjustment motor 3
For internal use only. Copyright reserved.
R6150000SM1.fm 06.02.01
• Use the control knob to select the "Accept" field.
• Press the control knob.
• Exit the DrägerService Mode as follows: Switch off the Caleo.
6150.000 Caleo Released 01/2001 DrägerService Mode Page 23 of 40
Page 24

Dräger Medizintechnik
4Logs
DrägerService Mode "Logs" has the following submenus:
A
B
C
− Error log
− Error history
− Operation history
− Back
Service Mode: Logs
Error log
Error history
Operation history
Back
Fig. 23: DrägerService Mode, log
For internal use only. Copyright reserved.
R6150000SM1.fm 06.02.01
6150.000 Caleo Released 01/2001 DrägerService Mode Page 24 of 40
Page 25
Dräger Medizintechnik
4.1 Error log
DrägerService Mode "Error log" shows recorded error events on the EL display. Error
messages are displayed as plain text. Each error has been assigned an error number and the
number of occurrences. Entries in the error log can be deleted by using the „Delete“ button.
A
B
C
The error number displayed in the error log corresponds to the error
description number in the error list.
• Switch on the Caleo at the power switch.
• As soon as the device has finished its self-test, press the "menu" and "silence" keys
simultaneously for 4 seconds.
The Caleo should now be in DrägerService Mode.
• Use the control knob to select the menu item "Logs".
• Press the control knob.
• Use the control knob to select the menu item "Error log".
• Press the control knob.
If an error has occurred, the EL display will show the number of occurrences of this error.
Service Mode: Error log
Error Description Number
1
Drift Sensoren to high
2
Comm. failure on CAN-Bus
3
36 Grad Ref. fehlerhaft
Air Uebertemp. Test fehlerhaft
5
6
Ungueltige configuration
7
40 Grad Ref. fehlerhaft
8
Air safety relay blocked
9
Air safety relay feedback failure
Delete
0
0
0
0
0
0
0
0
Fig. 24: DrägerService Mode, error log
For internal use only. Copyright reserved.
R6150000SM1.fm 06.02.01
• The second display key viewed from the left can be used to delete all error events.
• The two display keys on the right can be used to page up/down through the error list.
There will be no symbols on the display keys if there are no error entries up/down the list.
• Exit the DrägerService Mode as follows: Switch off the Caleo.
6150.000 Caleo Released 01/2001 DrägerService Mode Page 25 of 40
Page 26

Dräger Medizintechnik
4.2 Error history
DrägerService Mode "Error history" shows the most recent error events on the EL display.
The most recent error events (maximum of 30 errors) are stored in a chronological order. The
most recent error event has number 1. The EL displays shows the date and time of
A
B
C
occurrence and a short description. Error history entries can be deleted from the list using
the "Delete" display key.
• Switch on the Caleo at the power switch.
• As soon as the device has finished its self-test, press the "menu" and "silence" keys
simultaneously for 4 seconds.
The Caleo should now be in DrägerService Mode.
• Use the control knob to select the menu item "Logs".
• Press the control knob.
• Use the control knob to select the menu item "Error history".
• Press the control knob.
Service Mode: Error history
No. Date Time Description
1 2000-10-01 7:20 Short error description
0 ---.---.------- 0:00
0 ---.---.------- 0:00
0 ---.---.------- 0:00
0 ---.---.------- 0:00
0 ---.---.------- 0:00
0 ---.---.------- 0:00
0 ---.---.------- 0:00
0 ---.---.------- 0:00
0 ---.---.------- 0:00
0 ---.---.------- 0:00
0 ---.---.------- 0:00
Delete
Fig. 25: DrägerService Mode, error history
• Delete any error entries from the list using the "Delete" display key.
• Exit the DrägerService Mode as follows: Switch off the Caleo.
For internal use only. Copyright reserved.
R6150000SM1.fm 06.02.01
6150.000 Caleo Released 01/2001 DrägerService Mode Page 26 of 40
Page 27

Dräger Medizintechnik
4.3 Operation history
DrägerService Mode "Operation history" shows the most recent operation parameters on the
EL display: The "Operation history log" shows the most recent 30 operation steps in
chronological order. The most recent operation step has number 1. The EL displays shows
A
B
C
the date and the exact time of the operation. Operation history entries can be deleted from
the list using the "Delete" display key.
• Switch on the Caleo at the power switch.
• As soon as the device has finished its self-test, press the "menu" and "silence" keys
simultaneously for 4 seconds.
The Caleo should now be in DrägerService Mode.
• Use the control knob to select the menu item "Logs".
• Press the control knob.
• Use the control knob to select the menu item "Operation history".
• Press the control knob.
Service Mode: Operation history
No. Date Time Description
1 2000-09-01 7:20 Short description
0 ---.---.------- 0:00
0 ---.---.------- 0:00
0 ---.---.------- 0:00
0 ---.---.------- 0:00
0 ---.---.------- 0:00
0 ---.---.------- 0:00
0 ---.---.------- 0:00
0 ---.---.------- 0:00
0 ---.---.------- 0:00
0 ---.---.------- 0:00
0 ---.---.------- 0:00
Delete
Fig. 26: DrägerService Mode, operation history
• Delete any operation steps from the list using the "Delete" display key.
• Exit the DrägerService Mode as follows: Switch off the Caleo.
For internal use only. Copyright reserved.
R6150000SM1.fm 06.02.01
6150.000 Caleo Released 01/2001 DrägerService Mode Page 27 of 40
Page 28

Dräger Medizintechnik
5 Diagnosis
DrägerService Mode "Diagnosis" is used to read out operating voltages, interfaces, as well
as analog and digital signals.
A
B
C
DrägerService Mode "Diagnosis" has the following submenus:
− Operating voltages
− Keypad
− Sensor PCB
− Actuator PCB
− Output signals
− Digital signals
− Interface
− Back
Service Mode: Diagnosis
Operating voltages
Keypad
Sensor PCB
Actuator PCB
Output signals
Digital signals
Interface
Back
Fig. 27: DrägerService Mode, diagnosis
For internal use only. Copyright reserved.
R6150000SM1.fm 06.02.01
6150.000 Caleo Released 01/2001 DrägerService Mode Page 28 of 40
Page 29

Dräger Medizintechnik
5.1 Operating voltages
DrägerService Mode "Operating voltages" shows the measurable operating voltages and
their status messages on the EL display.
A
B
C
• Switch on the Caleo at the power switch.
• As soon as the device has finished its self-test, press the "menu" and "silence" keys
simultaneously for 4 seconds.
The Caleo should now be in DrägerService Mode.
• Use the control knob to select the menu item "Diagnosis".
• Press the control knob.
• Use the control knob to select the menu item "Operating voltages".
• Press the control knob.
Service Mode: Operating voltages diagnosis
Operating voltage ( V ) Status
+ 5 V sensor/actuator 0.0 Error
+ 5 V sensor/sensor 4.9 ok
+ 5 V normal 0.0 Error
+ 5 V mattress 0.0 Error
+ 12 V EL display 13.2 ok
+ 24 V 0.0 Error
GoldCap 0.0 Error
For internal use only. Copyright reserved.
R6150000SM1.fm 06.02.01
Fig. 28: DrägerService Mode, operating voltages
Table 1: Status message display
OK = Operating voltage is OK.
Error = Operating voltage is outside tolerance or not present.
• Exit the DrägerService Mode as follows: Switch off the Caleo.
6150.000 Caleo Released 01/2001 DrägerService Mode Page 29 of 40
Page 30

Dräger Medizintechnik
5.2 Keypad
DrägerService Mode "Keypad" is used to test the keys on the control unit.
A
B
C
5.2.1 Control keys test
This test is used to test the keypad.
• Switch on the Caleo at the power switch.
• As soon as the device has finished its self-test, press the "menu" and "silence" keys
simultaneously for 4 seconds.
The Caleo should now be in DrägerService Mode.
• Use the control knob to select the menu item "Diagnosis".
• Press the control knob.
• Use the control knob to select the menu item "Keypad".
• Press the control knob.
Service Mode: Keypad
Press any key
to test keypad
Press control knob to exit test
Key detected:
Fig. 29: DrägerService Mode, keypad test
• Press the keys one after the other.
The EL display shows the detected key in the center line.
• Exit the DrägerService Mode as follows: Switch off the Caleo.
For internal use only. Copyright reserved.
R6150000SM1.fm 06.02.01
6150.000 Caleo Released 01/2001 DrägerService Mode Page 30 of 40
Page 31

Dräger Medizintechnik
5.3 Sensor PCB
DrägerService Mode "Sensor PCB" shows the physical readings including status messages
(OK or error) of the Sensor PCB on the EL display.
A
B
C
• Switch on the Caleo at the power switch.
• As soon as the device has finished its self-test, press the "menu" and "silence" keys
simultaneously for 4 seconds.
The Caleo should now be in DrägerService Mode.
• Use the control knob to select the menu item "Diagnosis".
• Press the control knob.
• Use the control knob to select the menu item "Sensor PCB".
• Press the control knob.
The EL display shows the Sensor PCB data.
Service Mode: Sensor PCB
Signal physic. Status
Air 1 0.0 ˚C ok
Air 2 0.0 ˚C ok
Skin 1 0.0 ˚C ok
Skin 2 0.0 ˚C ok
Humidity 0.0 % ok
O2 1 0.0 % ok
O2 2 0.0 % ok
For internal use only. Copyright reserved.
R6150000SM1.fm 06.02.01
Fig. 30: DrägerService Mode, Sensor PCB
• Exit the DrägerService Mode as follows: Switch off the Caleo.
6150.000 Caleo Released 01/2001 DrägerService Mode Page 31 of 40
Page 32

Dräger Medizintechnik
5.4 Actuator PCB
DrägerService Mode "Actuator PCB" shows the physical readings including status
messages (OK or error) of the Actuator PCB on two pages on the EL display.
A
B
C
• Switch on the Caleo at the power switch.
• As soon as the device has finished its self-test, press the "menu" and "silence" keys
simultaneously for 4 seconds.
The Caleo should now be in DrägerService Mode.
• Use the control knob to select the menu item "Diagnosis".
• Press the control knob.
• Use the control knob to select the menu item "Actuator PCB".
• Press the control knob.
The EL display shows information about the Actuator PCB.
Service Mode: Actuator PCB, page 1
Signal physic. Status
Mattress 1 0.0 ˚C ok
Mattress 2 0.0 ˚C ok
Mattress 3 0.0 ˚C ok
Mattress 4 0.0 ˚C ok
Heater 1 0.0 ˚C ok
Heater 2 0.0 ˚C ok
Motor current ok
Current limiting ok
Page 2
Fig. 31: DrägerService Mode, WT2 Actuator PCB (1)
• Press the "Page 2" key on the EL display.
The EL display shows additional information about the Actuator PCB.
For internal use only. Copyright reserved.
R6150000SM1.fm 06.02.01
6150.000 Caleo Released 01/2001 DrägerService Mode Page 32 of 40
Page 33

Dräger Medizintechnik
Service Mode: Actuator PCB, page 2
Signal physic. Value Status
Fan 1
Scales
A
B
C
0 g
0.0
ok
ok
Page 1
Fig. 32: DrägerService Mode, WT2 Actuator PCB (2)
• Exit the DrägerService Mode as follows: Switch off the Caleo.
For internal use only. Copyright reserved.
R6150000SM1.fm 06.02.01
6150.000 Caleo Released 01/2001 DrägerService Mode Page 33 of 40
Page 34

Dräger Medizintechnik
5.5 Output signals
DrägerService Mode "Output signals" shows the control signals of the actuators including
status messages (on or off) on the EL display.
A
B
C
• Switch on the Caleo at the power switch.
• As soon as the device has finished its self-test, press the "menu" and "silence" keys
simultaneously for 4 seconds.
The Caleo should now be in DrägerService Mode.
• Use the control knob to select the menu item "Diagnosis".
• Press the control knob.
• Use the control knob to select the menu item "Output signals".
• Press the control knob.
The EL display shows the components and control signals of the actuators. A feedback is
given whether or not the output signal is present.
To switch „test“ from „off“ to „on“ turn the control knob only one step,
otherwise the status will not be changed.
Service Mode: Output signals
Signal Status Test
Main fan
Air heater
Mattress heater
Humidity heater
O2 valve
Alarm LED
off
off
off
off
off
off
off
off
off
off
off
Fig. 33: DrägerService mode, output signals of actuators
• If applicable, enter the respective component using the control knob.
• Press the control knob.
• Use the control knob to select the respective function (on or off).
For internal use only. Copyright reserved.
R6150000SM1.fm 06.02.01
6150.000 Caleo Released 01/2001 DrägerService Mode Page 34 of 40
Page 35

Dräger Medizintechnik
• Press the control knob.
• Exit the DrägerService Mode as follows: Switch off the Caleo.
A
B
C
For internal use only. Copyright reserved.
R6150000SM1.fm 06.02.01
6150.000 Caleo Released 01/2001 DrägerService Mode Page 35 of 40
Page 36
Dräger Medizintechnik
5.6 Digital signals
DrägerService Mode "Digital signals" shows the digital signals including status messages (0
or 1) on the EL display.
A
B
C
• Switch on the Caleo at the power switch.
• As soon as the device has finished its self-test, press the "menu" and "silence" keys
simultaneously for 4 seconds.
The Caleo should now be in DrägerService Mode.
• Use the control knob to select the menu item "Diagnosis".
• Press the control knob.
• Use the control knob to select the menu item "Digital signals".
• Press the control knob.
Service Mode: Digital signals
Signal Status Test
Air heater excess temperature
Air heater safety relay
Humidity heater excess temperature
Mattress heater excess temperature
Mattress heater safety relay
0
1
0
1
0
0
1
0
For internal use only. Copyright reserved.
R6150000SM1.fm 06.02.01
Fig. 34: DrägerService Mode, digital signals
• Exit the DrägerService Mode as follows: Switch off the Caleo.
6150.000 Caleo Released 01/2001 DrägerService Mode Page 36 of 40
Page 37

Dräger Medizintechnik
5.7 Interface board
DrägerService Mode "Interface" is used to test the following interfaces:
− Nurse call
A
B
C
− Medibus
− Modem
− Back
Service Mode: Interface
Nurse call
Medibus
Modem
Back
Fig. 35: DrägerService Mode, interface
5.7.1 Nurse call
The "Nurse call" test is used to test the relay for the external interface.
• Switch on the Caleo at the power switch.
• As soon as the device has finished its self-test, press the "menu" and "silence" keys
simultaneously for 4 seconds.
The Caleo should now be in DrägerService Mode.
• Use the control knob to select the menu item "Diagnosis".
• Press the control knob.
• Use the control knob to select the menu item "Interface board".
• Press the control knob.
• Use the control knob to select the menu item "Nurse call".
• Press the control knob.
For internal use only. Copyright reserved.
R6150000SM1.fm 06.02.01
6150.000 Caleo Released 01/2001 DrägerService Mode Page 37 of 40
Page 38
Dräger Medizintechnik
Service Mode: Nurse call
Nurse call
A
B
C
To activate/deactivate
press keys below
off
on
Fig. 36: DrägerService Mode, nurse call
• If applicable, switch on/off the nurse call using the display keys.
• Exit the DrägerService Mode as follows: Switch off the Caleo.
For internal use only. Copyright reserved.
R6150000SM1.fm 06.02.01
6150.000 Caleo Released 01/2001 DrägerService Mode Page 38 of 40
Page 39

Dräger Medizintechnik
5.7.2 Medibus
The Medibus test is used to test the RS232 interface; the test result (OK or error) is shown
on the EL display.
A
B
C
• Switch on the Caleo at the power switch.
• As soon as the device has finished its self-test, press the "menu" and "silence" keys
simultaneously for 4 seconds.
The Caleo should now be in DrägerService Mode.
• Use the control knob to select the menu item "Diagnosis".
• Press the control knob.
• Use the control knob to select the menu item "Interface board".
• Press the control knob.
• Use the control knob to select the menu item "Medibus".
• Press the control knob.
The EL display shows the test result.
Service Mode: Medibus
• Connect a shorting plug to the Medibus interface.
Connect shorting plug
to Medibus connection
Test result: error
Fig. 37: DrägerService Mode, Medibus
• Exit the DrägerService Mode as follows: Switch off the Caleo.
For internal use only. Copyright reserved.
R6150000SM1.fm 06.02.01
6150.000 Caleo Released 01/2001 DrägerService Mode Page 39 of 40
Page 40

Dräger Medizintechnik
5.7.3 Modem
The modem test is used to test the modem interface; the test result (ok or error) is shown on
the EL display.
A
B
C
• As soon as the device has finished its self-test, press the "menu" and "silence" keys
simultaneously for 4 seconds.
The Caleo should now be in DrägerService Mode.
• Use the control knob to select the menu item "Diagnosis".
• Press the control knob.
• Use the control knob to select the menu item "Interface board".
• Press the control knob.
• Use the control knob to select the menu item "Modem".
• Press the control knob.
• Connect a shorting plug to the modem interface.
The EL display shows the test result.
Service Mode: Modem
• Switch on the Caleo at the power switch.
Connect shorting plug
to modem connection
Test result: error
Fig. 38: DrägerService Mode, modem
• Exit the DrägerService Mode as follows: Switch off the Caleo.
For internal use only. Copyright reserved.
R6150000SM1.fm 06.02.01
6150.000 Caleo Released 01/2001 DrägerService Mode Page 40 of 40
 Loading...