

D-Link DFL-1000 Quick Install Manual
Quick Install Guide
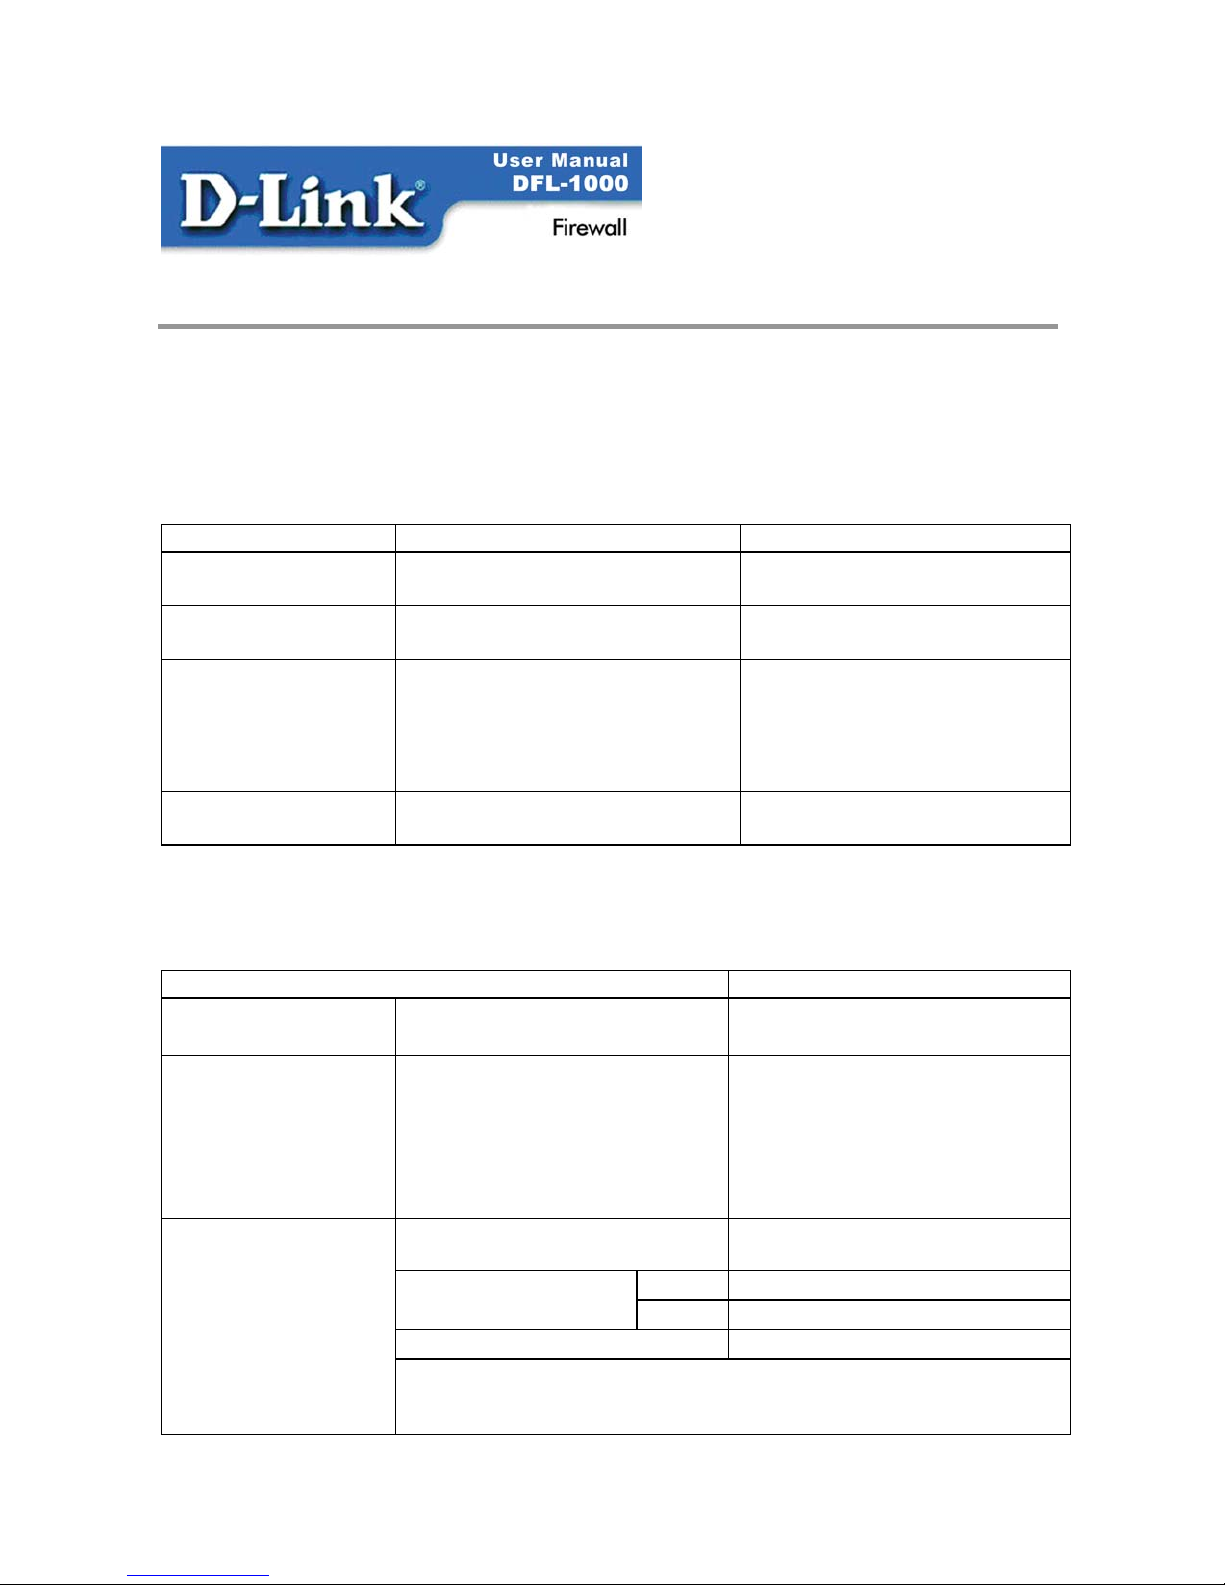
1. Before you start
The DFL-1000 has the following settings when first powered on.
Operating Mode:
Administrator Account:
Internal Interface:
External Interface:
DMZ Interface:
NAT/Route
User name: admin
Password: (none)
IP: 192.168.1.99
Netmask: 255.255.255.0
Manual: IP: 192.168.100.99
Netmask: 255.255.255.0
Default Gateway: (none)
Primary DNS Server: 207.194.200.1
Secondary DNS Server: 207.194.200.129
IP: 10.10.10.1
Netmask: 255.255.255.0
DFL-1000
Version 2.27
Use the following table to gather the information you need to customize basic settings for your DFL-
1000.
Administrator Password:
Internal Interface:
External Interface:
Internal Server
Settings:
IP:
Netmask:
Manual: IP:
Netmask:
Default Gateway:
Primary DNS Server:
Secondary DNS
Server:
Web Server:
Mail Server: SMTP:
FTP Server:
If you provide access from the Internet to a web server, mail server, or FTP
server installed on an internal network, add the IP addresses of the servers
here.
POP3:
_____._____._____._____
_____._____._____._____
_____._____._____._____
_____._____._____._____
_____._____._____._____
_____._____._____._____
_____._____._____._____
_____._____._____._____
_____._____._____._____
_____._____._____._____
_____._____._____._____
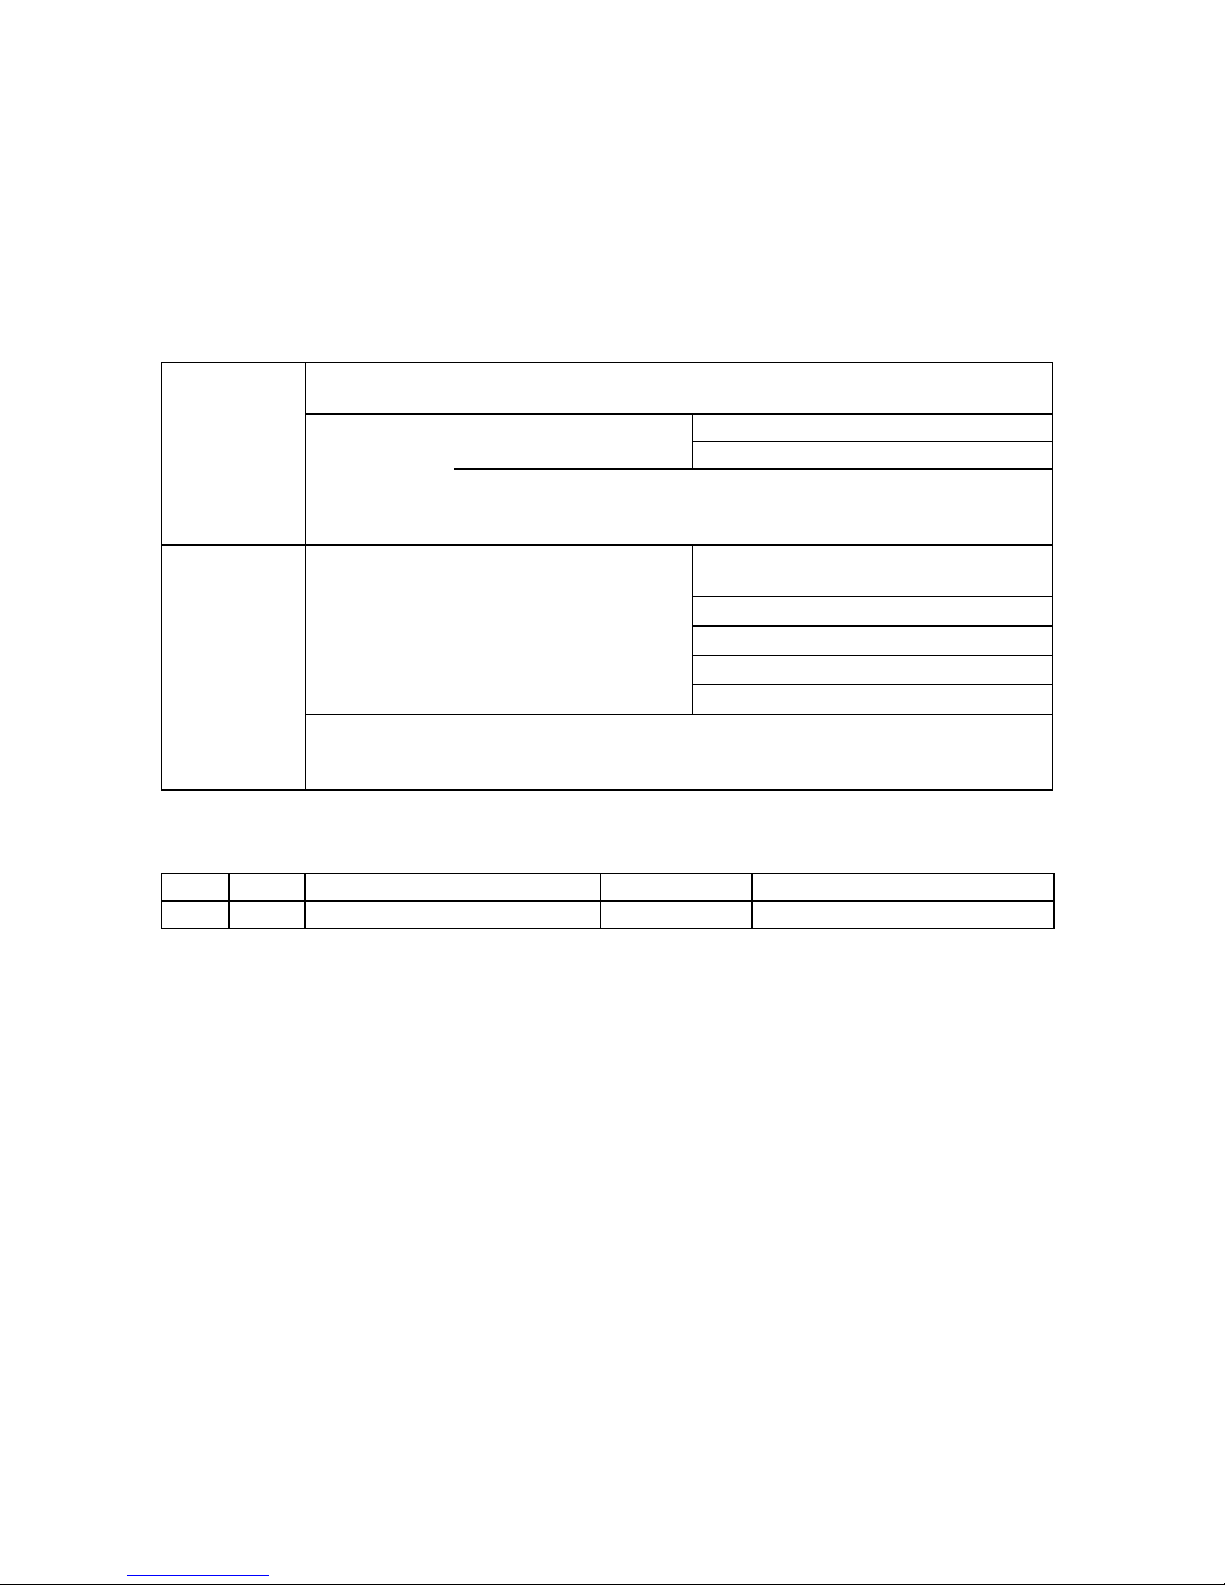
2. Advanced settings
Use the following table for the information to customize advanced DFL-1000 settings that can be
configured using the setup wizard.
External
Interface:
DHCP: If your ISP supplies you with an IP address using DHCP no further
information is required.
PPPoE: User name:
Password:
If your ISP supplies you with an IP address using PPPoE, record your PPPoE user
name and password. You can configure the external interface for PPPoE using the
setup wizard.
DHCP Server
Starting IP:
_____._____._____._____
Settings:
Ending IP:
Netmask:
Default Route:
DNS IP:
The DFL-1000 contains a DHCP server that you can configure to automatically set
_____._____._____._____
_____._____._____._____
_____._____._____._____
_____._____._____._____
the addresses of the computers on your internal network. You can configure the
DHCP server using the setup wizard.
Use the following table to record the IP address and netmask of the DFL-1000 DMZ interface if you
are configuring it during installation.
DMZ:
IP:
_____._____._____._____
Netmask:
_____._____._____._____
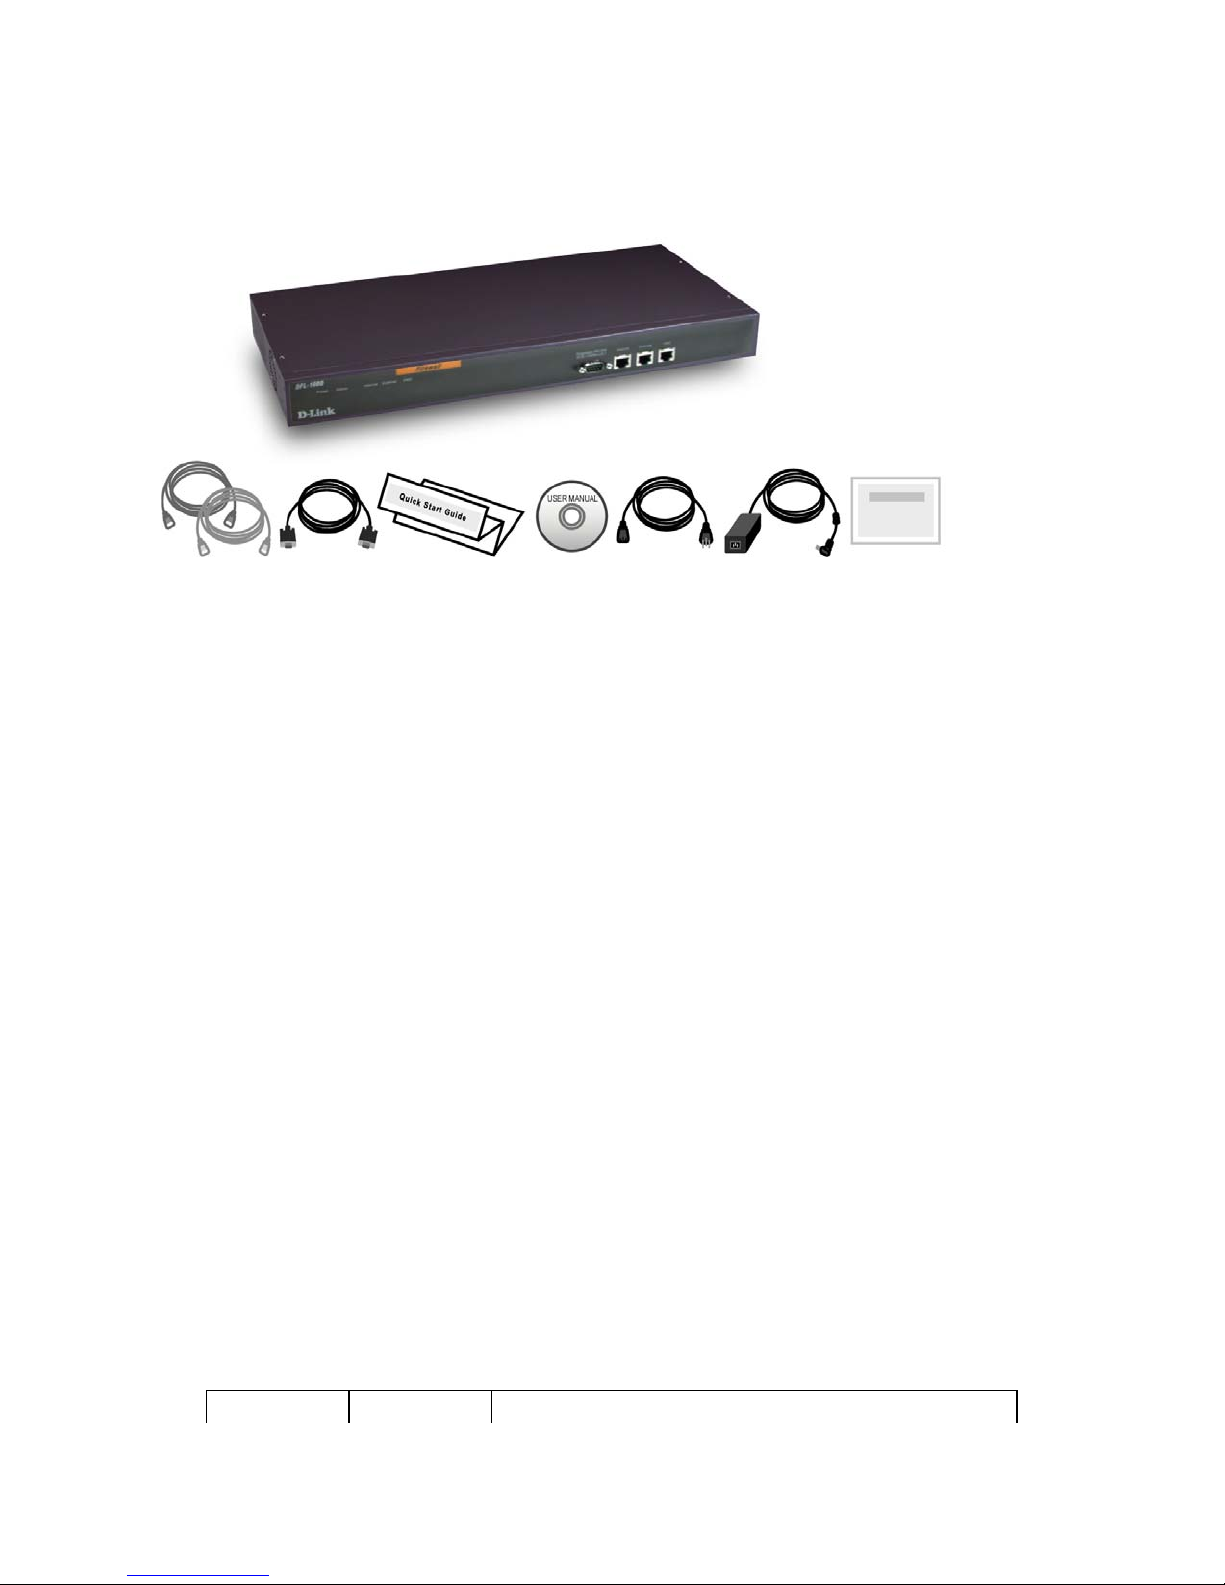
3. DFL-1000 package contents
4. Powering up your DFL-1000
1. Install your DFL-1000 as a free-standing appliance on any stable surface.
Make sure it has at least 1.5 in. (3.75 cm) of clearance on each side to allow for adequate air
flow and cooling.
The DFL-1000 can also be installed in a standard 19-inch rack. It requires 1 U of vertical
space in the rack.
2. Make sure the power switch on the back is turned off.
3. Connect the power cord to the power connection at the back of the DFL-1000.
4. Connect the power cable to a power outlet.
5. Turn on the power switch.
The DFL-1000 starts up. The Power and Status lights light. The Status light flashes while the
DFL-1000 is starting up and remains lit when the system is up and running.
5. DFL-1000 LED indicators
LED State Description
 Loading...