

Page 1
Page 2
System Requirements
• Computers with Windows®, Macintosh®, or Linux-based operating systems
and an installed Ethernet Adapter
• Internet Explorer version 7.0 or Firefox 3.0 or higher (for configuration)
Package Contents
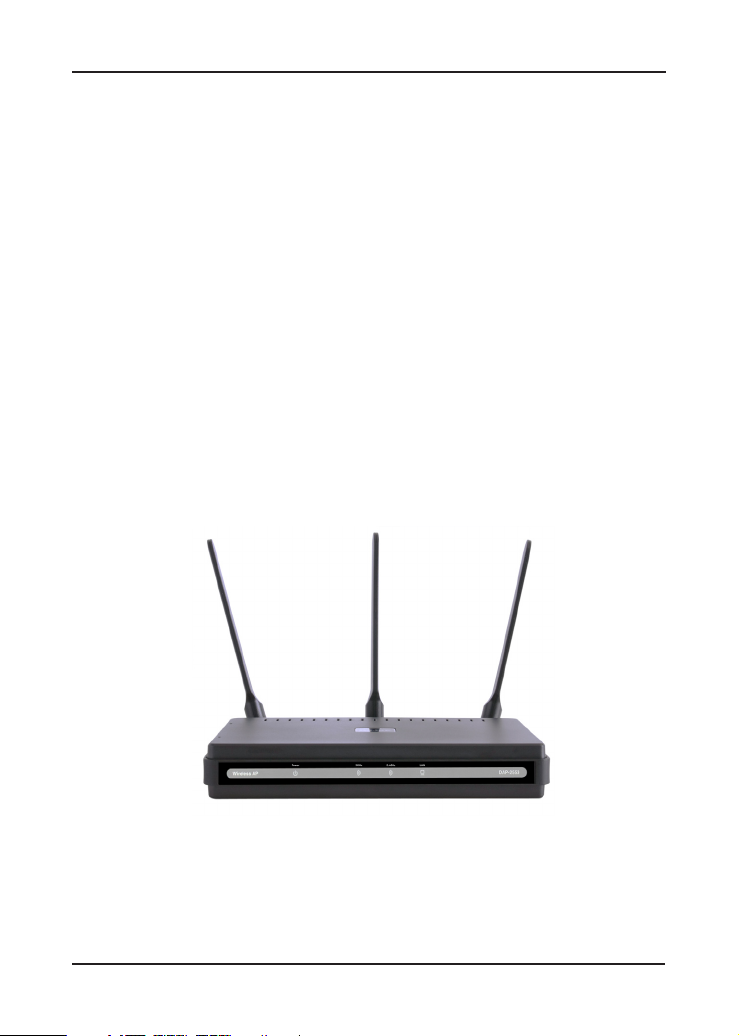
• D-Link DAP-2553 Air Premier N Access Point
• 3 Detachable Antennas
• Power Adapter
• CAT5 Ethernet Cable
• CD-ROM with Installation Guide, User Manual, and Special Offers
Note: Using a power supply with a different voltage than the one included with
the DAP-2553 may damage the unit and will void the warranty for this product.
If any of the above items are missing, please contact your reseller.
2D-Link DAP-2553 Install Guide
Page 3
Connecting the DAP-2553 to your network
Connect the power adapter to the receptor on the rear panel of the
A.
DAP-2553 and then plug the other end of the power adapter to a wall
outlet or power strip. The power LED will turn ON to indicate proper
operation.
Using an Ethernet cable, insert one end of the cable to the LAN port
B.
on the rear panel of the DAP-2553 and the other end of the cable to a
switch.
Note: You can also connect the DAP-2553 directly to the computer that
will be used for configuration. The LAN LED will illuminate to indicate a
proper Ethernet connection.
Computers with 802.11 b/g/draft n wireless adapters can connect to
C.
the DAP-2553.
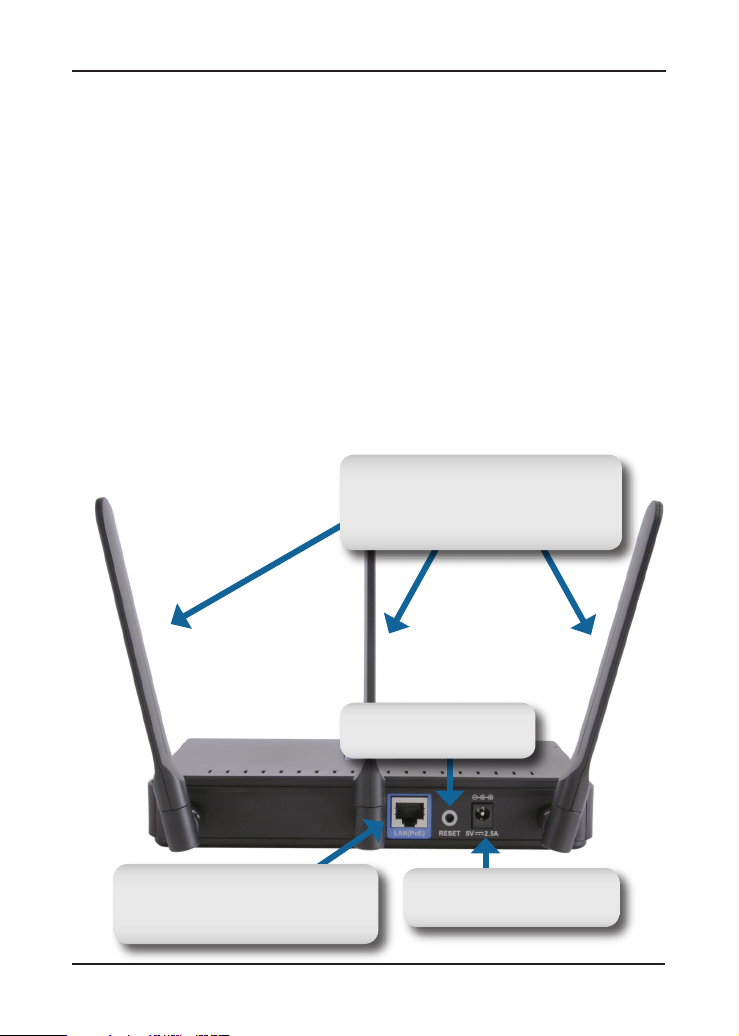
C. Antennas
Used to broadcast wireless network
and recieve connections from 802.11a
b/g/draft n wireless clients.
D. Reset
Reset the Access Point.
B. LAN Port
Connects DAP-2553 to a switch
or PC.
A. Power Receptor
Receptor for Power Adapter.
3 D-Link DAP-2553 Install Guide
Page 4

Getting Started
1. You will need broadband Internet access.
2. Consult with your cable or DSL provider for proper installation of the
modem.
3. Connect the Cable or DSL modem to a router.
4. If you are connecting a desktop computer to your network, install a wireless
PCI adapter into an available PCI slot on your desktop computer.
5. Install the drivers for your wireless CardBus adapter into a laptop
computer.
4D-Link DAP-2553 Install Guide
Page 5

Connecting PoE (Power over Ethernet)
Connect one end of an Ethernet cable (included with your package) to the
LAN port on the DAP-2553 and the other end of the Ethernet cable to your
computer or to your PoE switch. The AP can be powered on by a PoE switch
or by the power adapter shipped with the AP.
5 D-Link DAP-2553 Install Guide
Page 6

Using the Configuration Menu
First, disable the Access the Internet using a proxy server function. To
disable this function, go to Control Panel > Internet Options > Connections
> LAN Settings and uncheck the enable box.
Start your web browser program (Internet Explorer, Mozilla Firefox).
Please start your web browser program, type the IP address of the device
(http://192.168.0.50) and press Enter. Make sure that the IP addresses of the
device and the computer are in the same subnet. Then, refer to the manual
for configuration.
Note: If you have changed the
default IP address assigned to the
DAP-2553, make sure to enter the
correct IP address.
After the connection is established, you will see the user identification window
as shown.
• Type admin in the User Name field.
• Leave the Password field blank.
• Click the Login button.
Note: If you have changed the password, make sure to enter the correct
password.
6D-Link DAP-2553 Install Guide
Page 7

Notes
7 D-Link DAP-2553 Install Guide
Page 8

Technical Support
D-Link’s website contains the latest user documentation and
software updates for D-Link products.
U.S. and Canadian customers can contact D-Link Technical
Support through our website or by phone.
United States
Telephone
(877) 354-6555
(877) DLINK-55
World Wide Web
http://support.dlink.com
Canada
Telephone
(877) 354-6560
World Wide Web
http://support.dlink.com
Version 1.0
August 11, 2008
Copyright ©2008 D-Link Corporation/D-Link Systems, Inc. All rights reserved. D-Link and the D-Link logo are registered
trademarks of D-Link Corporation or its subsidiaries in the United States and other countries. Other trademarks are the property
of their respective owners. Product specifications, size and shape are subject to change without notice, and actual product
appearance may differ from that depicted herein.
8D-Link DAP-2553 Install Guide
 Loading...