

Page 1
Read the separate safety instructions before using the appliance
min. 50 cm
min. 20 cm
B4C7
C6 C4
1. DESCRIPTION
1.1 Description of appliance (A)
A1. Control panel
A2. Deector
A3. Lifting handle
A4. Dust lter or nano silver lter
A5. Air inlet grille
A6. Water level viewing window
A7. Condensate collection tank
A8. Tank extraction grip
A9. Air outlet grille
A10. Continuous drain rubber stopper
A11. Condensate drain hose
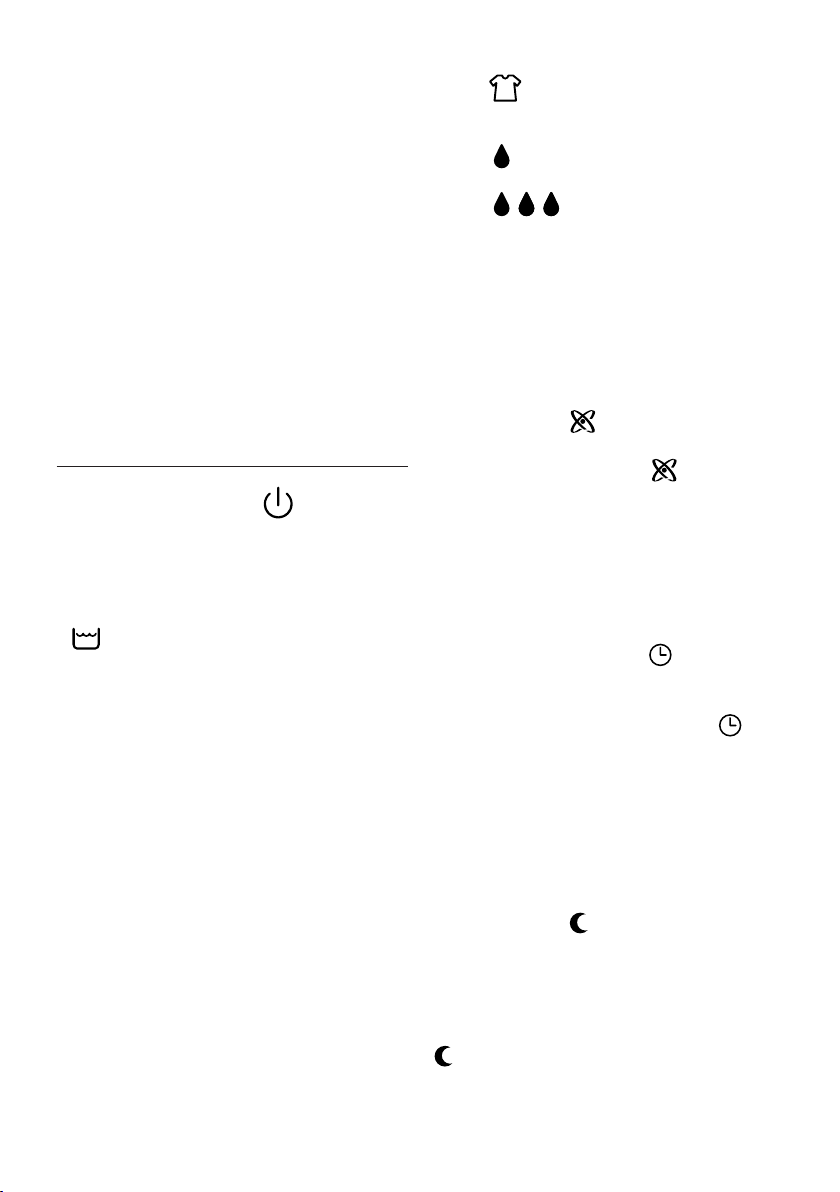
1.2 Description of control panel (B)
B1. ON/STAND-BY button
B2. Mode button
B3. Dimming button
B4. Ioniser button
B5. Delay shutdown button
B6. Deector swing button
1.3 Display (C)
C1. Mode indicators
C2. Humidity indicator
C3. Delay shutdown (1~12 hours) + dimming level
C4. Ioniser indicator (ON)
C5. Swing indicators
C6. Alarm (blinks when the unit is malfunction)
C7. Water full/absent (blinks when the tank is full or not in place)
C8. Timer indicator (ON)
C9. Dimmer indicator (ON)
Please note: Before plugging the appliance check the cap on
back of water tank is correctly inserted.
2. INSTALLATION
min. 60 cm
min. 20 cm
min. 20 cm
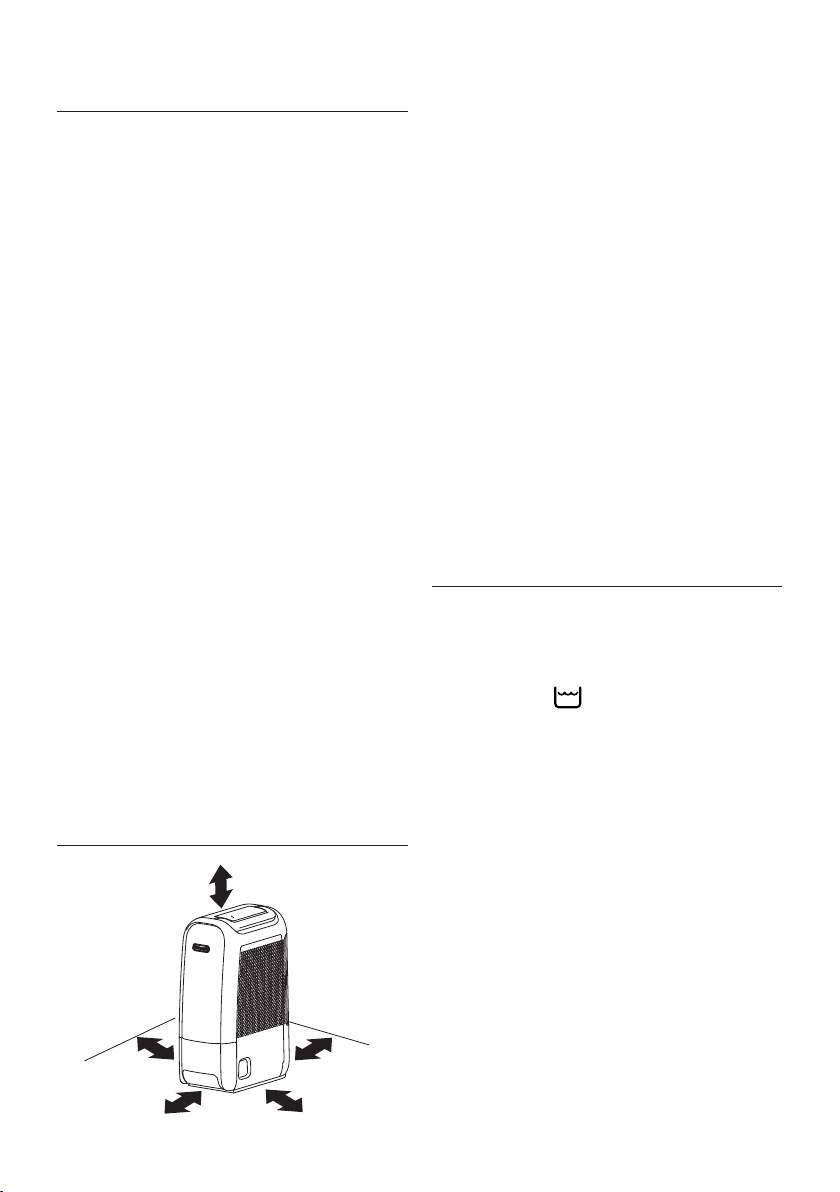
Position the appliance in the room to be dehumidied.
Please follow the minimum distances between the appliance
and furniture or walls, as stated in gure.
Failure to do so would obstruct ventilation, jeopardising correct
operation of the appliance.
When the appliance is functioning, you should keep all doors
and windows closed while the appliance is in operation.
If doors and windows are opened, the temperature and humidity
in the room may change and it could therefore require longer to
dehumidify the room.
With temperatures of less than 1°C or above 40°C,
dehumidication is automatically deactivated and the appliance
switches to fan only mode.
If the humidity is lower than 20%, the safety circuit triggers
automatically and the dehumidier shuts down to avoid
damage.
If the humidity in the room drops, the dehumidication capacity
is automatically reduced.
Do not drop or tilt the appliance.
If the appliance falls over, place it upright immediately.
Even when the room is dehumidied, condensation and mould
may form externally or in poorly ventilated points, for example
behind furniture.
3. DRAINING THE CONDENSATE WATER
The condensate can be drained in 2 ways:
3.1 Draining into the tank
The condensate is drained directly into the tank (A7).
When the tank is full, the appliance stops and the display (C)
shows the tank alarm
1. Extract the tank slowly using the designed grip, holding
the appliance rmly (g. 1) and empty it into a sink or a
bathtub.
2. Position the handle of the tank vertically as shown (g. 2)
for carrying to the pouring site.
3. Empty the tank by the opening (g. 3) No need to remove
the lid unless for washing the tank.
4. (Replace the lid and) lower the handle.
5. Put the tank back in the appliance.
When the empty tank is put back, the appliance starts
functioning according to the previous settings. The tank full icon
goes o.
Please note:
• D o not remove the oat inside the tank. The oat is required
to sense when tank is full.
• Replace the lid correctly before returning the tank to the
appliance.
• When you remove the tank, do not touch internal parts of
the dehumidier. It could damage the appliance.
10
(C7). Proceed as follows:
Page 2
• Push the tank into place carefully. If it knocks against the
B4C7
B5
B3
B2
B6
B1
B4C7
C6 C4
B4C7
B5
B3
C6 C4
B4C7
B5
B3
B2
C6 C4
B4C7
B5
B3
B2
C6 C4
B4C7
B4C7
B4C7
B4C7
B4C7
B4C7
walls or is incorrectly inserted, the appliance may not
function. (The tank full light ashes.) Remove the tank
then replace carefully in position.
3.2 Continuous external draining
If the appliance is to be operated for long periods but you are
unable to empty the tank regularly, you are recommended to use
continuous draining. Proceed as follows:
1. Remove the rubber bung from the outlet tube (Fig. 4).
2. Fasten the rubber hose to the spout (g. 5).
3. Make sure the hose is no higher than the spout (g.
6), otherwise the water will ow into the tank of the
appliance. Make sure there are no kinks in the hose.
Please note:
• Keep the rubber bung. You will need it to plug the hose or
close the outlet tube if you revert to draining into the tank.
4. MODE SELECTION
1. Plug the appliance into a mains socket:
2. Touch the ON/STAND-BY button
to turn the appliance on: the appliance will operate in the
previously-set mode and the deector (A2) opens in a
preset position.
To turn the appliance o, touch the ON/STAND-BY button again.
Please note:
If
(C7) appears on the display, it is necessary to empty or
correctly position the tank (A7) (see paragraph “3.1 Draining
into the tank”).
• Place the dehumidier at least than 30 cm from the
laundry to be dried. NEVER place the dehumidier under
the laundry to be dried.
• B efore unplugging from the mains, wait for the fan to stop.
The fan remains in operation for about two minutes after
the appliance is turned o to allow the heating element to
cool down.
• When started up, or when power is restored, the appliance
operates in the mode selected before it shut down.
Important: Before unplugging from the mains, wait for
the fan to stop. The fan remains in operation for about
two minutes after the appliance is turned o to allow
the heating element to cool down.
4.1 Dehumidifying mode
Touch the MODE button (B2) to select modes, the deector
opens and the appliance comes in AUTO mode (g. 7).
The display will show:
• AUTO: To maintain a comfortable level of humidity. The
unit controls room humidity in 45~50% RH. Fan speed is
automatically controlled (high or low).
(B1) for 2/3 seconds
(Auto will light on by default at the rst run).
DRY
programme to dry garments rapidly and or during the
winter.
• MIN
dehumidies in low fan speed and low noise.
• MAX
high fan and controls room humidity in 35~40% RH.
• ECO: Eco mode to dry laundry (high fan, low heater).
Use this programme during the summer. The appliance
operates automatically with low energy consumption.
Please note:
• The humidity display shows relative humidity status
of room air. Due to condition of machine position, air
circulation and sensor accuracy, the values are for reference
only that may have variations around ±10%RH.
: Super dry mode to dry laundry. Use this
: for silent operation. The unit automatically
: to dehumidify rapidly. The unit runs
4.2 Ioniser mode
1. Before using this function, make sure the appliance is on.
Touch the ioniser button (B4). The
(Fig.8) and the appliance emits negative ions from the air
outlet grille (A9).
2. Touch the ioniser button again to interrupt negative ion
emission. (The symbol on display goes o ).
A large quantity of negative ions are produced, quantitatively
similar to those present in environments such as forests or
waterfalls.
icon (C4) comes on
4.3 Delayed shutdown timer
1. Before using this function, make sure the appliance is on.
2. Each time the Timer button (B5) is touched, the number of
hours the appliance operates changes and the
displayed (Fig.10):
1 h - 2 h - 3 h ..... 12 h - continuous (no showing).
When the timer is set, the remaining hours will show. Even if
the tank full icon is ashing and the unit stops, the counting
continues. After emptying and repositioning the tank, the
appliance continues to operate for the time left (may just a few
time left, in this case, you may want to reset the timer.)
4.4 LCD dimmer
• Touch the LCD dimmer button (B3) to show the current
setting (Fig. 9) and touch again to set the backlight, on the
display appears:
H (full light) - L5 - L4 - L3 - L2 - L1 - L0 (no backlight) (C3).
After setting (or without touching the key for 5 seconds), the
icon (C9) will be displayed showing if the dimmer setting
is among L0 and L5 (and disappears when the setting is H), and
the display will show the timer if it has been set.
11
will be
Page 3

4.5 Swing the air
B4C7
B5
B3
B2
B6
B4C7
B5
B3
B2
B6
1. Touch the Swing button
swing of the deector, the icon (C5) will be displayed.
It is possibile to choose between three types of swing:
2. 1st touch (air is delivered vertically)
3. 2nd touch (air is delivered forwards)
4. 3rd touch (air is delivered forwards and vertically)
5. touch the Swing button again to stop the deector in its
current position.
(B6) to set automatic
5. CLEANING AND MAINTENANCE
• Always disconnect the appliance from the mains before
carrying out cleaning operations.
• Never submerge the appliance in water.
5.1 Routine cleaning of the tank (once a month)
• Ex tract the tank and remove the lid as described previously.
DO NOT remove the oat!
• Rinse all the components with water two or three times.
Depending on where the dehumidier is used, the inside
of the tank may become dirty as a result of dirt and dust
contained in the air. If this is the case, wash in mild soapy
water to remove the most stubborn dirt.
5.2 Cleaning the cabinet
• Never pour water directly over the appliance.
• Never use petrol, alcohol or solvents.
• Never spray insecticides or similar substances: the plastic
may be deformed.
• Clean the surfaces of the appliance using a soft cloth, never use
abrasive sponges as these may scratch the surface.
5.3 Cleaning the dust lter or nano silver lter
(on certain models only)
If the ter (A4) is dirty, air circulation is compromised and the
eciency of dehumidifying is decreased. It is therefore good
practice to clean the lter at regular intervals. The frequency
depends on the environment and the duration of operation.
If the unit is used constantly or systematically, you are recommended to clean the lter once a week.
• To remove the air lter (A4) extract the lter by pulling it
(g. 12).
• Use a vacuum cleaner to remove dust accumulations from
• If present, the nano silver lter, besides retaining powder
the lter. If the lter is very dirty, rinse well with lukewarm
water. The temperature of the water should not exceed
40 °C. After washing the lter, allow it to dry completely
before re- inserting it.
particles, has also an ecient antibacterial action. In addition, it greatly reduces irritants such as pollen and spores.
The lter is treated with small particles of silver (on the
scale of millionths of a millimetre) which are able to block
the multiplication of and destroy any bacteria or spores
coming into contact with them
5.4 For long periods of downtime
• Unplug the appliance from the power socket and empty the
tank (A7).
• Clean the dust lter (A4) and put it back in.
• Cover the appliance with a plastic bag to protect it from
dust.
6. TECHNICAL SPECIFICATION
Power supply voltage See rating plate
Rated power input “
Hygrometer Yes
Fan speed 2
Air lter Yes
Tank capacity 2,8 l
Operating limits:
temperature 1°C - 35°C
relative humidity 30% - 95%
12
Page 4

7. ALARMS ON THE DISPLAY
B4C7
C6 C4
B4C7
C6
C4
ALARM CAUSE SOLUTION
The tank (A6) is missing or incorrectly
positioned
The tank is full Empty the tank (see par. “3.1 Draining into the tank”)
Put correctly the tank back in place (see par. “3.1
Draining into the tank”
Contact Customer Care
8. TROUBLESHOOTING
Below is a list of possible malfunctions.
If the problem cannot be resolved using the proposed solution, contact the Service Centre.
PROBLEM CAUSE SOLUTION
The appliance does not work the appliance is not plugged in plug into the mains
there is no current check the power supply
the tank is full of water position the tank correctly
the tank is incorrectly positioned
The appliance is operating in dehumidifying mode but the humidity does
not decrease
The lter is clogged Clean the dust lter or nano silver lter
(par. “4.2 Cleaning the dust lter”)
Either the temperature or the humidity in
the room is too low
In certain conditions it is normal for the
appliance not to dehumidify: check the
operation limits of the appliance (see chap.
“6. Technical specication”). In certain cases
it is advisable to heat the room you wish to
dehumidify.
13
 Loading...