

Canon MX920 Series, MX720 series Online Manual

MX920 series
Online Manual
Read Me First
Useful Functions Available on the Machine
Overview of the Machine
English

Read Me First
Notes on Online Manual Usage
Operating Environment
How to Print
Notes on Online Manual Usage
•
Reproduction, diversion or copying of any text, photo or image published in the Online Manual
(hereinafter referred to as "this guide"), in whole or in part, is prohibited.
•
In principle, Canon shall change or delete the contents of this guide without prior notice to customers.
In addition, Canon may suspend or stop the disclosure of this guide due to unavoidable reasons.
Canon shall not be liable for any damage suffered by customers as a result of changes in or deletion of
information in this guide, or suspension/stoppage of disclosure of this guide.
•
Although the contents of this guide have been prepared with utmost care, please contact the service
center if you find any incorrect or missing information.
• In principle, the descriptions in this guide are based on the product at the time of its initial sale.
This guide does not disclose the manuals of all the products sold by Canon.
•
See the manual supplied with the product when using a product that is not described in this guide.
Operating Environment
The following environment is recommended for the use of this guide.
• Recommended Operating System
Windows 8, Windows 7, Windows 7 SP1, Windows Vista SP1, Windows Vista SP2, Windows XP
SP3 (32-bit only)
Recommended Web Browser
•
Internet Explorer 8 or later
(Allow cookies and enable JavaScript in browser settings.)
How to Print
Use the print function of your Web browser to print this guide.
To print background colors and images, follow the steps below to display the Page Setup dialog box,
then select the Print Background Colors and Images checkbox.
In Internet Explorer 9 or 10
•
Select (Tools) > Print > Page setup....
In Internet Explorer 8
•
1. Press the Alt key to display the menus.
2. Select Page Setup... from the File menu.
Symbols Used in This Document
Warning
Instructions that, if ignored, could result in death or serious personal injury caused by incorrect operation of
the equipment. These must be observed for safe operation.
Caution
Instructions that, if ignored, could result in personal injury or material damage caused by incorrect
operation of the equipment. These must be observed for safe operation.
Important
Instructions including important information. To avoid damage and injury or improper use of the product, be
sure to read these indications.
Note
Instructions including notes for operation and additional explanations.
Basic
Instructions explaining basic operations of your product.
Trademarks and Licenses
•
Microsoft is a registered trademark of Microsoft Corporation.
• Windows is a trademark or registered trademark of Microsoft Corporation in the U.S. and/or other
countries.
•
Windows Vista is a trademark or registered trademark of Microsoft Corporation in the U.S. and/or other
countries.
•
Internet Explorer is a trademark or registered trademark of Microsoft Corporation in the U.S. and/or
other countries.
•
Mac, Mac OS, AirPort, Safari, Bonjour, iPad, iPhone and iPod touch are trademarks of Apple Inc.,
registered in the U.S. and other countries. AirPrint and the AirPrint logo are trademarks of Apple Inc.
•
IOS is a trademark or registered trademark of Cisco in the U.S. and other countries and is used under
license.
•
Adobe, Photoshop, Photoshop Elements, Lightroom, Adobe RGB and Adobe RGB (1998) are either
registered trademarks or trademarks of Adobe Systems Incorporated in the United States and/or other
countries.
• Photo Rag is a trademark of Hahnemühle FineArt GmbH.
• Bluetooth is a trademark of Bluetooth SIG, Inc., U.S.A. and licensed to Canon Inc.
All other company names and products mentioned herein may be trademarks or registered trademarks
•
of their respective companies.
Note
The formal name of Windows Vista is Microsoft Windows Vista operating system.

Search Tips
You can search for target pages by entering keywords in the search window.
Important
When performing a search by entering the product's model name, enter only the first two digits of the
number in the model name.
Example: When searching for MX45n (where "n" is a number)
Enter "MX45"
When using the PRO series, enter the entire model name.
Example: When using the PRO-1 series
Enter "PRO-1"
• Searching for Functions
You can find target pages easily by entering your product's model name and a keyword for the function
you want to learn about.
Example: When your product is MX450 series and you want to learn how to load paper
Enter "MX45 load paper" in the search window and perform a search
• Troubleshooting Errors
You can obtain more accurate search results by entering your product's model name and a support
code.
Example: When your product is MX450 series the following error screen appears
Enter "MX45 1003" in the search window and perform a search
Searching for Application Functions
•

You can find target pages easily by entering your application's name and a keyword for the function
you want to learn about.
Example: When you want to learn how to print collages with My Image Garden
Enter "My Image Garden collage" in the search window and perform a search
•
Searching for Reference Pages
You can search for reference pages described in this guide by entering your product's model name
and a page title.
You can find reference pages more easily by entering the function name as well.
Example: When you want to browse the page referred to by the following sentence on a scanning
procedure page in the Online Manual for MX450 series
Refer to "Color Settings Tab" for your model from Home of the Online Manual for details.
Enter "MX45 scan Color Settings Tab" in the search window and perform a search

Window Used in Operation Explanation
In this guide, most of the operations are described based on the windows displayed when Windows 7
operating system Home Premium (called Windows 7 below) is used.

Overview of the Machine
Main Components and Basic Operations
Main Components
About the Power Supply of the Machine
LCD and Operation Panel
Entering Numbers, Letters, and Symbols
Loading Paper / Originals
Loading Paper
Placing a Printable Disc
Loading Originals
Inserting the USB Flash Drive
Replacing an Ink Tank
Replacing an Ink Tank
Checking the Ink Status
Maintenance
When Printing Becomes Faint or Colors Are Incorrect
Performing Maintenance from a Computer
Cleaning the Machine
Changing the Machine Settings
Changing Machine Settings from Your Computer
Changing the Machine Settings on the LCD
Information about Network Connection
Useful Information about Network Connection
About Network Communication
Changing and Confirming Network Settings
Screens for Network Connection of IJ Network Tool
Other Screens of IJ Network Tool
Appendix for Network Communication
Tips for Ensuring Optimal Printing Quality
Useful Information about Ink
Key Points to Successful Printing
Be Sure to Make Paper Settings after Loading Paper
Canceling a Print Job
Key to Enjoying Consistent Printing Quality
Precautions for Safe Transport of the Machine
Legal Limitations on Use of Your Product and Use of Images
Specifications

Maintenance
When Printing Becomes Faint or Colors Are Incorrect
Performing Maintenance from a Computer
Cleaning the Machine

Changing the Machine Settings
Changing Machine Settings from Your Computer
Changing the Machine Settings on the LCD

Changing Machine Settings from Your Computer
Changing the Print Options
Registering a Frequently Used Printing Profile
Managing the Machine Power
Reducing the Machine Noise
Changing the Machine Operation Mode

Changing the Machine Settings on the LCD
Changing the Machine Settings on the LCD
FAX settings
Print settings
LAN settings
Device user settings
Mobile phone print settings
Bluetooth settings
PictBridge print settings
Language selection
Firmware update
Reset setting
About ECO settings
About Quiet setting

Information about Network Connection
Useful Information about Network Connection
Useful Functions Available on the Machine
The following useful functions are available on the machine.
Enjoy even more pleasant photography experience by utilizing various functions.
Print Photos Easily
Download Content Materials
Upload Scanned Images to the Web
Print Online Items Easily
Print Easily from a Smartphone
Print with Google Cloud Print
Print Directly from iPad, iPhone, or iPod touch
Print Photos on Facebook
Print Images and Documents by Sending Them via E-mail
Print Photos Easily Using an Application
•
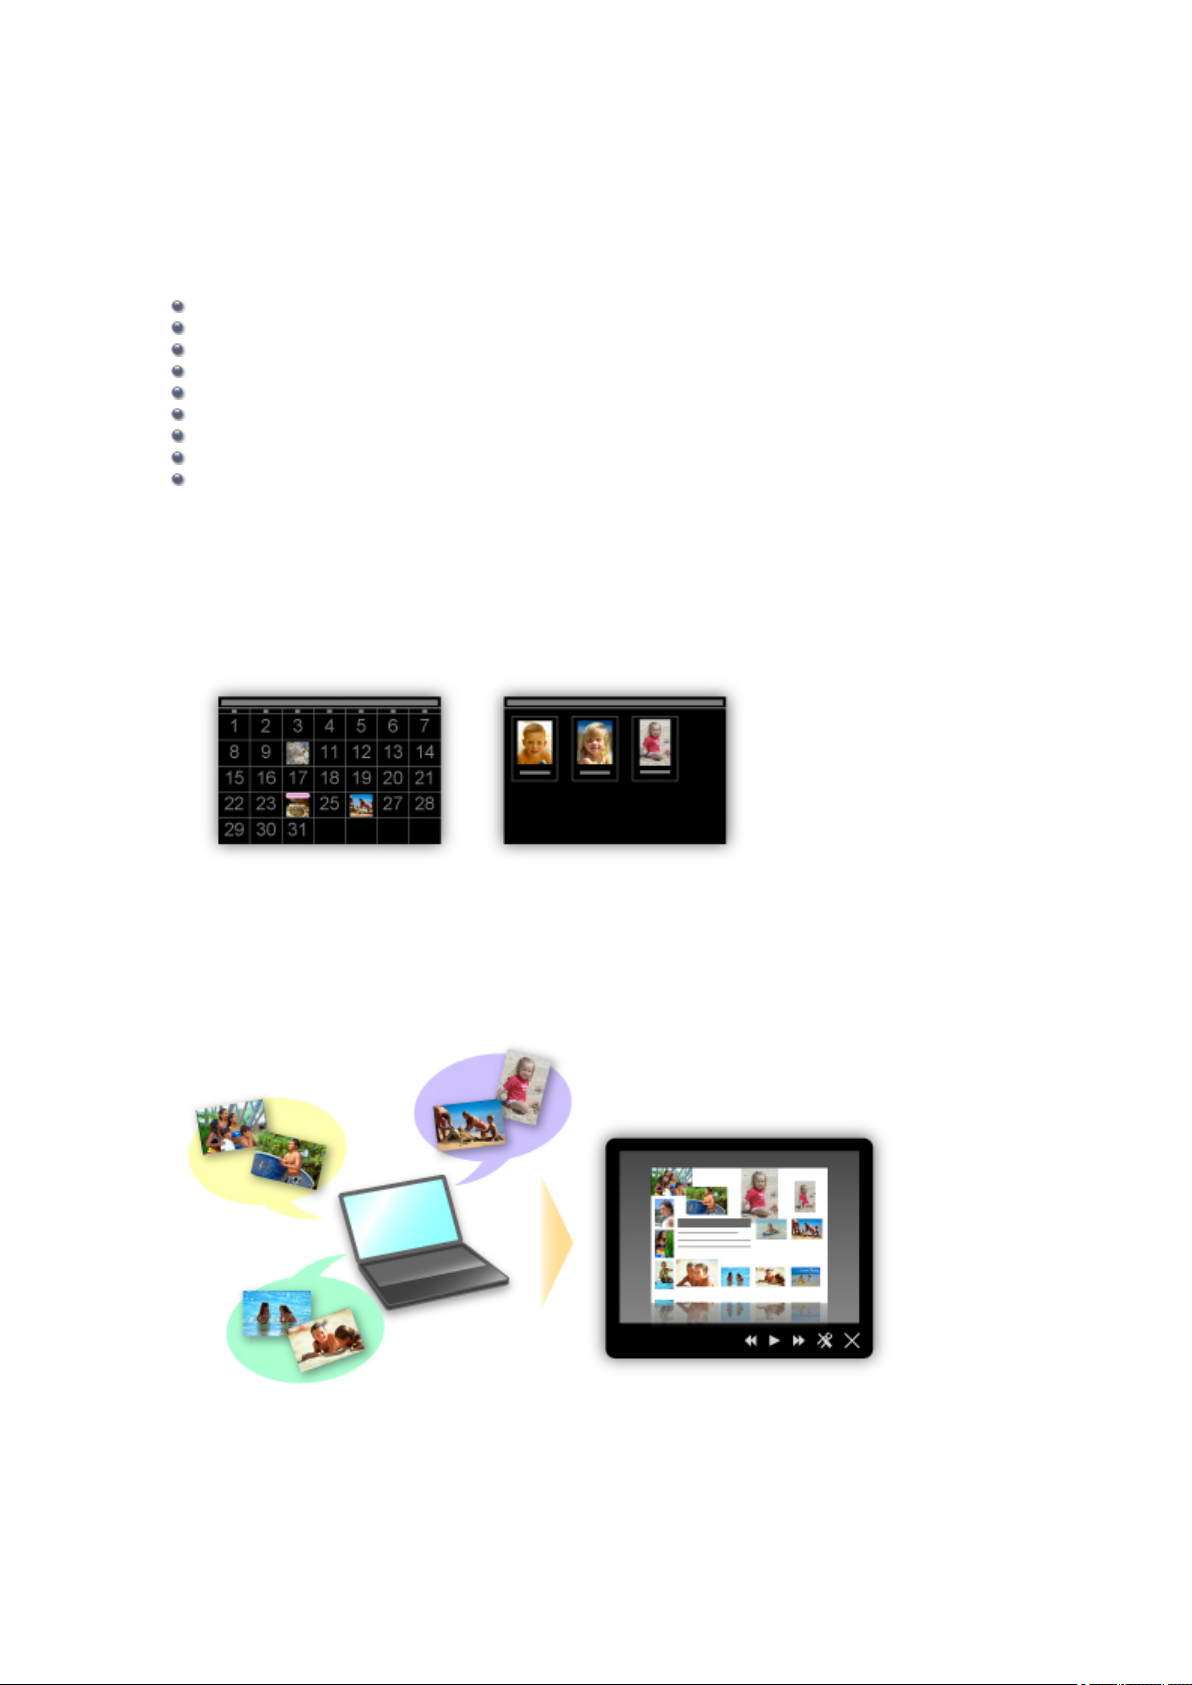
Organize Images Easily
In My Image Garden, you can register the names of people and events to photos.
You can organize photos easily as you can display them not only by folder but also by calendar, event,
and person. This also allows you to find the target photos easily when you search for them later on.
<Calendar View> <People View>
• Display Recommended Items in Slide Shows
Based on the information registered to photos, Quick Menu automatically selects the photos on your
computer and creates recommended items such as collages and cards. The created items appear in
slide shows.
If there is an item you like, you can easily print it in just two steps.
STEP1 In Image Display of Quick Menu, select the item you want to print.
STEP2 Print the item with My Image Garden.
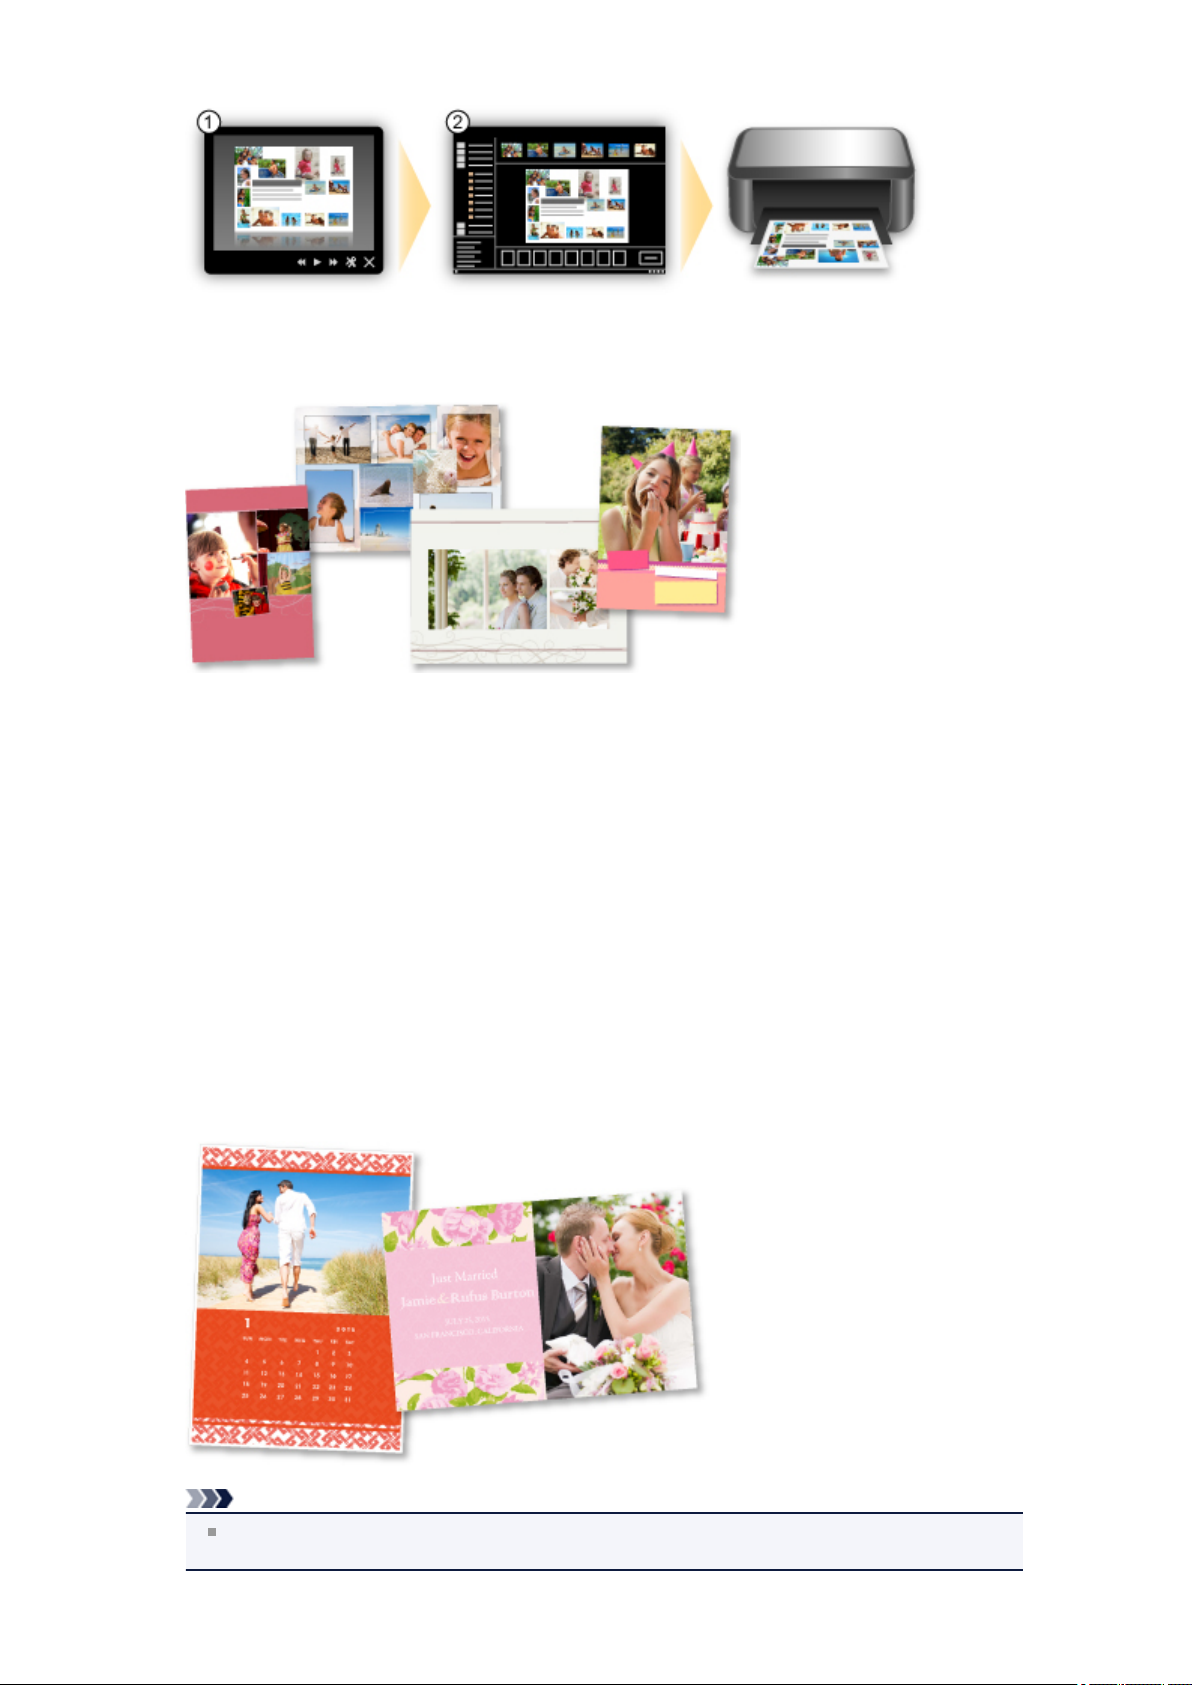
• Place Photos Automatically
Delightful items are created easily as the selected photos are placed automatically according to the
theme.
Other Various Functions
•
My Image Garden has many other useful functions.
Refer to "What You Can Do with My Image Garden" for details.
Download a Variety of Content Materials
• CREATIVE PARK
A "printing materials site" where you can download all the printing materials for free.
Various types of content such as seasonal cards and paper crafts that can be made by assembling paper
parts are provided.
It is easily accessible from Quick Menu.
• CREATIVE PARK PREMIUM
A service where customers using models that support PREMIUM Contents can download exclusive
printing materials.
PREMIUM Contents can be downloaded easily via My Image Garden. Downloaded PREMIUM Contents
can be printed directly with My Image Garden.
To print downloaded PREMIUM Contents, make sure that genuine Canon ink tanks/ink cartridges are
installed for all colors on a supported printer.
Note
The designs of PREMIUM Contents provided in this page are subject to change without prior
notice.

Upload Scanned Images Easily to the Web
If you use Evernote or Dropbox on your computer, you can easily upload scanned images to the web.
Uploaded images can be utilized from other computers, smartphones, etc.
Refer to "Online Storage Integration Function" for details.
Print Photos on Photo Sharing Sites or Print Web Template Forms Easily from
the Machine
You can directly print photos on photo sharing sites or template forms offered on the web without using a
computer.
•
Online Album Photo Print
You can access photo sharing sites on the web from the machine and directly print photos in online
albums (such as Picasa Web Albums) while checking them in the printer screen.
• Web Template Form Print
Canon offers various template forms including seasonal stationery and calendars on the web. You can
download and print the template forms you want anytime, as much as you need, by operating the
machine only.
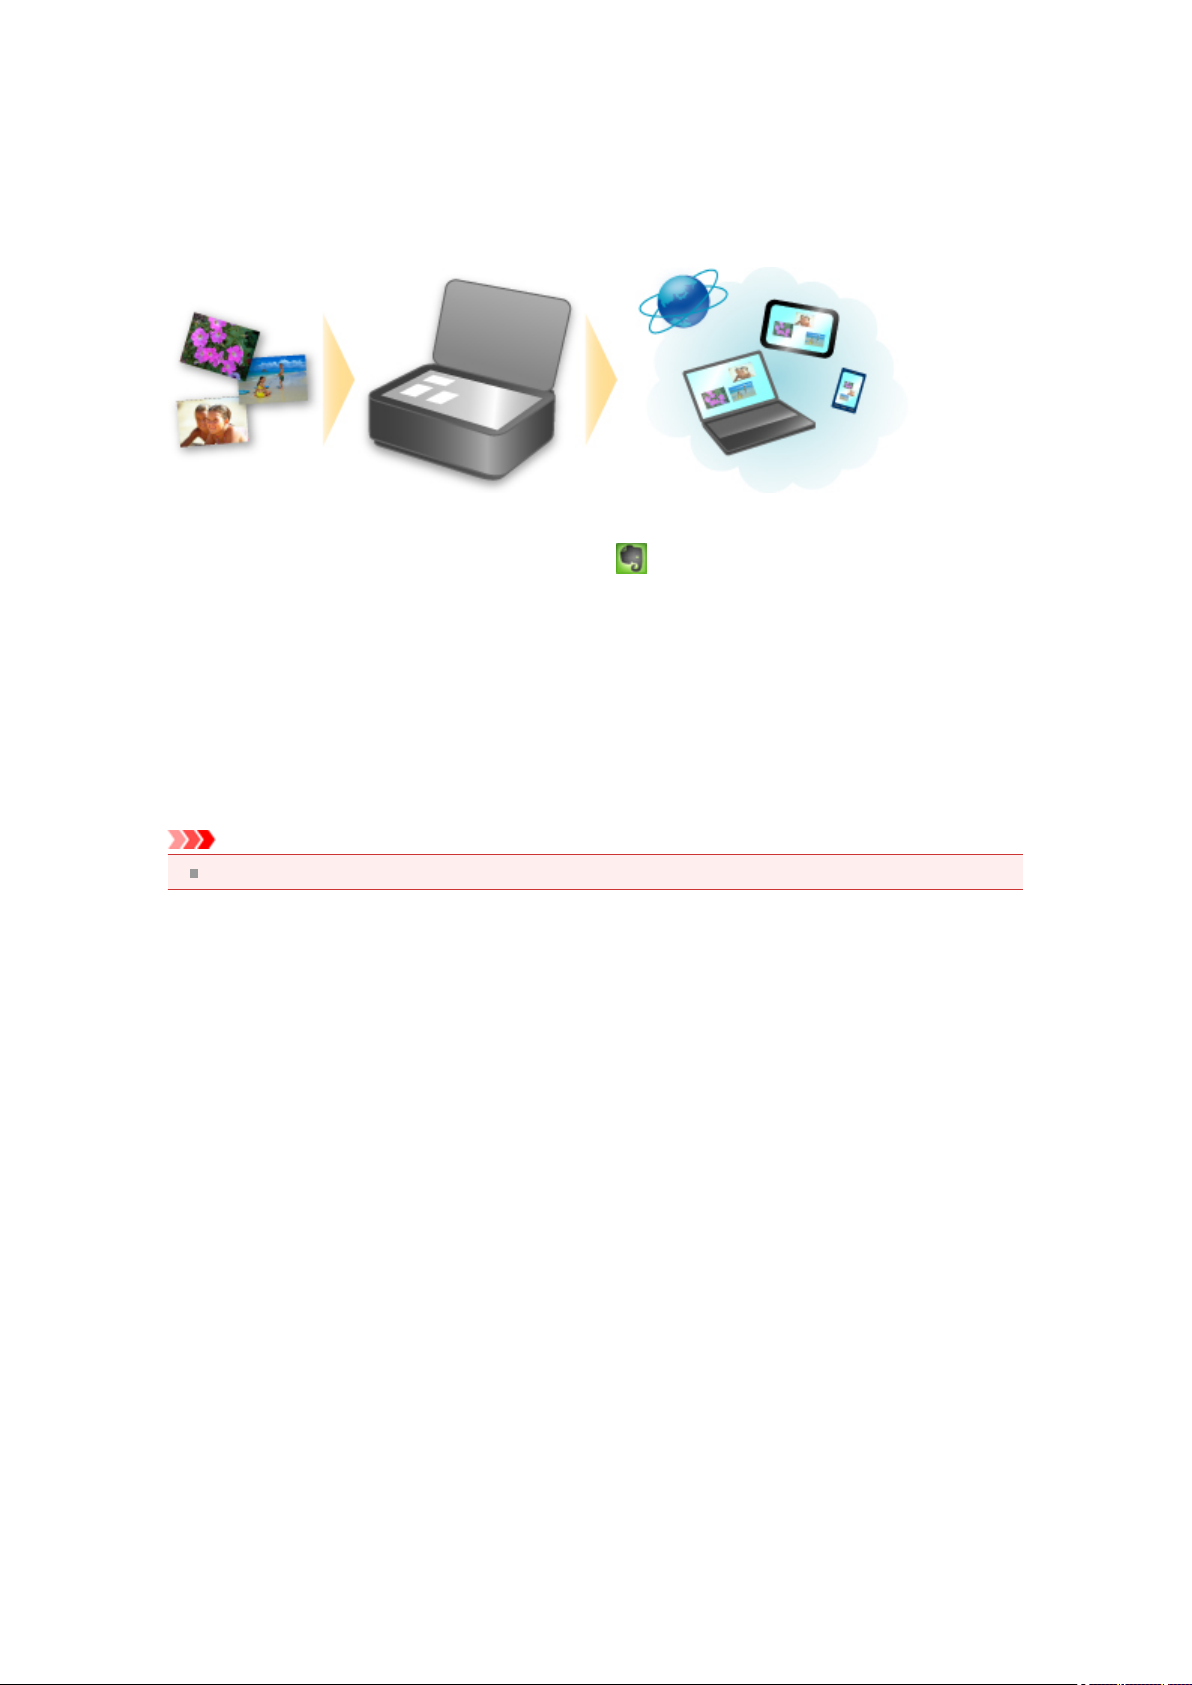
Print Easily from a Smartphone with Canon Easy-PhotoPrint (for iOS/Android)
Use Canon Easy-PhotoPrint (for iOS/Android) to easily print photos saved on a smartphone wirelessly.
You can also receive scanned data (PDF or JPEG) directly on a smartphone without using a computer.
Canon Easy-PhotoPrint (for iOS/Android) can be downloaded from App Store and Google Play.
Print in Various Environments with Google Cloud Print
The machine is compatible with Google Cloud Print (Google Cloud Print is a service provided by Google
Inc.).
By using Google Cloud Print, you can print from anywhere with applications or services supporting Google
Cloud Print.
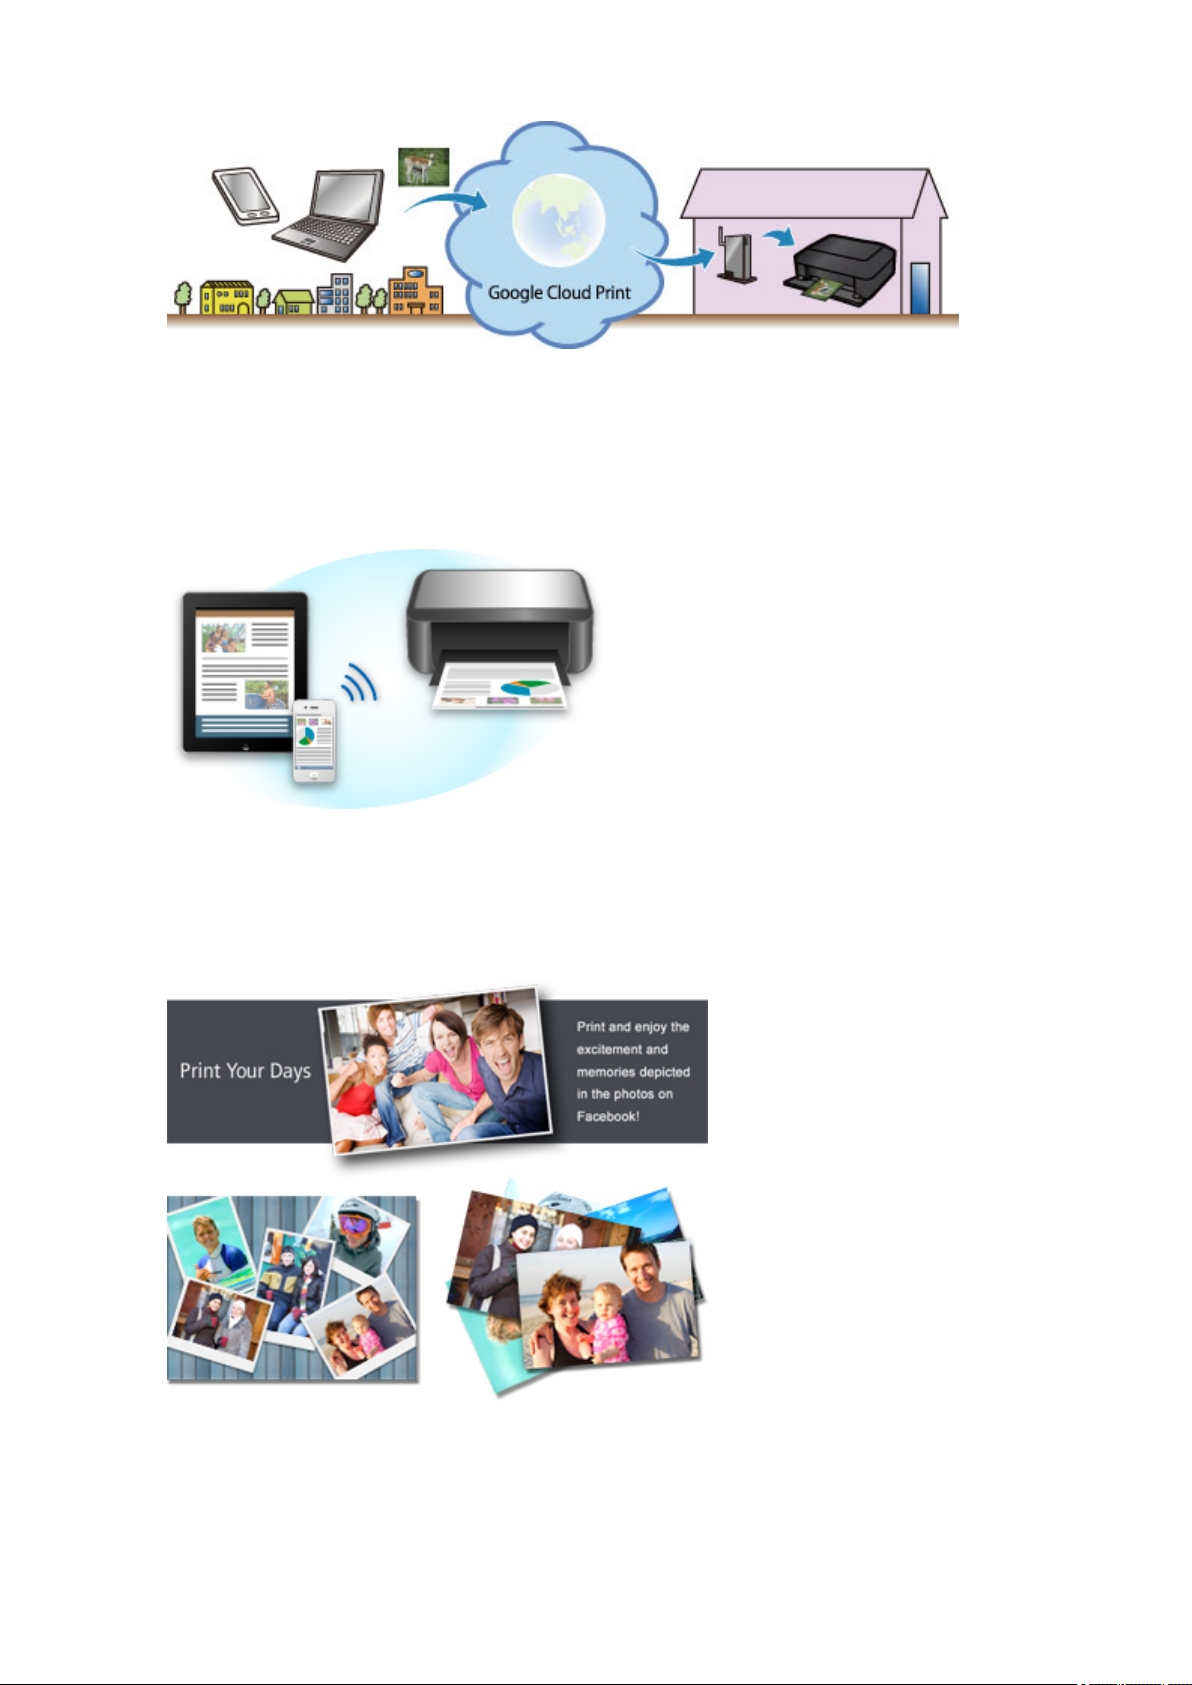
Refer to "Printing with Google Cloud Print" for details.
Print Directly from iPad, iPhone, or iPod touch with Apple AirPrint
The machine is compatible with the AirPrint function of Apple iOS devices.
You can directly print e-mails, photos, web pages, etc. from iPad, iPhone, or iPod touch to the machine
over wireless LAN.
Refer to "Printing from AirPrint Compliant Device" for details.
Print Photos on Facebook Easily Using a Facebook App "Print Your Days"
Use Print Your Days to collect Facebook photos of memories of parties and travel, recent activity of your
family and friends, your hobbies, etc., then create and print a work of art.
Print Your Days is available from the Print Your Days Facebook page.
Print Easily by Sending an E-mail from a Computer or Smartphone
Print from E-mail allows you to print attachment files easily. You only attach a picture or a document from
your computer or smartphone and send the e-mail with the attached file.
You can print simply from outside like a travel destination. Also, your family or friends can print by
registering beforehand.
You can use Print from E-mail on any Canon printer that supports the service.

Refer to "How to Use Print from E-mail" for details.
Online Storage Integration Function
The machine can integrate with online storage services such as Evernote.
Integration with Online Notetaking Service "Evernote"
If an Evernote client application is installed on your computer, you can import scanned images into the
application and upload them to the Evernote server.
The uploaded images can be browsed from other computers, smartphones, etc.
To use Evernote, you need to create an account. See the "CREATE ACCOUNT" page of Evernote for
account creation.
Settings
•
In the Settings dialog box of IJ Scan Utility, select the item you want to set, then select Evernote for
Send to an application in Application Settings.
Refer to "Settings Dialog Box" for details.
Important
The Evernote service features are subject to change or termination without prior notice.
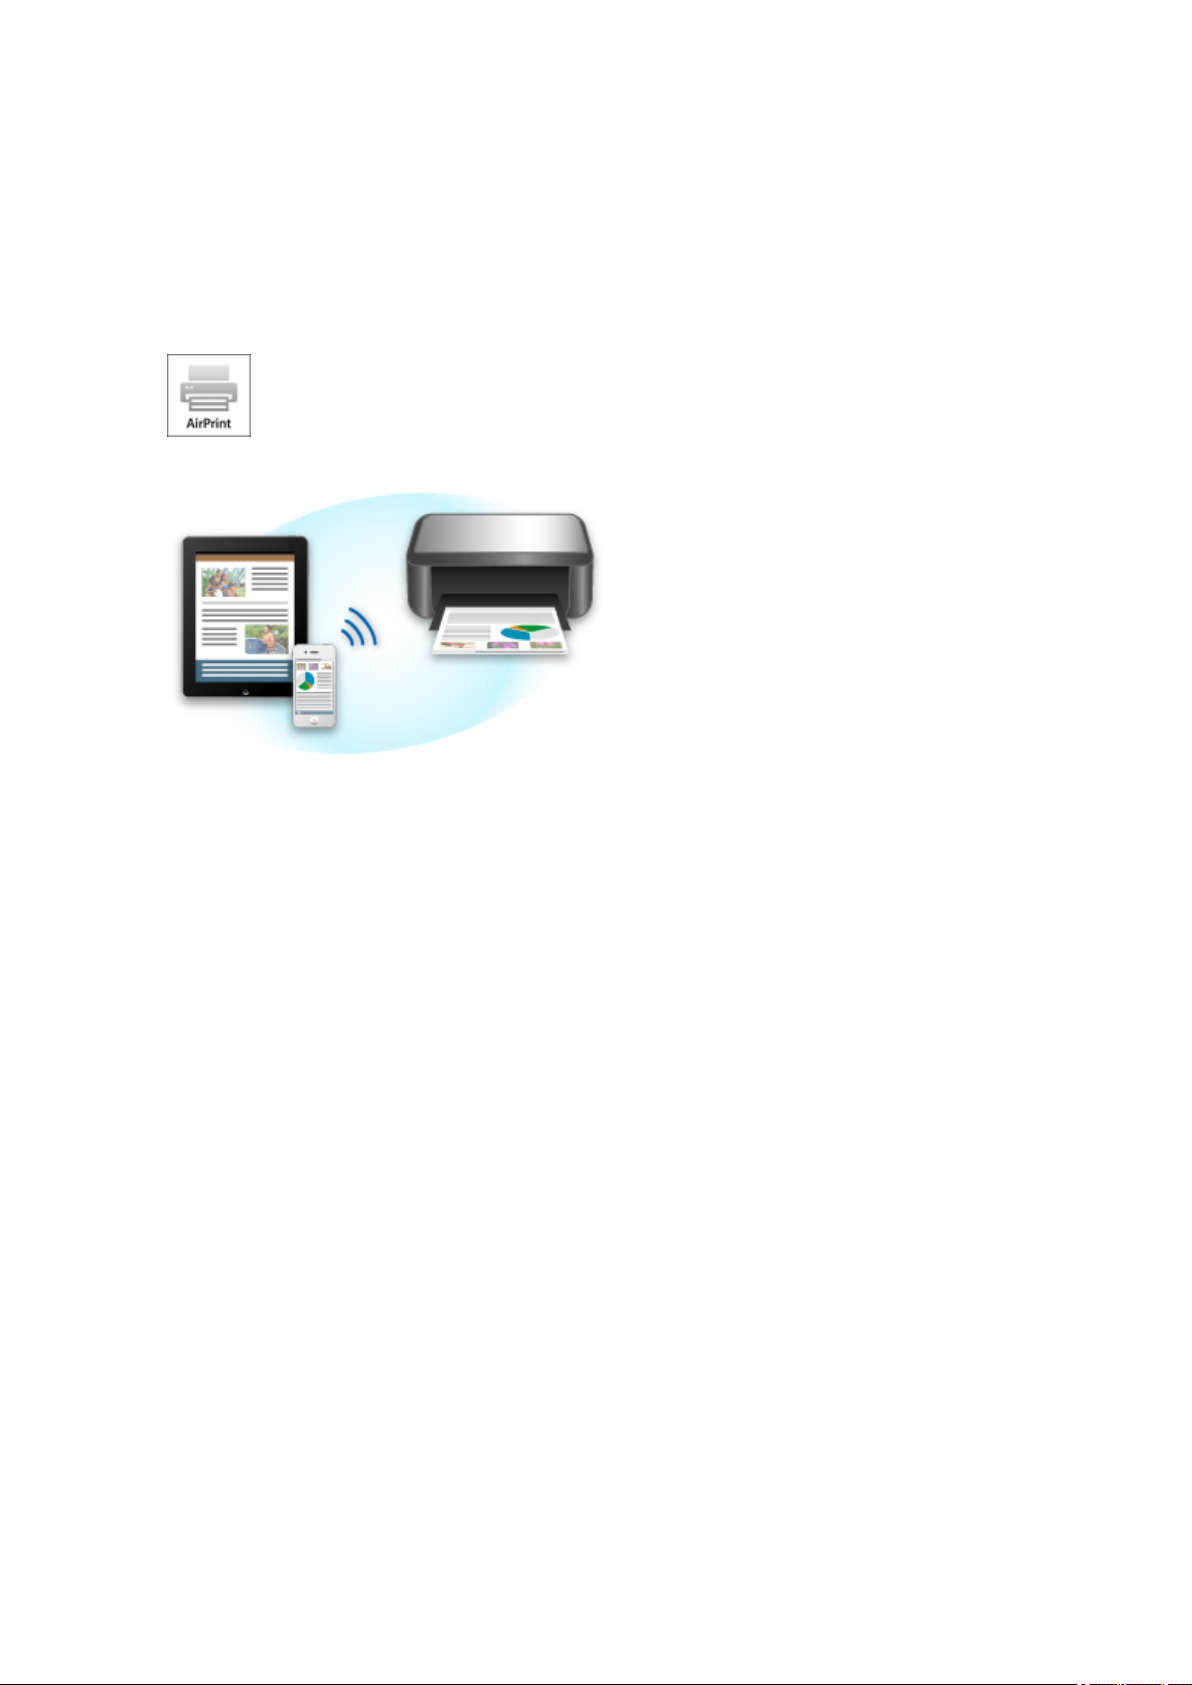
Printing from AirPrint Compliant Device
This document explains how to use AirPrint to print wirelessly from your iPad, iPhone and iPod touch to a
Canon printer.
AirPrint enables you to print photos, email, Web pages and documents from your Apple device directly to
your printer without installing a driver.
Checking Your Environment
First, check your environment.
AirPrint Operation Environment
•
To use AirPrint, you will need one of the following Apple devices running the latest version of iOS: iPad
(all models), iPhone (3GS or later), or iPod touch (3rd generation or later).
• Network Environment
The Apple device (iPad, iPhone, or iPod touch) and this machine must be connected to the same Wi-Fi
network.
Printing with AirPrint
1.
Check that this machine is turned on and is connected to the LAN.
2.
From the application software of your Apple device, tap the operation icon to display
the menu options.
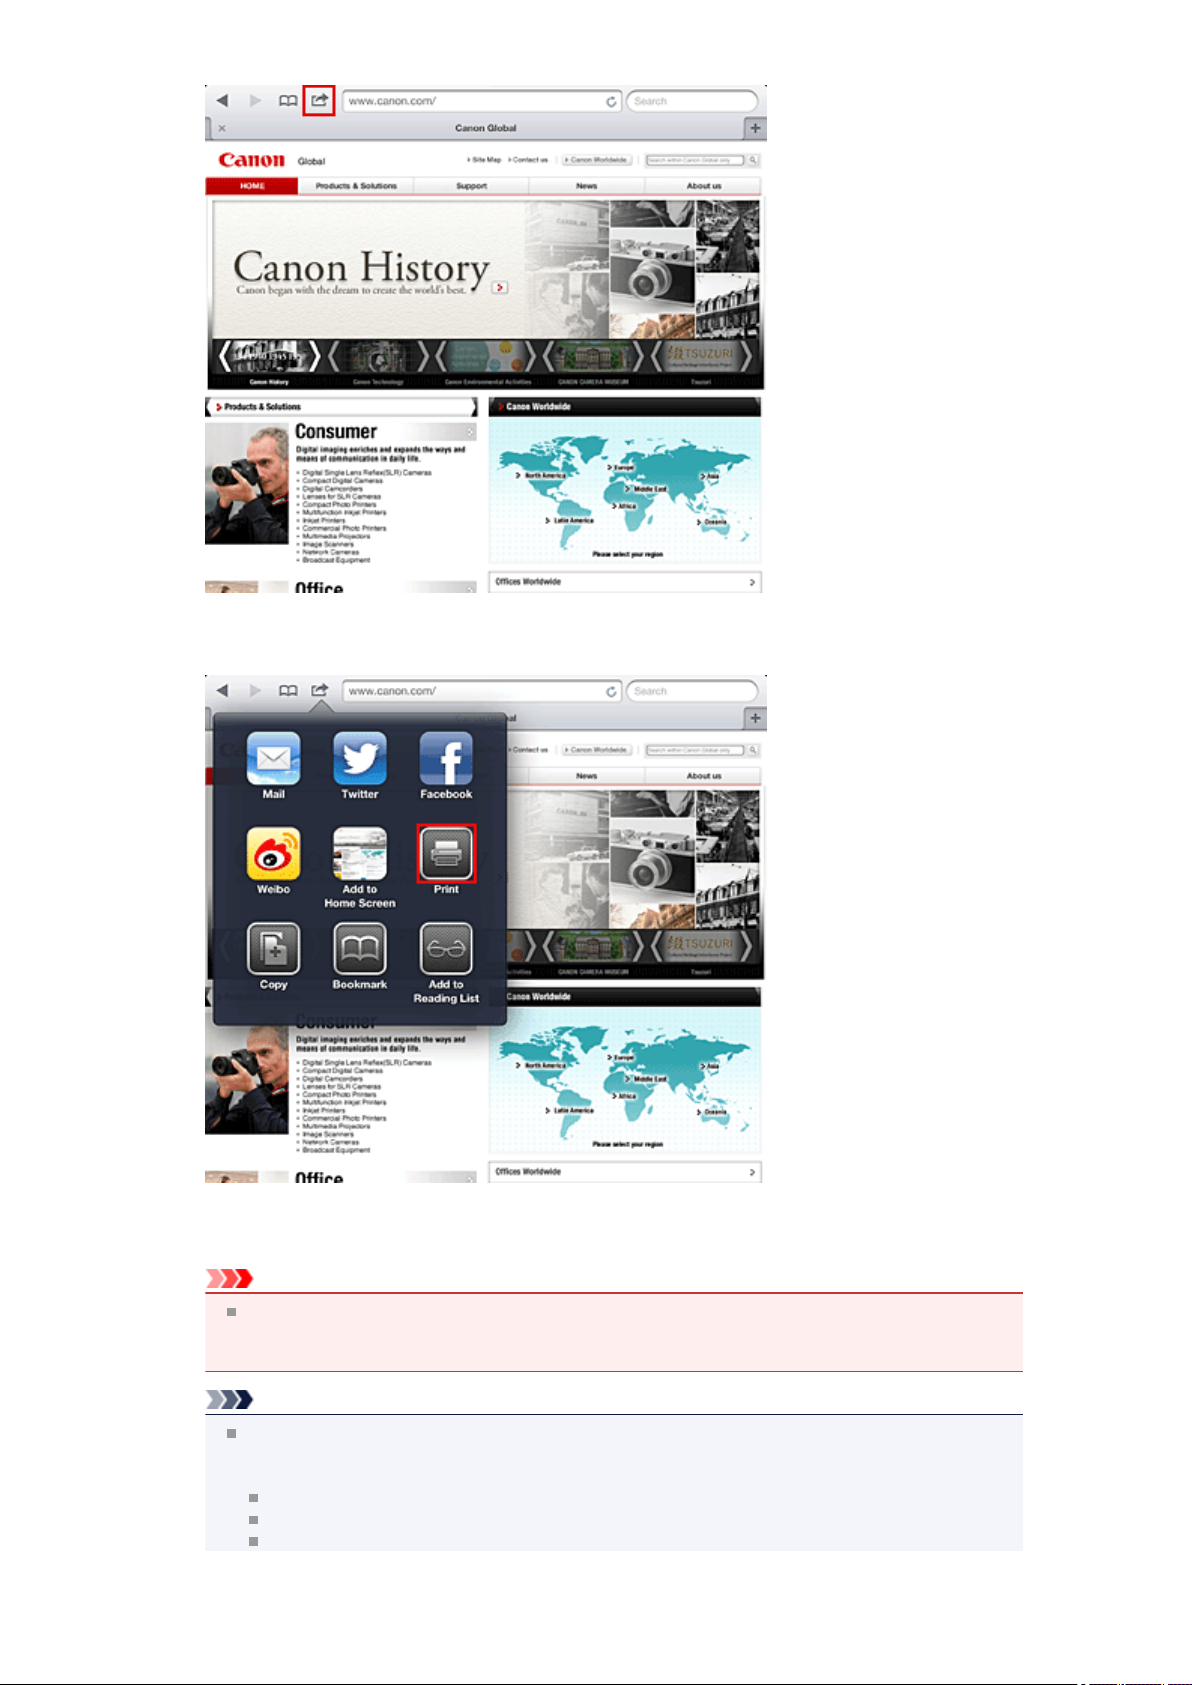
3. From the menu options, tap Print.
4.
From Printer Options, select the model that you are using.
Important
Because some application software does not support AirPrint, Printer Options may not be
displayed. If an application software does not let you use printer options, you cannot print from
that application software.
Note
The printer options differ depending on the application software and model you are using.
Normally, when you tap Print and select a model name, the displayed printer options will include
up to the following four options:
Printer: Select a model that can be used in your wireless LAN.
Copies: Select the number of print copies.
Duplex Printing: If the model supports duplex printing, you can select On or Off.
Range: The page range can be used only with specific application software and file types
(such as PDF files).
5. For 1 Copy, click + or - to set the number of required copies.
6. For Duplex Printing, click On to enable duplex printing or click Off to disable the
function.
When printing a file type that has multiple pages, such as a PDF file, click Range
7.
and then click All Pages or select the range of pages to be printed.
Tap the Print.
8.
When you execute printing, the printer prints according to the specified settings.
Paper Size
With AirPrint, the paper size is selected automatically according to the application software being used on
the Apple device and the region in which AirPrint is used.
When Apple's photo application software is used, the default paper size is L size in Japan, and 4"x6" or KG
in other countries and regions.
When documents are printed from Apple's Safari application software, the default paper size is letter size in
the U.S. region, and A4 in Japan and Europe.
Important
Your application software may support different paper sizes.
Checking the Print Status
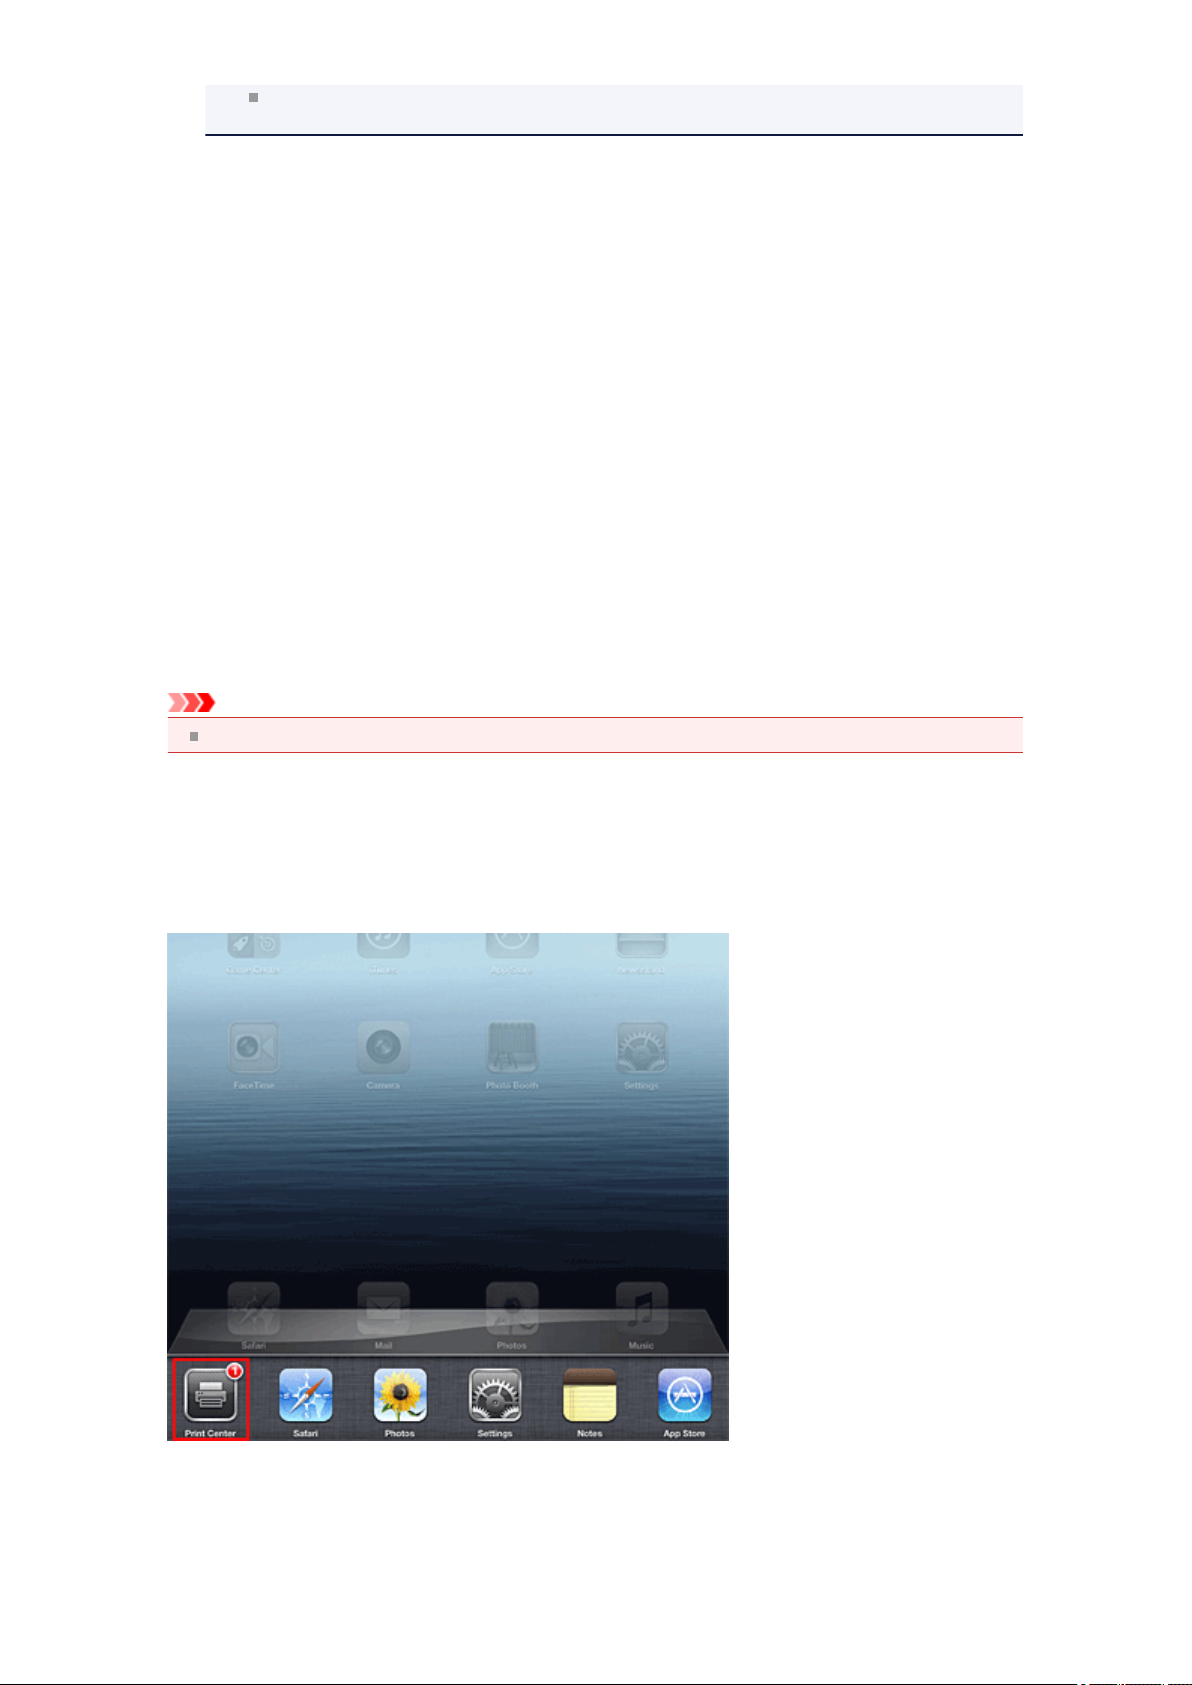
During printing, a Print icon is displayed in the list of recently used application software, and you can use it
to check the print progress.
To display the list of latest used application software, press the Home button on the Apple device twice.
The Print icon is displayed at the bottom of the Home screen.
Deleting a Print Job
To delete a print job with AirPrint, use one of the following two methods:
From the machine: Use the operation panel of the machine to cancel the print job.
•
• From an Apple device: Press the Home button on the Apple device twice. Tap the Print icon and
display the print job list. Tap the print job to be canceled, and then tap Cancel Print.
AirPrint Troubleshooting
If the document does not print, check the following:
1. Check that the machine power is on. If the machine power is on, turn it off and then
back on again, and check whether the issue is resolved.
Check that the machine is connected by LAN to the same network subnet as the
2.
device on which iOS is installed.
Check that the machine has enough paper and ink.
3.
Check that no error message is displayed on the machine operation panel.
4.
If the problem persists, use the printer driver on your computer to execute printing and check whether
the document can be printed normally on the machine.
If the document cannot be printed, refer to the Online Manual for your model.
Note
After you turn on the machine, it may take few minutes before the machine can communicate
through a wireless LAN connection. Confirm that the machine is connected to the wireless LAN, and
then try printing.
If Bonjour on the machine is disabled, AirPrint cannot be used. Check the LAN settings on the
machine, and enable Bonjour.
Note
The windows used in the explanations may differ from those displayed by your Apple product or
application software.
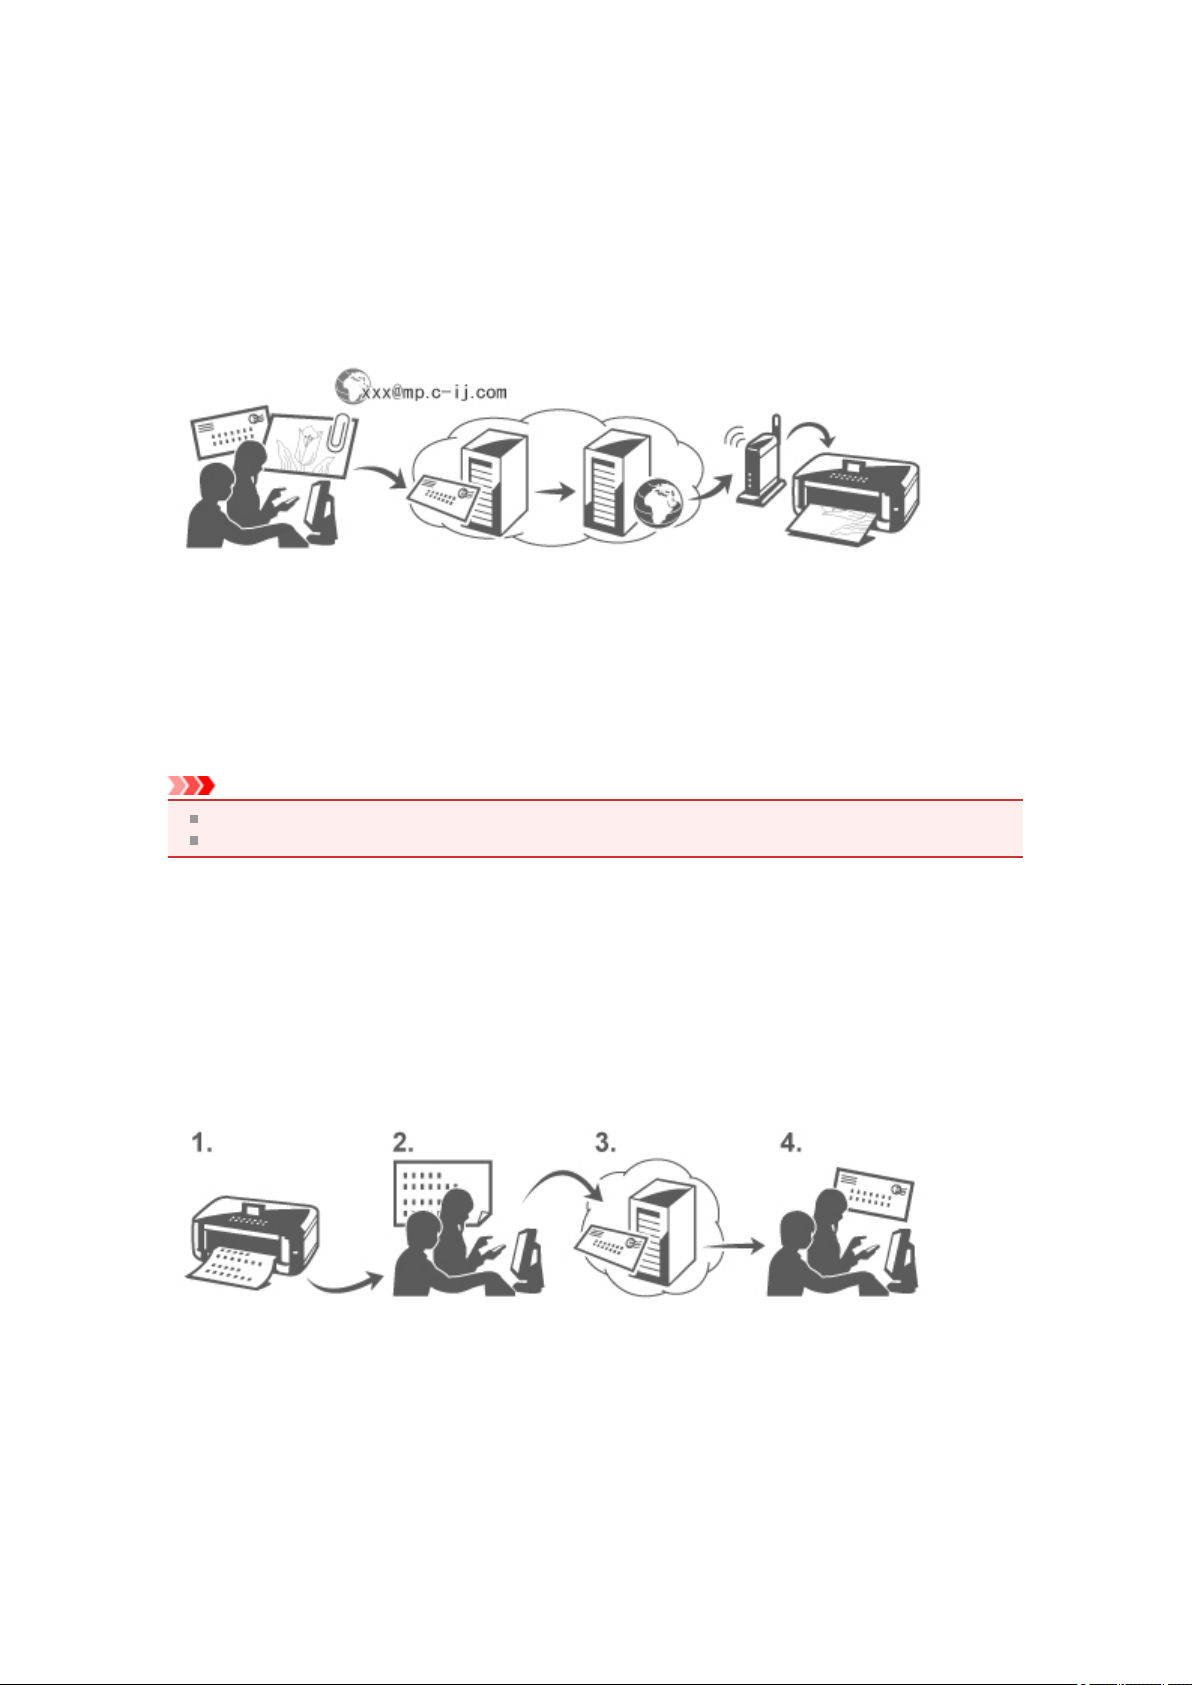
How to Use Print from E-mail
Print from E-mail allows you to print attachment files easily. You only attach a picture or a document from
your computer or smartphone and send the e-mail with the attached file.
You can print simply from outside like a travel destination. Also, your family or friends can print by
registering beforehand.
You can use Print from E-mail on any Canon printer that supports the service.
Checking Your Environment
First, check your environment.
• Network environment
This product needs to be connected to a LAN with an Internet connection.
Important
The user will bear the cost of Internet access.
This function may not be available in some countries/regions.
• Printer software (firmware) version
If the printer's firmware version is earlier than Ver. 2.000, you need to update the firmware.
Refer to "Firmware update" for your model from Home of the Online Manual for details.
Preparing to use Print from E-mail
To use Print from E-mail, you need to register the printer by entering information about the printer's
owner.
1.
Print the printer registration page's URL and the PIN code
2.
Access the URL and enter the owner's e-mail address and other required
information
3.
Check if an e-mail has been sent to the e-mail address you entered
4. Access the URL provided in the e-mail and complete the printer registration process
Note
The e-mail address that appears on the screen when you have finished registering is the e-mail
address that will be used just for the Print from E-mail function.
For details about the registration procedure, see here
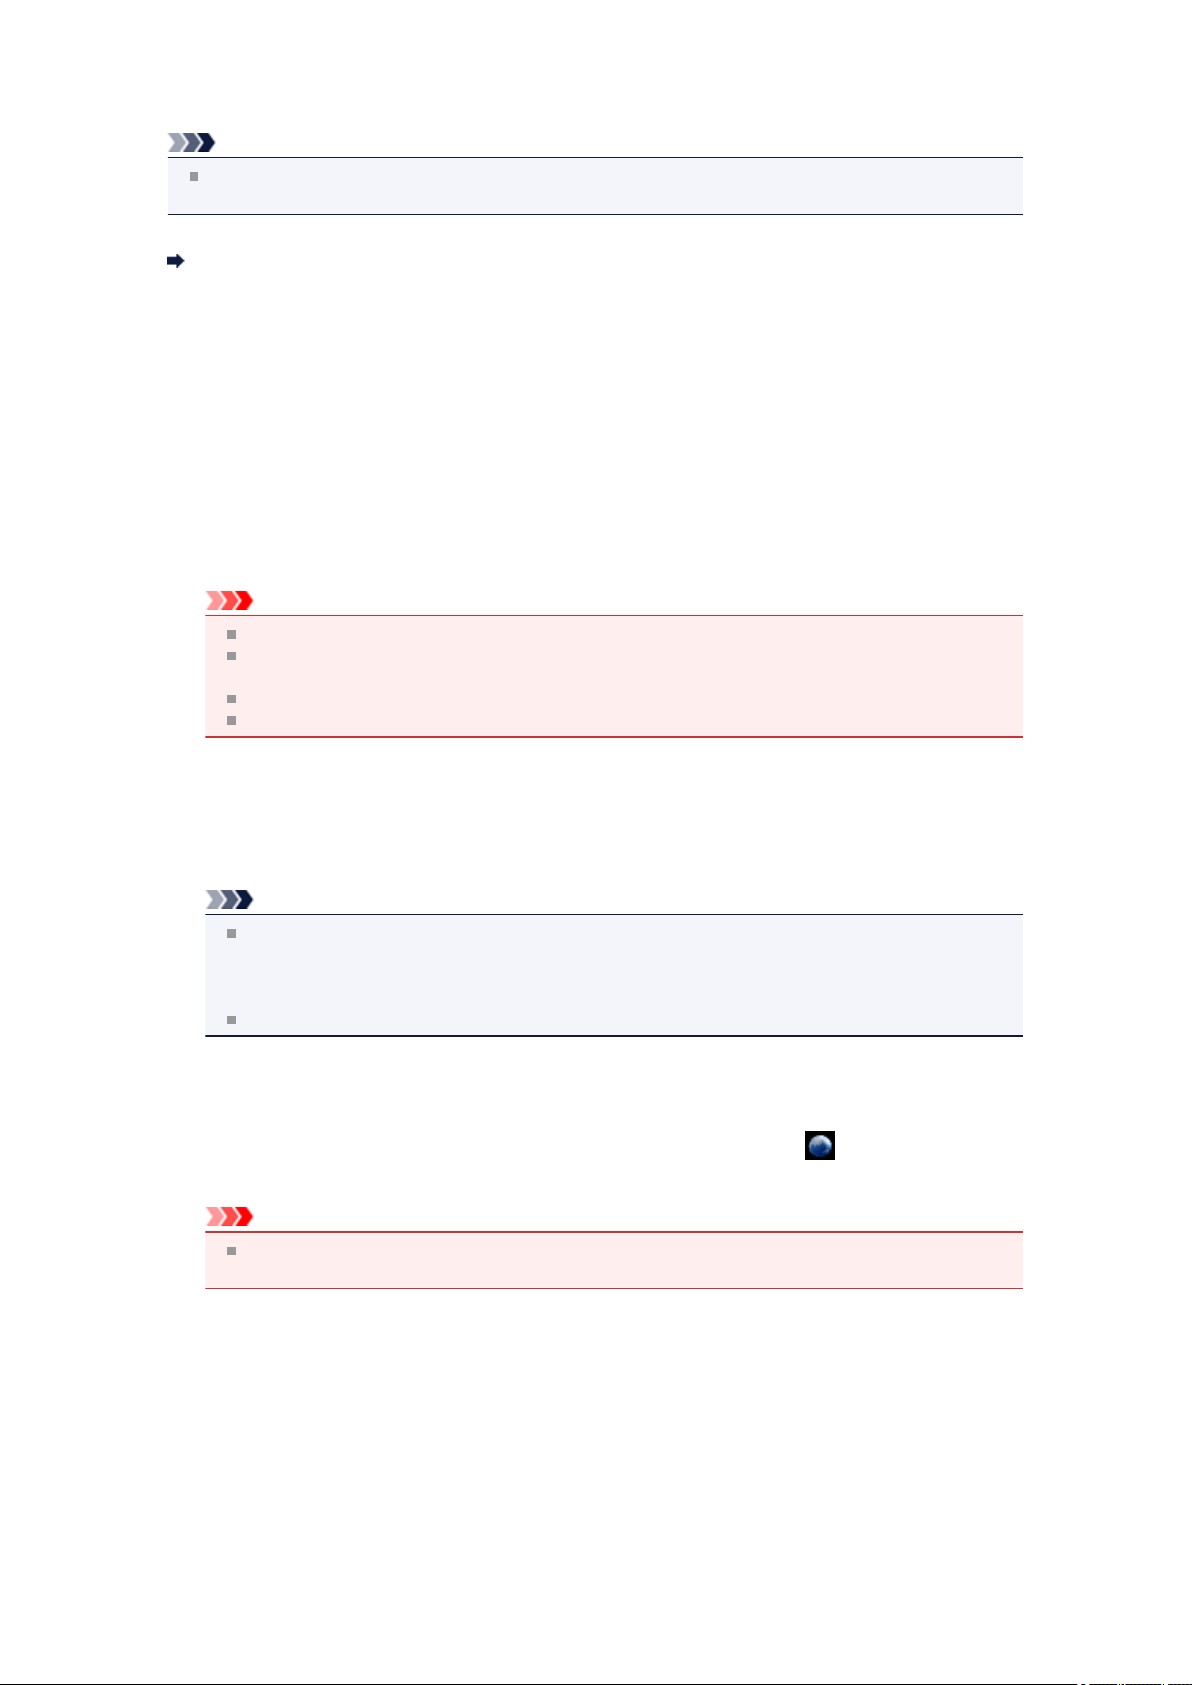
Printing from Your Computer or Smartphone
Prepare a file that you want to print
1.
The file format, number of files, and file size that this printing function supports are provided below.
Supported File Formats
•
Adobe PDF files
•
JPEG files
Important
Only files that are attached to e-mail can be printed. E-mail messages cannot be printed.
Encrypted Adobe PDF files, password-protected files, and files that are set to print disabled
cannot be printed.
Files that are attached as compressed files cannot be printed.
Files other than Adobe PDF files and JPEG files cannot be printed.
Supported Number of Files and File Sizes
• Up to 10 attachment files can be printed.
•
The maximum size of an e-mail with attachment files is 5 MB.
Note
The size of an e-mail is determined based on the size of the entire transmission file, including
the e-mail message and the header.
Therefore sometimes an attachment file cannot be printed even if the size of the attachment file is
less than 5 MB.
If the size of an attached JPEG file is less than 10 KB, the file cannot be printed.
2.
Attach a file that you want to print from your PC or smartphone to the e-mail and
send it to the e-mail address for printing
You can also check the print address from the operation panel by selecting Web service → Web
service setup → Cloud settings → Print from E-mail setup → Check address for printing.
Important
You will not be able to use the service during periods when the service is undergoing
maintenance.
Use the Service With More Than One Person
To allow multiple users to use this function, register users (other than the printer's owner) as members.
1.
The printer's owner uses his/her PC or smartphone to access the service's login
URL (https://pr.mp.c-ij.com/po) and logs in
2.
Select the printer name that you want to add the member. Click Member Settings
→ Add to enter the member's e-mail address, and click Register
A URL of the member registration page is sent to the e-mail address of the newly registered member.
3. Registered member accesses to the URL that is included in the e-mail, and
complete the registration
You can use this service from registered e-mail address.
Note
You can register up to 500 members.
Print from E-mail Troubleshooting
The Document Does Not Print
If You Cannot Register to the Service or Delete the Service
If you cannot print after the printer is repaired
The Document Does Not Print
If the document does not print, check the following:
Check that the printer power is on.
•
If the printer power is on, turn it off and then back on again, and check whether the issue is resolved.
• Check that the printer is connected to the network.
• Check that the printer is connected to a LAN and the LAN has an Internet connection.
• Look at the printer operation panel and check that no error message is displayed.
If the problem persists, use the printer driver on your computer to execute printing and check whether
the document can be printed normally on the printer.
If the document cannot be printed, refer to the on-screen manual (operating instructions) that comes
with the printer.
Check that the file attached to the e-mail is a Adobe PDF file or an JPEG file.
•
Select Web service → Web service setup → Cloud settings → Print from E-mail setup →
•
Check address for printing, from the printer operation panel, and check that the send destination email address is correct.
• Check that the user's e-mail address for using this service is registered.
If you want to check the error details, the printer owner have to access the login URL (https://pr.mp.cij.com/po).
In the Print Status screen, click Go to Print History Screen and check the history of jobs that were
•
sent. You can check the error details.
If you want to check the error details, the printer owner have to access the login URL (https://pr.mp.cij.com/po).
Note
For a wireless LAN connection, after the printer is turned on, it may take a few minutes before
communication becomes possible. Confirm that your printer is connected to the wireless LAN, and
then try printing.
If You Cannot Register to the Service or Delete the Service
If You Cannot Register to the Service
If the printer operation panel display the message "Failed to register with "Print from E-mail".", the
•
registration to Print from E-mail may not have been completed in time. Select OK to release the error,
and start over again from the beginning.
Check that the firmware version of the printer has been updated.
•

If You Do Not Receive the URL to Complete the Registration by E-mail
• An incorrect e-mail address may have been entered. Wait about 30 minutes, and operate the printer
operation panel to print the printer registration URL and PIN code. Then re-register from the beginning.
If You Cannot Delete the Service
• If the printer operation panel display the message "Failed to connect to "Print from E-mail". Only the
information on the printer was deleted." is displayed, it could be that the registration information on the
service could not be deleted even though the Print from E-mail information stored on this machine
was deleted.
Select OK to release the error, and then access the service's login URL (https://pr.mp.c-ij.com/po) to
delete the registration information.
•
If the Print from E-mail information stored on this printer could not be deleted even though the
registration information on the service was deleted, select Web service → Web service setup →
Cloud settings → Print from E-mail setup → Deregistration of Registered Printer(s) and delete
the registration information.
If you cannot print after the printer is repaired
Re-registering the printer and the printer owner
• When the printer is repaired, all of the registered information is deleted and Print from E-mail can no
longer be used.
If you want to use this service again, you must re-register the printer and the printer owner.
For information about the re-registration procedure, see "Preparations for Using the Print from E-mail".
Even if users other than the owner were registered as members, repeat the registration starting from
here.
Trademarks
• Windows is a trademark or registered trademark of Microsoft Corporation in the U.S. and/or other
countries.
• Windows Vista is a trademark or registered trademark of Microsoft Corporation in the U.S. and/or other
countries.
Mac OS, Bonjour, iPad, iPhone, iPod touch, and Safari are trademarks of Apple Inc., registered in the
•
U.S. and other countries. AirPrint and the AirPrint logo are trademarks of Apple Inc.
• IOS is a trademark or registered trademark of Cisco in the U.S. and other countries and is used under
license.
All other company names and products mentioned herein may be trademarks or registered trademarks
•
of their respective companies.

Preparations for Using the Print from E-mail
To use this service to print a photo or document, you need to follow the procedure provided below and
register the printer.
Print the Printer Registration Page's URL and the PIN Code
First, print the printer registration page's URL and the PIN code.
Check that there is sufficient amount of ink in the printer, and then print using the printer's control panel.
Check that the printer is connected to the network
1.
Important
This product needs to be connected to a LAN with an Internet connection.
From the HOME window on the printer operation panel, select Web service →
2.
Web service setup → Cloud settings → Print from E-mail setup → Register
Printer
3. Follow the instructions on the screen and print the printer registration URL and PIN
code
Important
Do not turn off the power on the printer until the registration process is completed.
Access the printed URL and log in within 25 minutes.
If you canceled the registration before it is completed, repeat the procedure from printing the
registration information.
Access the Printed URL and Enter the Owner's E-mail Address and Other
Required Information
Next, enter the owner's e-mail address and other required information.
1. Access the printed URL using the PC's web browser, and click Log In
2.
In the use agreement window, select Agree
Important
If you do not select Agree in the use agreement window, you will not able to register as the
printer owner.
3.
Enter the printer owner's e-mail address, and click Next
Important
An e-mail is sent with the required information for completing the registration to the e-mail
address entered for the printer's owner.
If domain-specific reception is set, change the setting so that mail can be received from
"info@mp.c-ij.com"
Note
The e-mail address of the printer owner cannot be changed once the printer owner is registered.
To change the e-mail address, delete the registration of the registered printer, and re-register the
printer owner by using the new e-mail address. In this case, all previously registered information
will be deleted.
The notification is sent automatically to the registered e-mail address when the printing or
service maintenance starts.
4. In the Printer Owner Registration window, enter the information shown below, and
click Next
User Name
Enter any name.
The name that you enter is displayed at login.
Important
The maximum number of characters that can be entered is 30.
Language
Select the language that you are using.
The language that you select is used in notification e-mails such as print start notices.
Time Zone
Refer to this section, and select the standard time of the city that is nearest to the region where you
live.
Date/Time Display Format
Select the format of your choice. The format that you select is applied to the date/time information in
the screens and notification e-mails of this service.
Daylight Saving Time
This setting is combined with the Time Zone setting, and applied to the date/time information in the
screens and notification e-mails of this service.
When you select ON, 1 hour is added to the Time Zone setting when the date/time information is
displayed.
5. In the Printer Registration window, enter the Printer Name, and click Confirm
Enter any name that will allow you to identify the printer.
Important
The maximum number of characters that can be entered is 30.
6. In the Confirm Owner Registration window, check the registration information,
and then click Register
A temporary password will be displayed.
Important
The temporary password that appears is not included in the notification e-mail.Be sure to write
down the temporary password before closing the screen.
Check if an E-mail Has Been Sent to the E-mail Address You Entered
A URL is notified to complete the registration to the e-mail address that for the registered printer's owner.
Access the URL in the E-mail and Complete the Printer Registration
1.
Access the URL provided in the e-mail
Important
You have to complete the registration within 30 minutes.
2.
Enter the registered e-mail address of the printer's owner, the temporary password,
and click Log In

3. Set a password of your choice, and click Register
When the password setting process is completed, the printer's e-mail address and the service's URL
are displayed, and the printer's registration process is completed.
Important
When you enter the password, the following character restrictions apply.
Set a password that has 8 or more characters.
The characters that you can use are single-byte uppercase letters, single-byte lowercase
letters, and single-byte numbers.
In the password, combine all of the different types of characters that can be used.
The displayed printer's e-mail address and the URL of the login page are not sent. Be sure to
write down the printer's e-mail address and the URL of the login page before closing the screen.
 Loading...