


1
Guide to the DentalFoto™ Digital Camera
PDF Vers620PDCO2-06.doc
2
Guide to the DentalFoto Digital Camera
Patterson Dental Supply (item #07-5696935)
Dental Learning Centers® (DLC) has designed and
custom manufactures a lens extension adapter
(patent pending) that enables the DentalFoto™ camera to take
spectacular pictures. Equally important, DLC has expertly
maximized the cameras many functions and settings for dentistry.
This took many hours of time and effort by photography experts to
achieve the optimal settings.The information is not a secret; we
include them in the guide should you ever need them.
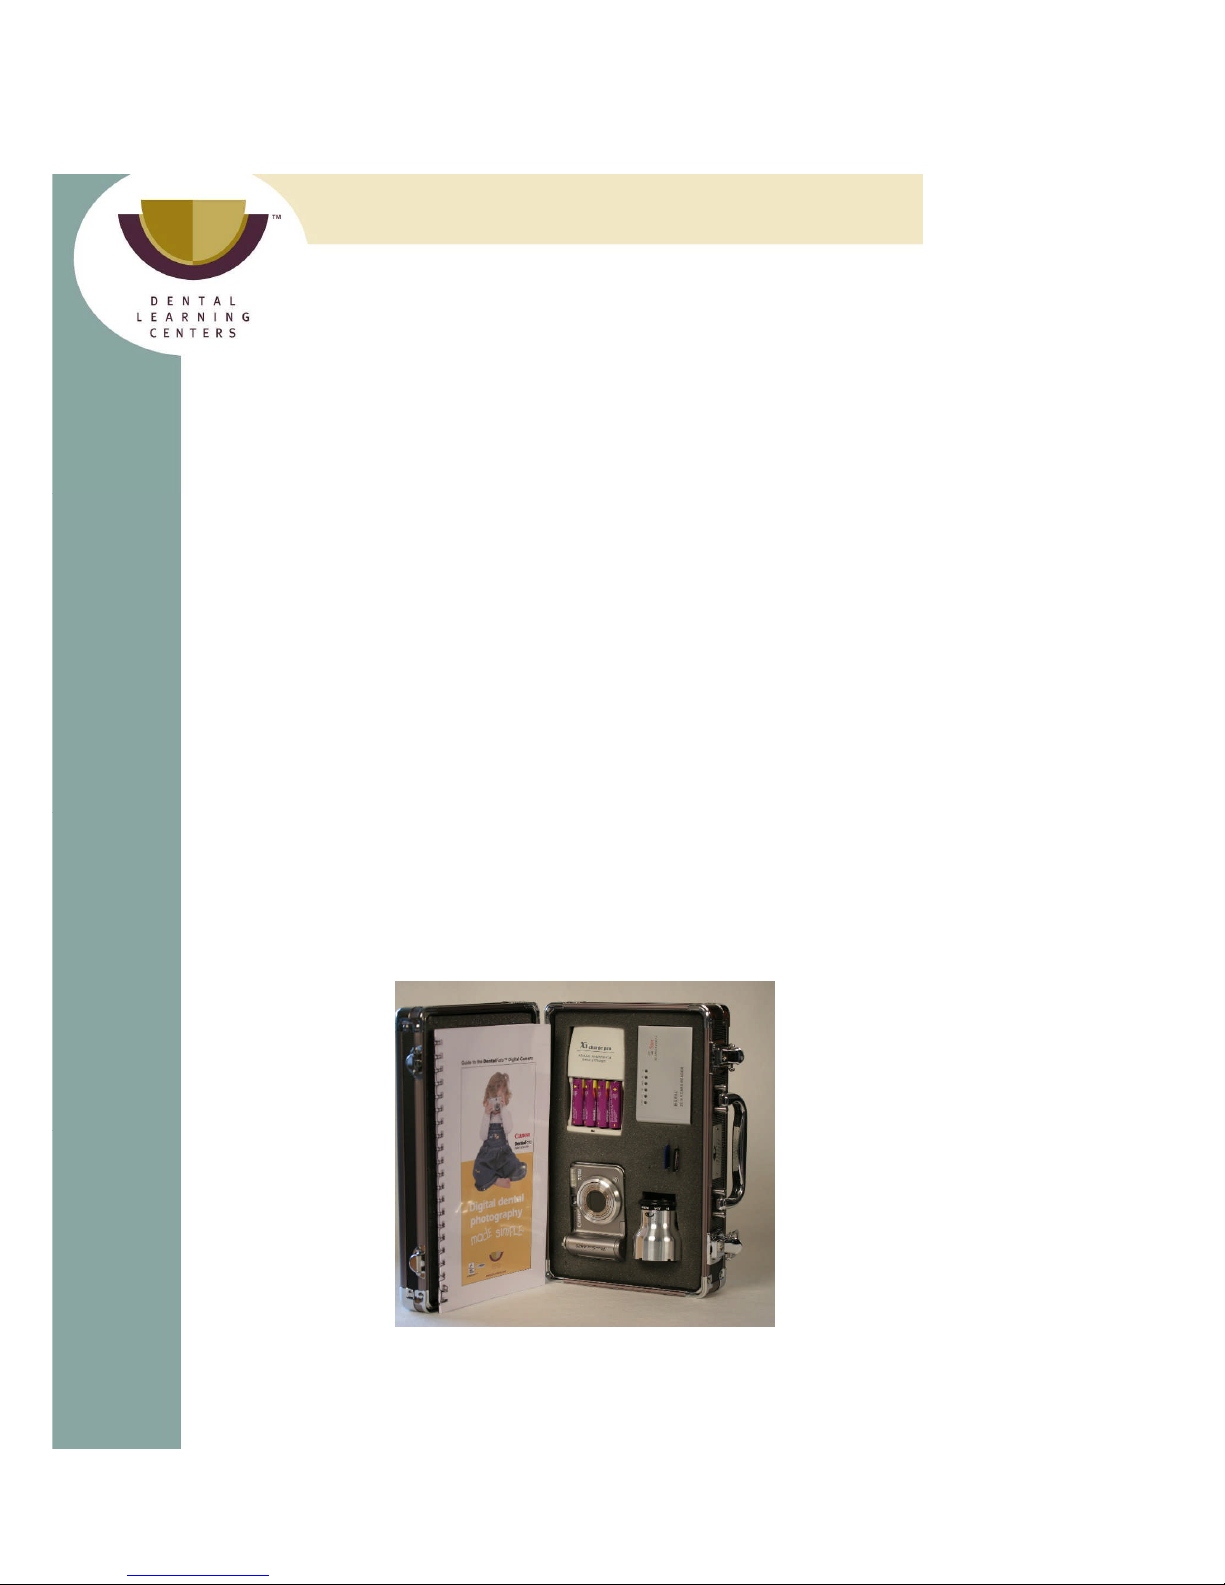
The DentalFoto™ arrives to you tested, custom set with charged
batteries and memory card inserted. *Your kit contains:
1. The Canon PowerShot A610 or A620 digital camera with the
original Canon box contents. This includes the cameramanual,
warranty, USB and RCA cables.
Please note, the Canon PowerShot Digital Camera is
warranted and serviced by Canon USA. See warranty card.
2. A protective aluminum carrying case with custom cut foam.
3. Three memory cards, one 32 mg card plus two 128 mg cards.
4. Two sets of high performance rechargeable batteries.
5. Trickle battery charger.
6. A 4 in 1, high speed, travel card reader with the driver disk
found in the Canon box (only needed for Windows 98 operating
systems).
7. Lens filter.
8. Lens cap.
9. The custom
manufactured
Lens Extension
Adapter.
*DLC has the right to change contents of DentalFoto Kit without written notice

PDF Vers620PDCO2-06.doc
3
TABLE OF CONTENTS
Introduction and Camera Kit Contents 1
Quick Start Guide – Basic Camera Operation 3-5
Photo Series 6
Full Face Photography 7
Intraoral Photography 8-10
Dental Mirrors 10
Trouble Shooting and Settings 11-15
Support and Warranties 15
Patterson Technical Center Support
Dental Learning Centers Support
Canon Warranty Repair Contact Information
PDF Vers620PDCO2-06.doc
4
Quick Start Guide
Basic Camera Operation
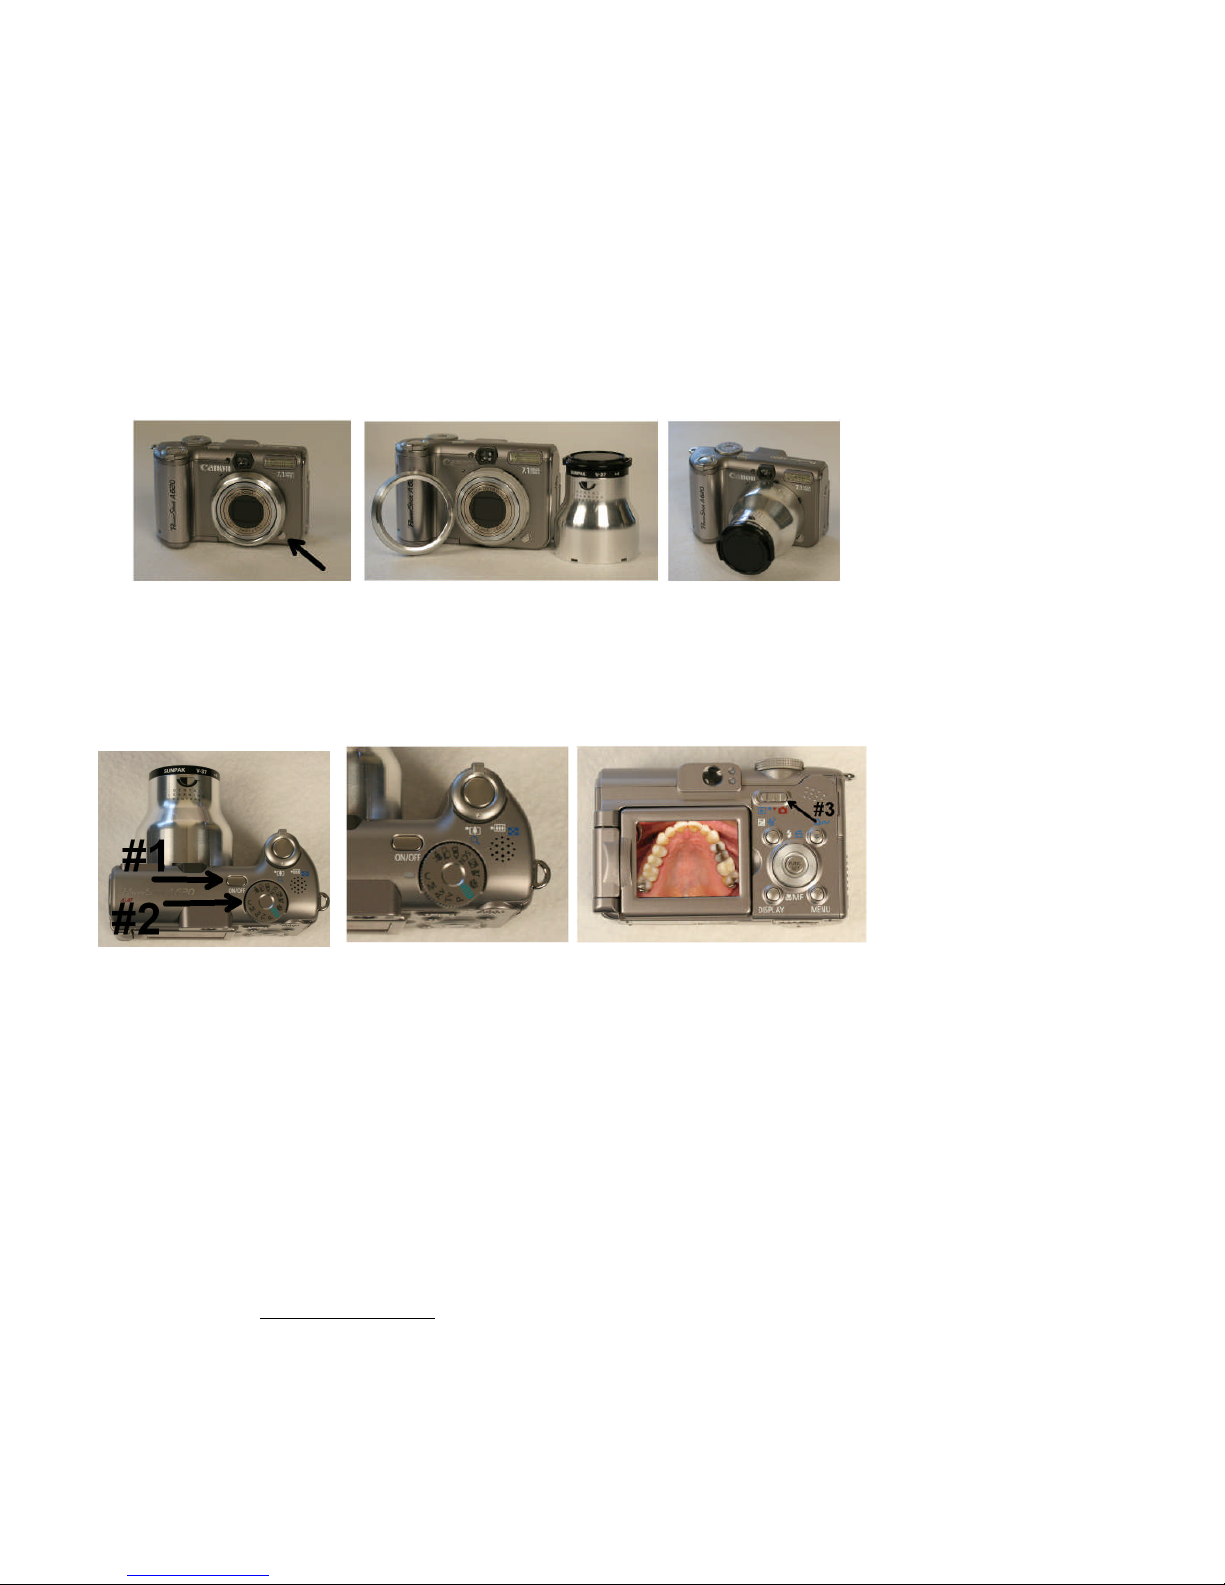
1. SETTINGS: Your camera comes preset for close-up photography.
2. ATTACH LENS EXTENSION ADAPTER (close-up photography
only): Remove lens ring by pushing button, turn counter clockwise.
Attach the Lens Extension Adapter – (bayonet style, push and twist until
it locks in place).
3. POWER OFF /ON: #1 ON/OFF Button, #2 set Mode Dial TO C for
close up pictures or P for full face (remove extension adapter), #3 slide
Mode Switch right → to take a picture, slide it left ← to view pictures.
4. CUSTOM WHITE BALANCE: It is recommended that you White
Balance the camera in your operatory. Once set, it is retained and
doesn’t need to be reset unless lighting changes and you think the color
is off. This adjusts the camera picture color to your lighting
environment. You will need white paper (two or three sheets so you
can’t see through it).
a. To take a picture, slide mode switch to right.
b. PutMODE DIAL on top of camera to “C.”
c. Push the FUNC SET button, toggle down one time and set to
Custom.
d. Point your camera about 6 inchesfrom the paper, push MENU. The
flash will go off and color correct your camera. See page 55 in the
Canon Camera User Guide for more information. Push Function
button again. To save that setting push Menu, toggle up to Save
Settings, push Set, then OK.
PDF Vers620PDCO2-06.doc
5
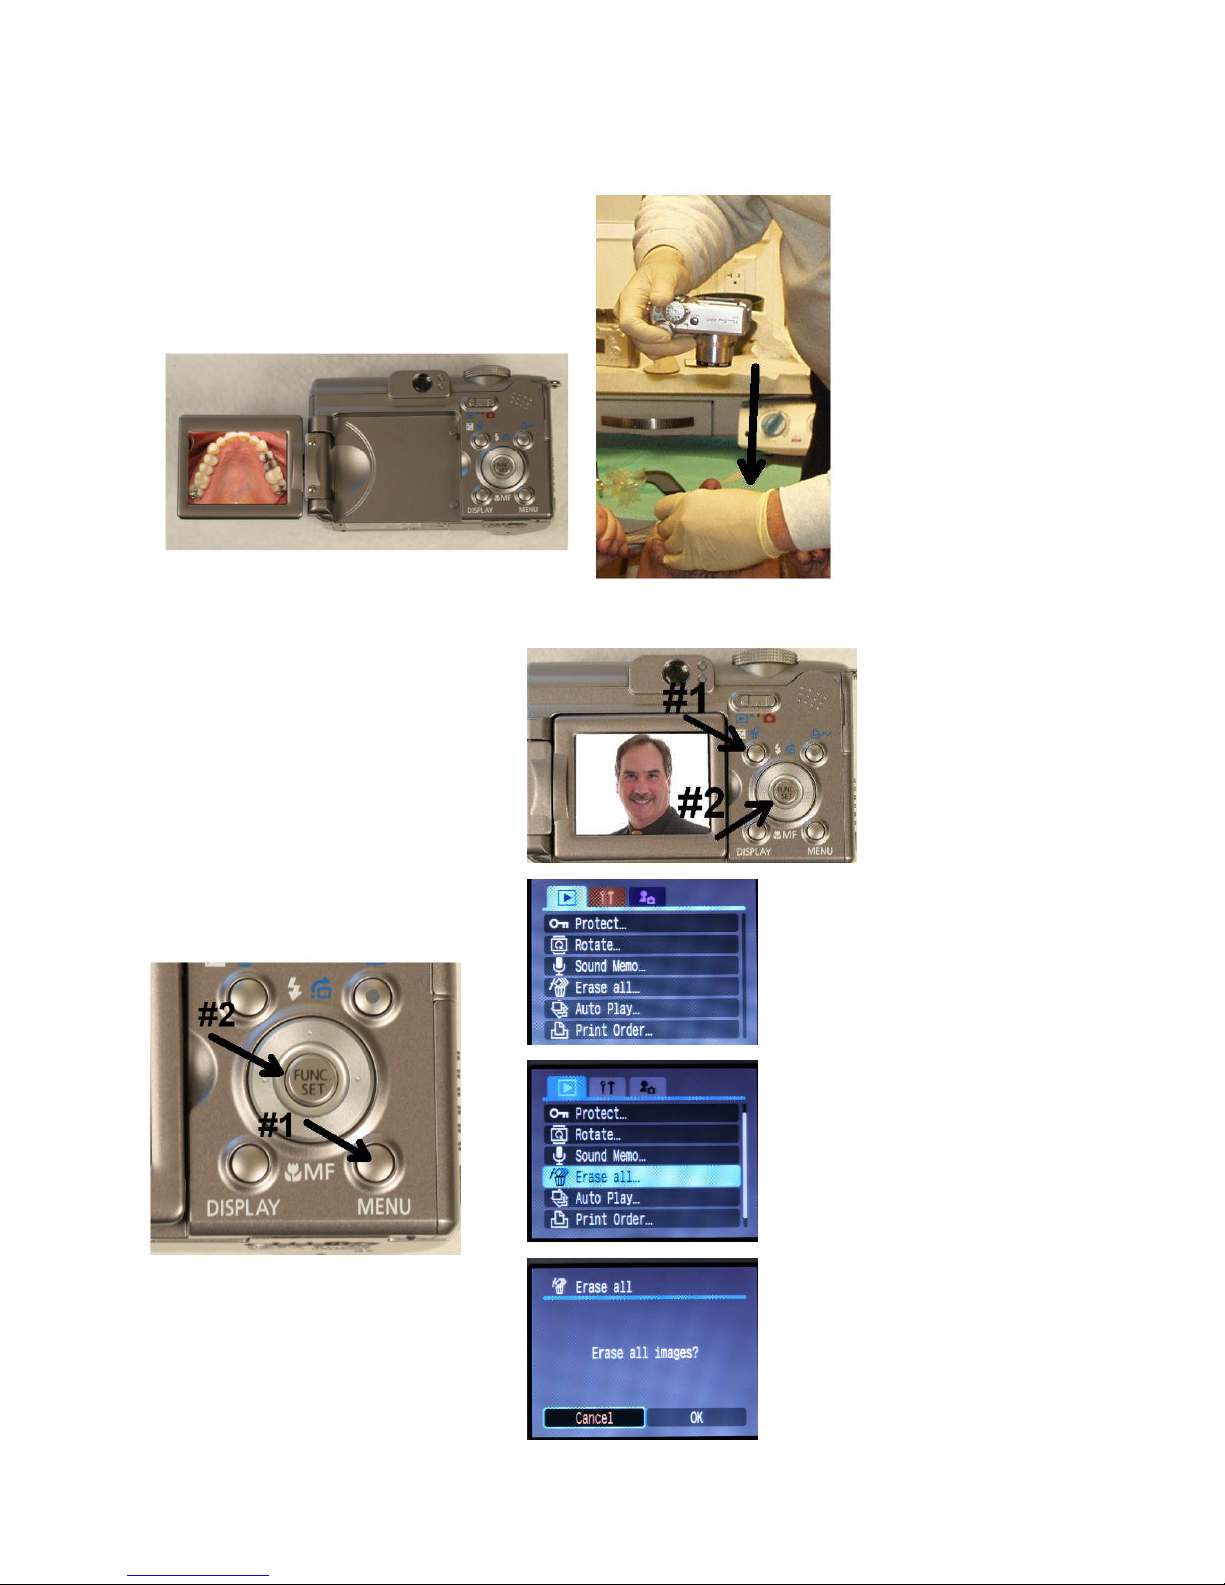
5. TAKING A PICTURE is a two step process:
Push the shutter button DOWN half way until
you feel the first pressure point. Don’t lift
your finger, wait for the audible “chirp,” and
then push down the rest of the way to take a
picture. The picture is recorded and will stay
on the back LCD for 2 seconds.
HINT: Activate Manual Focus to assist you with
focusing. Push MF on the jog wheel to activate the magnified area.
Move closer and farther away to see where the camera is best
focused.
6. DELETING PICTURES:
a. Slide switch to view mode
b. Single Images, Push Erase
Button (#1) then (#2) Set.
c. All Images
1) Push #1 MENU.
2) Jog down to Erase all.
3) Push #2 SET.
4) Jog to OK then SET.
 Loading...