

Page 1
H2Optimiser
Water Management System
Suits
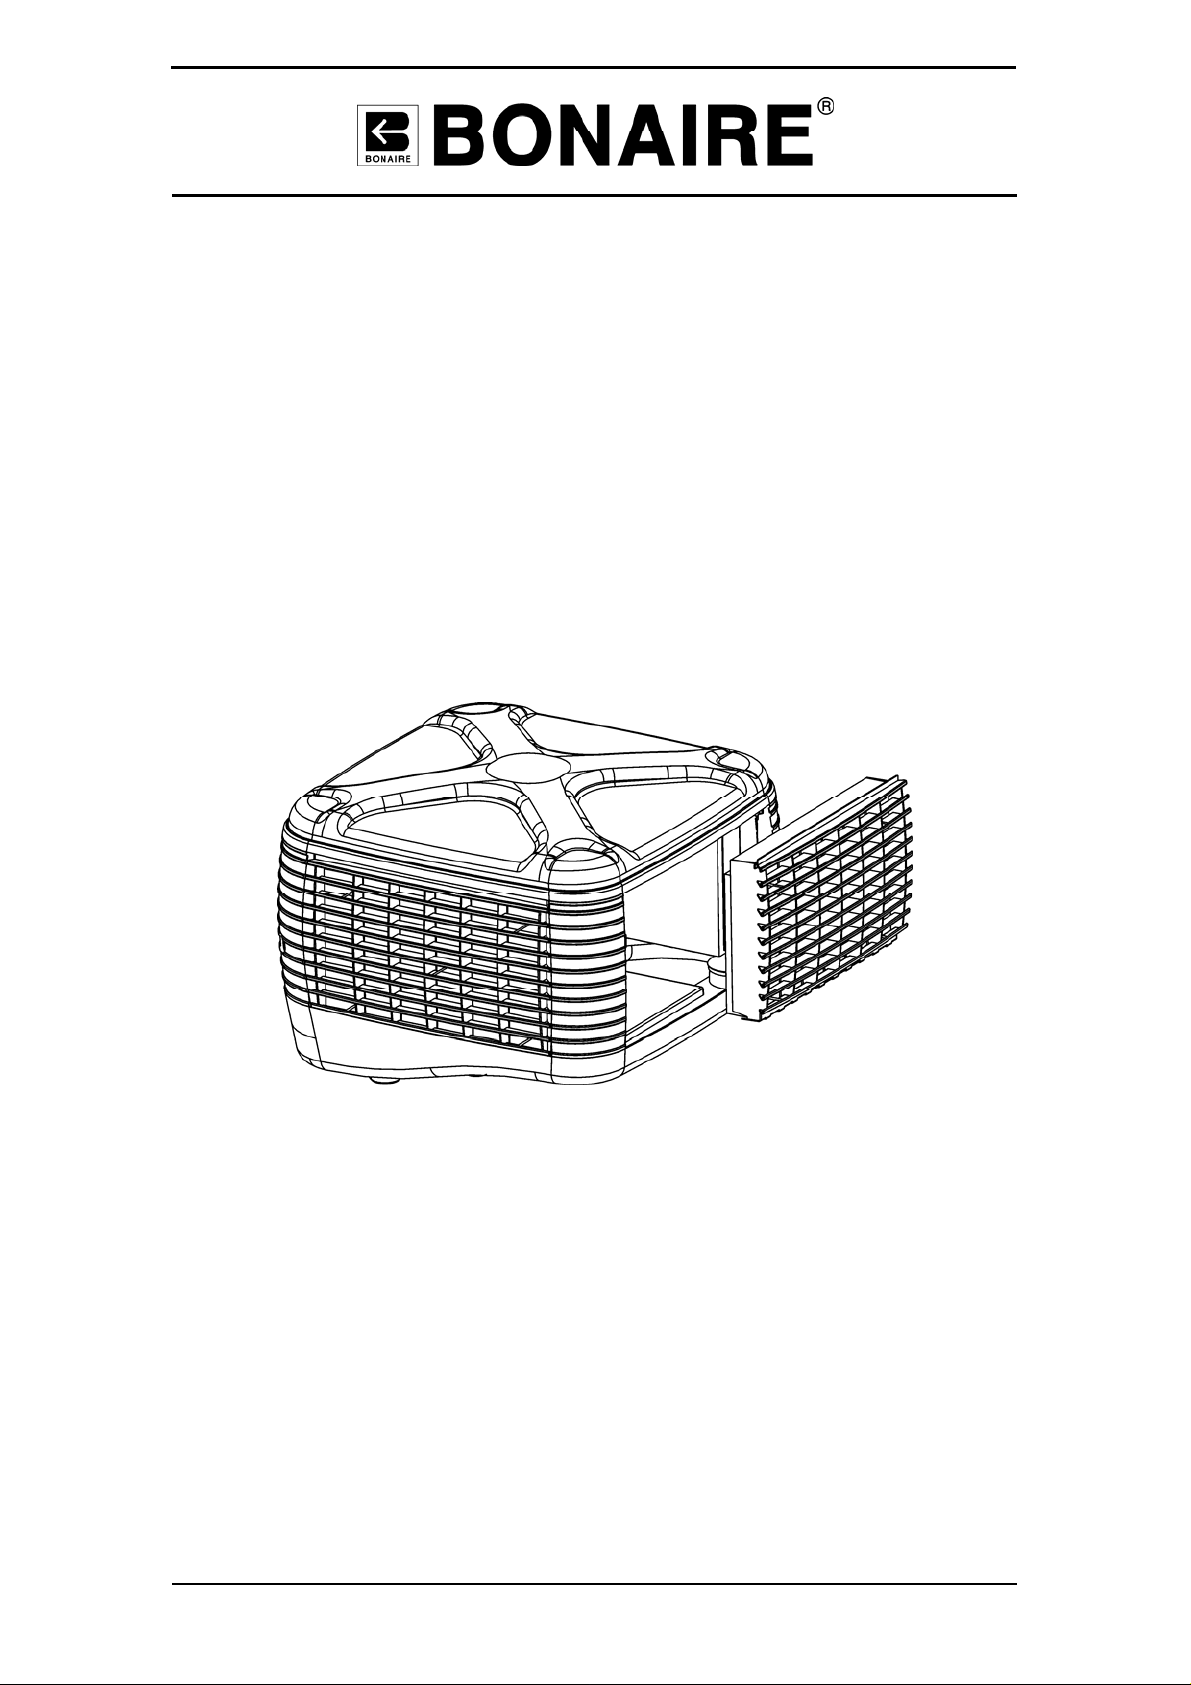
Bonaire Integra
Owner’s Information
Page 2

INSTALLATION / MAINTENANCE INSTRUCTIONS
H2Optimiser
Introduction
Your new Bonaire Integra has been fitted with an H2Optimiser water
management system. This H2Optimiser is designed to give increased water
savings through controlled management of the maintenance water.
All units using conventional bleed and dumping systems require regular
bleeding or dumping of the water during each day. With the H2Optimiser
Water Management system, water can be held for much longer periods of
time before being released conserving up to 45% of water usage.
This is achieved by using the CARE-FREE Water Conditioner A/C 6 in the
water distribution circuit. The CARE-FREE Water Conditioner A/C 6 disrupts
the cohesion of dissolved solids reducing the opportunity for scale
precipitation.
The H2Optimiser will only operate successfully when dissolved solids in the
water does not exceed 300 parts per million.
Set Up
Very little is required to set up the H2Optimiser. 2 dip switches in the control
box set the water drain cycle times suitable to the dissolved solids in the
water. The unit comes from the factory with the water drain cycle times preset.
The drain cycle dip switches are located inside the unit control box.
To check the correct setting has been applied, see the table below.
NOTE: Isolate the power to the control box before opening the control
box lid.
Maximum Pump Runtime Between Drain Cycles.
Dip Switches 100ppm 200ppm 300pm
Large 28hrs 23 hrs 16 hrs
Medium 33hrs 27 hrs 18 hrs
Small 48hrs 40 hrs 27 hrs
Page 2
Page 3

INSTALLATION / MAINTENANCE INSTRUCTIONS
H2Optimiser
Installation
The Integra unit comes with most of the H2Optimiser components already
installed.
• The CARE-FREE Water Conditioner A/C 6 is installed in the water
distribution circuit.
• The water outlet solenoid and overflow fitting have been installed and the
wiring loom is connected to the control board.
• The water inlet valve loom has been connected to the control board.
Installation Requirements
• Install the water inlet solenoid valve onto the ball float valve using the
90° elbow provided.
• Connect the flexible connector to the inlet solenoid valve.
• Connect the solenoid wiring loom to the inlet solenoid valve terminals.
• Connect the flexible connector to the mains water.
Refer to the unit installation instructions for all other installation requirements.
H2Optimiser Operation
The H2Optimiser has 2 functional areas:
• The water outlet solenoid is part of the water distribution circuit. Once the
hour counter setting has been met, the inlet valve will close and the water
outlet valve will open allowing the sump water to be pumped out of the unit
for a period of 3 minutes. The water outlet solenoid will then close, the
water inlet valve will open and normal operation will be resumed. If there
has been no activity of the unit for 30 days since last usage, the unit will
pump out the sump water upon unit reactivation
• The CARE-FREE Water Conditioner A/C 6 generates its own current once
it has been fully submersed in the water reservoir.
Page 3
Page 4

INSTALLATION / MAINTENANCE INSTRUCTIONS
H2Optimiser
Maintenance Requirements
1. Start Up Maintenance:-
With a new product there is the opportunity for new product residuals to
make their way into the water reservoir. After approximately 8 hours of
operation, check the following:-
• Check and clean out any water blockage in the A/C6.
• Check and clean out any water blockage in the water outlet
solenoid filter.
• The unit tank / reservoir may need to be cleaned out. Remove the
over flow pipe and wash the tank out.
2. Annual Maintenance:-
Annual inspection of the water outlet and the CARE-FREE Water
Conditioner A/C 6 is recommended.
• To clean the sacrificial anode, remove and soak it in vinegar for 5 –
10 minutes. Rinse off with water before reinstalling it.
• If the anode is oxidized scrape clean. Replace the anode if
severely corroded.
The longevity of the anode is determined by the type of water it is
immersed in.
• Check and clean out any water blockage in the A/C6.
• Check and clean out any water blockage in the water outlet
solenoid filter.
• Clean the unit tank / resevoir
Part No 6052206A
Page 4
 Loading...