

Page 1
Quick Reference for Avaya
J129 SIP IP Phone in Avaya
Aura
®
Release 4.0.9
©
2020-2021, Avaya Inc.
All Rights Reserved.
April 2021
Issue 1
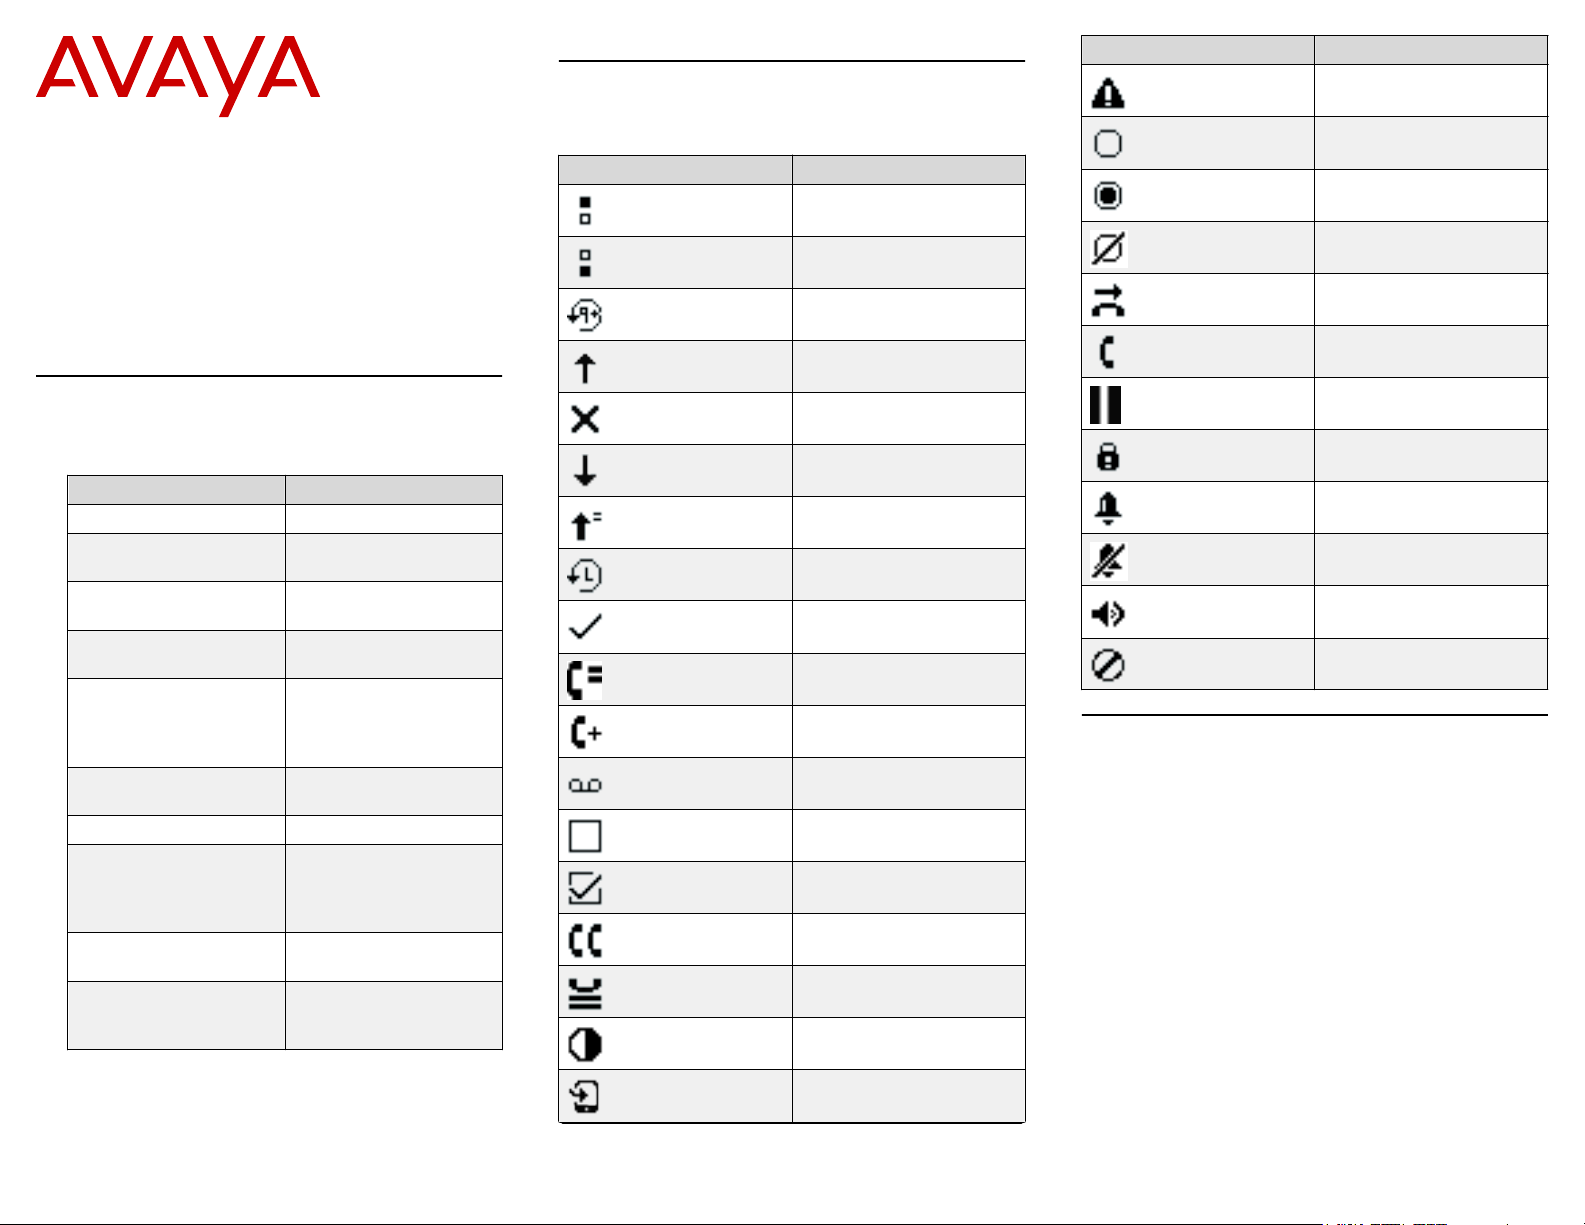
Icons on the phone
The following table lists the icons used in the Avaya
J129 IP Phone:
Icon Description
Line indicator; first call
appearance
Line indicator; second call
appearance
More than 10 recent
missed calls
Recents- Outgoing call
Icon Description
Failover
Radio button off
Radio button on
Feature unavailable
Call forward
Handset
Main Menu
The following table describes each of the Main menu
options.
Name Description
Recents To view the call history.
Contacts To add, edit, or delete a
contact.
Voice Mail To check your voice
messages.
Features To access administrator
activated features
Settings To change your phone
settings, audio settings,
display settings, and
more.
Network Information To check network
settings.
Lock To lock your phone.
Log Out To sign off the phone, to
protect your settings, or
to let another user to log
in.
Administration To access administration
settings.
About IP Deskphone To display the phone
software version, and
the default device type.
Recents- Missed call
Recents- Incoming call
Outgoing recents MDA
Missed call
Check
MDA active
New call setup
Voicemail
Checkbox off
Checkbox on
Active conference
Conference on hold
Contrast
EC500
Table continues…
Hold
Phone lock
Ringer on
Ringer off
Speaker
Do not disturb
Operations
Entering the provisioning details
Enter the provisioning server address if the phone
prompts, for example, when you connect to the network
for the first time.
Obtain the provisioning server address from the system
administrator.
1. When you boot the phone for the first time, the Auto
Provisioning screen displays Do you want to
activate Auto Provisioning now?, press one
of the following:
• Yes: To connect to the Device Enrollment Services
server to obtain the provisioning server address and
ignore the provisioning server address from the
DHCP.
• No: To obtain the provisioning server address from
the DHCP server.
1
Page 2

In case of a time out, and the DHCP does not provide
the provisioning server address, the phone selects
Yes.
If the connection to Device Enrollment Services is
successful, and the phone receives the provisioning
server address, the phone continues to boot and not
prompt you for the provisioning server address.
If the connection to Device Enrollment Services is
successful, and the phone does not receive the
provisioning server address from Device Enrollment
Services, the phone prompts you for a Numeric
Enrollment code. Contact your administrator for a
numeric enrollment code. When you enter the valid
numeric enrollment code, the phone continues to boot
and not prompt you for the provisioning server
address.
If you do not have a numeric enrollment code, press
Cancel. The phone continues to boot using the
DHCP.
The phone displays the Starting message. If the
phone does not receive the provisioning server
address from the Device Enrollment Services or the
DHCP server, the phone displays the Enter
provisioning details screen.
2. On Enter provisioning details screen, press one of the
following:
• Config: To enter the provisioning server address.
• Never: To never prompt for the provisioning server
address.
• Cancel: To cancel the prompt and display the Login
screen.
3. After you have pressed Config, enter the provisioning
server address in the Addr field.
The address is an alphanumeric URL like http://
myfileserver.com/j100/.
Tip:
To enter the dot symbol (.) in the field, press the
alphanumeric soft key to toggle to the ABC mode.
To enter the forward slash symbol (/) in the field,
press the / soft key.
4. (Optional) Enter the Group number.
Obtain the Group number from your system
administrator. The value ranges from 0 to 999. 0 is the
default value. If you do not enter any value in this
field, the phone uses the default value.
5. Press Save.
The phone continues to boot and connect to the
provisioning server address for provisioning
configuration.
Making a call by using the manual dial mode
In a manual dial mode, you can edit the dialed input and
initiate a call using the current dialed string. When you
initiate a call, there is no dial tone, and no time out for
completing the dialed string.
• Do one of the following:
- Lift the handset.
- Press Speaker.
• Dial the number, and press the Call soft key or OK
button.
Or
• Just dial the number, and press the Call soft key or OK
button.
If your system administrator has enabled the digit
mapping feature the phone can automatically correct
wrongly dialed numbers or prevent you from dialing
certain numbers.
Setting the dialing mode
Use this procedure to set the dialing method used to
initiate dialing.
1. Press Main menu > Settings > Phone Settings.
2. Press the Main menu.
3. Use the Down Arrow key to go to the Dial mode
screen.
4. Press Toggle to select one of the following options:
• Manual: Press the Call soft key to start a call.
Note:
In the IP Office environment, use the Manual
mode.
• Auto: Ensure that the dialed digits match the dial
plan to start a call.
• Default: Press the Call soft key to start a call.
5. Press Save.
Making a call by using the auto-dial mode
In an auto-dial mode, when you initiate a call by off-hook,
you hear a dial tone until you press any digit from the dial
pad. You can edit a partially entered dialed input after
initiating a call. You hear a DTMF feedback tone for the
digits pressed on the dial pad. The phone automatically
places the call when it detects that the dialing string is
complete or when there is a time out.
To initiate a call quickly, you can press the # key to
indicate the end of the dial, and the phone places the call.
1. Do one of the following:
• Lift the handset.
• Press Speaker.
2. Dial the number.
Or
3. Just dial the number.
Making a call from the local Сontacts list
1. Press Main menu > Contacts.
The phone displays the message “Use dial pad
to search”.
2. Scroll to the contact you want to call.
3. (Optional) Press the digits on the dial pad that
correspond to the letters of the name of the person
you want to call.
For example, press 76484 to search for someone
whose name is Smith.
4. Press Call.
Making a call from the corporate database Сontacts list
Depending on the configuration by your administrator you
may be able to search and call contacts from other remote
contacts lists or directories.
1. On the Phone screen, press one of the following:
• Main menu > Contacts > Search.
• Contacts > Search.
2. Press Search.
3. Enter the digits on the dial pad that correspond to the
name of the person you want to call.
For example, press 76484 to search for someone
whose name is Smith.
4. Press Search again.
The phone displays the contact saved in the corporate
database.
5. Press Call.
Making a call from Recents
Use this procedure to make a call from call history. If the
system administrator configures emergency calling for
your phone, the Emerg softkey replaces the Recents soft
key.
1. On the Phone screen, press one of the following:
• Main menu > Recents
2
Page 3

2. Use the Up and Down Arrow keys to select the
contact that you want to call.
3. Press Call.
Making an emergency call
Ensure that the Emerg soft key is assigned by your
administrator.
Do one of the following:
• On the Phone screen, press the Emerg soft key,
and again press Emerg when the phone prompts
you for confirmation.
• Dial the emergency number by using the dial pad.
Making an attended transfer
An attended transfer is when you put an active call on
hold and establish a second call with the call-transfer
recipient before transferring the call.
1. While on the first call, press the Transfer softkey.
2. Do one of the following:
• Use the keypad to dial the number to which you
want to transfer the call .
• Call the person from the Contacts list or the
Recents list.
The first call is put on hold, and the recipient’s phone
starts ringing.
3. Press the Complete softkey after the recipient
answers the call.
The phone transfers the call to the selected number.
Making an unattended transfer
An unattended transfer is when you transfer an active call
without establishing a call with the call-transfer recipient.
1. While on the first call, press the Transfer softkey.
2. Do one of the following:
• Use the keypad to dial the number to which you
want to transfer the call.
• Call the person from the Contacts list or the
Recents list.
The first call is put on hold, and the recipient’s phone
starts ringing.
3. To complete the transfer, press the Complete softkey.
The phone transfers the call to the selected number.
If the called party does not answer the call, then the
unanswered call returns to your phone as a recalled
transfer call.
Making an international call
1. Press and hold the 0 key to enter the plus sign (+).
2. Dial the number that you want to call.
Forwarding a call to another extension
Use this procedure to forward incoming calls to a specified
number.
In the IP Office environment, this feature is supported
using short code dialing. Contact your system
administrator for the list of short codes.
Ensure that the administrator activates the feature.
Contact your administrator for details.
1. Press Main menu.
2. Scroll to Features, and press Select.
3. To enable the Call Forward feature, scroll to one of the
following options:
• Call Forward
• Call Forward-Busy
• Call Forward-No Answer
4. Press Select.
5. In the Destination field, enter the number where you
want to forward the incoming calls.
6. Press Enter.
The phone generates a confirmation tone and returns
to the Features screen.
7. To disable any Call Forward features, go to the active
Call Forward option, and press Select.
Managing conference calls
Adding a person to an active call
You can add participants to an active call to set up a
conference call.
Start a call.
1. During a call, on the Phone screen, press More >
Conf.
The phone puts the existing call on hold.
2. To make a call to a participant, do one of the following:
• Dial the phone extension by using the dial pad.
• Call the person from the Contacts list or the
Recents list.
3. When the third participant answers the call, press the
Join soft key.
4. To add another person, press Add and repeat Steps 2
and 3.
Managing contacts
Adding a new contact
Use this procedure to add a contact to the phone. You can
save up to 250 contacts.
1. To open Contacts list, do one of the following:
• Press Contacts.
• Press Main menu, and select Contacts.
2. Do one of the following:
• If your Contacts list is empty, press New.
• If your Contacts list is not empty, press More >
Contacts.
3. Use the dial pad to enter the contact’s first and last
name in the corresponding fields.
• Press the number key that corresponds to the letter
or number that you want to enter.
• If the characters are on the same key, pause before
entering the next character.
• To enter a space, press 0.
• Enter the remaining letters or numbers.
• To enter a symbol, press More > Symbol. Use the
navigation arrows to highlight the symbol that you
want to enter and press Insert.
• To delete the last character, press the Bksp soft
key.
4. Enter the extension.
The contact extension can include uppercase and
lowercase letters, numbers 0 - 9, and special symbols,
such as comma (,), plus (+), and dot (.).
5. Press Save.
Searching for a contact
Use this procedure to search contacts from the local
contacts list or enterprise directory. However, in IP Office
environment, you can search for a contact only from the
local contacts list.
For more information on IP Office , see IP Office
documents in https://support.avaya.com/.
1. To search for a contact from the local contacts, do the
following:
a. Press Main menu > Contacts.
The phone displays the message Use dial
pad to search.
b. Press the digits on the dial pad that correspond to
the letters of the name of the person you want to
call. For example, press 764 to search for
someone whose name is Smith.
3
Page 4

2. To search for a contact from the enterprise directory,
do the following:
a. On the Phone screen, press Contacts > Search
or press Main menu > Contacts > Search.
b. Use the dial pad to enter the name.
c. Press Search.
To add the contact to the local contacts, press
+Contact.
Managing call history
Call log
Depending on the call type, call log provides the following
information about the last 100 calls on your phone:
• Caller name
• Caller number
• Call time-stamp
• Call duration
Avaya J100 Series IP Phones software version 4.0.3 and
later always encrypts the content of the call log file.
Managing a call record in the Recents list
1. On the Phone screen, press one of the following:
• Main menu > Recents
2. Select the number that you want to add or delete.
3. Select Details.
4. Select one of the following:
• +Contact: To add a call record from the call history
menu to the contacts list.
• Delete: To delete a call record from the call history.
Using call related features
Parking and unparking a call
Use this procedure to park the active call and answer the
call from another extension.
This feature is only available in the Avaya Aura
environment.
Your system administrator must activate the feature for
your extension.
In the IP Office environment, this feature is supported
using short code dialing. Contact your system
administrator for the list of short codes.
1. While on an active call, press Main menu > Features.
®
2. Use the
screen.
3. Press Select or OK.
The phone parks the call.
4. To answer a parked call, press Main menu >
Features.
5. Use the Down Arrow key to go to the Call Unpark
screen.
6. Press Select or OK.
7. Enter the extension from which the call was parked.
8. Press OK.
The phone unparks the call.
Down Arrow key to go to the Call Park
Toggling between calls
Use this procedure to toggle between active call
appearances.
Ensure that you have more than one active call
appearances.
1. Press Swap.
The current call goes on hold and the other resumes.
2. Press Swap again to go back to the first call.
Setting up automatic call back
When an extension is busy, use this procedure to receive
a call back automatically after the extension is free.
In the IP Office environment, this feature is supported
using short code dialing. Contact your system
administrator for the list of short codes.
Your system administrator must activate the feature for
your extension.
1. During an outgoing call to far end, when the line is
busy, press Main menu > Features.
2. Use the Down Arrow key to go to the Auto Callback
screen.
3. Press Select or OK to activate Auto Callback.
When you end the callback call, the system
deactivates the feature automatically.
Activating EC500
Use this procedure to answer calls on your cell phone.
This feature is only available in the Avaya Aura
environment.
The system administrator must program the phone so that
you can receive incoming calls on your cell phone.
1. Press Main menu > Features.
®
2. Use the
3. Press OK.
Down Arrow key to go the EC500 screen.
Assigning speed dial entries
Use this procedure to assign speed dial numbers to your
contacts. You can assign up to nine speed dial entries.
This feature is only available in the Avaya Aura
environment.
1. Press the Main menu.
2. Scroll to Settings and press Select.
3. Scroll to Phone settings, and press Select.
4. Scroll to Speed Dial.
5. Use the Up and Down Arrow keys to select a speed
dial number.
6. Press Contacts to select a contact.
7. Press Select to assign the contact to the selected
speed dial number.
You can assign only one contact.
®
Setting the display language
1. Press Main menu > Settings > Display settings.
2. Select Language.
3. Scroll to the language , and press one of the following:
• Select
• OK
The phone prompts for the confirmation.
4. Press one of the following:
• Yes
• OK
The phone returns to the Display Settings screen and
the language changes to the selected language.
Identifying the device type during phone boot-up
Avaya J100 Series IP Phones screen displays the device
type during the phone boot-up. This feature is supported
only in the phone software version 4.0.3 and later.
1. Set up the phone hardware.
2. Plug the Ethernet cable to the phone.
The phone powers up and starts to initialize.
The phone screen displays one of the following
message on Avaya J129 IP Phone:
Starting... Avaya SIP
•
Starting... Open SIP
•
4
Page 5

Sending a multicast page
You can send a multicast page to a group of users by
activating the Multicast Paging group on the Phone
screen. If the required group is not added on this screen,
you can access all multicast page groups configured for
your phone in the Features menu.
1. Do one of the following:
• Lift the handset.
• Press Speaker.
2. On the Phone screen, scroll to the required multicast
page group, and press Select.
The phone displays the Paging <group name>
box.
3. To end the multicast page, do one of the following:
• Press End Call.
• If you use the handset as an audio device, hang up.
Maintenance
Viewing the Device type
View your device type when your system administrator
asks you to provide your device type information. The
device type can be either Avaya SIP or Open SIP.
1. Press the Main menu.
2. Scroll to Network information, and press Select.
3. Scroll to System, and press Select.
4. Scroll to Device type.
For more information
Go to www.avaya.com/support for latest support
information, including the user guide, administrator guide,
installation and maintenance guide, interactive document,
and software downloads.
Viewing the Server type
View your server type when your system administrator
asks you to provide your server type information. The
server type can be of Avaya Aura® or an open SIP.
1. Press the Main menu.
2. Scroll to Network information, and press Select.
3. Scroll to System, and press Select.
4. Scroll to Server type.
Viewing the Product ID
The product ID information is available on a label on the
back panel of your phone. Alternatively, you can view the
Product ID on the phone screen.
1. Press the Main menu.
2. Scroll to Network information, and press Select.
3. Scroll to System, and press Select.
4. Scroll to Product ID.
5
 Loading...