

Asus M2E User Manual

Notebook PC
Configuring the BIOS
BIOS Setup Program.....................................................................................2
Updating your BIOS ..................................................................................... 3
Main Menu..................................................................................................... 5
Primary Master (sub-menu)......................................................................... 7
Secondary Master (sub-menus).................................................................. 9
Display Menu .............................................................................................. 10
Advanced Menu...........................................................................................11
I/O Device Configuration (sub-menu)....................................................... 12
Security Menu............................................................................................. 14
Power Menu ................................................................................................ 16
Boot Menu................................................................................................... 17
Exit Menu .................................................................................................... 18
Product Name: Notebook PC BIOS
Manual Revision: 1.00 E1129
Release Date: September 2002

5 Configuring the BIOS
BIOS Setup Program
This Notebook PC supports a programmable EEPROM that stores the BIOS software and can be updated using the provided flash memory writer utility. This Section will guide you through the BIOS
setup program by providing clear explanations for all the options. A default configuration has already
been set. If you are either installing new devices or expanding main memory , you will need to enter the
BIOS Setup to reconfigure your Notebook PC.
A battery backed-up CMOS RAM is used to record some basic system hardware information: clock,
date, time, the error handling, and etc., even when the power is off. When the Notebook PC is turned
back on, the system is configured with the values stored in the CMOS RAM.
The settings made in the BIOS Setup program intimately affect how the Notebook PC performs. It is
important, therefore, to first understand all the Setup options, and second, to make settings appropriate
for the way you use the Notebook PC.
The BIOS (Basic Input and Output System) Setup is a menu driven software utility that enables you to
make changes to the system configuration and tailor your Notebook PC to reflect installed hardware,
alter performance, and setup power saving functions. BIOS setup is used if you are setting up the
Notebook PC for the first time, reconfiguring your system, or prompted to “Run Setup” during bootup.
This section describes how to configure your system using this utility.
Even if you are not prompted to use the Setup program, at some time in the future you may want to
change the configuration of your Notebook PC. For example, you may want to enable the Security
Password Feature or make changes to the power management settings. It will then be necessary to
reconfigure your system using the BIOS setup program so that the computer can recognize these changes
and record them in the CMOS RAM of the EEPROM.
The Setup program has been designed to make it as easy to use as possible. It is a menu-driven program, which means you can scroll through the various sub-menus and make your selections among the
predetermined choices.
When you start up the computer, press [F2] to call up the Setup utility.
NOTE: Because the BIOS software is constantly being updated, the following BIOS
screens and descriptions are for reference purposes only and may not exactly reflect
your BIOS screens.
2

Configuring the BIOS 5
Updating your BIOS
This Notebook PC supports an easy-to-use BIOS update software called “WINFLASH” which is installed through the provided support CD. If you need help installing or using “WINFLASH”, refer to
the “Driver & Utility Manual”.
BIOS Menu Bar
The top of the screen has a menu bar with the following selections:
MAIN Use this menu to make changes to basic system configurations.
DISPLAY Use this menu to make changes to the Notebook PC’s LCD display.
ADVANCED Use this menu to enable and make changes to the advanced features
SECURITY Use this menu to set passwords and control access to the BIOS setup menu.
POWER Use this menu to configure and enable Power Management features.
BOOT Use this menu to configure system devices used to load the Operating System.
EXIT Use this menu to load or save settings and to exit the BIOS setup program.
T o access the menu bar items, press the right or left arrow key on the keyboard until the desired item is
highlighted.
BIOS Legend Bar
At the bottom of the Setup screen you will notice a legend bar. The keys in the legend bar allow you to
navigate through the various setup menus. The following table lists the keys found in the legend bar and
those that are not with their corresponding alternates and functions.
Navigation Key(s) Function Description
[F1] or [Alt H] Displays the General Help screen from anywhere in the BIOS Setup
[Esc] or [Alt X] Jumps to the Exit menu or returns to the main menu from a sub-menu
← ←
→→
← or
→ (keypad arrow) Selects the menu item to the left or right
← ←
→→
↑↑
↓↓
↑ or
↓ (keypad arrows) Moves the highlight up or down between fields
↑↑
↓↓
– (minus) or [F5] Scrolls backward through the values for the highlighted field
+ (plus) or [F6] or space Scrolls forward through the values for the highlighted field
[Enter] Brings up a selection menu for the highlighted field
[Home] or [PgUp] Moves the cursor to the first field
[End] or [PgDn] Moves the cursor to the last field
[F9] Resets the current screen to its Setup Defaults
[F10] Saves changes and exits Setup
3
5 Configuring the BIOS
General Help
In addition to the Item Specific Help window, the BIOS setup program also provides a General Help
screen. This screen can be called up from any menu by simply pressing [F1] or the [Alt] + [H] combination. The General Help screen lists the legend keys with their corresponding alternates and functions.
Scroll Bar
When a scroll bar appears to the right of a help window , it indicates that there is more information to be
displayed that will not fit in the window. Use [PgUp] and [PgDn] or the up and down arrow keys to
scroll through the entire help document. Press [Home] to display the first page, press [End] to go to the
last page. To exit the help window, press [Enter] or [Esc].
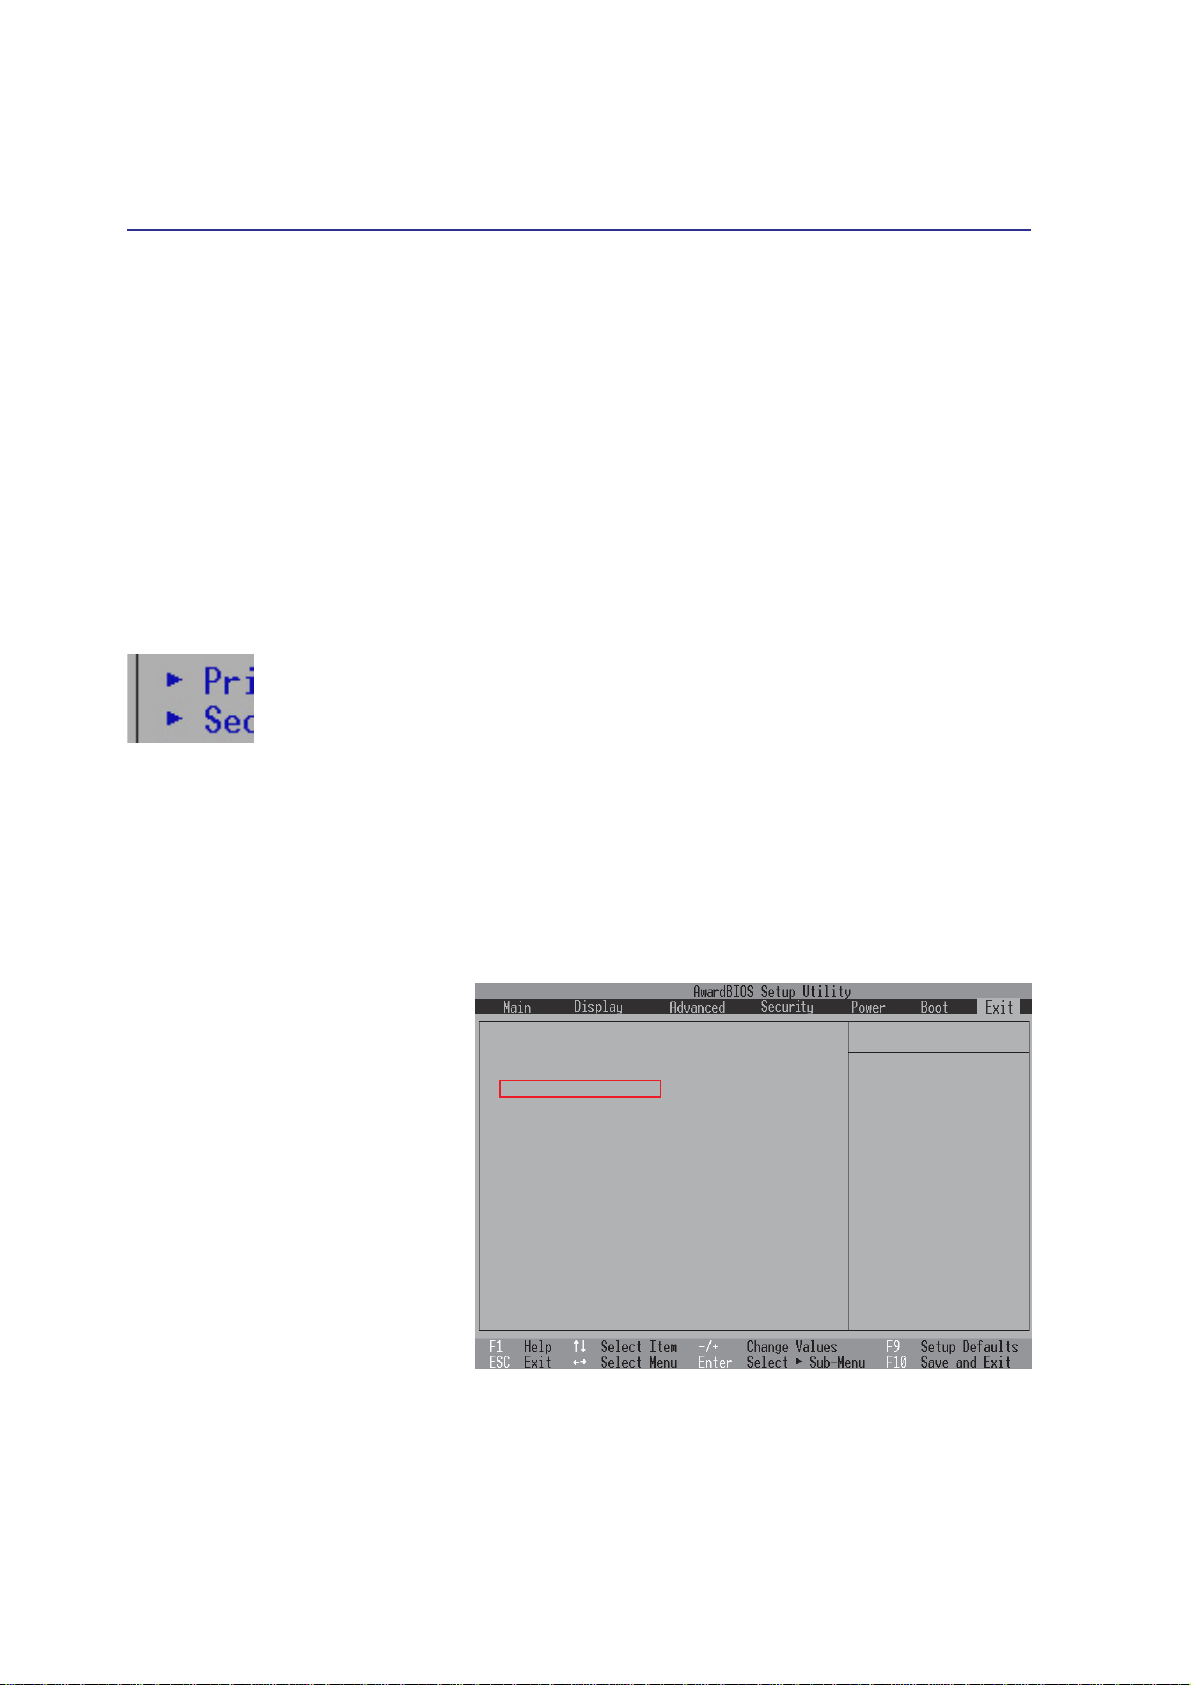
Sub-Menu
Note that a right pointer symbol (as shown in the left view) appears to the left of
certain fields. This pointer indicates that a sub-menu can be launched from this field. A
sub-menu contains additional options for a field parameter. To call up a sub-menu,
simply move the highlight to the field and press [Enter]. The sub-menu will then immediately appear. Use the legend keys to enter values and move from field to field within a sub-menu
just as you would within a menu. Use the [Esc] key to return to the main menu.
T ake some time to familiarize yourself with each of the legend keys and their corresponding functions.
Practice navigating through the various menus and sub-menus. While moving around through the Setup
program, note that explanations appear in the Item Specific Help window located to the right of each
menu. This window displays the help text for the currently highlighted field.
Resetting Your BIOS
If you ever hear “resetting your
BIOS”, it entails pressing [F2] on
bootup to enter BIOS setup and then
selecting Load Setup Defaults on
the “Exit” menu.
Exit Saving Changes
Exit Discarding Changes
Load Setup Defaults
Discard Changes
Save Changes
Item Specific Help
Exit setup utility and
save your changes to
CMOS.
4

Configuring the BIOS 5
Main Menu
When the Setup program is accessed, the main menu screen appears as shown:
System Time [17:15:00]
System Date [08/30/2002]
Primary Master [IC25N030ATDA04-0]
Secondary Master [UJDA340]
Installed Memory 112 MB
Legacy Diskette A 1.44M, 3.5 in.
BIOS Revision 0103
MAC Address 00E018000006
Item Specific Help
<Enter> to select field;
<+>,<-> to change value.
NOTE: In the following BIOS item descriptions, the item headings in square brackets
represent the default settings for those fields.
System Time
Sets your system to the time that you specify (usually the current time). The format is hour, minute,
second. Insert the appropriate information. Use the [T ab] or [Shift Tab] keys to move between the hour,
minute, and second fields.
System Date
Sets your system to the date that you specify (usually the current date). The format is month, day, year.
T ype in the appropriate information. Use the [T ab] or [Shift T ab] keys to move between the month, day,
and year fields.
>Primary Master (described later)
>Secondary Master (described later)
5

5 Configuring the BIOS
Installed Memory [112 MB] (display field)
This field displays the amount of extended memory as detected by the system after deducting any
memory shared by the display. Unfortunately, this will not tell you how much is onboard and how much
is added to the SO-DIMM socket. You must visually inspect the SO-DIMM socket if you are considering expanding your memory. You cannot make changes to this field. This is a display only field.
Legacy Diskette A [1.44M, 3.5 in.] (display field)
Specifies the type of disk used as drive A. The configuration options are: [None] [1.44M, 3.5 in.]
BIOS Revision [0103] (display field)
This displays the current BIOS version in the Notebook PC’s flash EEPROM.
MAC Address [00E018000006] (display field)
This displays the MAC address of the internal network device. The MAC address should be different
on each computer or networking device.
6
 Loading...