

Arturia Minibrute User Manual
USER'S MANUAL
Arturia MiniBrute User's Manual 1 6 Legal notes

PRODUCT AND PROJECT MANAGEMENT
Frédéric BRUN
Romain DEJOIE
ELECTRONICS
Yves USSON
Bruno PILLET
François BEST
Laurent BARET
Robert BOCQUIER
Antoine BACK
DESIGN
Axel HARTMANN (Design Box)
Daniel VESTER
Morgan PERRIER
INDUSTRIALIZATION
Nicolas DUBOIS
Suzy ZHU (Huaxin)
MANUAL
Yves USSON
Craig ANDERTON
Antoine BACK
Yasu TANAKA
Noritaka UBUKATA
SPECIAL THANKS TO:
Arnaud REBOTINI, Étienne JAUMET, Jean-Benoît DUNCKEL, Simon TARRICONE,
Glen DARCEY, Frank ORLICH, Jean-Michel BLANCHET, Frédéric MESLIN,
Mathieu BRUN, Gérard BURACCHINI.
1st edition: February 2012
Information contained in this manual is subject to change without notice and does not represent a
commitment on behalf of ARTURIA. The hardware unit and the software product described in this manual are
provided under the terms of a license agreement or non-disclosure agreement. The license agreement
specifies the terms and conditions for its lawful use.
No part of this manual may be produced or transmitted in any form or by any purpose other than purchaser’s
personal use, without the explicit written permission of ARTURIA S.A. All other products, logos or company
names quoted in this manual are trademarks or registered trademarks of their respective owners.
© ARTURIA S.A. 1999-2012, all rights reserved.
ARTURIA S.A.
4, chemin de Malacher
38240 Meylan
FRANCE
http://www.arturia.com
Arturia MiniBrute User's Manual 2 6 Legal notes

TABLE OF CONTENTS
1 Introduction ............................................................................. 5
2 Installation ............................................................................... 9
2.1 Usage Precautions ................................................................................................. 9
2.2 Register your Instrument ...................................................................................... 11
2.3 Connecting the MiniBrute to the World ............................................................ 11
2.4 Warm-Up and General Tuning ........................................................................... 12
3 Quickstart .............................................................................. 14
3.1 Create your first sound: the “basic patch” ...................................................... 14
3.2 Add some vibrato ................................................................................................ 15
3.3 Tweak the envelope ............................................................................................ 16
3.4 Meet the LFO ......................................................................................................... 17
3.5 Create arpeggiated sequences ....................................................................... 18
4 General description ............................................................. 20
4.1 Analog synthesizer architecture ........................................................................ 20
4.1.1 Signal generators..................................................................................................................... 20
4.1.1.1 Pitched signal generator (oscillators) ................................................................................. 20
4.1.1.2 Unpitched signal generator ................................................................................................. 21
4.1.2 Signal enhancers ..................................................................................................................... 22
4.1.3 Filter ........................................................................................................................................... 23
4.1.3.1 What is a filter? ........................................................................................................................ 23
4.1.3.2 Filter types: Low-pass, Band-pass, High-pass and Notch ................................................ 23
4.1.3.3 Resonance or emphasis ........................................................................................................ 25
4.1.4 Amplifier .................................................................................................................................... 25
4.1.5 Modulators ............................................................................................................................... 26
4.1.6 Player interface ....................................................................................................................... 27
4.1.7 Inputs and outputs .................................................................................................................. 28
4.1.8 MiniBrute diagram ................................................................................................................... 29
4.2 Front Panel ............................................................................................................. 30
4.2.1 The oscillator and its signal mixer .......................................................................................... 30
4.2.1.1 The waveforms ........................................................................................................................ 30
Saw and Ultrasaw ................................................................................................................................ 30
Square and Modulated Pulse ............................................................................................................ 30
Triangle and Metalizer ......................................................................................................................... 31
The sub-oscillator (Sub Osc) ............................................................................................................... 31
Noise ...................................................................................................................................................... 31
Audio In ................................................................................................................................................. 31
4.2.2 The filter..................................................................................................................................... 32
4.2.2.1 Mode ......................................................................................................................................... 32
4.2.2.2 Cutoff ........................................................................................................................................ 32
4.2.2.3 Resonance ............................................................................................................................... 32
4.2.2.4 ENV Amt (envelope amount) .............................................................................................. 33
4.2.2.5 KBD Tracking ............................................................................................................................ 33
4.2.2.6 Envelope speed ...................................................................................................................... 33
4.2.2.7 Filter Envelope ......................................................................................................................... 33
4.2.3 The amplifier ............................................................................................................................. 34
4.2.3.1 Amplifier Envelope ................................................................................................................. 34
4.2.4 Controls ..................................................................................................................................... 34
4.2.4.1 MOD Wheel ............................................................................................................................. 34
4.2.4.2 Aftertouch ................................................................................................................................ 35
4.2.4.3 Bend Range ............................................................................................................................. 35
Arturia MiniBrute User's Manual 3 6 Legal notes

4.2.4.4 Glide .......................................................................................................................................... 35
4.2.5 Vibrato ...................................................................................................................................... 35
4.2.6 LFO ............................................................................................................................................ 36
4.2.6.1 Wave ......................................................................................................................................... 36
4.2.6.2 Rate ........................................................................................................................................... 36
4.2.6.3 Clock ......................................................................................................................................... 36
4.2.6.4 Modulation routing ................................................................................................................. 36
PWM & Metalizer .................................................................................................................................. 36
Pitch........................................................................................................................................................ 37
Filter ........................................................................................................................................................ 37
Amp ........................................................................................................................................................ 37
4.2.7 Arpeggiator .............................................................................................................................. 37
4.2.7.1 Hold/On/Off ............................................................................................................................. 37
4.2.7.2 Octave ..................................................................................................................................... 38
4.2.7.3 Mode ......................................................................................................................................... 38
4.2.7.4 Swing ......................................................................................................................................... 38
4.2.7.5 Step ........................................................................................................................................... 38
4.2.7.6 Tempo & Tap ........................................................................................................................... 38
4.2.8 General controls ...................................................................................................................... 39
4.2.8.1 Keyboard ................................................................................................................................. 39
4.2.8.2 Wheels ...................................................................................................................................... 40
4.2.8.3 Octave ..................................................................................................................................... 40
4.2.8.4 Brute Factor ............................................................................................................................. 40
4.2.8.5 Phones ...................................................................................................................................... 41
4.2.8.6 Master Volume ........................................................................................................................ 41
4.2.8.7 Fine Tune .................................................................................................................................. 41
4.3 Rear panel ............................................................................................................. 41
4.3.1 Power supply ............................................................................................................................ 41
4.3.2 USB ............................................................................................................................................. 42
4.3.3 MIDI ........................................................................................................................................... 42
4.3.4 Gate Source............................................................................................................................. 42
4.3.5 AUDIO ....................................................................................................................................... 42
4.3.6 CV / GATE IN ............................................................................................................................ 43
4.3.7 CV / GATE OUT ........................................................................................................................ 43
4.4 Configuration software: MiniBrute Connection ............................................... 43
5 Using your MiniBrute ............................................................. 44
5.1 Let's create a basic sound .................................................................................. 44
5.2 Sound modulations .............................................................................................. 46
5.3 External sound processing .................................................................................. 47
6 Legal notes ............................................................................ 48
6.1 No liability for consequential damages ............................................................ 48
6.2 FCC Information (USA) ......................................................................................... 48
6.3 Canada ................................................................................................................ 49
6.4 Europe .................................................................................................................... 49
Arturia MiniBrute User's Manual 4 6 Legal notes
1 INTRODUCTION
SOFTWARE
Congratulations, and thank you for your purchase of the ARTURIA MiniBrute analog
synthesizer. You now own what many players feel is the best sounding, most
versatile, and most powerful analog synthesizer in its class.
The MiniBrute is the culmination of a lengthy (and very enjoyable!) collaboration
between ARTURIA’s engineers and analog synthesizer “guru” Yves USSON.
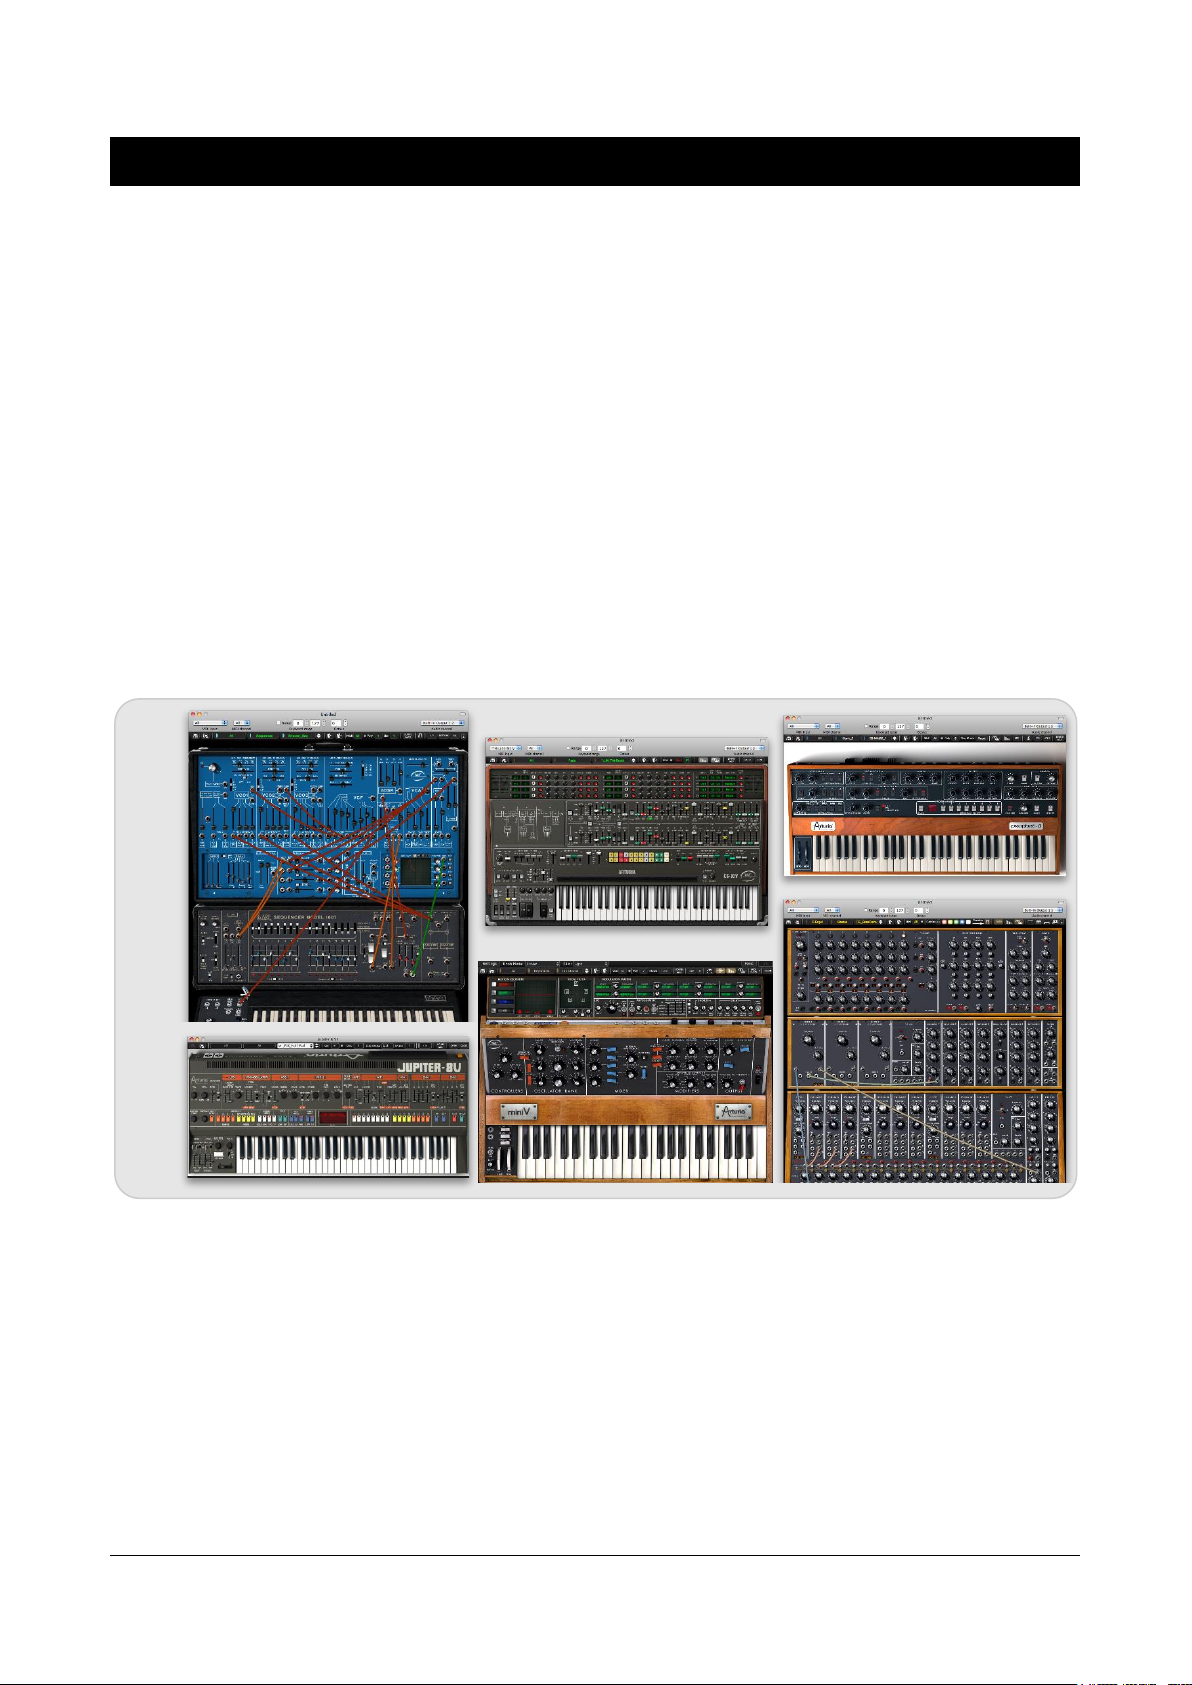
Since the late 1990s, the French company ARTURIA has received acclaim from
players and reviewers alike for designing state-of-the art software emulations of the
venerable analog synthesizers from the 1960s to the 1980s. From the Modular V,
back in 2004, to Origin, a modular system of a new generation that we introduced
in 2010; from Analog Factory Experience, the first hybrid synthesizer ever (debuted
in 2008), to the Oberheim SEM V released at the end of 2011, our passion for
synthesizers and sonic purity has given demanding musicians the best software
instruments for professional audio production.
Arturia MiniBrute User's Manual 5 6 Legal notes
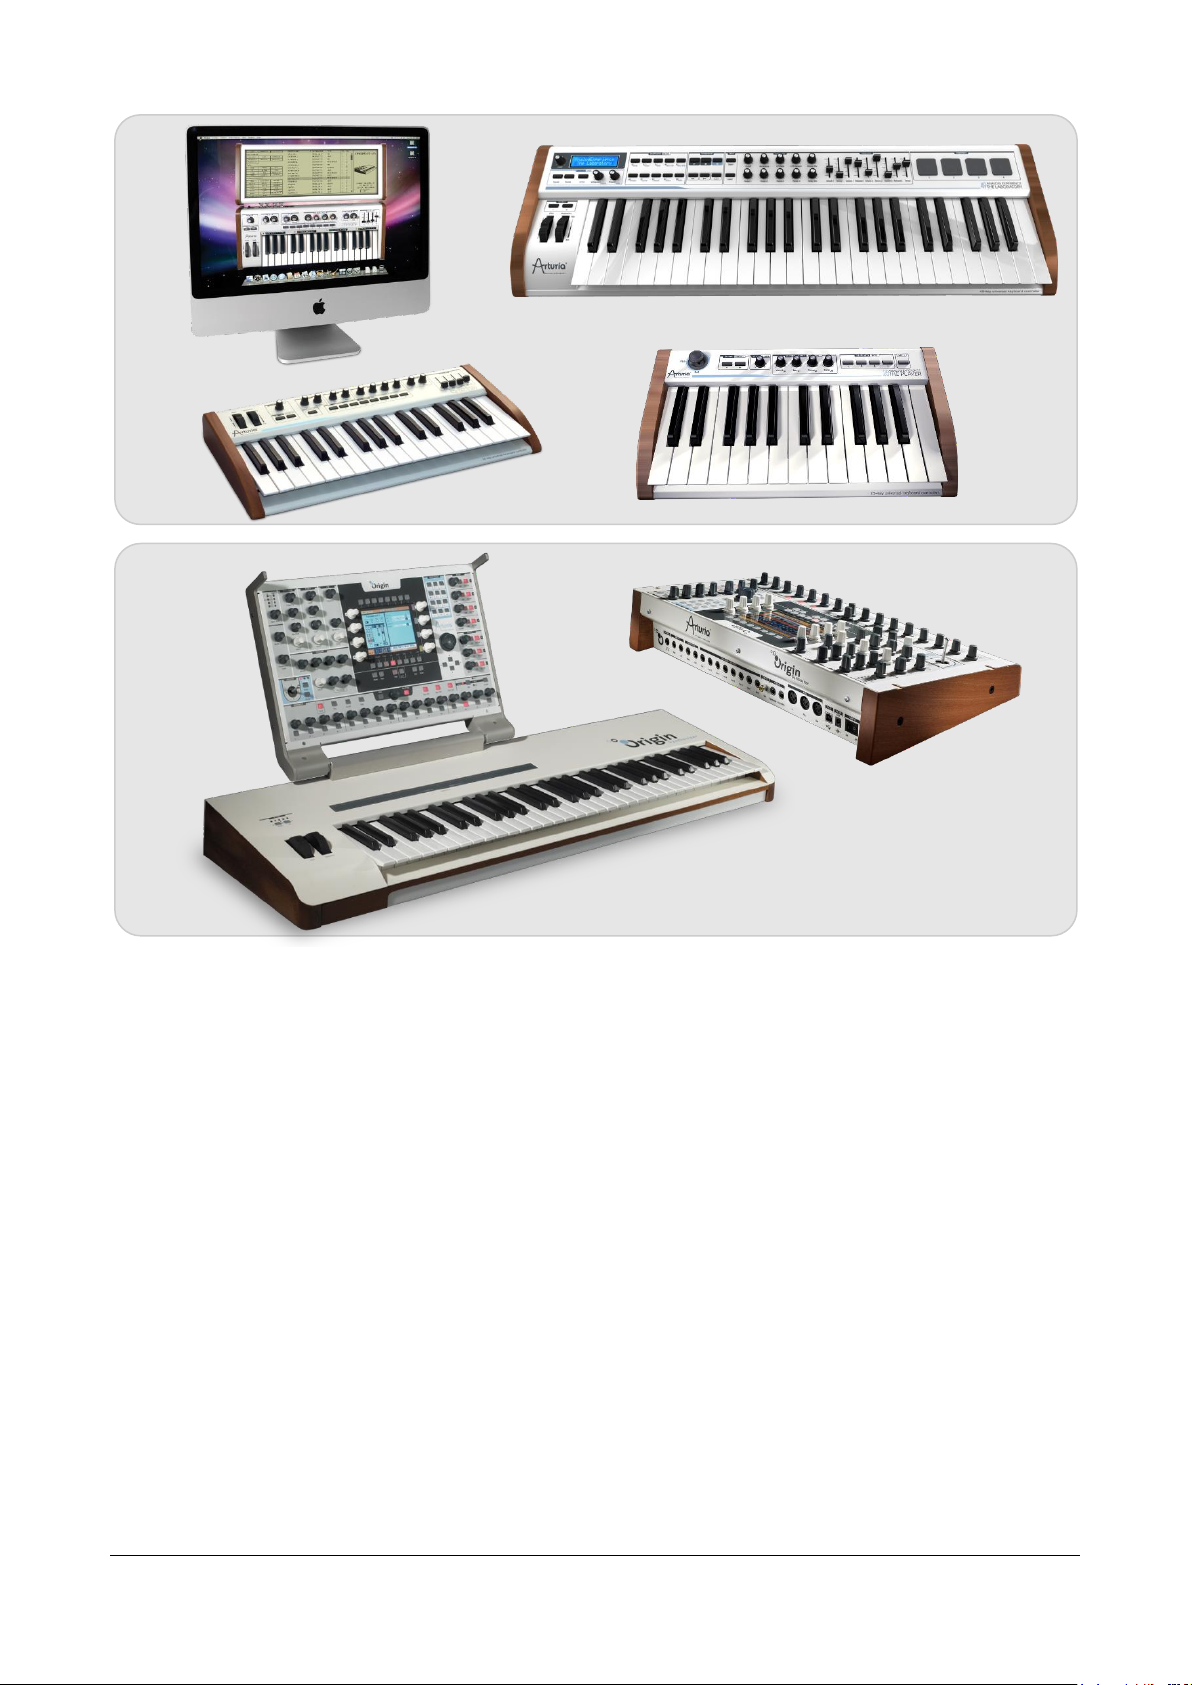
Overview of some of ARTURIA’s software, hardware and hybrid instruments
HYBRID
HARDWARE
After recreating so many legendary analog synthesizers by translating “golden”
versions of these classic instruments into sophisticated DSP algorithms, the time was
right for ARTURIA to introduce an analog synth of its own. But reproducing analog
circuitry is not the same as designing great-sounding analog circuits, so we enlisted
the aid of Yves USSON — an extremely talented analog circuit designer and
synthesizer enthusiast whose work spans three decades.
Besides being a talented researcher in bio-molecular microscopy, his clones of the
modules originally designed by Bob Moog, as well as ARP or EMS and own designs,
are highly renowned in the “modular” world and continuously produced under
license by specialty manufacturers.
Arturia MiniBrute User's Manual 6 6 Legal notes

What’s more, he’s always willing to share his considerable experience, and pass
1
2
along his knowledge to others. All his schematics stay open to the D.I.Y.1
community; most of his works can be found on the “Yusynth” ongoing project
website2, and he casts a long, and welcome, shadow on the major Internet forums
devoted to analog fanatics.
Yves USSON and a couple of wired friends
Combining ARTURIA’s acclaimed savoir-faire in designing innovative musical
instruments, and Yves’ deep knowledge and experience, the MiniBrute analog
synthesizer has its roots in the 1970s yet incorporates the best of the 21st century.
D.I.Y. = “Do It Yourself”
http://yusynth.net
Arturia MiniBrute User's Manual 7 6 Legal notes
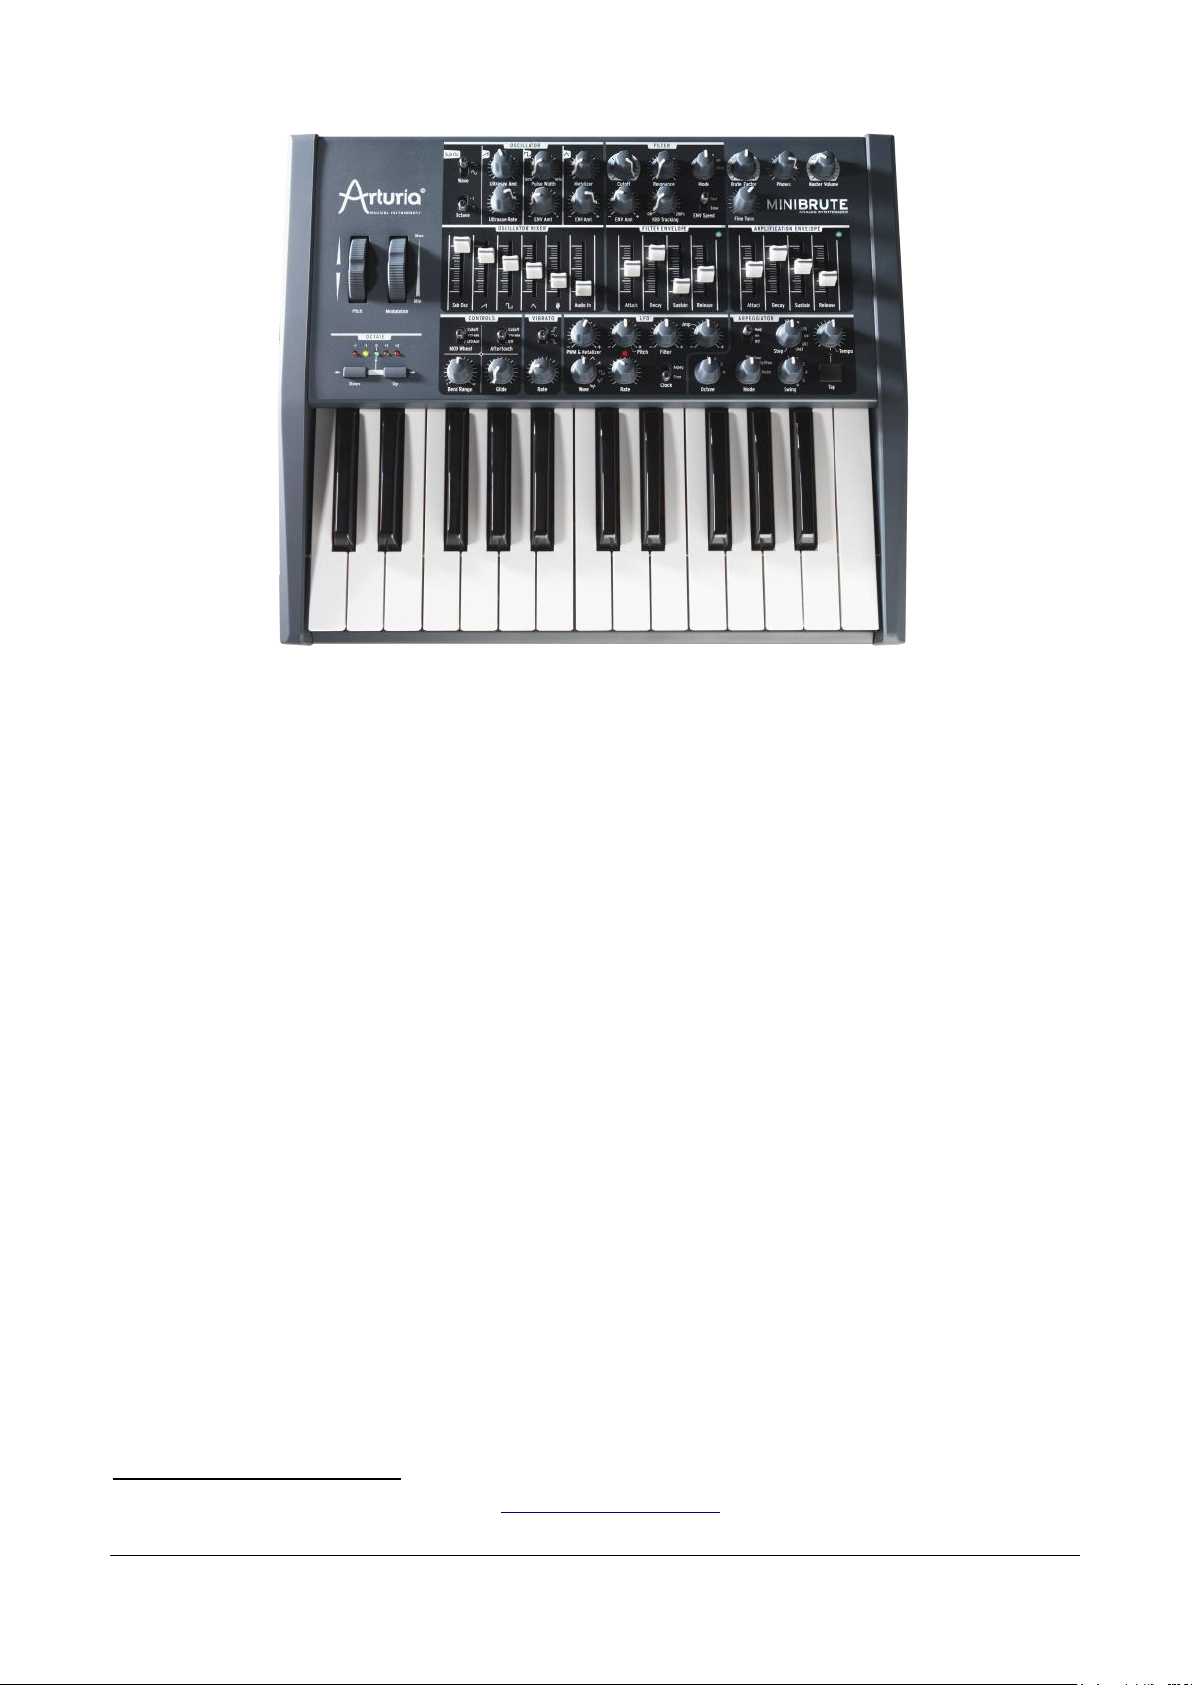
The ARTURIA MiniBrute analog synthesizer
3
We built the MiniBrute with four goals: peerless analog sound, intuitive operation,
realistic cost — and no compromises, whether with parts, design, or connectivity.
From the smallest electronic OPA3 to the potentiometers and the casing, we
cherry-picked the very best suppliers, subjected every component to exhaustive
testing, and fine-tuned the design for the best possible player experience.
Furthermore, we decided to bring back the fun of creating your own sounds, and
controlling them on stage or in the studio. There are no presets, hidden menus, shift
keys, or scrolling: All the sound-shaping is at your fingertips. This design philosophy
also meant we could use true analog oscillators, not digital ones, to provide the
purity of sound that is the hallmark of analog synthesis.
Playing a musical instrument should not feel like working with a spreadsheet.
MiniBrute is about music and creativity, and the experience of playing an
instrument that is fun, physical, inspiring, and satisfying. What’s more, with its
compact, 25-key keybed, MiniBrute is ideal for the mobile and desktop musician.
Not only will it give you solid basses, amazing effects, and screaming leads, but
give you sounds no other synth on this planet can make.
As everyone knows, analog synthesizers are expensive to produce. But what’s the
point in making a synth for everyone, if no one could afford it? So, we made a bet
it would be a hit, and geared up to produce MiniBrute in volume — allowing us to
obtain quantity pricing on parts, and translate the techniques of a craftsman to
industrial manufacturing. The result is analog synthesis without compromise.
Operational amplifier: a much useful electronic component
Arturia MiniBrute User's Manual 8 6 Legal notes

MiniBrute is truly a musical instrument. We loved designing it, building it, and now,
playing it. We hope you will share our enthusiasm, and find inspiration in its sounds.
But that’s enough talk — plug in your new analog friend, and start vibrating the
walls...
Arturia MiniBrute User's Manual 9 6 Legal notes

2 INSTALLATION
2.1 Usage Precautions
The MiniBrute uses an external power adapter. Do not use any power supply or
adapter other than the one provided by Arturia and specified in this manual (see
chapter for more details). ARTURIA accepts no responsibility for damage caused
by use of an unauthorized power supply.
WARNING
Do not place this product in a place or position where one might walk on, trip
over, or roll anything over power cords or connecting cables.
The use of an extension cord is not recommended. However if you must use one,
make sure that the cord has the ability to handle the maximum current needed by
this product. Please consult a local electrician for more information on your power
requirements.
This product should be used only with the components supplied or recommended
by ARTURIA. When used with any components, please observe all safety markings
and instructions that accompany the accessory products.
SPECIFICATIONS SUBJECT TO CHANGE
The information contained in this manual is believed to be correct at the time of
printing. However, ARTURIA reserves the right to change or modify any of the
specifications without notice or obligation to update existing units.
IMPORTANT
Always follow the basic precautions listed below to avoid the possibility of serious
injury or even death from electrical shock, damages, fire or other risks.
The product used either alone or in combination with an amplifier, headphones or
speakers, may be able to produce sound levels that could cause permanent
hearing loss. DO NOT operate for long periods of time at a high level, at a level
that is uncomfortable, or a level that exceeds prevailing safety standards for
hearing exposure. If you encounter any hearing loss or ringing in the ears, consult
an audiologist immediately. It is also a good idea to have you ears and hearing
checked annually.
NOTICE
Arturia MiniBrute User's Manual 10 6 Legal notes

The manufacturer’s warranty does not cover service charges incurred due to a
lack of knowledge relating to how a function or feature works (when the unit is
operating as designed); reading the manual is the owner's responsibility. Please
study this manual carefully and consult your dealer before requesting service.
PRECAUTIONS INCLUDE, BUT ARE NOT LIMITED TO, THE FOLLOWING:
Read and understand all the instructions.
Always follow the instructions on the instrument.
Before cleaning the instrument, always remove the electrical plug from the
outlet, as well as the USB cable. When cleaning, use a soft and dry cloth. Do
not use gasoline, alcohol, acetone, turpentine or any other organic
solutions; do not use liquid cleaner, spray or cloth that’s too wet.
Do not use the instrument near water or moisture, such as a bathtub, sink,
swimming pool or similar place.
Do not place the instrument in an unstable position where it might
accidentally fall over.
Do not place heavy objects on the instrument. Do not block openings or
vents of the instrument; these locations are used for ventilation to prevent
the instrument from overheating. Do not place the instrument near a heat
vent or any place of poor air circulation.
Use only the provided AC adapter, as specified by ARTURIA (see chapter for
more details).
Make sure the line voltage in your location matches the input voltage
specified on the AC power adapter.
Do not open and insert anything into the instrument, as this could cause a
fire or electrical shock.
Do not spill any kind of liquid onto the instrument.
In the event of a malfunction, always take the instrument to a qualified
service center. You will invalidate your warranty if you open and remove the
cover, and improper testing may cause electrical shock or other
malfunctions.
Do not use the instrument when thunder and lightning is present.
Do not expose the instrument to hot sunlight.
Do not use the instrument when there is a gas leak nearby.
ARTURIA is not responsible for any damage or data loss caused by improper
operations to the instrument.
ARTURIA recommends the use of shielded and less than 3 meters long cables
for Audio, and ferrite equipped CV/Gate cables.
Arturia MiniBrute User's Manual 11 6 Legal notes
2.2 Register your Instrument
Registering your instrument establishes your legal ownership, which entitles you to
access the Arturia Technical Support service, and be informed of updates.
Additionally, you can subscribe to the ARTURIA newsletter to be informed of
ARTURIA-related news as well as promotional offers.
Connect to your Arturia account via this URL:
http://www.arturia.com/login
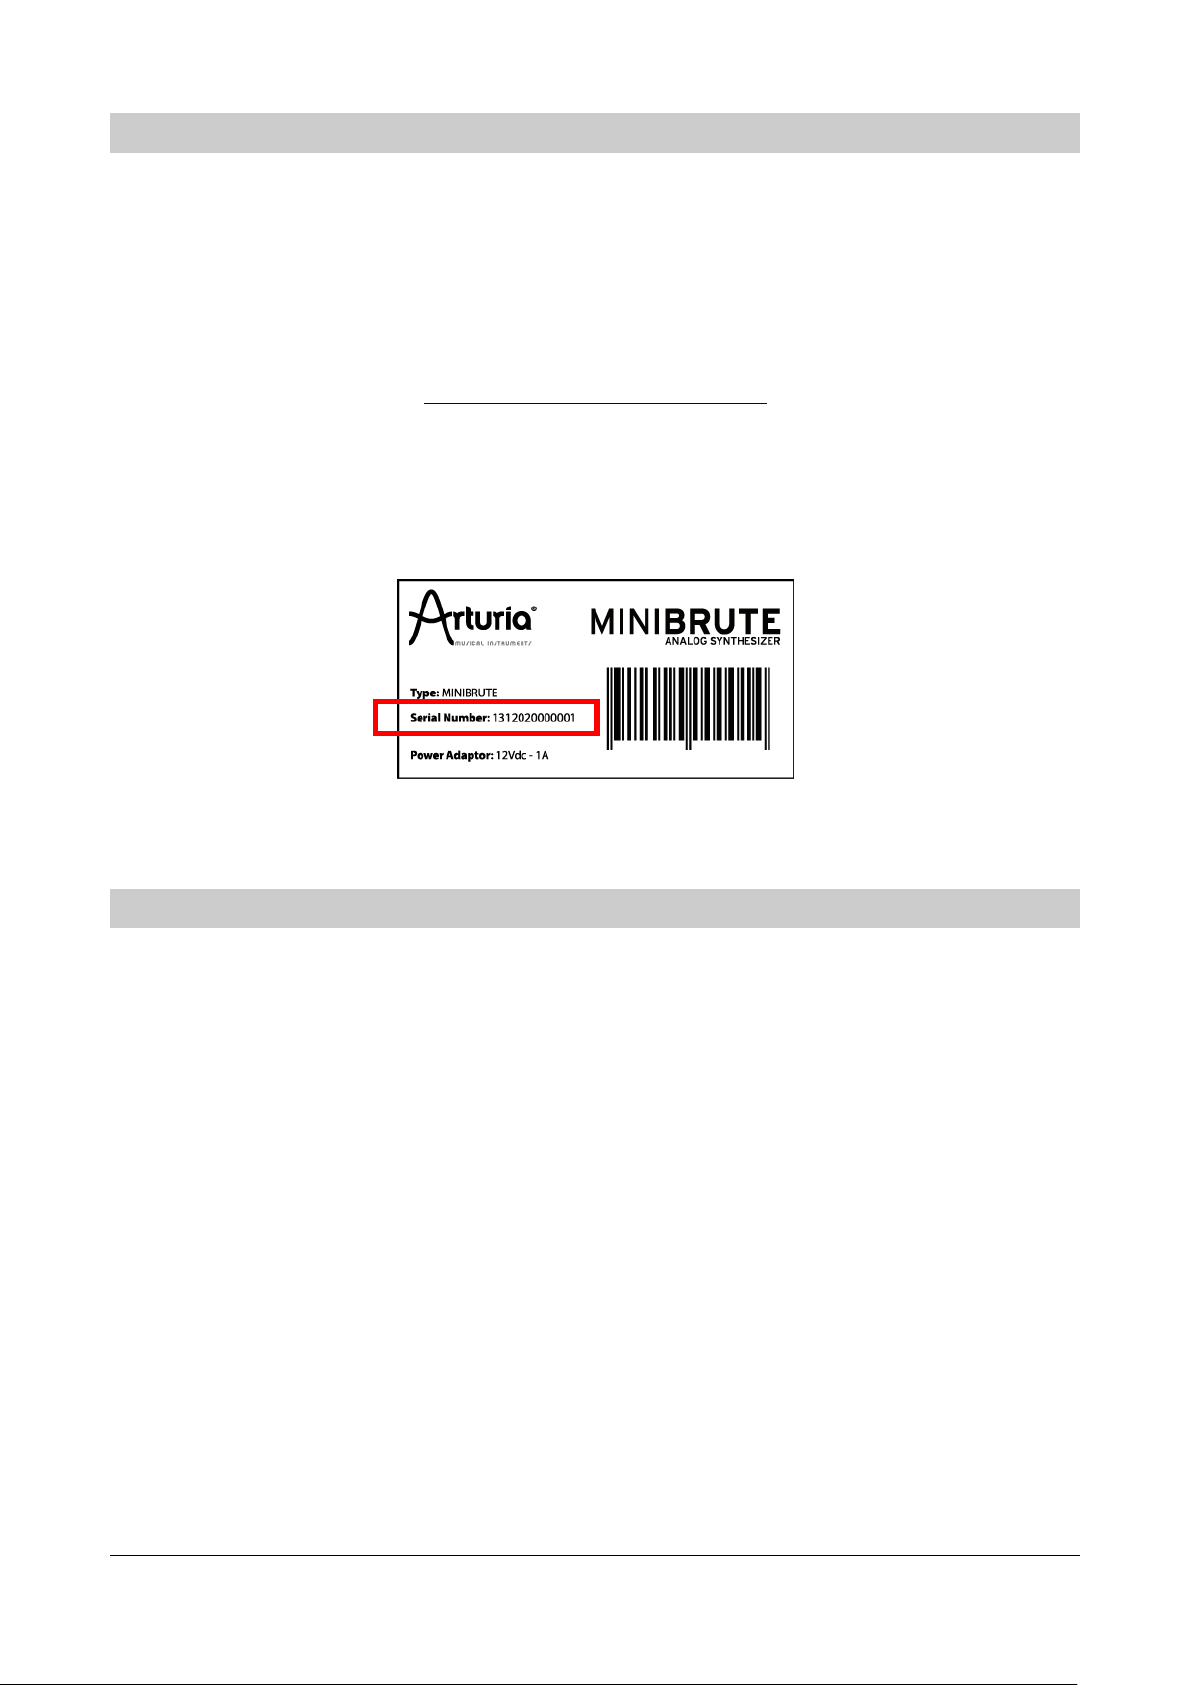
Go to the section “My Registered Products”, and add the MiniBrute synthesizer by
entering its serial number, as printed on the sticker located under the machine:
2.3 Connecting the MiniBrute to the World
Always power-off all audio gear before making any connections. Failing to do so
may damage your speakers, the MiniBrute synthesizer, or other audio equipment.
After completing all connections, set all levels to 0. Power on the various devices,
with audio amplifier or monitoring system last, then raise the volumes to a
comfortable listening level.
Arturia MiniBrute User's Manual 12 6 Legal notes
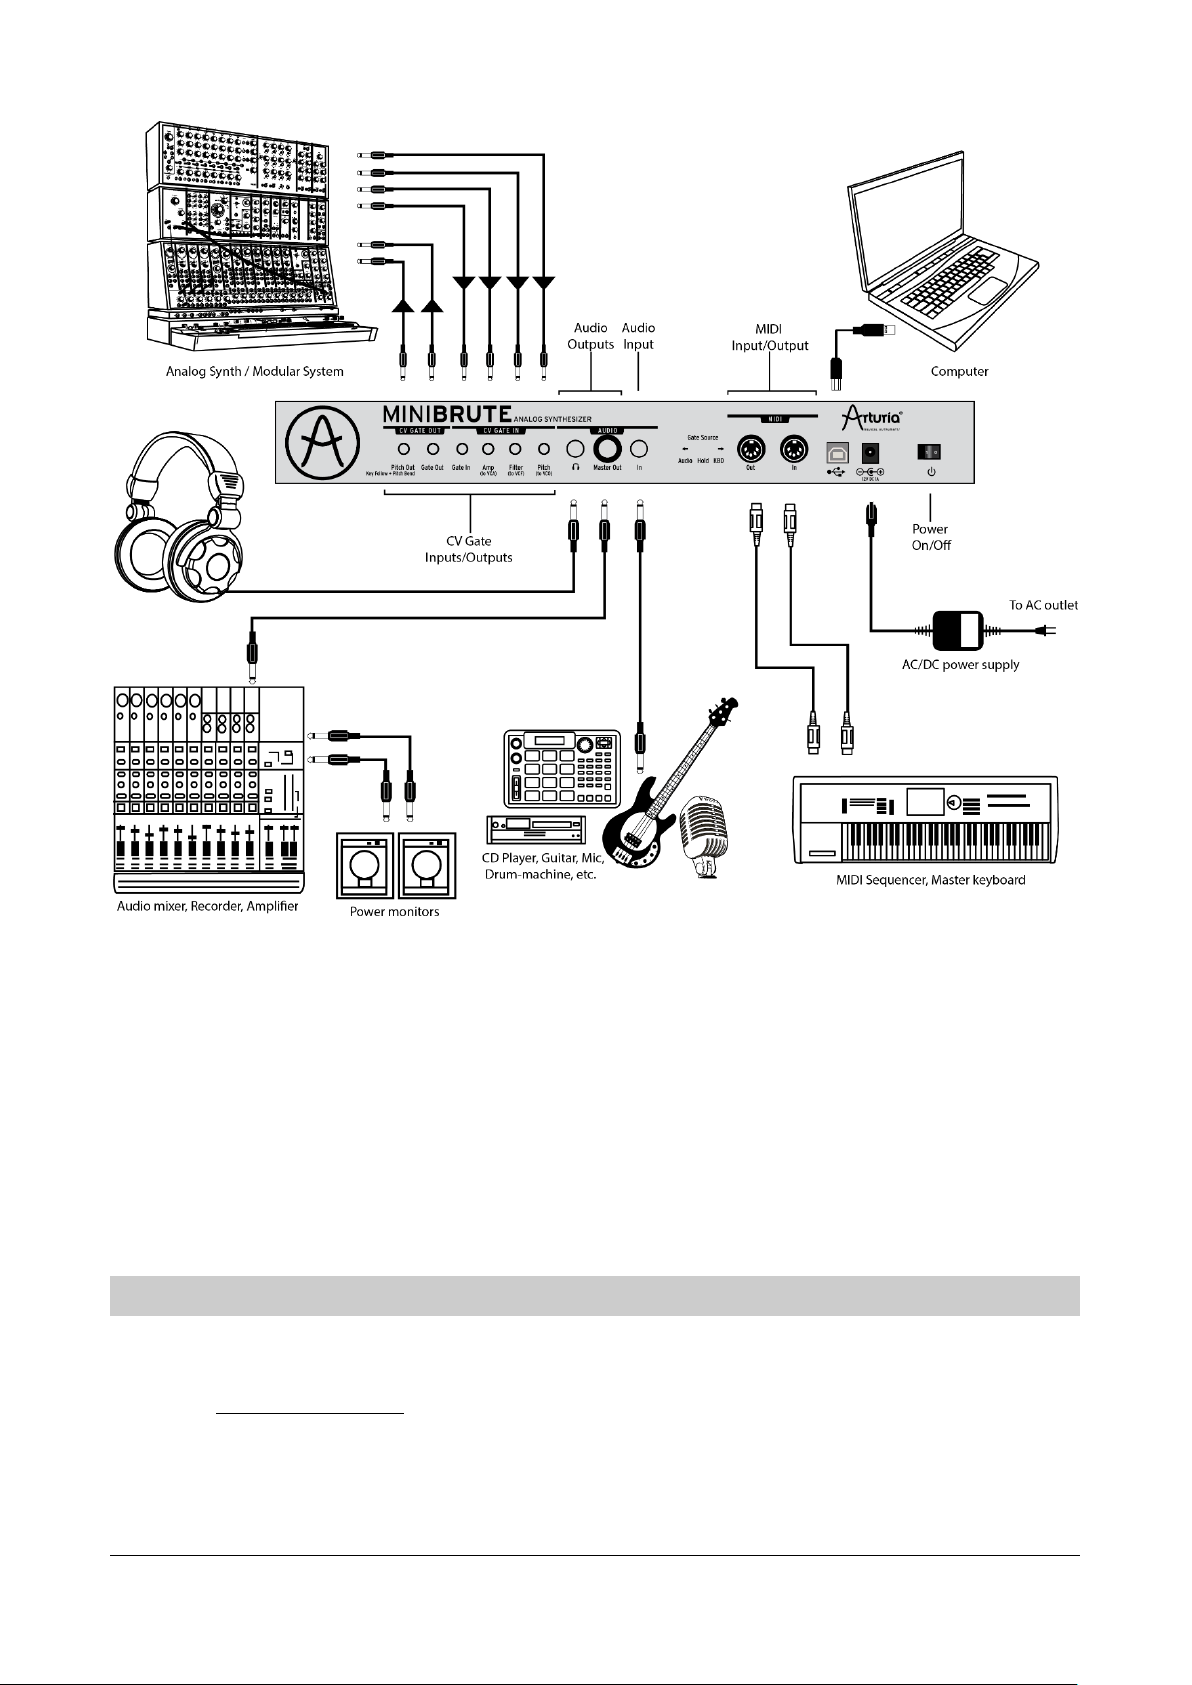
Here is an overview of the MiniBrute synthesizer’s connectors:
Audio Input & Outputs 6.35 mm (1/4'') mono jacks
CV/Gate ..................... 3.5 mm (1/8'') miniature mono jacks
MIDI Input & Output .. Standard MIDI DIN-5
USB................................ Standard USB type B
Power DC Input .......... Internal 2.1 mm, external 5.5 mm
2.4 Warm-Up and General Tuning
As with all other true analog synthesizers, after being powered-on the MiniBrute
needs a warm-up period of approximately five to ten minutes. The allows reaching
a stable operating temperature, which insures accurate oscillator pitch. Warm-up
time depends on the external temperature; a colder ambiance will require longer
warm-up times, while a hotter ambiance will result in shorter times.
Arturia MiniBrute User's Manual 13 6 Legal notes

Once the synthesizer has reached its running temperature, tune it to pitch. Use an
external tuner to check the instrument’s tuning; if needed, tweak the Fine Tune
knob to tune the MiniBrute to the desired pitch.
The MiniBrute has been designed for rock-solid pitch stability when operated in
normal temperature and humidity conditions, at external temperatures between
20°C and 32°C in temperate areas. In practice, the MiniBrute provides satisfactory
operation over a much wider temperature range, although extreme external
temperatures or fluctuations can lead to longer stabilization time or erratic tuning.
Arturia MiniBrute User's Manual 14 6 Legal notes

3 QUICKSTART
This chapter provides the basics you’ll need to create your very first sounds with the
MiniBrute, so you can start enjoying its rich, full sounds immediately. In subsequent
chapters, we’ll get deeper into the sound design process so you can create more
animated and complex sounds.
3.1 Create your first sound: the “basic patch”
Once your MiniBrute has been correctly connected to your sound system, set all
the controls to their minimum level:
counter-clockwise for the knobs
lowest position for sliders
centered position (12 o'clock) for controls with – and +, as well as Fine Tune.
Set the rear panel Gate Source switch to the KBD position (see chapter ).
Set the FILTER section’s Mode switch to LP, and the ENV Speed switch to Fast.
Set the CONTROL section’s Aftertouch switch to Off, and MOD Wheel to Vibrato.
Set the VIBRATO switch to the position.
Set the LFO section’s Clock switch to the Free position.
Set the ARPEGGIATOR section’s Hold/On/Off switch to Off.
Switch on your MiniBrute, let it warm up, and set the Master Volume knob to
center.
Set the MIX section’s square wave slider to maximum.
Turn the FILTER section’s Cutoff knob fully clockwise.
Set the AMPLIFICATION ENVELOPE section’s Sustain slider to maximum.
Here’s an overview of the patch:
Arturia MiniBrute User's Manual 15 6 Legal notes
 Loading...