

Page 1

ALESIS
MASTERLINK
ML-9600
HIGH RESOLUTION
MASTER DISK RECORDER
ADDENDUM TO OWNER’S MANUAL
FIRST EDITION VERSION 1.0
PPLIES TO OPERATING SOFTWARE VERSION 2.00
A
2000 ALESIS CORPORATION
Page 2

Page 3

Table Of Contents
TABLE OF CONTENTS
Introduction.....................................................................................................1
1.1 Version 2.00 Highlights ................................................................................................................. 1
1.2 How Do I Get Version 2.00 Software? ..........................................................................................1
New Playlist Edit Features ................................................................................3
2.1 Seamless "Adjacent Track" Transitions .........................................................................................3
2.2 Track Split.......................................................................................................................................3
2.2a An Alternate Method...................................................................................................... 4
2.3 Track Join........................................................................................................................................4
2.4 Mark New Track While Recording...............................................................................................5
2.5 Track Start/End Pointer Capture..................................................................................................5
2.6 Audio File Copy............................................................................................................................. 5
2.7 Audio File Delete Override ...........................................................................................................6
New Track DSP Features.................................................................................. 9
3.1 Copy DSP Settings ......................................................................................................................... 9
3.2 Paste DSP Settings..........................................................................................................................9
3.3 Reset DSP Settings........................................................................................................................10
3.4 Render DSP To Audio File...........................................................................................................10
3.5 Improved Peak Limiter Output Resolution................................................................................11
New Utility Features ....................................................................................... 13
4.1 Track/Playlist/CD Loop.............................................................................................................13
4.2 Playlist Backup............................................................................................................................. 13
4.3 Playlist Restore............................................................................................................................. 14
4.4 Render Playlist To Disk ............................................................................................................... 16
4.5 Red Book Start/End Time Offsets...............................................................................................16
4.6 Enhanced System Information Display......................................................................................17
New CD Features ............................................................................................ 19
5.1 Move Entire CD To Playlist.........................................................................................................19
5.2 Playlist Exceeds Disc Capacity....................................................................................................20
5.3 Improved Macintosh-CD24 Compatibility.................................................................................20
ALESIS ML-9600 REFERENCE MANUAL 1.00
Page 4

Page 5

INTRODUCTION
Congratulations on your purchase of an Alesis MasterLink! In a continuing effort to provide
our MasterLink customers with the utmost in mastering convenience, we are pleased to
announce the debut of MasterLink operating system software version 2.0.
Version 2.0 software is packed with over twenty all-new features and improvements over
version 1.0 software, and the update does not require you to open the lid; just drop in a
MasterLink Operating System CD-ROM, and in less than one minute, your MasterLink will be
fully updated!
Listed below are some of the highlights of MasterLink version 2.0 software.
1.1 VERSION 2.00 HIGHLIGHTS
• Seamless "Adjacent Track" transitions
• Track Split & Join
Chapter 1
• Mark a new track while recording
• Audio File copying
• Audio File Delete override
• Track Start/End Pointer capture
• Copy/Paste/Reset Track DSP parameters
• Render DSP to Audio File
• Improved Peak Limiter output resolution
• Track/Playlist/CD loop modes
• Playlist Backup and Restore
• "Render Playlist" function
• Red Book Start Point and End Point offsets
• Enhanced CD track move operations
• Improved Macintosh-CD24 file compatibility
1.2 HOW DO I GET VERSION 2.00 SOFTWARE?
If you recently purchased a MasterLink and received this addendum in your MasterLink box,
you already have version 2.00 software installed in your unit. To check this, turn on your
MasterLink and press the UTILITY button repeatedly until the first line of the display reads
"Util9: Sys Info". The second line of the display should read "Software: 2.00". If you
do not have a "Util9: Sys Info" page, or if the second line of the display of that page does
not read "Software: 2.00", then read the section below.
ALESIS ML-9600 REFERENCE MANUAL 1.00 1
Page 6

Chapter 1
MasterLink software updates occur via a special "MLOS" (MasterLink Operating System) CDROM. If you do not have Version 2.00 software, there are several options available to you:
• Call 1-800-5ALESIS and choose "Option 1" to have a free update MLOS disc sent to you.
• Contact your nearest Alesis dealer for the update.
• If you have a computer with Internet access and a CD-R drive, you can download a CD-
ROM "image" and create your own MLOS disc. Simply go to
http://www.alesis.com/products/ml9600/index.html and click on "How to Create an
Alesis MasterLink OS Disc" for detailed instructions.
2 ALESIS ML-9600 REFERENCE MANUAL 1.00
Page 7

Chapter 2
NEW PLAYLIST EDIT
FEATURES
2.1 SEAMLESS "ADJACENT TRACK" TRANSITIONS
In version 1.xx software, two adjacent tracks would always play back with a miniscule
amount of silence between them, even if the start time of the second Track was equal to the
end time of the first Track. This was due to the way the MasterLink handled Audio Files and
Tracks in a playlist.
In Version 2.0, adjacent tracks play back with no audible gap; the Tracks will have adjacent
samples at the track boundary. This, however, is only true if neither of the adjacent tracks
have (real-time) Track DSP applied to them. If you have two adjacent tracks that must play
seamlessly over the track boundary and one or both have Track DSP applied, use the Render
DSP function (described in Section 3.4 of this addendum) to commit this DSP to the Audio File
(which will then turn off the real-time DSP for the track). This feature is very important when
considered with the next two features: Track Split and Track Join.
2.2 TRACK SPLIT
One of the most important features added to version 2.0 software was the ability to Split and
Join Tracks. This section describes a Track Split; the following section describes a Track Join.
A Track Split is simply the act of taking one Track (and its associated Audio File) and splitting
it into two Tracks (and two Audio Files). Track Splits can be useful in several ways:
• Inserting Track Markers into a long, continuous piece of audio, without interrupting the
audio flow.
• Breaking a long recording into discrete songs.
• Isolating regions of a song for re-sequencing.
• Isolating regions of a song for different DSP processing.
The point at which the track is split is determined by the TRACK START pointer, whose
operation is described in detail in section 4.8 of the MasterLink User's Manual, and in Section
2.5 of this addendum. Once the TRACK START point has been set, holding PLAYLIST EDIT
and pressing NEW TRACK will cause the Split Confirmation Screen to be displayed, an
example of which is shown in Figure 2.2.1.
Figure 2.2.1
ALESIS ML-9600 REFERENCE MANUAL 1.00 3
Page 8
Chapter 2
2.2A AN ALTERNATE METHOD...
Track Split Confirmation Screen
Pressing DOWN/NO while this screen is displayed will cancel the Split operation and return
the machine to its previous state. Pressing UP/YES while this screen is displayed will cause
the track to be split at the TRACK START pointer. Because MasterLink defaults to 0.0
seconds of "gap" between Tracks, the audio during the transition from the first track to the
second track will play back seamlessly, as if the track had not been split. However, if the
original Track had DSP applied to it before it was split, the two resulting Tracks will both
have the original DSP applied to them, and will not play back seamlessly until the DSP is
either turned off or rendered to the Audio File (see Section 3.4 for details on rendering DSP to
an Audio File).
Note that the second Track will have the characters "Sxx" appended to the track name. This
designates Split xx, where xx designates the split number. For instance if you split a track
named "MyHit ", the resulting Tracks will be named "MyHit " and "MyHitS01". If
"MyHitS01" is then split, the resulting track names will be "MyHitS01" and "MyHitS02".
An alternative to using the Track Start pointer to determine the Split point is to play the track
up to the point at which you wish the split to occur, then press PAUSE to pause the Track. If
you then hold the PLAYLIST EDIT button and press NEW TRACK, the Track will be split,
with the split point set to equal the pause point (the last audio that you heard). This method
may be preferred when you are roughly breaking a long recording into smaller parts, and do
not need the accuracy of the scrubbing process.
NOTE: Using the "Pause" method to split a Track will override the Track Start pointer, if it has
been set.
2.3 TRACK JOIN
The Track Join operation is the opposite of a Track Split; Track Join will combine two adjacent
Tracks (and their associated Audio Files) into one. If there is DSP applied to the first track, it
will be applied to the entire joined track. If there is DSP applied to the second track, it will be
removed after the Join (because the second track is always joined to the first).
Performing a Track Join is a simple procedure. Assuming Track 1 and Track 2 are in a playlist,
press SKIP
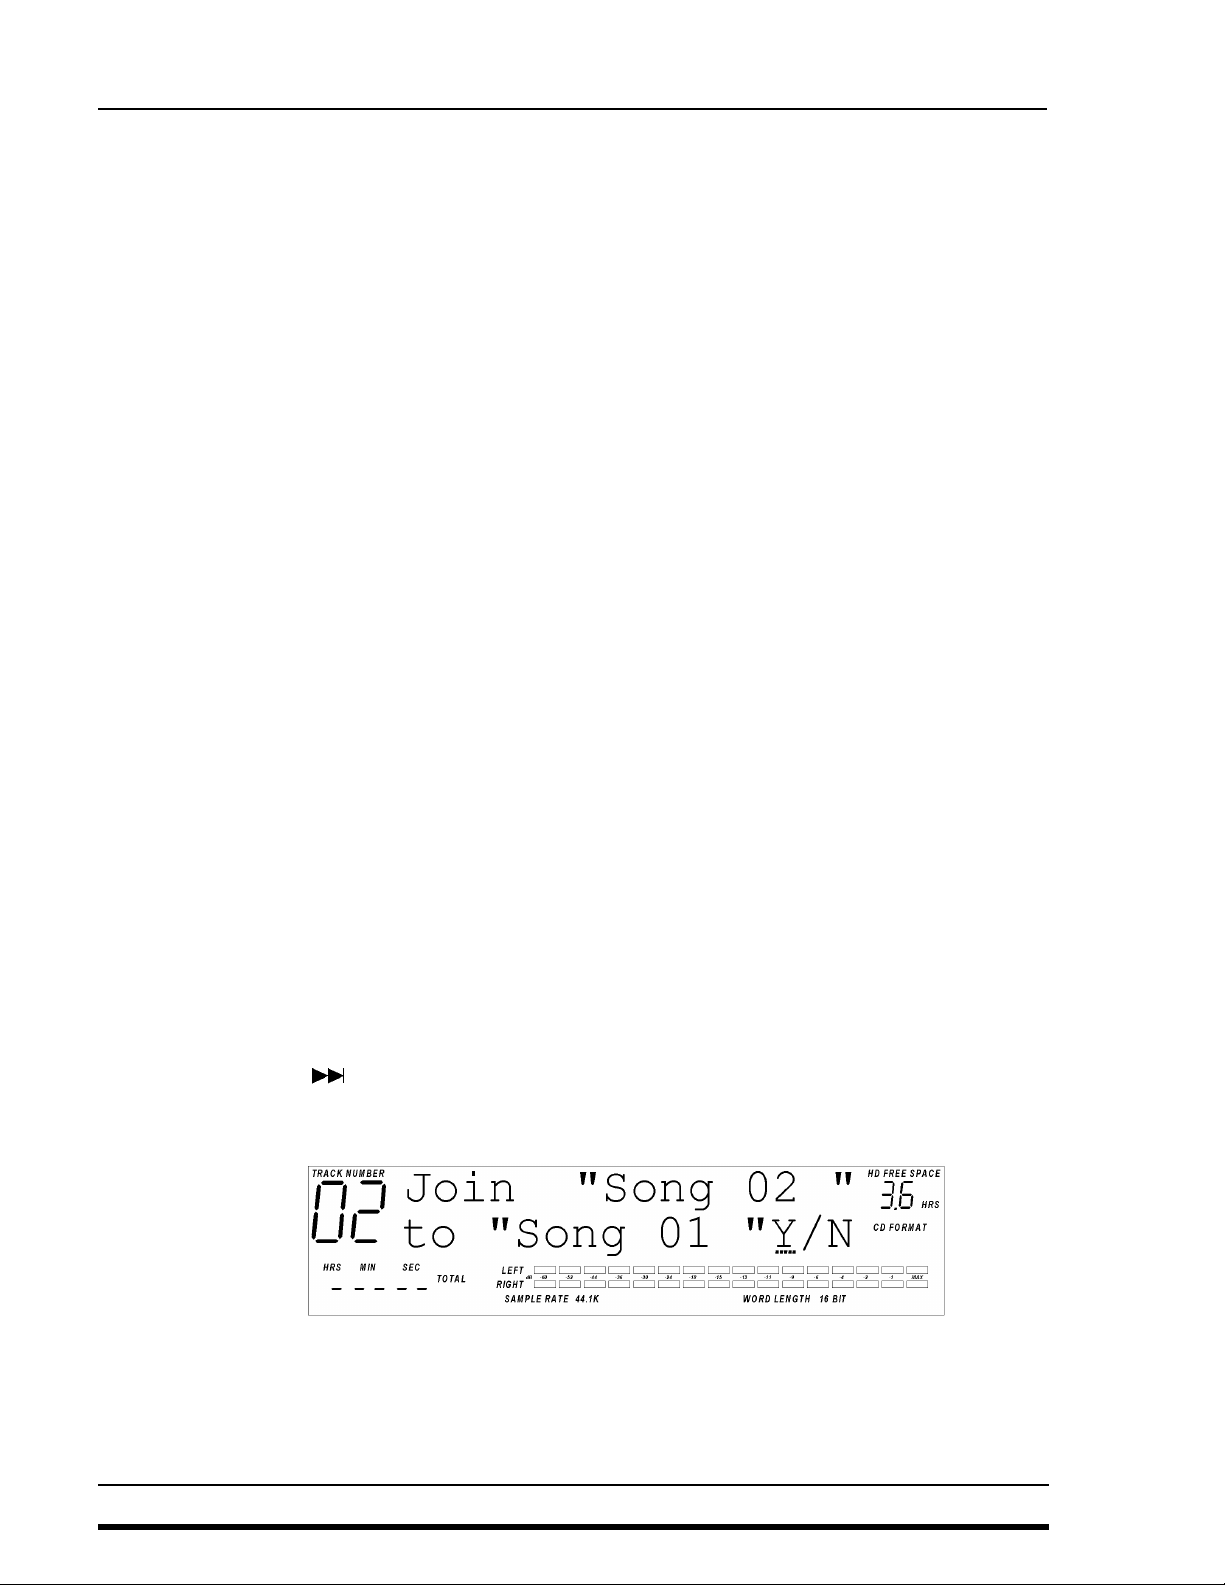
TRACK. The display will change to the Track Join Confirmation Screen, as shown in Figure
2.3.1.
until Track 2 is selected. Hold the PLAYLIST EDIT button and press DELETE
Figure 2.3.1
Track Join Confirmation Screen
4 ALESIS ML-9600 REFERENCE MANUAL 1.00
Page 9

Pressing DOWN/NO while this screen is displayed will cancel the Join operation and return
the machine to its previous state. Pressing UP/YES while this screen is displayed will cause
Track 2 to be joined to Track 1, removing the inter-Track gap, if one exists.
TIP: If you are previewing a Join and notice that the transition from Track to Track seems
abrupt, or if you notice a "pop" or a "click" at the transition point, try applying a short (10mS)
fade to the end of the first Track, or the beginning of the second Track. If the fade solves the
problem, render it to the Audio File (see Section 3.4 of this addendum) and then proceed with
the Track Join.
2.4 MARK NEW TRACK WHILE RECORDING
Pressing the NEW TRACK button while recording will cause a new track to be created and
audio to begin to be written into that new track, without losing any audio data during the
track creation process. It can be thought of as an "on the fly" Track Split.
This feature can be extremely useful in live recording applications, in cases where either
multiple takes are occurring and it would be inconvenient to stop recording and create new
Tracks, or if certain portions of a recording (different movements in a classical performance,
for example) need to be marked separately. This feature is analogous to the "force start ID"
feature on most DAT machines.
Chapter 2
2.5 TRACK START/END POINTER CAPTURE
Version 2.0 MasterLink software offers improved functionality when adjusting Track Start
and Track End pointers. In addition to the standard "scrub" method (described in Section 4.8
of the MasterLink User's Manual), there is a new way to quickly adjust either Track Start or
Track End pointers, via a "capture" method.
If you are listening to a Track and you hear a section of audio that you wish to move Track
Start pointer to (either for Cropping or Splitting the Track), simply press PAUSE to pause the
audio then hold PLAYLIST EDIT and press TRACK START to instantly move the Track
Start pointer to the point at which the Audio was paused. Alternatively, you can just hold
PLAYLIST EDIT and press TRACK START while the audio is playing, to capture the point
on the fly. Once you have moved the pointer, you may of course use the scrub and preview
features to fine-tune the pointer location.
The same techniques apply to the Track End Pointer; press PAUSE to pause the audio then
hold PLAYLIST EDIT and press TRACK END to instantly move the Track End pointer to the
point at which the Audio was paused. Alternatively, you can just hold PLAYLIST EDIT and
press TRACK END while the audio is playing, to capture the point on the fly.
2.6 AUDIO FILE COPY
In certain situations, it may be desirable to duplicate an Audio File on the hard drive, such as
in situations where a destructive edit (like cropping) is going to be performed on an Audio
File and you want to preserve the original file. Version 2.0 software provides a simple way to
copy an Audio File.
First, select the Audio File you wish to copy. Audio Files can only be accessed from within
Playlist Edit mode. Audio Files are viewed by pressing the SKIP
Track in a playlist is reached. One more press of the SKIP
ALESIS ML-9600 REFERENCE MANUAL 1.00 5
button will show the first
button until the last
Page 10

Chapter 2
Audio File. Subsequent presses of the SKIP
on the hard drive.
TIP: To quickly skip to the last Track in a Playlist, hold the PLAYLIST EDIT button and press
the SKIP
button will show the first Audio File. To skip to the last Audio File, hold the PLAYLIST
EDIT button and press the SKIP
PLAYLIST EDIT button and press the
Once you have selected the Audio File you wish to copy, press the TRACK MOVE button
once. Figure 2.6.1 shows the Audio File move screen.
In this display, the second line of the 2X16 display changes to show "Move AFile >
(destination track)". The cursor will be under the destination Track; pressing the
UP/YES and DOWN/NO keys will scroll through the possible destination Track numbers.
button. After releasing the PLAYLIST EDIT button, one more press of the SKIP
button. To skip to the first Audio File, hold the
Figure 2.6.1
Audio File Move Screen
button will skip through all of the Audio Files
SKIP button.
Press the UP/YES button until the destination Track changes to "Copy". Press the TRACK
MOVE button once more to initiate the copy, causing the display to prompt "Are You Sure?".
Pressing UP/YES will confirm the copy; any other key will cancel the copy.
Once the copy is confirmed, the MasterLink will begin to copy the Audio File, and the Play
and Record LEDs will light to indicate the copy is in progress. Additionally, the display will
read "Audio File Copy – Copying" while the copy is occurring, and "Audio File Copy –
Complete" when the copy has completed.
NOTE: When an Audio File is copied, the copy has its name changed automatically so that the
last three letters of the name are "Cxx"; C indicating that the file is a Copy, and xx being a twonumber designation of the Copy generation (first generation = C01, second generation = C02,
etc.) Of course, you can change the name to whatever you like after the copy has been made;
the automatic name change is designed to help avoid the confusion of having two or more
Audio Files with duplicate names.
2.7 AUDIO FILE DELETE OVERRIDE
When you attempt to delete an Audio File that is currently in use by a playlist, a message will
temporarily be displayed indicating that that Audio File is in use, as shown in Figure 2.7.1.
6 ALESIS ML-9600 REFERENCE MANUAL 1.00
Page 11

Chapter 2
Figure 2.7.1
Audio File In Use Warning
In Version 1.xx software, the only way to delete an Audio File that was in use was to find
every Track in every playlist that pointed to that Audio File and delete each Track. New to
version 2.0 software is the ability to override the warning and automatically delete all of the
Tracks associated with the Audio File you wish to delete.
After temporarily displaying the "Audio File In Use" screen, the override screen will be
displayed, as shown in Figure 2.7.2.
Figure 2.7.2
Audio File Delete Override Screen
Pressing UP/YES while this screen is displayed will cause the display to prompt
"Permanently delete from disk?"; pressing UP/YES once more will delete the Audio
File and all Tracks associated with that Audio File.
ALESIS ML-9600 REFERENCE MANUAL 1.00 7
Page 12

Chapter 2
8 ALESIS ML-9600 REFERENCE MANUAL 1.00
Page 13

NEW TRACK DSP
3.1 COPY DSP SETTINGS
New to Version 2.0 software is the ability to copy and paste DSP settings between tracks, even
between tracks in different playlists. All of the Track DSP parameters are copied and pasted at
once, including Track Gain, Compression parameters, EQ parameters, Limiter parameters,
Normalizer parameters, and Track Fade parameters.
To copy the DSP settings from a Track, first select the playlist and track from which you wish
to copy (your "source" Track), then press the TRACK DSP button repeatedly until DSP Page 5
is displayed, as shown in Figure 3.1.1.
F
EATURES
Chapter 3
Copy DSP Settings Page
Pressing the DOWN/NO button in this page will have no effect. Pressing the UP/YES button
will copy all DSP parameters into a temporary RAM buffer. This RAM buffer will retain its
settings until either another DSP Copy operation is performed, or until power is turned off to
the MasterLink.
3.2 PASTE DSP SETTINGS
Once a DSP Copy operation has been performed, you may paste those parameters as many
times as you like into as many tracks as you wish. Note that these pasted parameters will
overwrite any Track DSP parameters that you have already applied to the target Track.
To paste DSP parameters into a Track, first select the Track to which you wish to apply the
copied parameters (your "destination" Track), then press the TRACK DSP button repeatedly
until DSP Page 6 is displayed, as shown in Figure 3.2.1.
Figure 3.1.1
Figure 3.2.1
ALESIS ML-9600 REFERENCE MANUAL 1.00 9
Page 14

Chapter 3
Paste DSP Settings Page
Pressing the DOWN/NO button in this page will have no effect. Pressing the UP/YES button
will paste all DSP parameters from the temporary RAM buffer into the destination track. This
process leaves the RAM buffer intact, so multiple pastes are possible without having to recopy each time.
3.3 RESET DSP SETTINGS
If you just want to "zero" the DSP settings on a Track, returning them to the factory defaults
and turning them off, you can use the Reset DSP function.
To reset all DSP parameters in a Track, first select your destination Track, then press the
TRACK DSP button repeatedly until DSP Page 7 is displayed, as shown in Figure 3.3.1.
Figure 3.3.1
Reset DSP Settings Page
Pressing the DOWN/NO button in this page will have no effect. Pressing the UP/YES button
will prompt you with an "Are you sure? Y/N" message. Pressing DOWN/NO will cancel
the DSP Reset operation. Pressing UP/YES in this screen will reset all DSP parameters (Track
Gain, Compression parameters, EQ parameters, Limiter parameters, Normalizer parameters,
and Track Fade parameters) in the destination track.
3.4 RENDER DSP TO AUDIO FILE
MasterLink Track DSP is applied as a real-time process, allowing modifications to the DSP
without changing the original Audio File. There are instances, however, where it is convenient
to commit, or "render" the applied Track DSP to the Audio File, thereby permanently
changing the Audio File. MasterLink Version 2.0 software gives you the ability to render your
Track DSP settings to the associated Audio File.
NOTE: The Render DSP function is a destructive edit and cannot be undone once rendered. If
you need to be able to recover the original, non-rendered audio data, be sure to make a copy
of the Audio File before rendering DSP (covered in Section 2.6 of this Addendum).
Once you have made the desired changes to the Track DSP settings and decide you wish to
render the DSP to the Audio File associated with your Track, press the TRACK DSP button
repeatedly until DSP Page 8 is displayed, as shown in Figure 3.4.1.
10 ALESIS ML-9600 REFERENCE MANUAL 1.00
Page 15
Chapter 3
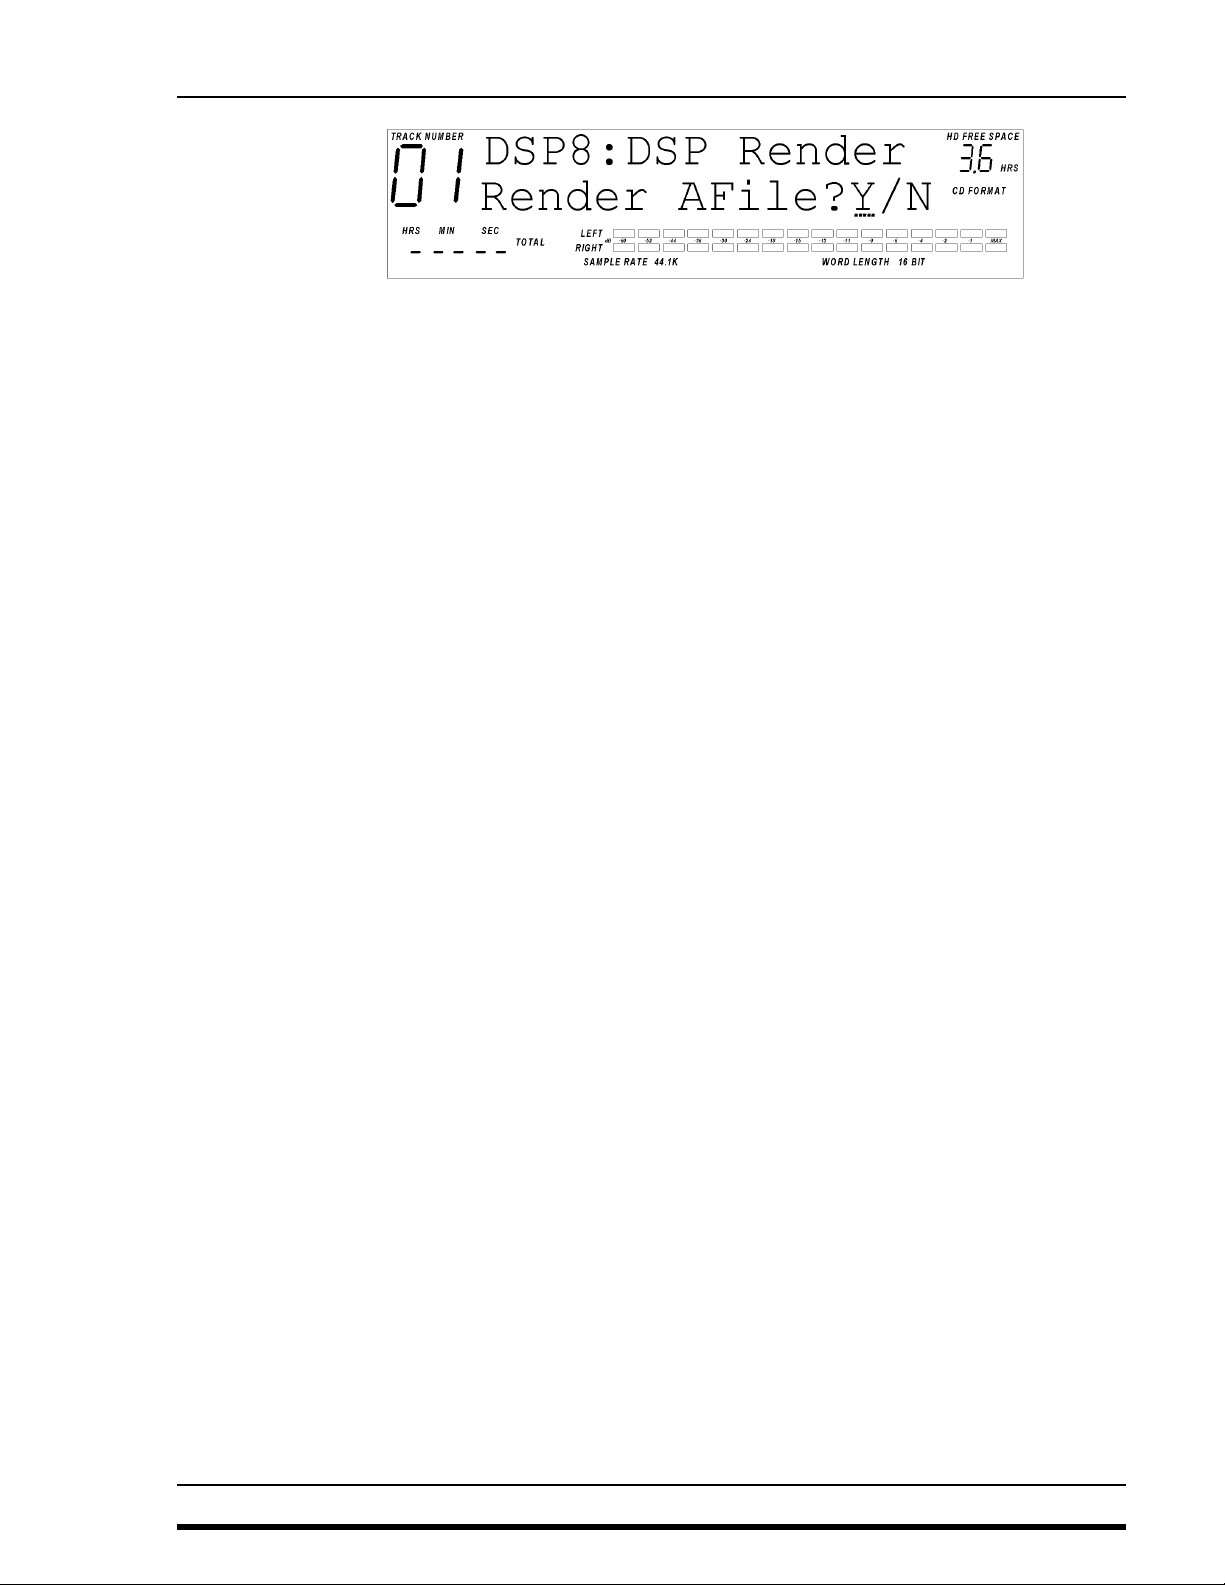
Figure 3.4.1
Render DSP Page
Pressing the DOWN/NO button in this page will have no effect. Pressing the UP/YES button
will prompt you with an "Are you sure? Y/N" message. Pressing DOWN/NO will cancel
the DSP Render operation. Pressing UP/YES in this screen will render all DSP parameters
(Track Gain, Compression parameters, EQ parameters, Limiter parameters, Normalizer
parameters, and Track Fade parameters) to the destination track.
APPLICATION NOTE: It is sometimes necessary to apply DSP to a specific region of a
recording, without interrupting the flow of audio. Below are listed the steps to accomplish
that using MasterLink Version 2.0 features:
1. Select the Playlist and Track you wish to work on.
2. Determine the start of the region to which you wish to apply DSP.
3. Split the original Track at the start of the region (Section 2.2). You will now have two
Tracks in place of the original one.
4. Select the second track and determine the end of the region to which you wish to apply
DSP.
5. Split the Track at the end of the region. You will now have three tracks.
6. Select the second track again (this should now be only the region of interest), and apply
Track DSP as needed.
7. Render the DSP to the second Track (Section 3.4).
8. Join Tracks 3 to 2, and then Tracks 2 to 1 (Section 2.3). You will now have one continuous
track with the DSP changes applied to the appropriate region.
3.5 IMPROVED PEAK LIMITER OUTPUT RESOLUTION
In MasterLink version 2.0 software the resolution of the Output Level parameter of the Lookahead Peak Limiter (DSP Page 3) has been increased. You may now adjust output resolution
in 0.1dB increments, compared to 0.25dB increments in version 1.xx software.
ALESIS ML-9600 REFERENCE MANUAL 1.00 11
Page 16

Chapter 3
12 ALESIS ML-9600 REFERENCE MANUAL 1.00
Page 17
NEW UTILITY
In MasterLink Version 2.0 software, the Utility Pages have been expanded from four pages to
nine pages, and have been re-ordered for better ease of use.
4.1 TRACK/PLAYLIST/CD LOOP
It is sometimes desirable to loop a Track or a CD when playing back audio. New to Version
2.0 software is the ability to loop Tracks, CD Tracks, Playlists, and entire CDs.
To access the various Loop modes, press the UTILITY button repeatedly until Utility Page 2 is
displayed, as shown in Figure 4.1.1.
Chapter 4
FEATURES
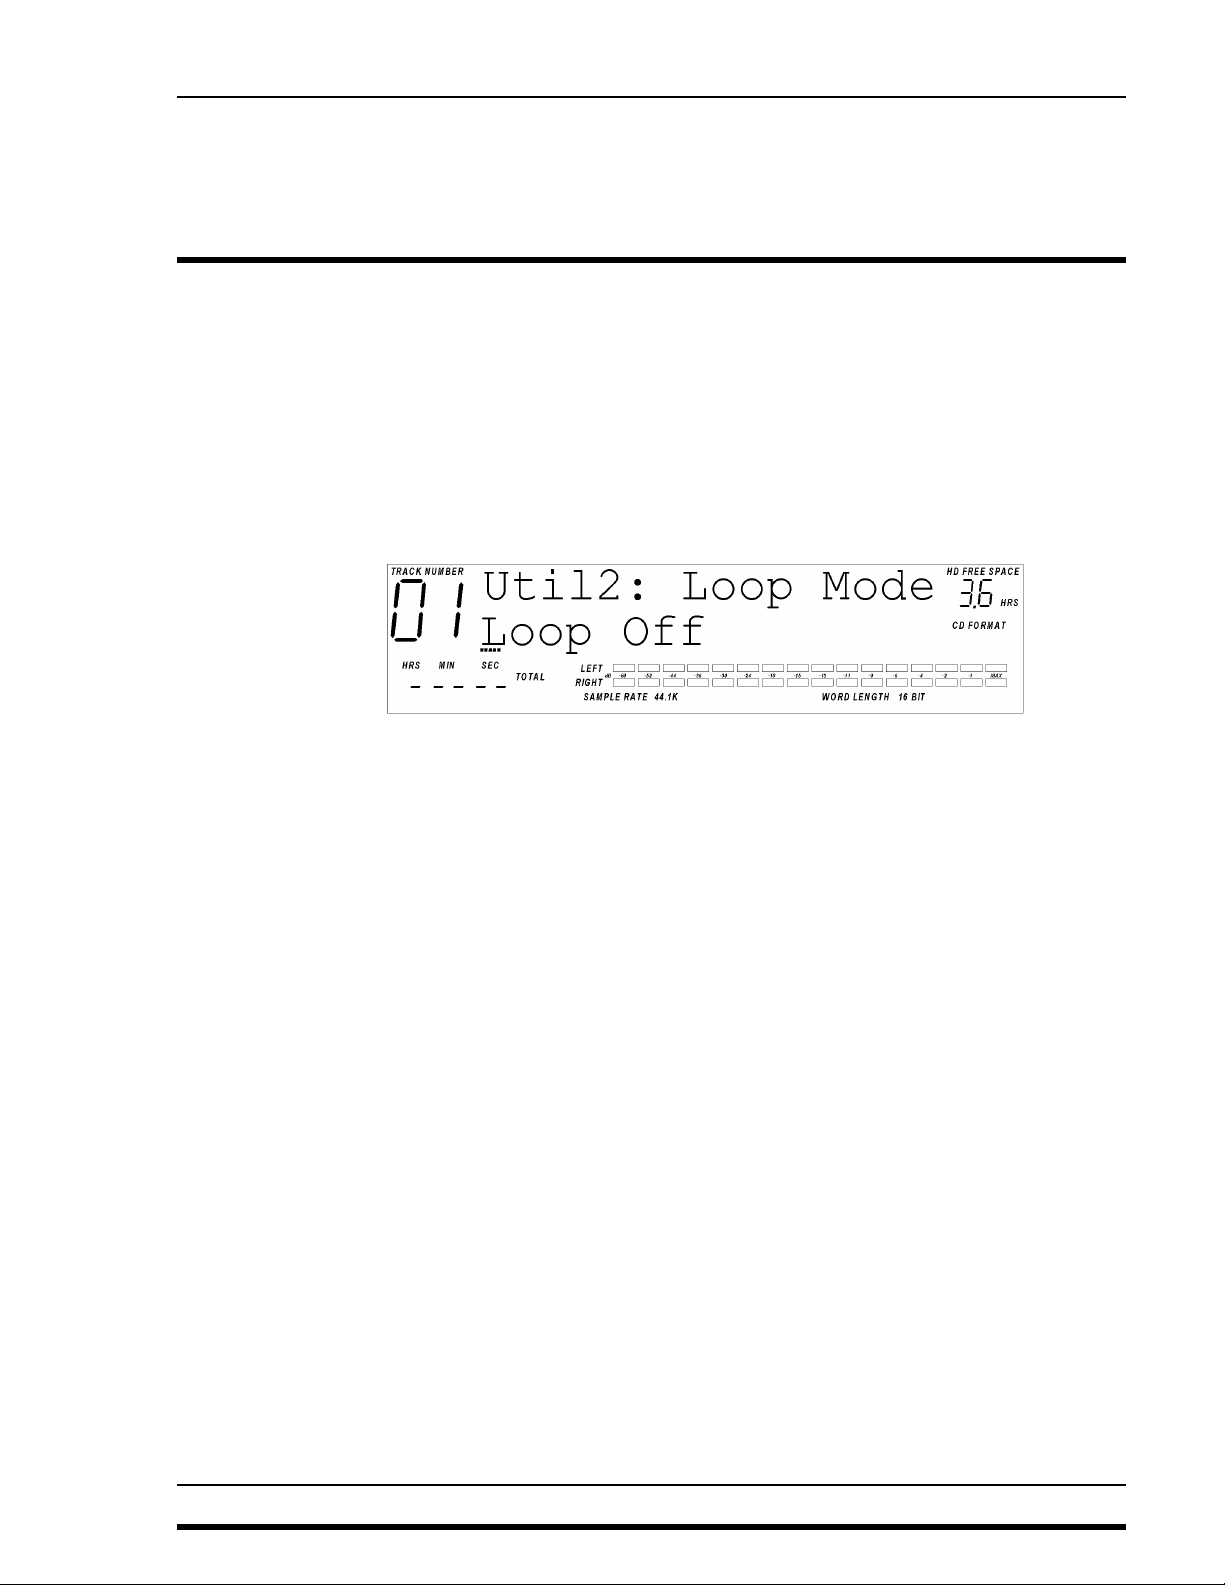
The MasterLink defaults to "Loop Off"; pressing UP/YES once will change the Loop mode to
"Track Loop", which applies to Tracks in a Playlist as well as to tracks on a CD. Another press
of the UP/YES button will change the Loop mode to "Playlist/CD Loop", which will loop an
entire Playlist or CD indefinitely.
4.2 PLAYLIST BACKUP
Version 2.0 software brings the ability to back up and restore all parameters of a Playlist to
CD. In Version 1.xx software, your only option for backing up a Playlist was to create a CD24.
However, in creating a CD24 disc, any DSP that has been applied to the Playlist is rendered to
the audio during the CD creation process.
With the Playlist Backup function, all audio is saved to CD as un-rendered AIFF files, and the
real-time Track DSP settings are saved to the CD as well. In other words, your Playlist may be
preserved as a "work in progress", with the DSP settings saved separately from the raw,
unprocessed Audio Files on the same CD. These discs are also ISO9660-compliant, so if you
wish to access the un-rendered audio in a PC or Macintosh, they can be accessed as easily as a
CD24 disc.
To initiate a Playlist Backup, press the UTILITY button repeatedly until Utility Page 3 is
displayed, as shown in Figure 4.2.1.
Figure 4.1.1
Loop Mode Page
ALESIS ML-9600 REFERENCE MANUAL 1.00 13
Page 18

Chapter 4
Figure 4.2.1
Playlist Backup Page
Pressing the DOWN/NO button in this page will have no effect. Pressing the UP/YES button
will prompt you with an "Are you sure? Y/N" message. Pressing DOWN/NO at that point
will cancel the Playlist Backup operation. Pressing UP/YES at the prompt will begin the
backup process.
If there is no blank CD in the drive, the CD tray will eject and the display will prompt you to
insert a blank CD, as in Figure 4.2.2.
Once a blank CD is inserted into the drive and the tray is closed, the unit will scan the disc to
verify that a recordable disc is present. Once the disc has been verified as a recordable CD-R
and its length has been determined, the MasterLink will verify that the playlist will fit on the
CD-R that you have inserted. If the playlist is too large to fit on the CD, the display will
prompt with a "Playlist exceeds disc at Track xx" message (where xx is the Track
number at which the playlist became too large), and abort the CD creation process. If the
playlist checks out, the recording process will begin. Please see Section 6.3 in the MasterLink
User's Manual for details of the CD recording process.
4.3 PLAYLIST RESTORE
The Playlist Restore function is complementary to the Playlist Backup function; it reads
Playlists saved to CD and restores them to the hard drive, and restores all DSP settings and
track timing information.
To begin a Playlist Restore, press the UTILITY button repeatedly until Utility Page 4 is
displayed, as shown in Figure 4.3.1.
Figure 4.2.2
Insert Blank CD-R Screen
14 ALESIS ML-9600 REFERENCE MANUAL 1.00
Page 19
Chapter 4
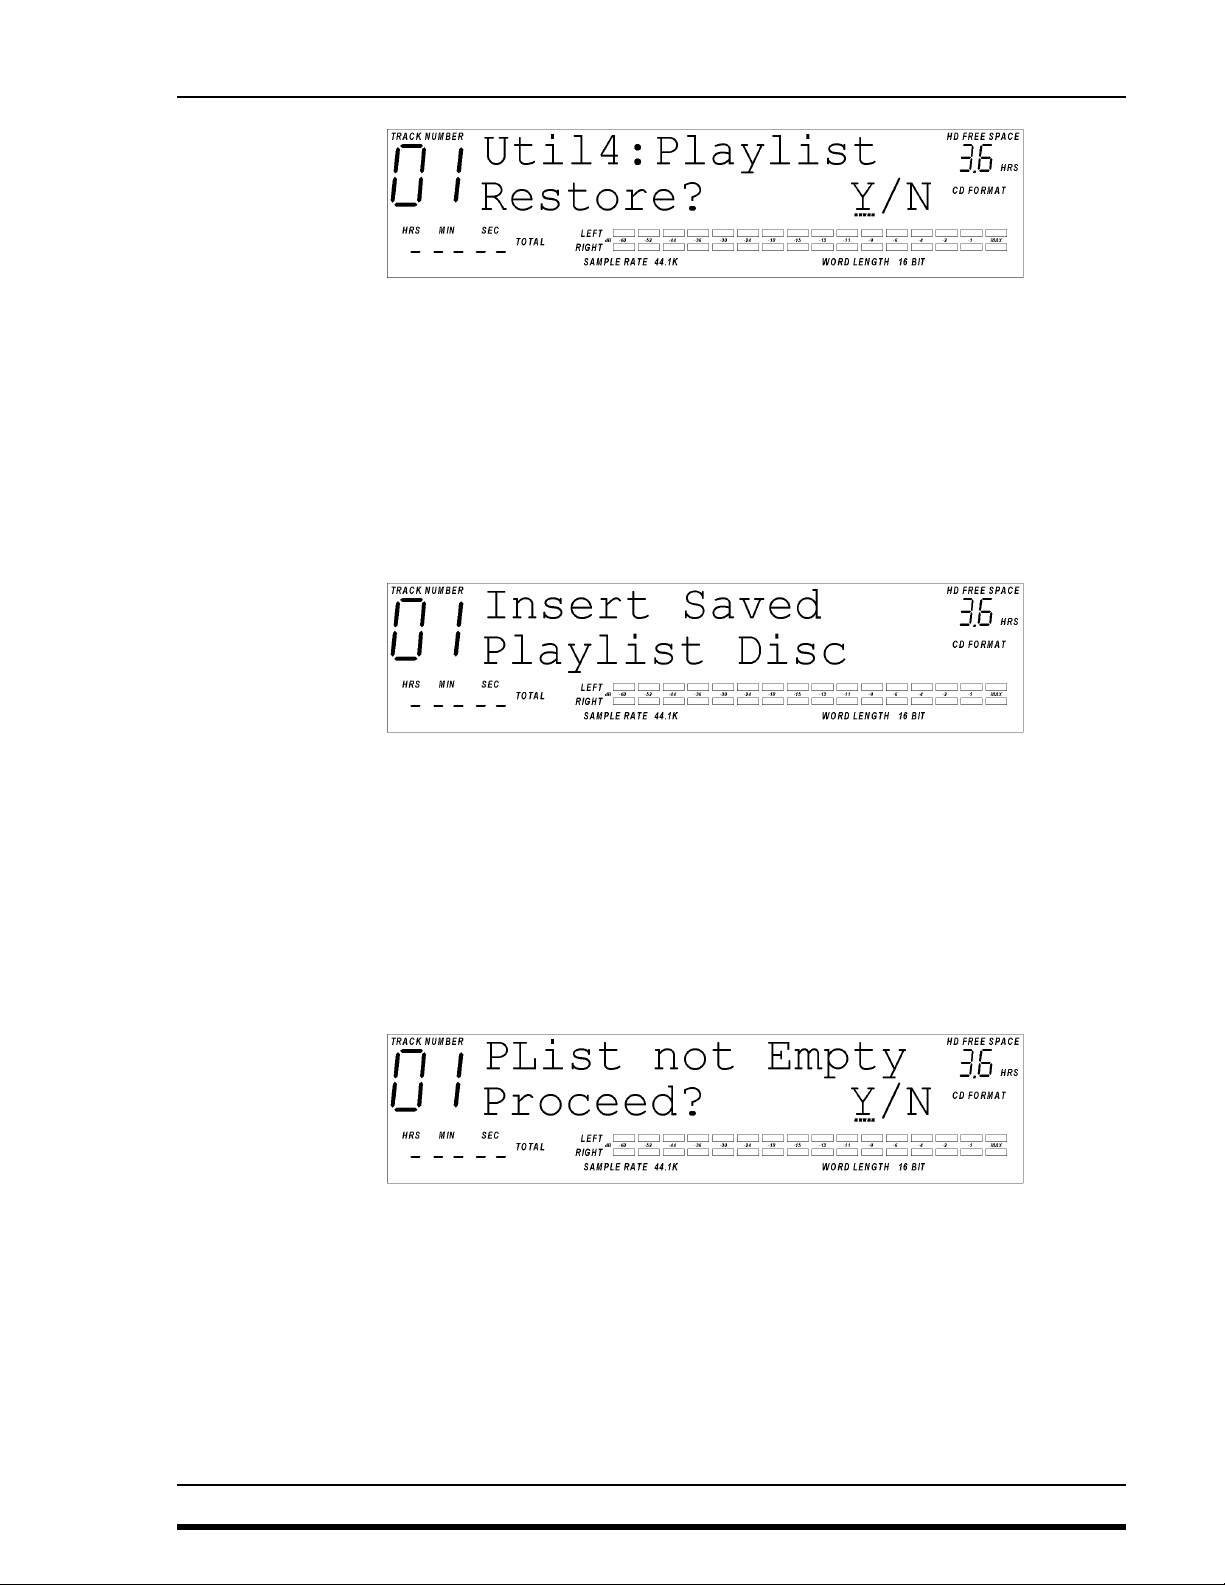
Figure 4.3.1
Playlist Restore Page
Pressing the DOWN/NO button in this page will have no effect. Pressing the UP/YES button
will prompt you with an "Are you sure? Y/N" message. Pressing DOWN/NO at that point
will cancel the Playlist Backup operation. Pressing UP/YES at the prompt will begin the
restore process.
If there is no backup disc in the CD drive, the display will prompt you for one, as shown in
Figure 4.3.2.
Figure 4.3.2
Backup Disc Prompt Screen
Once a disc is inserted, it will be scanned to determine if it is indeed a valid backup disc. If it
is not a valid backup disc the disc will be ejected and you will once again be prompted to
insert a disc.
Once the MasterLink has identified the disc as a valid backup disc, the backed-up Playlist will
be restored to the currently selected Playlist. If the currently selected playlist is not empty, a
prompt will be displayed, as shown in Figure 4.3.3.
Figure 4.3.3
Playlist Not Empty Prompt
Pressing the DOWN/NO button at this prompt will cancel the Playlist Restore operation.
Pressing the UP/YES button will continue the process, appending the restored Tracks to the
end of the existing playlist.
ALESIS ML-9600 REFERENCE MANUAL 1.00 15
Page 20

Chapter 4
4.4 RENDER PLAYLIST TO DISK
There are some instances where you may wish to render a Playlist to the hard drive, but do
not want to immediately burn a CD; for instance, you may wish to audition the rendered
image before committing to a CD. Version 2.0 software gives you the flexibility to render your
playlist without burning a CD.
To initiate a Playlist Render, press the UTILITY button repeatedly until Utility Page 5 is
displayed, as shown in Figure 4.4.1.
Figure 4.4.1
Render Playlist to Image Page
Pressing the DOWN/NO button in this page will have no effect. Pressing the UP/YES button
will prompt you with an "Are you sure? Y/N" message. Pressing DOWN/NO at that point
will cancel the Playlist Render operation. Pressing UP/YES at the prompt will begin the
rendering process.
The time needed to complete the rendering process varies depending on the sample rate and
word length of the original files, as well as the type and amount of DSP added to each Track.
Once the playlist has finished rendering, the MasterLink will automatically switch to the
Rendered Image Playlist (discussed in Section 6.3a of the MasterLink User's Manual).
4.5 RED BOOK START/END TIME OFFSETS
Consumer Compact Disc player design can vary greatly from manufacturer to manufacturer,
and across a wide price/features range. All CD players have output mute circuitry that
activates when the player is searching for a track, such as after the skip forward button is
pressed. Once a track is located, the player unmutes its outputs and begins to play audio.
However, because of the widely varying designs of consumer CD players, this muting
circuitry can be relatively slow (or fast) when muting or unmuting. This can cause a track to
be slightly cut off at the beginning or end of the audio.
MasterLink 2.0 software gives you the ability to add an offset to the track start ID of a Red
Book CD either at the beginning or at the end (or both) of a track so that variances between
CD players will not affect a CD created in a MasterLink. These offsets are typically measured
th
in "CD frames", a frame being equal to 1/75
To edit Start and End Time offsets, press the UTILITY button repeatedly until Utility Page 6 is
displayed, as shown in Figure 4.5.1.
of a second.
16 ALESIS ML-9600 REFERENCE MANUAL 1.00
Page 21

Chapter 4
Figure 4.5.1
Start and End Time Offset Page
The cursor defaults under the "St Offset" field; if you press UP/YES while in this field the "En
Offset" parameter will be displayed. To the right of the offset field is the "Offset Amount"
field. Pressing CURSOR RIGHT will move the cursor to the offset amount field, where
pressing the UP/YES or DOWN/NO buttons will adjust the offset amount between 0 and 30
CD frames (0 and 400mS).
NOTE: If the End Time offset is greater than the space between Tracks, the offset time will not
be applied for that track.
Both Start and End Time offsets default to 15 frames (200mS).
4.6 ENHANCED SYSTEM INFORMATION DISPLAY
Additional Pages have been added to Utility Page 9: System Information. This Page now
displays:
• Software Version – This is your main system software version. As of the writing of this
addendum, the most current version of system software is version 2.00.
• File System Version – This is the current version of the file system that manages data on
the hard disk drive. The most current version of the file system is 2.00.
• Eprom Version
• CD Drive Information
• Hard Drive Information
Most of this information is only of interest to Alesis technical support staff; however you may
wish to copy the information onto a piece of paper and store it in a safe place in case you
experience a problem with your unit and need to contact Alesis.
ALESIS ML-9600 REFERENCE MANUAL 1.00 17
Page 22

Chapter 4
18 ALESIS ML-9600 REFERENCE MANUAL 1.00
Page 23

F
5.1 MOVE ENTIRE CD TO PLAYLIST
MasterLink version 1.0 software gave you the ability to copy Red Book and CD24 tracks
directly to a playlist from the internal CD drive one track at a time (covered in Section 7.2 of
the MasterLink User's Manual). In addition, version 2.0 software gives you the ability to copy
all tracks at once from a Red Book or CD24 disc.
The Move CD to Playlist function is accessed through the TRACK MOVE button while the
MasterLink is in CD mode. Like the CD Track Move function in version 1.0 software, the
Move CD function moves tracks from the CD into the currently selected playlist. It is
important, therefore, to make sure that you have selected the appropriate playlist before
switching to CD mode.
Chapter 6
NEW CD
EATURES
After switching to CD mode (via the HD/CD button), pressing the TRACK MOVE button
will bring up the CD track move page, as shown in Figure 5.1.1.
Figure 5.1.1
CD Track Move Page
To copy an entire CD to the currently selected playlist, press the CURSOR LEFT button until
the cursor is under the "CDTrk" field, then press the UP/YES button, which will bring up the
display shown in Figure 5.1.2.
Figure 5.1.2
Move CD to Playlist Page
Pressing TRACK MOVE again will prompt you with an "Are you sure? Y/N" message.
Pressing DOWN/NO at that point will cancel the CD Move operation. Pressing UP/YES at the
prompt will confirm the CD Move and will begin the process.
ALESIS ML-9600 REFERENCE MANUAL 1.00 19
Page 24

Chapter 4
If the destination Playlist already has one or more Tracks in it, the display will prompt "PList
not empty. Proceed?" Pressing DOWN/NO will cancel the CD move operation. Pressing
UP/YES will begin to copy the entire CD into the destination playlist, with the first CD track
placed after the last Track in the playlist.
5.2 PLAYLIST EXCEEDS DISC CAPACITY...
MasterLink version 2.0 software now lets you know exactly at which Track a Playlist exceeds
the capacity of a Red Book or CD24 disc.
In previous versions of software, if a Playlist was too large to fit on a CD, you would be
prompted with the message "Playlist exceeds disc capacity", leaving it up to you
to figure out how much you would have to reduce your playlist to get it to fit.
In version 2.0 software, the prompt has been changed to "Playlist exceeds disc at
track xx", where xx is the track number (from 01 to 99) where the Playlist became too large
for the CD.
5.3 IMPROVED MACINTOSH-CD24 COMPATIBILITY
MasterLink CD24s are ISO-9660 compliant CD-ROMs. However, ISO-9660 does not provide
explicit Macintosh file system support, specifically relating to the "File Type" and "File
Creator" attributes and Finder Flags. This can cause a CD24's AIFF file to not be recognized
properly by the Macintosh Finder.
MasterLink version 2.0 software adds the File Type, File Creator, and Finder Flag information
to the CD24 so that Macintosh operating systems will recognize the AIFF files upon insertion
of a CD24 disc. MasterLink AIFFs should be "drag and drop" compatible right from the CD24
volume on the Desktop.
20 ALESIS ML-9600 REFERENCE MANUAL 1.00
 Loading...