

Zoom 5590 Quick Install Guide

Quick Start
ADSL X6 Modem,
Wireless-G Router, Firewall,
and 4-Port Switch
Model 5590
This Quick Start contains instructions for using a Windows
computer to set up a wired and/or wireless network. Macintosh
and Linux users should refer to the User’s Guide on the CD.
About the ADSL X6
The Zoom ADSL X6 supports up to 253 Internet connections.
You can connect a computer or network device (for example, a
router, hub, or switch) into any of the unit’s four LAN ports, and
you can “connect” wireless devices via the unit’s wireless access
point.
We recommend that you first configure the modem and establish
an Internet connection using a Windows computer that is directly
connected to one of the modem’s LAN ports.
Then—once you are certain your connection is working—you
should set up your network.
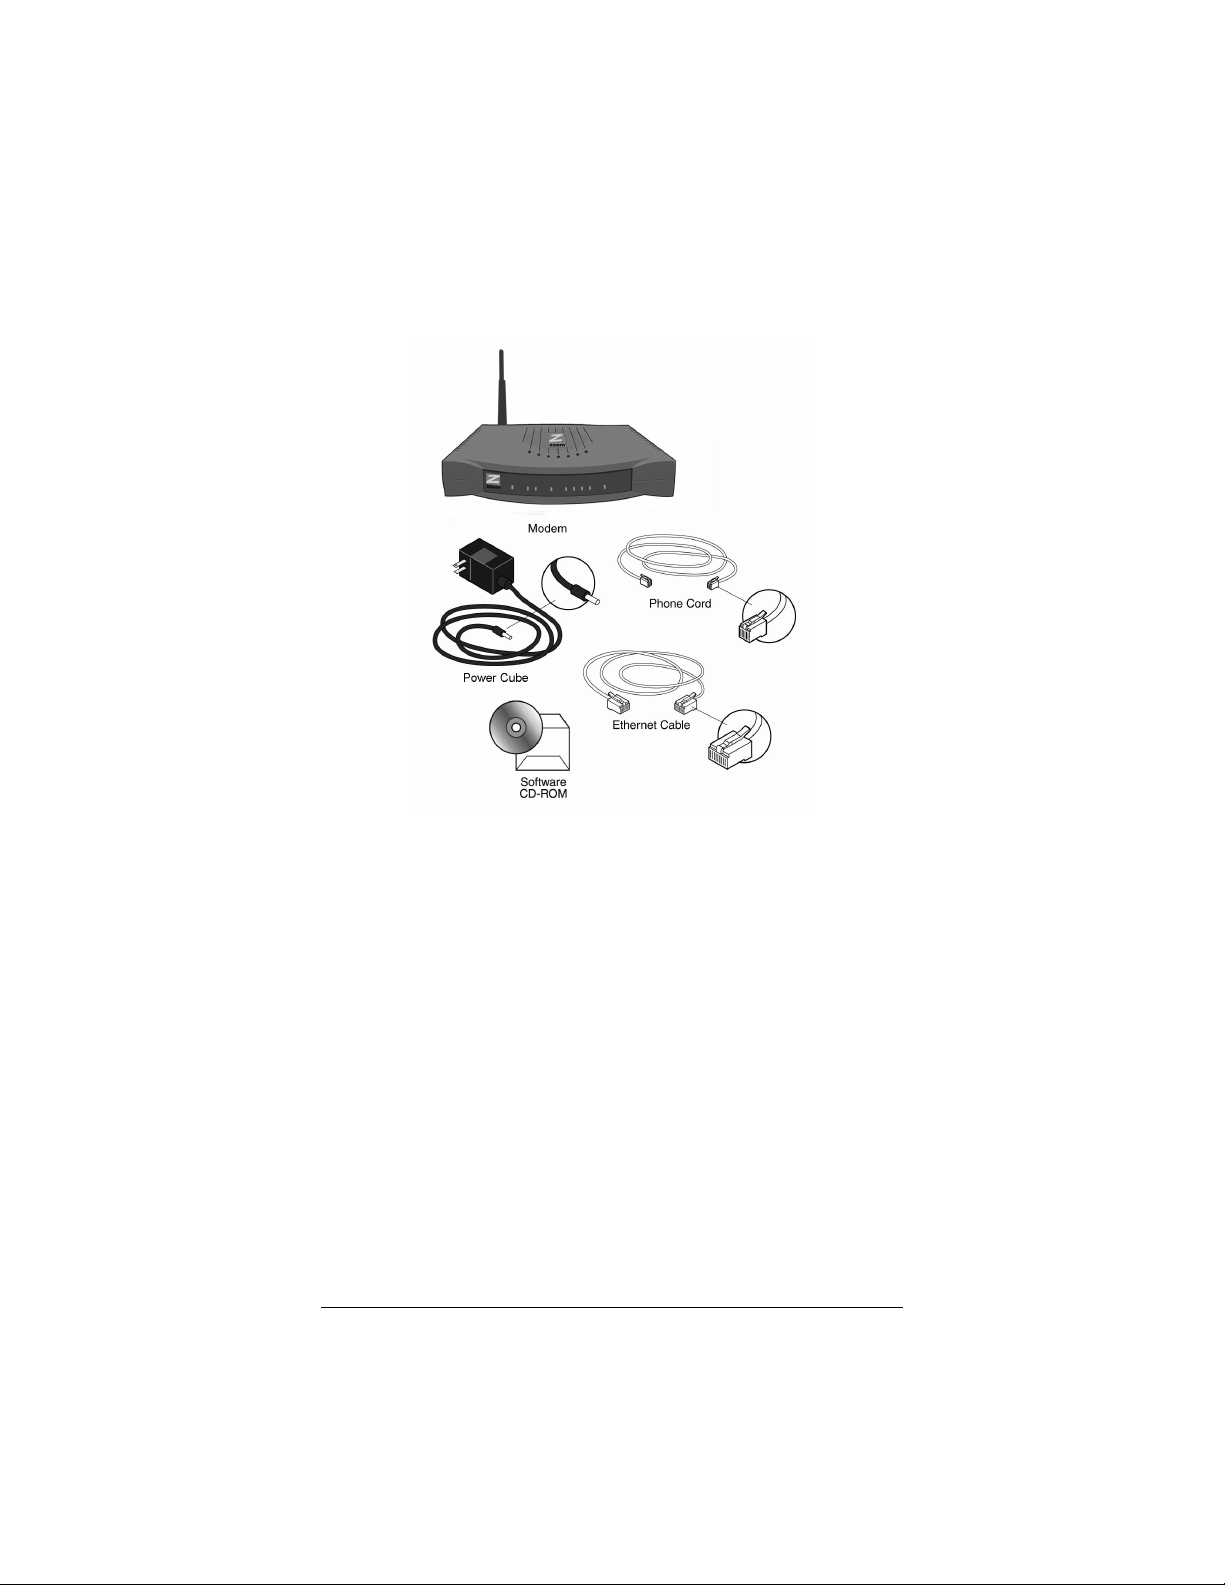
Package Contents
Your package contains the following items:
The CD contains the installation software, documentation,
information about security and other advanced features, the
warranty, and detailed Customer Support information. The most
complete and up-to-date information can normally be found at:
http://www.zoom.com/techsupport/adsl/adsl_x6.shtml
If anything is missing or damaged, please contact Zoom Customer
Support or whoever sold you the modem.
In addition, the package may include:
• A splitter to enable you to use a single ADSL wall jack for both
an Internet connection and for telephone service (certain
countries only)
• Phone-jack adapter to adapt the phone cord to a particular
phone jack (certain countries only)
• ADSL line filter(s) (certain models only)
2 ADSL X6 Quick Start

Before You Begin
Before you begin installing the X6 modem using this Quick Start,
you must have the following available to you:
• ADSL service enabled on your telephone line. To do this,
you need to sign up with an ADSL service provider. Once this
service is enabled, you should have an ADSL-enabled
telephone wall jack to plug the X6 modem into. (Your service
provider may refer to “ADSL service” as “DSL service.”)
• A Windows computer (98/Me/2000/XP) with an
Ethernet port for setting up the X6. This is the computer
that you will physically connect to the X6 (using an Ethernet
cable), and then use to configure the modem.
• An Ethernet port for each additional computer that you
plan to plug into one of the unit’s LAN ports (or into a
network device that is plugged into one of the LAN
ports). The additional computers that connect can be
Windows, Macintosh, and/or Linux computers.
• Wireless capability for each desktop or notebook
computer that will make a wireless connection to the X6.
The X6 supports 802.11b- and 802.11g-compatible network
adapters.
• Additional Ethernet cables. If you plan to connect more
than one computer directly to the modem, you will need
additional Ethernet cables to make the connection. The
modem supports up to four direct connections via its four
LAN ports.
3

Quick Start Instructions
Installing the X6 involves four steps: Installing the Software,
Installing the Hardware, Establishing Communication, and
Setting Up Your Wired and/or Wireless Network.
Step 1: Installing the Software
Regardless of how many computers you plan to use with the X6,
you only have to install the software on one of them.
You will install the software on a Windows computer that you
directly connect to the X6, and then use that computer to
configure the modem. This computer must have an Ethernet port.
If it does not, you can purchase a Network Interface Card to add
one.
Important!
If possible, use a computer that is centrally located in your home or
office and that has easy access to an ADSL line. If you do not have
a desktop computer located centrally in your home (for example, it
is in the basement), or you only have notebook computers, you
should still directly connect this desktop computer or one of your
notebooks to the X6 to configure it. Once the X6 is set up and
your Internet connection is working, you can unplug the computer
from the unit and move the X6 to a more central location.
Turn on your computer (if it is not on already).
1111
2222 Insert the supplied CD into the CD-ROM drive of your
computer. The CD should start automatically and the
Language Selection screen should appear. (If the CD does
not start automatically, on the Windows desktop, click the
Start button, click Run, and then type D:\setup.exe, where D
is the letter of your CD-ROM drive.)
3333 Select your language. The Main Menu screen opens.
4 ADSL X6 Quick Start

4444 Click Installation Wizard to start the software installation,
then click Next when prompted.
5555 When the installation is complete, click Finish, then click
Exit.
6666 Close any applications that may be open, then remove the CD
from the CD-ROM drive.
7777 Shut down the computer.
Congratulations! You have installed the software. Now continue
with the next section, Installing the Hardware.
Step 2: Installing the Hardware
Be sure that you have already installed the software BEFORE
beginning this section.
1111 Shut down your computer (if it is not shut down already). This
is the computer on which you just installed the software.
2222 Rotate the antenna on the back of the modem to a vertical
position.
3333 Connect the modem to the computer’s Ethernet port.
Plug one end of the Ethernet cable into any one of the
X6 modem’s LAN ports (LAN 1, LAN 2, LAN 3, or LAN 4)
and plug the other end into your computer’s Ethernet port.
5
4444 Plug the included power cube into a power strip or wall outlet
and then plug its other end into the modem’s power (PWR)
jack.
Important!
Only use the power cube shipped with the X6. Other power
cubes may damage your hardware.
The PWR and WLAN lights on the front panel of the modem
should become steady on, and the LINK light should blink. If
the PWR light does not turn on, make sure there is power at
the wall outlet or power strip where you plugged in the power
cube.
Turn the computer on.
5555
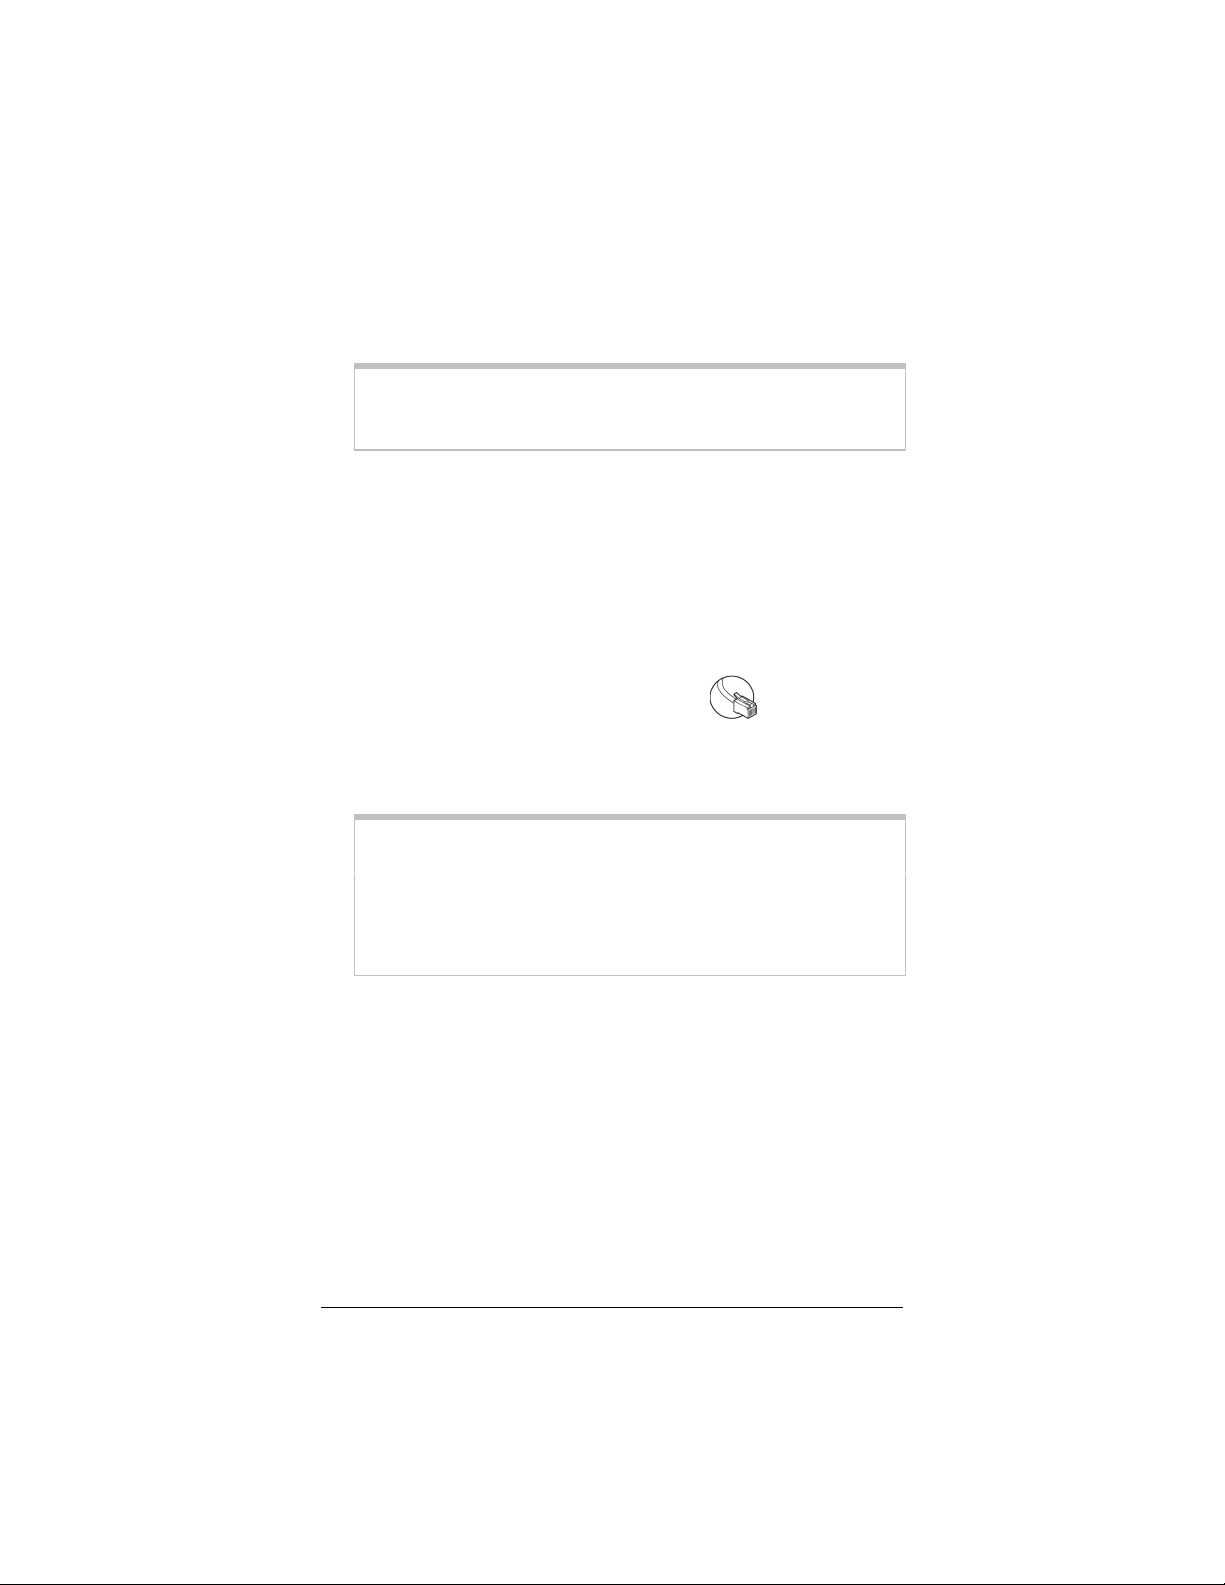
6666 Plug one end of the supplied phone cord into the
modem’s ADSL port and the other into the ADSL wall jack.
The blinking LINK light should become steady on. If it does
not, refer to Troubleshooting Tips on page 22.
Tip!
If your X6 came with an ADSL splitter, you can plug it into
the ADSL wall jack. This enables you to use the wall jack for
both your ADSL connection and for telephone service. The
splitter has two jacks, one labeled for your ADSL modem
connection and the other for your phone.
7777 Phone filters are not absolutely required, but we HIGHLY
RECOMMEND that you use a filter for EVERY phone
and fax that is sharing the ADSL phone line. (Do not plug
a filter between the ADSL wall jack and the X6.) Phone filters
block the ADSL frequencies so that someone making a normal
phone call will not hear modem noise on the line. They also
keep phone noise from interfering with ADSL performance.
You may have received ADSL phone filters with your X6. If
you did not, or if you need more filters, they are available at
most retail stores that carry consumer electronics.
6 ADSL X6 Quick Start

Typically, you plug a phone or fax into the filter’s PHONE
jack and plug the filter’s LINE end into the wall jack.
Congratulations! You have installed the hardware. Now continue
with the next section, Establishing Communication.
Step 3: Establishing Communication
You must set up the X6 so that it can communicate with your
Internet service provider. To do this, you must use the Zoom
Configuration Manager.
Log in to the Zoom Configuration Manager from the
1111
computer on which you installed the X6 software:
On your desktop, double-click the Zoom icon.
aaaa
This icon should have been placed there automatically
when you installed the software earlier. (If the Zoom icon
is not there: Open your Web browser and, in its address
bar, type http://10.0.0.2 and then press the Enter key on
your keyboard.)
Note:
Even though you are not yet configured to browse the
Internet, your Web browser can access the Web interface
of the X6 modem.
7
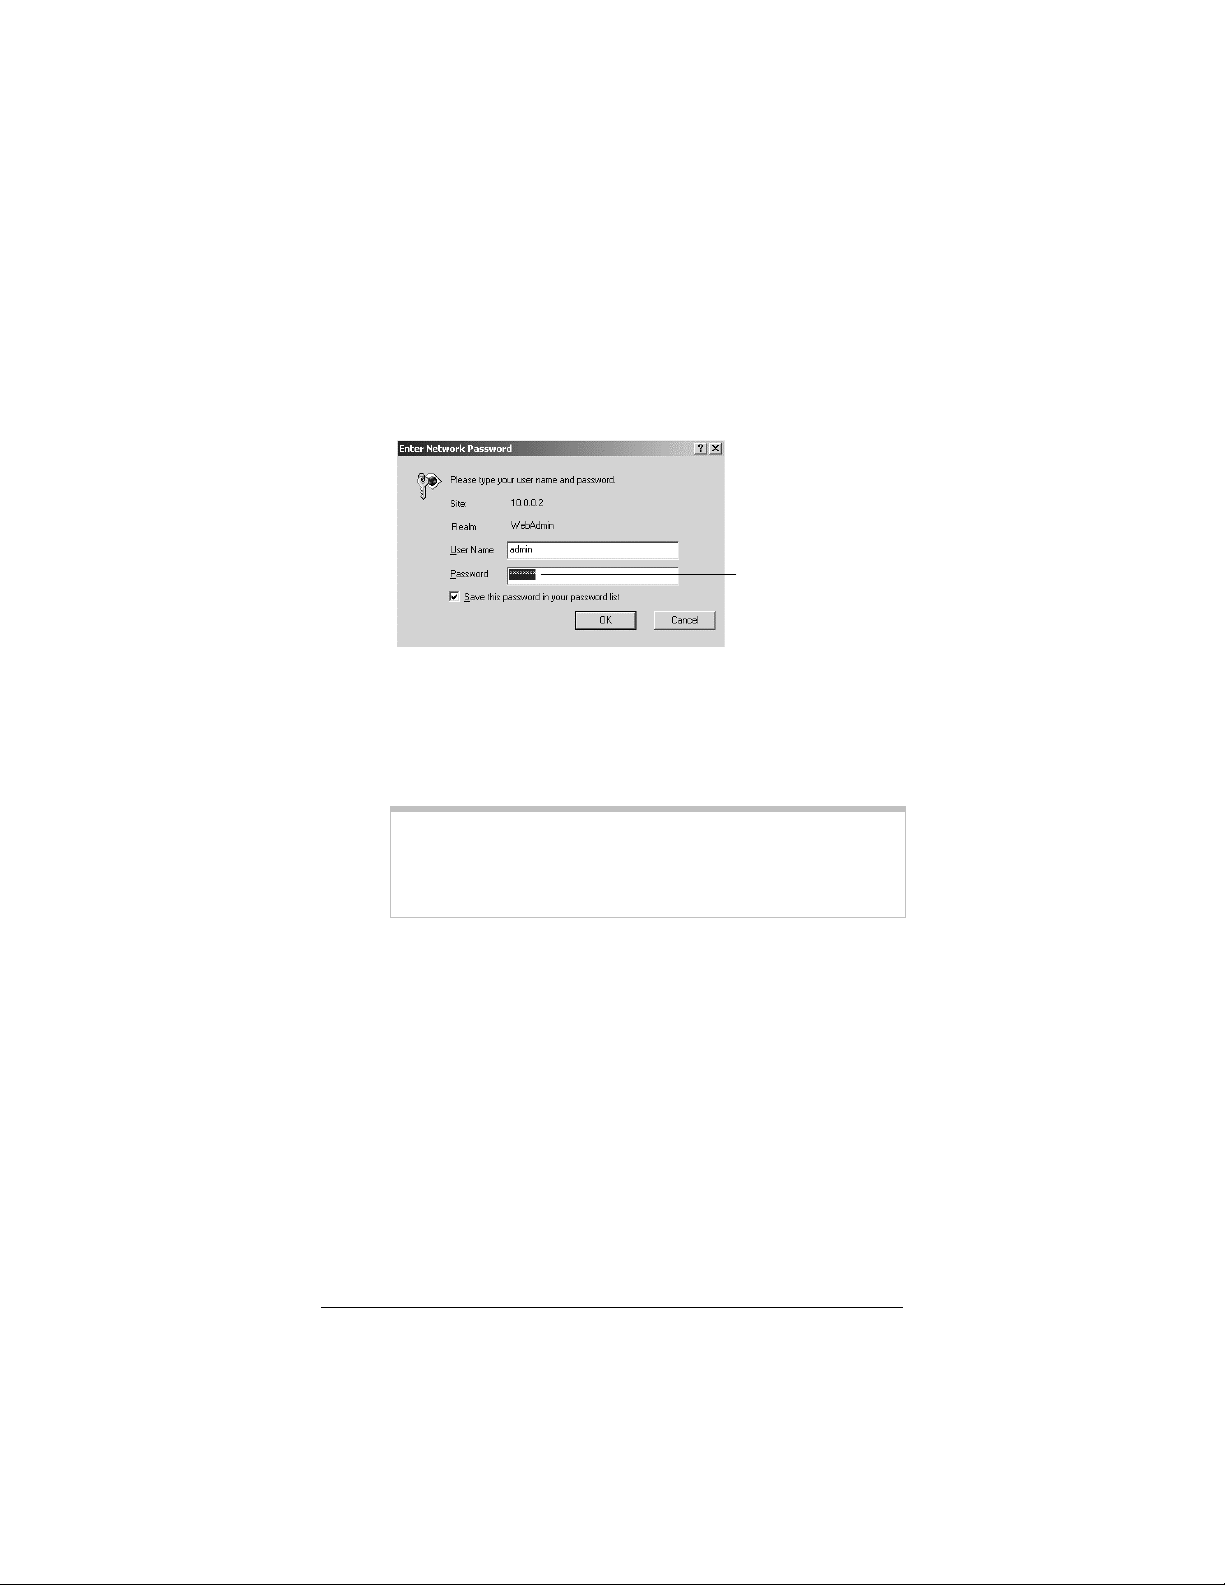
On the Enter Network Password dialog box, type the
bbbb
following user name and password in the appropriate
boxes, then click OK. You must enter them using
lowercase letters.
User Name:
Password:
admin
zoomadsl
As you type your
password, it will
appear as bullets or
asterisks (depending
on your operating
system). This is to
protect your
password from being
seen by others.
If you are not prompted for a User Name and Password,
do the following in this order: Recheck all connections;
restart the modem and computer; and reset the modem by
inserting a paper clip into the Reset pinhole in the center
of the modem’s back panel and pressing it three times.
Tip:
If you want to choose your own password, you can do so
later. For instruction on how to do this, see the User’s
Guide (located in PDF format on the CD).
The User Name and Password you enter here do not
serve the same purpose as any name and password that
your Internet service provider may have given you.
8 ADSL X6 Quick Start
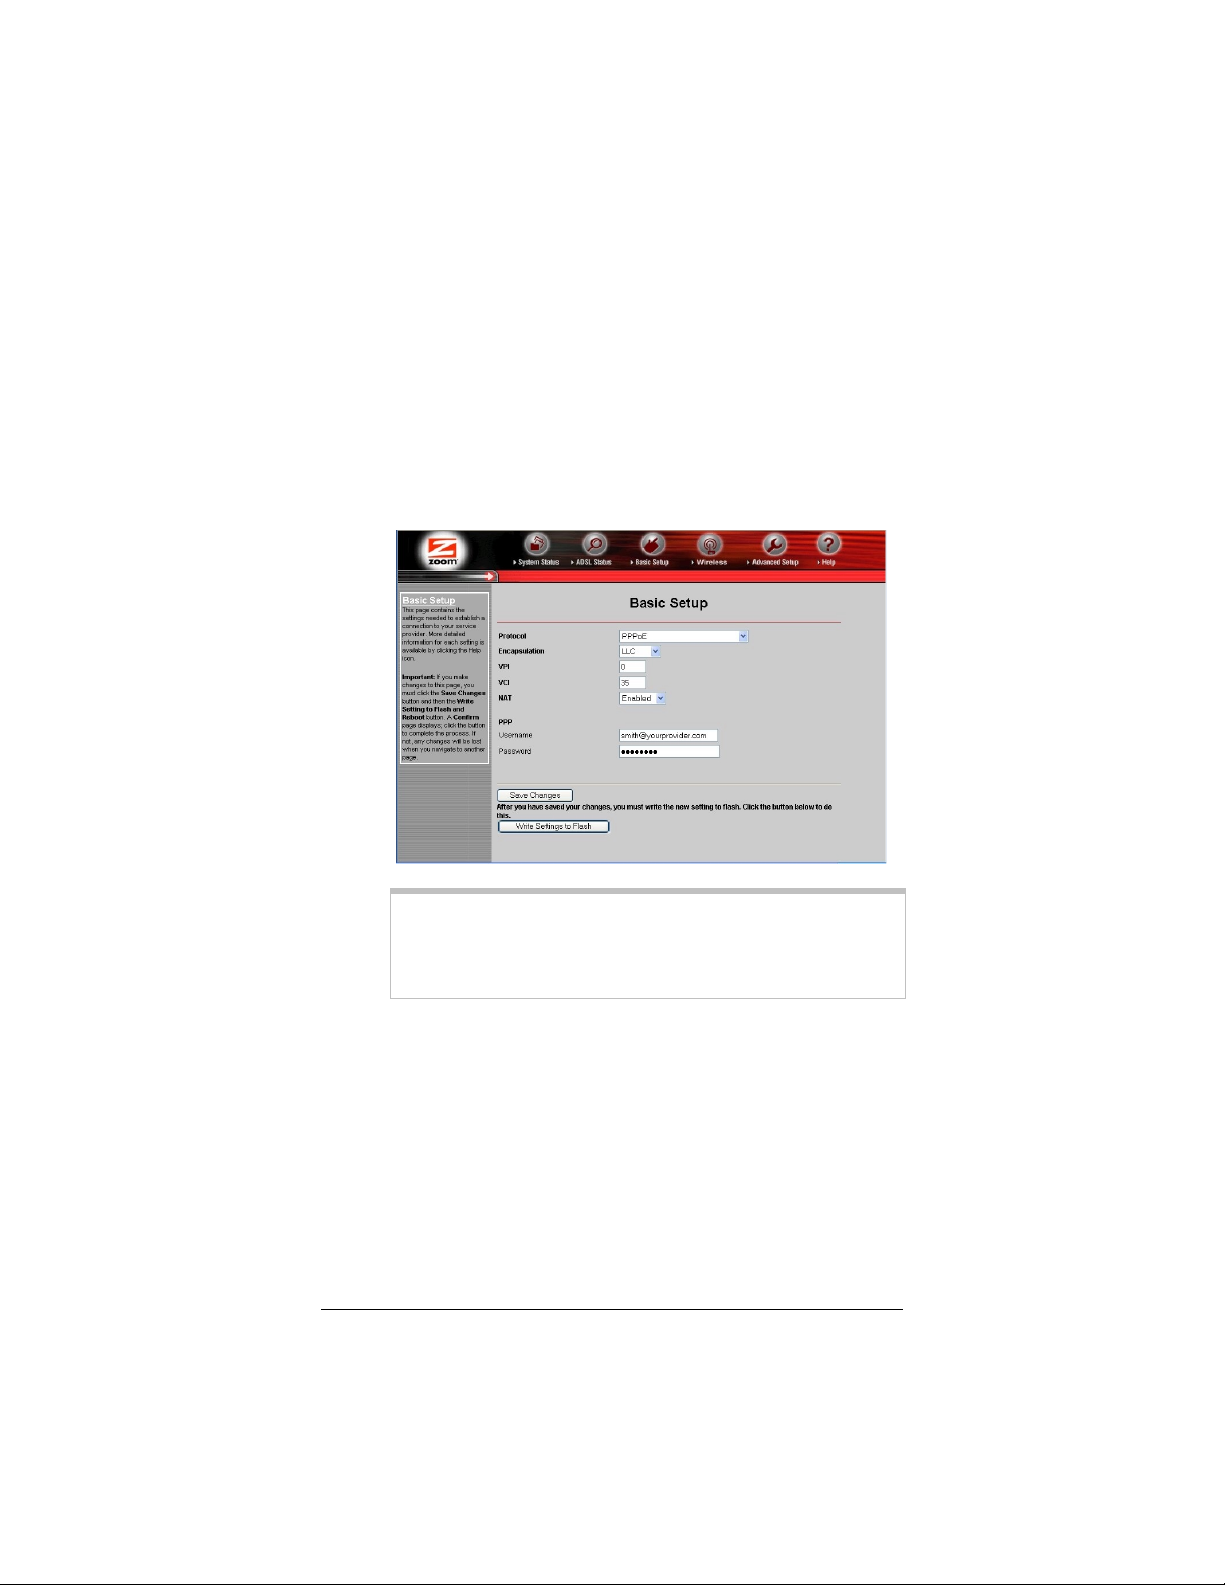
2222 The Zoom Configuration Manager opens and displays its
Basic Setup page.
Use this Web page to configure the modem so it can connect
with your Internet service provider. Do the following:
Enter your Protocol, Encapsulation, VPI and VCI
aaaa
settings in the appropriate boxes. If you do not know these
settings, refer to the tables on page 31 and look up your
service provider.
Tip!
If you refer to the tables and there is more than one listing
for your service provider, the most common is labeled (1),
the next (2), and so on.
NAT (Network Address Translation) is Enabled by
default. This feature lets multiple users access the Internet
sharing a single IP address.
Select Disable if users on your LAN have public IP
addresses and can access the Internet directly.
Depending on the Encapsulation setting you selected, the
bbbb
bottom half of the page will change so that you can enter
additional information.
9

If you selected PPPoA or PPPoE, enter your ADSL
Username and Password in the appropriate boxes.
This information should have been given to you by
your Internet service provider. (Your Username is
typically your email address or the characters
preceding the @ sign in your email address. This is
NOT the same login you that you used earlier to open
the Zoom Configuration Manager.)
If you selected 1483 Bridged or 1483 Routed, you
have the option of using either dynamic or static IP
addressing. Depending on your situation, select the
appropriate option button:
− [MOST USERS] Ensure that Obtain an IP
address Automatically is selected if you are
using Dynamic Host Configuration Protocol (also
known as DHCP or dynamic IP addressing). This
option is selected by default because most Internet
service providers use dynamic IP addressing.
− Select Use the following IP Address if you have
a static IP address that you plan to use with the
X6. Then, in the boxes that appear, enter the IP
Address, Subnet Mask, Default Gateway, and
DNS that you plan to use. There is typically an
extra charge for a static IP address and you usually
have to make special arrangements with your
Internet service provider to get one.
Click the Save Changes button, then click the Write
cccc
Settings to Flash button.
3333 Verify that your Internet connection is working. Open your
Web browser (i.e., Internet Explorer or Netscape Navigator)
and try to connect to a familiar Web address.
If you connect successfully, you are ready to set up the rest of
your wired and/or wireless Internet connections. (If you do
not connect, see the Troubleshooting Tips on page 15.)
10 ADSL X6 Quick Start

Tip!
If you configured the X6 using a notebook computer, you can
keep it plugged in or you can disconnect it from the unit’s
LAN port. As long as it remains plugged into an ADSL wall
jack and a power source, the X6 can function as a stand-alone
device. You can then make your notebook part of your
wireless network.
Congratulations! You have established communication and your
computer is now connected to the Internet. Now continue with
Establishing a Wired and/or Wireless Network on page 11.
Step 4: Establishing A Wired and/or Wireless Network
Once a computer that is directly connected to the X6 modem is
able to browse the Web, you know for certain that your Web
connection is working. Now you can set up the rest of your wired
and/or wireless network.
It is up to you whether you want to have some computers
connected directly to the X6 and others connected wirelessly. The
X6 supports both wired and wireless connections. You can have up
to 253 connections, four of which can be wired through the use of
the unit’s four LAN ports. You can also plug a network device
(such as a hub, switch, or router) into one of the LAN ports.
To set up your network, you can do any or all of the following, in
any order that you choose:
• If you want to connect additional computers directly to the X6,
see To Connect Additional “Wired” Computers below.
• If you want to connect a hub, switch, or router directly to the
X6, see To Connect a Network on page 12.
• If you want to set up a wireless network, see To Set Up a
Wireless Network on page 13.
11
 Loading...