

Page 1
PX 738
2
6
5
3
4
>
1
:
BEDIENUNGSANLEITUNG
BRUGSANVISNING
INSTRUCCIONES DE USO
MANUEL D'UTILISATION
OPERATING MANUAL
ISTRUZIONI D’USO
GEBRUIKSAANWIJZING
INSTRUKCJA OBS
ŁUGI
4
20
36
52
68
84
100
116
Page 2
2 ALLGEMEINE SICHERHEIT
Aus Sicherheitsgründen bitten wir Sie, die Bedienungsanleitung vor Inbetriebnahme
orgfältig zu lesen! Personen, die mit der Bedienungsanleitung nicht vertraut sind, dür-
s
fen das Gerät nicht bedienen.
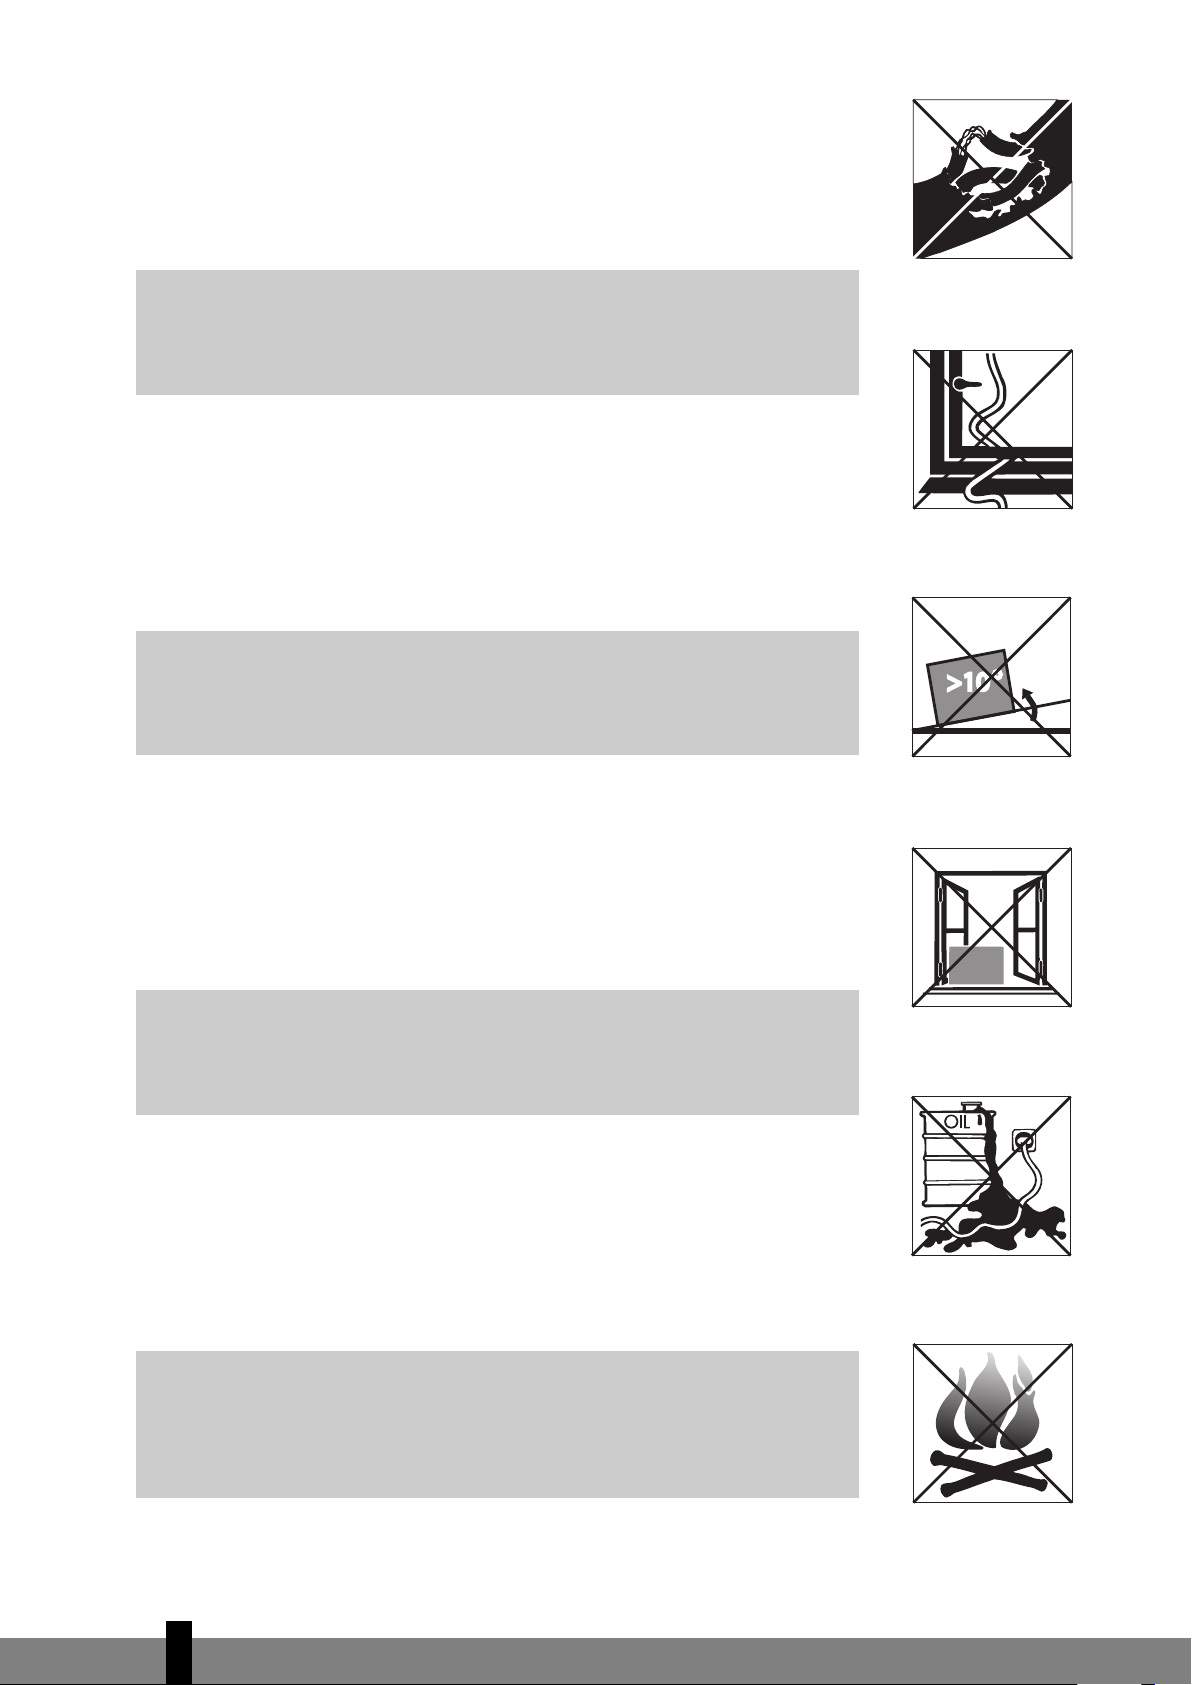
A. Kein beschädigtes Kabel verwenden.
. Kabel nicht zusammendrücken oder knicken.
B
. Unbedingt waagerecht aufstellen.
C
. Nicht vor geöffneten Fenstern aufstellen.
D
. Nicht mit Chemikalien in Kontakt bringen.
E
. Nicht bei Wärmequellen aufstellen.
F
6 SIKKERHED GENERELT
Læs denne brugsanvisning grundigt igennem af hensyn til sikkerheden! Personer, som
ikke er fortrolige med brugsanvisningens indhold, må ikke anvende dette klimaanlæg.
Vi anbefaler, at De gemmer denne brugsanvisning et sikkert sted med henblik på senere brug.
Brug ikke beskadigede kabler.
A.
B. Kabel må ikke sættes i klemme eller knækkes.
C. Anbringes på et plant gulv.
. Må ikke anbringes ved et åbent vindue.
D
å ikke komme i kontakt med kemikalier.
E. M
F. Må ikke anbringes ved en varmekilde.
5 MEDIDAS DE SEGURIDAD
¡Consulte atentamente el modo de empleo y preste atención a las medidas de seguridad! Aquellos que no estén familiarizados con estas medidas de seguridad, no deben
utilizar este acondicionador de aire. Aconsejamos guardar en sitio seguro este manual
para poder consultar en caso necesario.
G. Nicht in Wasser eintauchen.
. Kein Flüssigkeiten verschütten.
H
. Keine Gegenstände in das Gerät stecken.
I
. Kein Verlängerungskabel verwenden.
J
. Außer Reichweite von Kindern halten.
K
. Nicht selbst reparieren.
L
Må ikke sænkes ned i vand.
G.
H. Pas på med at spilde.
I. Der må ikke stikkes noget ind i apparatet.
. Der må ikke bruges kabeltrommel.
J
ruges uden for børns rækkevidde.
K. B
L. De må ikke selv reparere apparatet.
A
B
C
A. No utilizar un cable deteriorado.
B. No averiar o doblar el cable.
C. Colocar en superficie llana
D. No colocar delante de ventana abierta.
E. No poner en contacto con productos químicos.
F. No poner en contacto con fuente de calor.
3 SÉCURITÉ GÉNÉRALE
Par mesure de sécurité, consulter attentivement ce manuel d’instructions! Les personnes qui ne sont pas familiarisées avec ce manuel d’instructions, ne doivent pas utiliser
ce climatiseur. Nous vous conseillons de ranger ce manuel d’instructions à un endroit
sûr pour pouvoir le consulter ultérieurement.
A. Ne pas utiliser de câble endommagé.
B. Ne pas serrer ou plier le câble.
Placer sur une sur
C.
D. Ne pas placer devant une fenêtre ouverte.
E. Ne pas mettre en contact avec des produits chimi-
ques.
F. Ne pas placer auprès d’une source de chaleur.
face plane.
G. No sumergir en líquidos.
H. No verter líquidos.
I. No introducir objetos en el aparato.
J. No utilizar cable de extensión.
K. Poner fuera del alcance de los niños.
L. No hacer reparaciones.
G. Ne pas immerger.
H. Ne pas renverser.
Ne rien intr
I.
J. Ne pas utiliser de câble de rallonge.
K. A tenir hors de portée des enfants.
L. Ne pas réparer soi-même.
e dans l’appar
oduir
eil.
D
E
F
2
Page 3
4 GENERAL SAFETY
or safety reasons, please read this manual carefully before operating. Persons who are
F
not familiar with this manual must not use this air conditioner. We strongly recommend
keeping this manual in a safe place for future reference.
A. Do not use a damaged cable.
B. Do not clamp or bend the cable.
G
C. Do not place unevenly.
D. Do not place in front of an open window.
E. Do not bring in contact with chemicals.
. Do not place near a heat source.
F
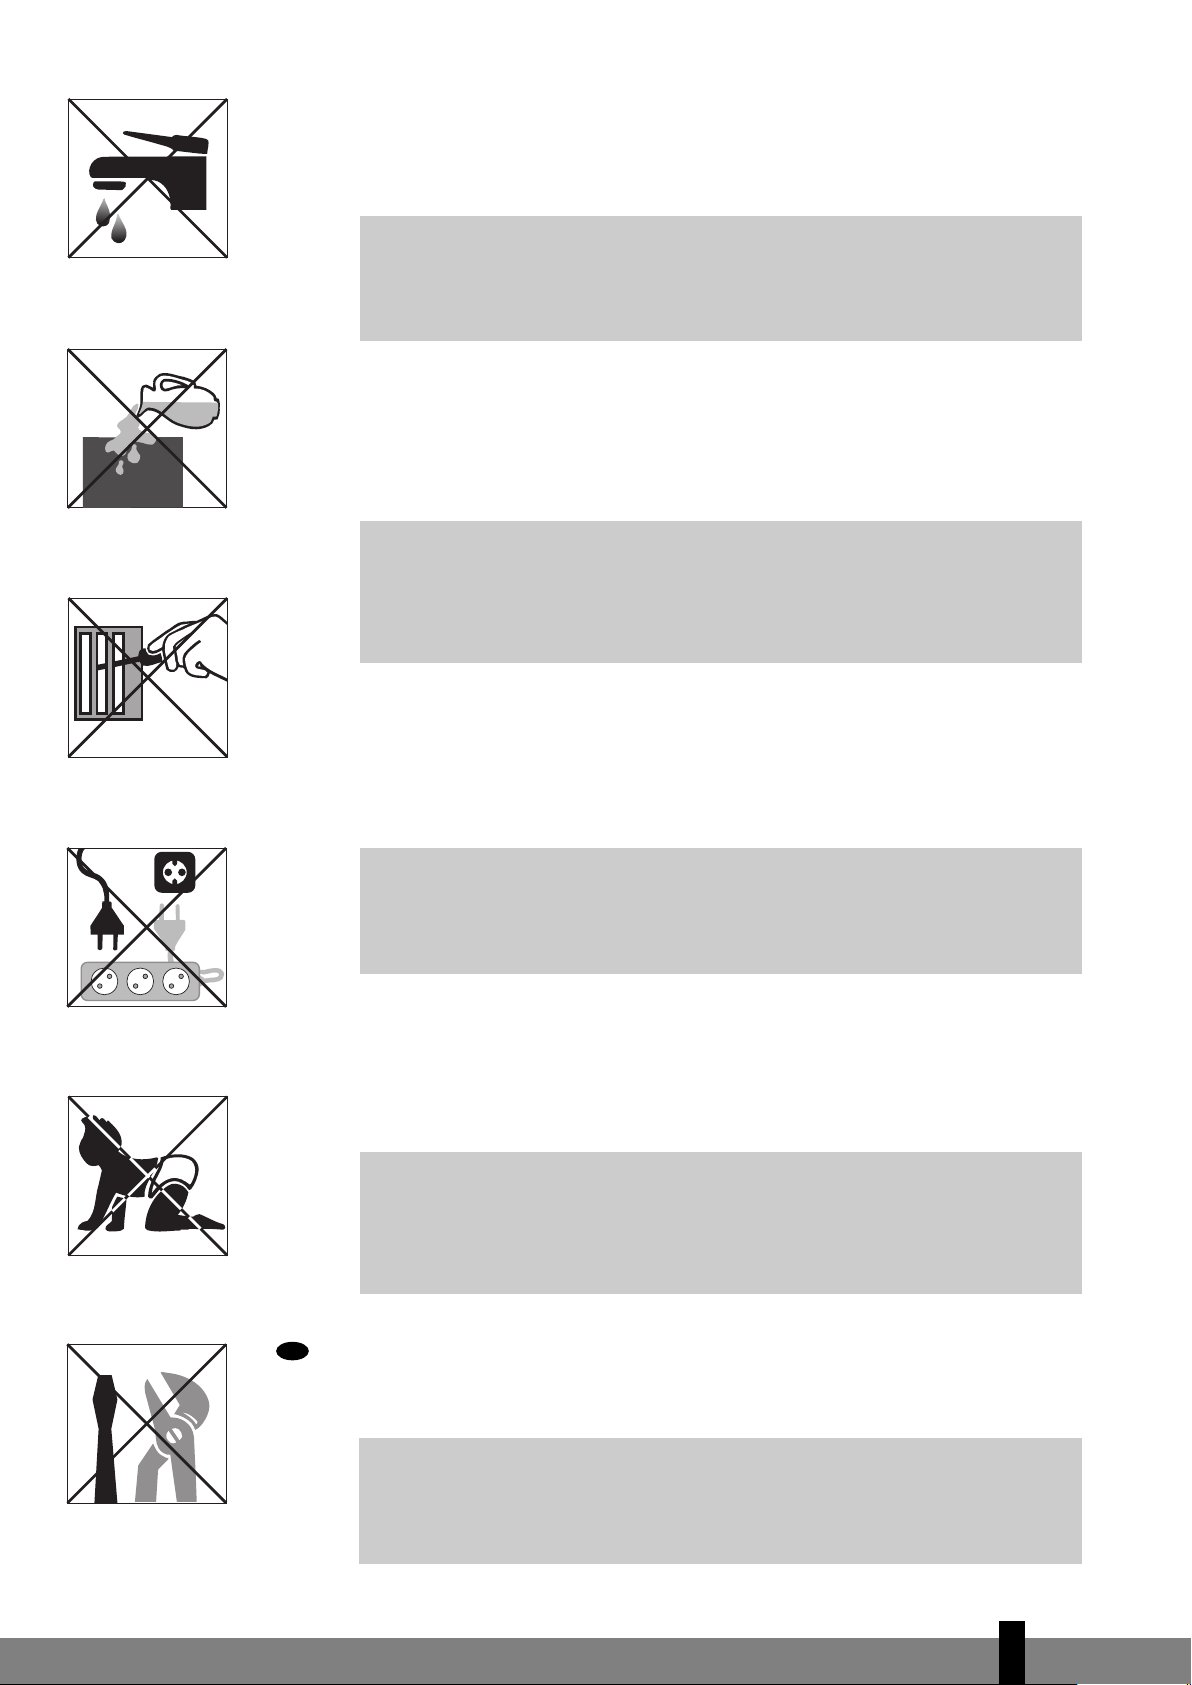
G. Do not immerse in water.
H. Do not spill.
I. Do not insert anything.
J. Do not use an extension cord.
K. Keep out of the reach of children.
. Do not repair.
L
> SICUREZZA
Per motivi di sicurezza, si raccomanda di leggere attentamente il manuale prima di uti-
izzare l’apparecchio. Le persone che non conoscono il funzionamento del climatizza-
l
tore non devono usarlo. Si raccomanda di riporre il manuale in un luogo sicuro per
future referenze.
H
. Non usare il cavo, se danneggiato.
A
B. Non bloccare o piegare il cavo.
C. Collocare l’apparecchio su una superficie piana.
D. Non collocare l’apparecchio davanti alla finestra
aperta.
E. Non porlo a contatto con prodotti chimici.
F. Non posizionarlo vicino ad una fonte di calore.
. Non immergerlo nell’acqua.
G
H. Non versare liquidi sull’apparecchio.
I. Non inserire alcun oggetto nell’apparecchio.
J. Non usare prolunghe.
K. Tenere l’apparecchio lontano dalla portata dei
bambini.
L. Non cercare di riparare l’apparecchio.
1 VEILIGHEID ALGEMEEN
Bestudeer voor de veiligheid deze gebruiksaanwijzing zorgvuldig! Personen, die met
I
de gebruiksaanwijzing niet vertrouwd zijn, mogen deze airconditioner niet gebruiken.
Wij raden u aan deze gebruiksaanwijzing op een veilige plaats te bewaren voor latere
raadpleging.
A. Gebruik geen beschadigde kabel.
B. Kabel niet afklemmen of knikken.
C. Plaats op een vlakke ondergrond.
D. Niet voor een open raam plaatsen.
E. Niet met chemicaliën in contact brengen.
F. Niet bij een warmtebron plaatsen.
J
: OGóLNE ZASADY BEZPIECZEńTWA
G. Niet onderdompelen.
H. Niets morsen.
I. Niets in het apparaat steken.
J. Geen verlengkabel gebruiken.
K. Buiten bereik van kinderen houden.
L. Niet zelf repareren.
Dla własnego bezpieczeństwa przeczytaj dokładnie treść instrukcji obsługi klimatyzatora!
Osobom, które nie zapoznały się z instrukcją obsługi niniejszego urządzenia, zabrania się z
niego korzystać. Radzimy przechowywać instrukcję obsługi w bezpiecznym miejscu, aby w
razie potrzeby móc skorzystać z niej w przyszłości.
A. Nie używać uszkodzonego przewodu zasilającego.
Nie uciskać ani nie zginać przewodu.
B.
C. Urządzenie umieścić na płaskim podłożu.
D.
Nie umieszczać urządzenia przed otwartym oknem.
E. Nie stosować żadnych środków chemicznych.
K
TR
F. Nie umieszczać w bezpośrednim sąsiedztwie źródeł
ciepła.
GENEL GÜVENL‹K
G. Nie zanurzać w wodzie.
ozlewać cieczy
Nie r
H.
I. Nie wtykać obcych przedmiotów do aparatu.
J.
Nie używać przedłużacza.
K. Trzymać z daleka od dzieci.
L. Nie próbować naprawiać klimatyzatora samodziel-
nie.
.
Güvenlik aç›dan çal›flt›rmaya bafllamadan önce lütfen kullanma talimat›n› dikkatlice okuyunuz!
Kullanma talimat›n› bilmeyen kiflilerin aleti kullanmas› yasakt›r.
A. Hasar görmüfl kablo kullanmay›n›z.
B. Kabloyu ezmeyiniz ve katlamay›n›z.
C. Mutlaka yatay kurunuz.
Aç›k pencerelerin önüne kur
L
D.
E. Kimyasal maddelerle temas ettirmeyiniz.
F Is› kaynaklar›n bulundu¤u yerlere kurmay›n›z.
may›n›z.
G. Suya bat›rmay›n›z.
H. Üzerine s›v› dökmeyiniz.
I. Aletin içine cisim sokmay›n›z.
Uzat›c› kablo kullanmay›n›z.
J.
K. Çocuklar›n eriflemeyece¤i yerelerde muhafaza ediniz.
L. Kendiniz tamir etmeyiniz.
3
Page 4

I
MPORTANT
COMPONENTS
1
A
Remote control /
Control panel
B
n/off switch
O
C
Air inlet
4
Air outlet
E
ilter holder
F
F
Filter clamp
G
Air filters
active carbon + 3M
(
M
T
Filtrete
H
Indoor unit
I
Connection tube
Cabinet cover for
J
quick connector
shielding
K
Water drain
L
Spanners
M
Handles
Protection caps for
N
connector
Plug for water drain
O
Power cord
P
Frame lead through
Q
Casters
R
Air inlet for air to be
S
cooled/filtered
T
Exhaust for
cooled/filtered air
21
Outdoor unit
filter) **
T
2
TM
H
5
7
6
L
S
M
N
Q
3
I
J
M
K
R
O
21
D
1. FIRST READ THE INSTRUCTIONS.
2. IF YOU HAVE ANY DOUBTS, CONSULT YOUR DEALER.
4
68
P
R
Page 5

Dear Sir, Madam,
Congratulations on the purchase of your airconditioner. This airconditioner has three
functions besides cooling the air, namely dehumidification, air circulation and air filtration.
This mobile airconditioner is extremely easy to operate and move. You have acquired a
high quality product that will give you many years of pleasure on condition that you use it
properly. Read this manual first in order to optimise the life span of your airconditioner.
We wish you coolness and comfort with your airconditioner.
Yours sincerely,
PVG International B.V.
Customer Service Department
4
69
Page 6

A SAFETY REGULATIONS
IMPORTANT
• The installation must be completely in accordance with local
G
Before connecting the device, check that:
• The connection voltage corresponds to that on the type plate.
• The socket and power supply are suitable for the device.
• The plug on the cable fits the socket.
• The device is on a stable and flat surface.
regulations, ordinances and standards.
• The indoor unit is suitable exclusively for use in dry places, indoors.
• Check the mains voltage. This device is suitable exclusively for
earthed sockets – connection voltage 220-240 Volt/ 50 Hz.
• The device MUST always have an earthed connection. You may
absolutely not connect the device if the power supply is not earthed.
• The plug must always be easily accessible when the device is
connected.
• Read these instructions carefully and follow the directions.
Have the electrical installation checked by a recognised expert if you are not sure
that everything is allright.
• The airconditioner is a safe device, manufactured in accordance with CE
safety standards. Nevertheless, as with every electrical device, exercise
caution when using it.
• Never cover the air inlets and outlets.
• Empty the water reservoir through the water drain
• Never allow the device to come into contact with chemicals.
• Do not insert objects into the openings of the device.
• Do not spray the device with water or submerge it as this may cause a short
circuit.
• Always take the plug out of the socket before cleaning or replacing the
device or a part of the device.
• NEVER connect the device with the aid of an extension cable. If a suitable,
earthed socket is not available, have one fitted by a recognised electrician.
• Always consider the safety of children in the vicinity of this device, as with
every electrical device.
• Always have any repairs – beyond regular maintenance – carried out by a
recognised service engineer. Failure to do so may lead to invalidation of the
guarantee.
• Always take the plug out of the socket when the device is not in use.
• A damaged electricity cable may only be replaced by the supplier or an
authorised person/ser
vice point.
K before moving it.
4
70
Page 7

876
54321
TTENTION!
A
• Never use the device with a damaged cable or plug. Never allow the
G
cable to be pinched off or come into contact with sharp edges.
• Failure to follow the instructions may lead to invalidation of the
guarantee on the device.
• Always lift the device with three people.
B THE INSTALLATION
ATTENTION!
• Your airconditioner must be standing upright for at least two hours
G
The indoor and outdoor unit are portable and can easily be moved from one
room to another. They are connected to each other by a 2.5 metre flexible tube.
The outdoor unit can be placed on the floor (for example the floor of a balcony).
When handling the units, take the following into account:
before use.
• Ensure that the air outlet on the front of the unit
when the device is in use. The device may be damaged if this is closed
while the device is in use. The user is responsible for the correct use of
the airconditioner.
T is always open
Ensure that the device is upright and on a flat surface.
Place the filters supplied in the filter holder (see chapter D).
For optimum air-circulation, keep at least 50 cm (20 inches) of space free
around the indoor unit.
Open the exhaust for cooled/filtered air
Please keep a distance of at least 5 cm between the outdoor unit air inlet and
wall or other objects and a distance of at least 120 cm between the outdoor
unit exhaust air outlet and wall or other objects to ensure proper air
circulation.
The maximum distance from the top of the outdoor unit to the floor is 1.5 m.
T
o avoid damaging the connection tube, leave the window ajar. The frame
lead through
Close the window or door as much as possible to pr
entering the room.
Q can be used to prevent this.
T on the top of the airconditioner.
event outside air from
4
71
Page 8

TIP!
G
G
G
If you use the unit for cooling purposes, we recommend you keep the
o
utdoor unit in a place which is as cool as possible (e.g. in the shade).
ARNING
W
Ensure a good air flow through the units. The exhaust air must flow
freely. Any blockage can lead to damage or improper operation of the
air conditioner.
Take care to prevent any bow or bend in the connection tube.
IMPORTANT
The condensation water must flow freely to the outdoor unit. Blockage
of the drainage tube in the connection tube can result in water leakage
or improper operation of the unit.
C OPERATION / REMOTE CONTROL
O
n/off
Fan speed
Function
selector switch
Down
Ventilator speed indicator
Function indicator
Symbols:
Automatic
Cooling
Dehumidifying
Circulating
High ventilator speed
Medium ventilator speed
Low ventilator speed
LCD display
Clock
Timer
Temperature display selector
button (Celsius / Fahrenheit)
Up
Signal indicator
Clock
Negative ion function indicator
Timer setting indicator
imer on/off
T
Celsius / Fahrenheit control light
T
emperatur
e setting indicator
4
72
Page 9

3
2
1
TTENTION!
A
G
PLACING BATTERIES IN THE REMOTE CONTROL
Remove the battery cover by pressing the clips and then pulling the cover towards
you. Place the new batteries as indicated (pay attention to the plus (+) and minus
(-) poles). Now replace the battery cover.
G
Without the remote control, the air-conditioner can be operated by
using the button on the front of the device. In this event however, only
the automatic function can be used.
NOTE!
Use 2 AAA (1.5 Volt) batteries. Do not use rechargeable batteries.
Replace batteries with new batteries of the same type when the display
becomes fuzzy or the signal deteriorates.
Push the plug into the socket.
ATTENTION!
G
If the airconditioner does not respond to the remote control, follow the
following procedures:
• Ensure that there are batteries in the remote control.
• Ensure that the plug of the airconditioner is inserted in the socket
and switched off.
• Press the on/off switch on the front of device
until after the beep signal after approximately 8 seconds.
• Briefly press the on/off button of the remote control.
• The remote control is ready for use after the beep signal.
Press the C/F-button to set °C (Celsius) or °F (Fahrenheit).
The default setting is °C (Celsius).
The following functions can be selected with the mode button on the
remote control.
Automatic regulation of ventilator speed
Cooling;
Dehumidifying
Circulating
B and hold it down
COOLING
When the cooling mode is activated, the transparent ring around the button on
Cooling mode (blue)
the front of the device
The following settings ar
B emits a BLUE light.
e possible in the cooling mode:
4
73
Page 10

Dehumidifying mode (yellow)
25°C
18°C
•
The ventilator speed can be adjusted by pressing the -button
Automatic regulation of ventilator speed
High
Medium
Low
•
The temperature can be set between 18°C and 32°C by pressing the
buttons. The display on the remote control shows the set temperature.
NOTE!
Whether the desired temperature can actually be reached depends on
G
DEHUMIDIFICATION
When the dehumidification mode is activated, the transparent ring around the
button on the front of the device
During the dehumidification, the ventilator speed cannot be adjusted. The
speed is set automatically to medium. The
the ambient conditions. The room temperature remaining above the set
temperature is normal.
B turns YELLOW.
G and H buttons are inactive.
G a
nd
H
Fan mode (green)
CIRCULATION
When the air circulation mode is selected, the transparent ring around the button
on the front of the device
and filtered but not cooled or dehumidified. In this mode, only the ventilator
speed can be adjusted by pressing the -button:
Automatic regulation of ventilator speed
High
Medium
Low
AUTOMATIC
In the automatic mode , the device will cool, dehumidify or circulate
depending on the ambient temperature. When the temperature in the room
changes, the mode changes automatically in order to maintain the desired
temperature as accurately as possible. The ventilator speed is also adjusted
automatically. The colour of the transparent ring around the button on the front
of the device
B will change depending on the operating mode.
B emits GREEN light. In this mode, the air is circulated
Cooling
Dehumidify
Circulating
4
74
G
NOTE!
Negative ions ar
•
cooling, dehumidification and circulation).
In cooling and dehumidifying mode condensation water is discharged
•
via the connection tube
evaporated. By r
the water will run out here. Water must always be able to flow freely.
e generated in ever
9 to the outdoor unit. Here the water is
emoving the r
y operating mode (automatic,
ubber plug
om the water drain
O fr
K,
Page 11

A
5
4
DJUSTING THE TIMER
You can use the timer function to set in advance when the airconditioner is to
switch on or off.
Switching off
T
he timer OFF function can be set when the airconditioner is switched on:
• Press
• Set the number of hours desired (1-12) with the aid of
• Press
Switching on
The timer ON function can be set when the airconditioner is switched off
(stand-by):
• Press
• Set the number of hours desired (1-12) with the aid of
• Press
You can delete the set timer function by pressing the on the remote
control.
When the set time is at “00”, the timer is switched off. When the Timer
function has been set the light in the button on the front of the device will
switch on.
G and H
G and H
ADJUSTING THE CLOCK
Press the -button. Change the time by pressing the G and H -button.
When the desired time has been set, press the -button again in order
to save the setting.
TIP!
The light of the display fades when the remote control has not been
G
G
G
used for some time. This is r
NOTE!
The compressor has been set so that it starts functioning three minutes
after the (re)start of the air conditioner.
The compressor will be switched off when the room temperature is
lower than the set temperature. Operation is continued in the
circulation mode. When the room temperature is higher than the set
temperature, the compressor switches on again.
ATTENTION
Avoid the remote control from getting wet. Remove it from the unit
when condensation can occur.
eactivated when you touch any button.
4
75
Page 12

D AIR FILTER
321
32132
1
This airconditioner is equipped with a 3-layer filter to purify the air circulated by
the indoor unit. The airconditioners are supplied with a separately packaged 3M
FiltreteTMfilter and active carbon filter. These filters must be placed in accordance
w
ith the instructions before the airconditioner is used.
Wire mesh filter to remove coarse dust particles.
TM
FiltreteTMfilter to remove particles from the air that are detrimental to
3M
your health, such as pollen, bacteria, flakes of animal skin and dust.
Active carbon filter to remove odours.
The mesh filter is part of the filter holder. The filter holder can be opened. The
activated carbon filter and the 3M
The mesh filter must be cleaned regularly with a vacuum cleaner in order to
prevent blockage of the air flow.
TM
FiltreteTMfilter can be removed.
TM
We recommend replacing the positively/negatively electrostatically charged
TM
3M
FiltreteTMfilter every three months.
new filter recommended change of filter
If it has become dusty, the activated carbon filter can be cleaned with a
vacuum cleaner, but it must be replaced simultaneously with the 3M
FiltreteTMfilter.
Excessive dust, construction work, pets, the presence of smoke and frequent use
of the device affect the lifespan of the 3M
TM
FiltreteTMfilter. A signal is given after
approximately 650 hours of operation in order to prevent you from forgetting to
replace the filter: The light in the button on the front of the device is blinking.
Take the following action:
Switch the unit off, but leave the mains cable in the socket.
Replace the old filters with new, original filters that are available from your
dealer;
• Remove the filter holder
• Open the filter holder
r
emove the old filters. Place the new activated carbon filter (black) and
TM
FiltreteTMfilter (white) in the filter holder E.
3M
• Fit the filter clamp
• Put the filter holder
E from the airconditioner
E, take the filter clamp F off the filter holder and
F back onto the holder.
E back into the airconditioner.
TM
ess the on/of
Pr
4
76
oximately 4 seconds).
appr
f button on the front of the device until you hear a beep (after
Page 13

T
54321
5
4
he indicator light is switched off.
The old filters can be disposed in the non-biological garbage container.
NOTES!
• Never use the airconditioner without the mesh filter!
G
•
To run the unit without active carbon filter and/or 3M
filter does not bring any harm to the air conditioner. In that case
odours and unhealthy dust are not removed from the circulated air.
• Filter packages are available at your dealer.
• Only use suitable Zibro filters. This will prevent any damage to your
airconditioner. Using other than the original filters is entirely at the
risk of the consumer. This may have a negative effect on the
operation of the device and may result in damage. The device may
also leak water subsequent to the formation of ice.
E AIR FLOW
TM
F
iltrete
TM
You can change the direction of the air flow by adjusting the positions of the
horizontal and vertical louvers.
F DRAINAGE
Under normal conditions the condensation water is pumped to the outdoor unit
through the connection tube. When the water flow is blocked or the position of
the outdoor unit is too high, water may accumulate in the indoor water container
of the unit.
When the internal water container is full, the transparant ring around the button
on the front of the device
empty the water container, take the following action:
Do not move the unit. Drastic movements can cause water leakage.
Switch off the unit and remove the plug from the wall outlet.
Place a pan or appropriate tray on the floor underneath the water drain
tube.
2 flashes RED. The unit will switch off automatically. To
Remove the rubber plug
(
± 0.5 litre).
Replace the rubber plug
the unit. The warning light should be off.
O from the drain tube K and let the water run out
O, put the plug into the wall outlet, and switch on
4
77
Page 14

432
1
8
7
654
321
NOTE!
When the air conditioner is in use, under normal circumstances the
G
condensed water will be discharged through the outdoor unit .
21
G (DIS)CONNECTING THE INDOOR AND OUTDOOR UNIT
(FOR QUALIFIED PERSONNEL ONLY)
DISCONNECTING
Switch off the unit, remove the plug from the mains and leave it idle for at
least 30 minutes.
Open the cabinet cover for quick connector shielding
Disconnect the electric cable.
Disconnect the drain tube.
Remove the isolation material from the connectors.
Remove the metal brackets which are holding the tubes and wire.
Disconnect the refrigerant tubes using the spanners
terminals are fitted with automatic self-sealing valves to prevent the
refrigerant from leaking. Loosen the nuts quickly, so the seal is made
promptly. During the operation take extreme care not to break or bend the
refrigerant tubes.
Screw the protection caps for the connectors
refrigerant tubes connectors.
J.
L provided. The
N onto the ends of the
IMPORTANT
• Never store the indoor/outdoor unit disconnected.
G
CONNECTING
Do not operate the indoor unit if the quick-connectors ar
•
disconnected. This might cause harm to people and property.
Pass the connection tube thr
Remove the protection caps from the ends of the refrigerant tubes.
Reconnect the refrigerant tubes according to the marking (tighten the nuts
quickly to make a good seal), the drain tube and the electrical cable.
Put back the metal brackets which ar
ough the hole (at least Ø 50 mm) in the wall.
e holding the tubes and wir
e
e.
4
78
Page 15

P
432
1
7
6
5
ut the isolation material around the connectors / tubing again.
Close the cabinet cover for quick connector shielding
Store the protection caps
WARNING
After connecting the refrigerant tubes, take care that these are well
G
isolated again. If this is not done properly, damage because of
condensation water can occur!
N in a safe place.
J.
H MAINTENANCE
ATTENTION!
Switch off the device and pull the plug out of the socket before you
G
Use a soft, damp cloth for the regular cleaning of the exterior of the device. Never
use aggressive cleaning agents, solvents, benzene or abrasives. Refer to chapter D
“Air Filter” for filter maintenance.
clean the device or filter or when you replace the filters.
NOTE!
Never use the device without the mesh filter.
G
I STORAGE
Empty the water reservoir (see chapter F).
Clean the mesh filter (see chapter D).
• Remove the 3M™ Filtrete™ filter and active carbon filter before seasonal
storage and install new filters at the beginning of the new season. The
old filters can be disposed in the ‘Non-biological garbage container’.
• New filters are available at your dealer.
Switch the device to air circulation mode for several hours. This will
completely dry out the interior.
Protect against dust and store in a dry place that is not accessible to children.
NOTE!
Do not stor
e the units disconnected, to pr
event leakage of r
efrigerant.
G
4
79
Page 16

J PROBLEMS AND SOLUTIONS
The device does not work
and the transparent ring
around the button on the
front of the device flashes
RED.
The internal water reservoir
i
s full.
Empty the internal water
r
eservoir (see chapter F).
T
he device does not work
and the top horizontal edge
of the transparent ring
around the button on the
front of the device flashes
BLUE.
The room temperature
sensor is defective.
Consult your dealer.
The device does not work
and the lower horizontal
edge of the transparent
ring around the button on
the front flashes BLUE.
The temperature sensor of
the heat exchanger is
disrupted or has short
circuited.
Consult your dealer.
The device does not work. No power supply.
Insert the plug into a socket
that is live.
Standing in direct sunlight.
Move the device into the
shade.
Windows or doors are open
or there are a large number
of people or heat sources in
the room.
Close windows and/or doors
or place an extra
airconditioner.
The filter is dirty.
Clean the filter or replace it
(see chapter D).
Air inlet or exhaust is
blocked.
Remove the blockage.
The device is noisy.
The device is standing on an
uneven surface.
Place the device on an even
surface (less vibration).
The compressor does not
work.
The overheating safety
feature has been activated.
Wait 30 minutes until the
temperature has dropped
and then switch it on again.
The distance is too big. The
batteries are empty.
Replace the batteries.
The signal of the remote
control cannot be received
by the unit.
Restore the connection
between the remote control
and the air conditioner (see
chapter C).
The device works
insufficiently.
The remote control does
not respond.
P
roblem Cause Solution
Never attempt to disassemble or repair the device. Inexpert repairs invalidate the
guarantee and can endanger the users of the device.
4
80
Page 17

K GUARANTEE CONDITIONS
The air conditioner is supplied with a 24-month guarantee, commencing on the
date of purchase. All material and manufacturing defects will be repaired or
replaced free of charge within this period. The following rules apply:
1. We expressly refuse all further damage claims, including claims for collateral
damage.
2. Repairs to or replacement of components within the guarantee period will
not result in an extension of the guarantee.
3. The guarantee is invalidated if any modifications have been made, non
genuine parts are fitted or repairs are carried out by third parties.
4. Components subject to normal wear, such as the filter, are not covered by the
guarantee.
5. The guarantee is valid only when you present the original, dated purchase
invoice and if no modifications have been made.
6. The guarantee is invalid for damage caused by neglect or by actions that
deviate from those in this instruction booklet.
7. Transportation costs and the risks involved during the transportation of the
air conditioner or air conditioner components shall always be for the account
of the purchaser.
8. Refrigerant loss and/or leakage because of incompetent (dis)connecting the
units is not covered by the guarantee conditions applicable to this product.
9. Damage, caused by not using suitable Zibro filters falls outside the
guarantee.
To prevent unnecessary expense, we recommend that you always first carefully
consult the instructions for use. Take the air conditioner to your dealer for repairs
if these instructions do not provide a solution.
4
81
Page 18

L TECHNICAL SPECIFICATIONS
PX 738
Cooling capacity* W 3800
D
2
.62
Power consumption (max.) W 1450
Current (nom.) A 6.3
M
ains
V
/Hz/PH
2
20 – 240 / 50 / 1
Air delivery max. (indoor unit)
m3/
h
450
Dehumidification max. ** L/24h 53
Room size
m
3
115
Refrigerant type/gr R410a / 1350
Thermostatic range °C 18 - 32
Operating range °C 18 - 35
Noise level indoor unit dB(A) 55
Noise level outdoor unit dB(A) 58
Dimensions indoor unit (W x D x H) mm 508 x 330 x 908
Dimensions outdoor unit (W x D x H) mm 550 x 305 x 625
Weight indoor unit kg 37
Weight outdoor unit kg 20
Rotary
3
Length connection tube m 2.5
IP X1
IP X4
250V, T3.15A
Fuse rating
Fan speeds
Unit protection indoor unit
Unit protection outdoor unit
Model
EE Class
EER*
Compressor type
Use indicatively, subject to change.
* Conform EN 14511
** Moisture removal at 32°C, 80% RH
Waste electrical products should not be disposed with household waste. Please
recycle where facilities exist. Check with your local authority or retailer for
recycling advice.
4
82
Page 19

4
83
Page 20

DISTRIBUTED IN EUROPE BY PVG INTERNATIONAL B.V.
i ÖSTERREICH
PVG Austria VertriebsgmbH
Salaberg 49
3350 HAAG
tel: +43 7434 44867
fax: +43 7434 44868
email: pvgaustria@zibro.com
e BELGIË
PVG Belgium NV/SA
Industrielaan 55
2900 SCHOTEN
tel: +32 3 326 39 39
fax: +32 3 326 26 39
email: pvgbelgium@zibro.com
q SCHWEIZ
PVG Schweiz AG
Genuastrasse 15
4142 MÜNCHENSTEIN
tel: +41 61 337 26 51
fax: +41 61 337 26 78
email: pvgint@zibro.com
2 DEUTSCHLAND
PVG Deutschland GmbH
Beiersdorfstraße 4
46446 EMMERICH
tel: +49 2821 76713
fax: +31 412 622 893
email: pvgint@zibro.com
6 DANMARK
PVG Scandinavia A/S
Niels Bohrsvej 10
6100 HADERSLEV
tel:
fax:
+45 73 53 02 02
+45 73 53 02 04
email: pvgdenmark@zibro.com
5 ESPAÑA
PVG España S.A.
Pol. Ind. San José de V
alderas II
Comunidad ”La Alameda”
C/ Aurora Boreal, 19
28918 LEGANÉS (Madrid)
tel:
+34 91 611 31 13
fax: +34 91 612 73 04
email: pvgspain@zibro.com
4 UNITED KINGDOM
Lister Gases
Bridge Street
Holloway Bank, Wednesbury
West Midlands WS10 OAW
tel.: +44 121 506 1818
fax: +44 121 505 1744
mail: gases@lister.co.uk
e
> ITALIA
PVG Italy SRL
Via Niccolò Copernico 5
50051 CASTELFIORENTINO (FI)
tel: +39 571 628 500
fax: +39 571 628 504
email: pvgitaly@zibro.com
u NORGE
Sunwind - Gylling A/S
Rudsletta 71-75 / P.O. Box 64
N-1309 RUD
tel: +47 67 17 13 70
fax: +47 67 17 13 80
email: pvgint@zibro.com
1 NEDERLAND
PVG International B.V.
P.O. Box 96
5340 AB OSS
tel: +31 412 694 694
fax: +31 412 622 893
email: pvgnl@zibro.com
9 PORTUGAL
Gardena, Lda
Recta da Granja do Marquês
ALGUEIRÃO
2725-596 MEM MAR
TINS
tel: + 35 21 92 28 530
fax: + 35 21 92 28 536
email: pvgint@zibro.com
: POLSKA
PVG Polska Sp. z. o. o.
ul. Kościelnej 110
26-800 Białobr
tel:
zegi
+48 48 613 00 70
fax: +48 48 613 00 70
email: pvgpoland@zibro.com
3 FRANCE
PVG France SARL
4, Rue Jean Sibélius
B.P. 185
76410 SOTTEVILLE SOUS LE VAL
tel:
+33 2 32 96 07 47
fax: +33 0 820 34 64 84
email: pvgfrance@zibro.com
TTRR
TURKEY
Is›tma Klima So¤utma
PVG
Ltd.Sti.
Ataturk Cad. No 380 Ak Ishani Kat 6
35220 Alsancak
IZMIR - TURKEY
tel: + 90 232 463 33 72
fax:
+ 90 232 463 69 91
email: pvgturkey@zibro.com
PVG Traffic avg©060404 man_PX738
 Loading...