

Page 1
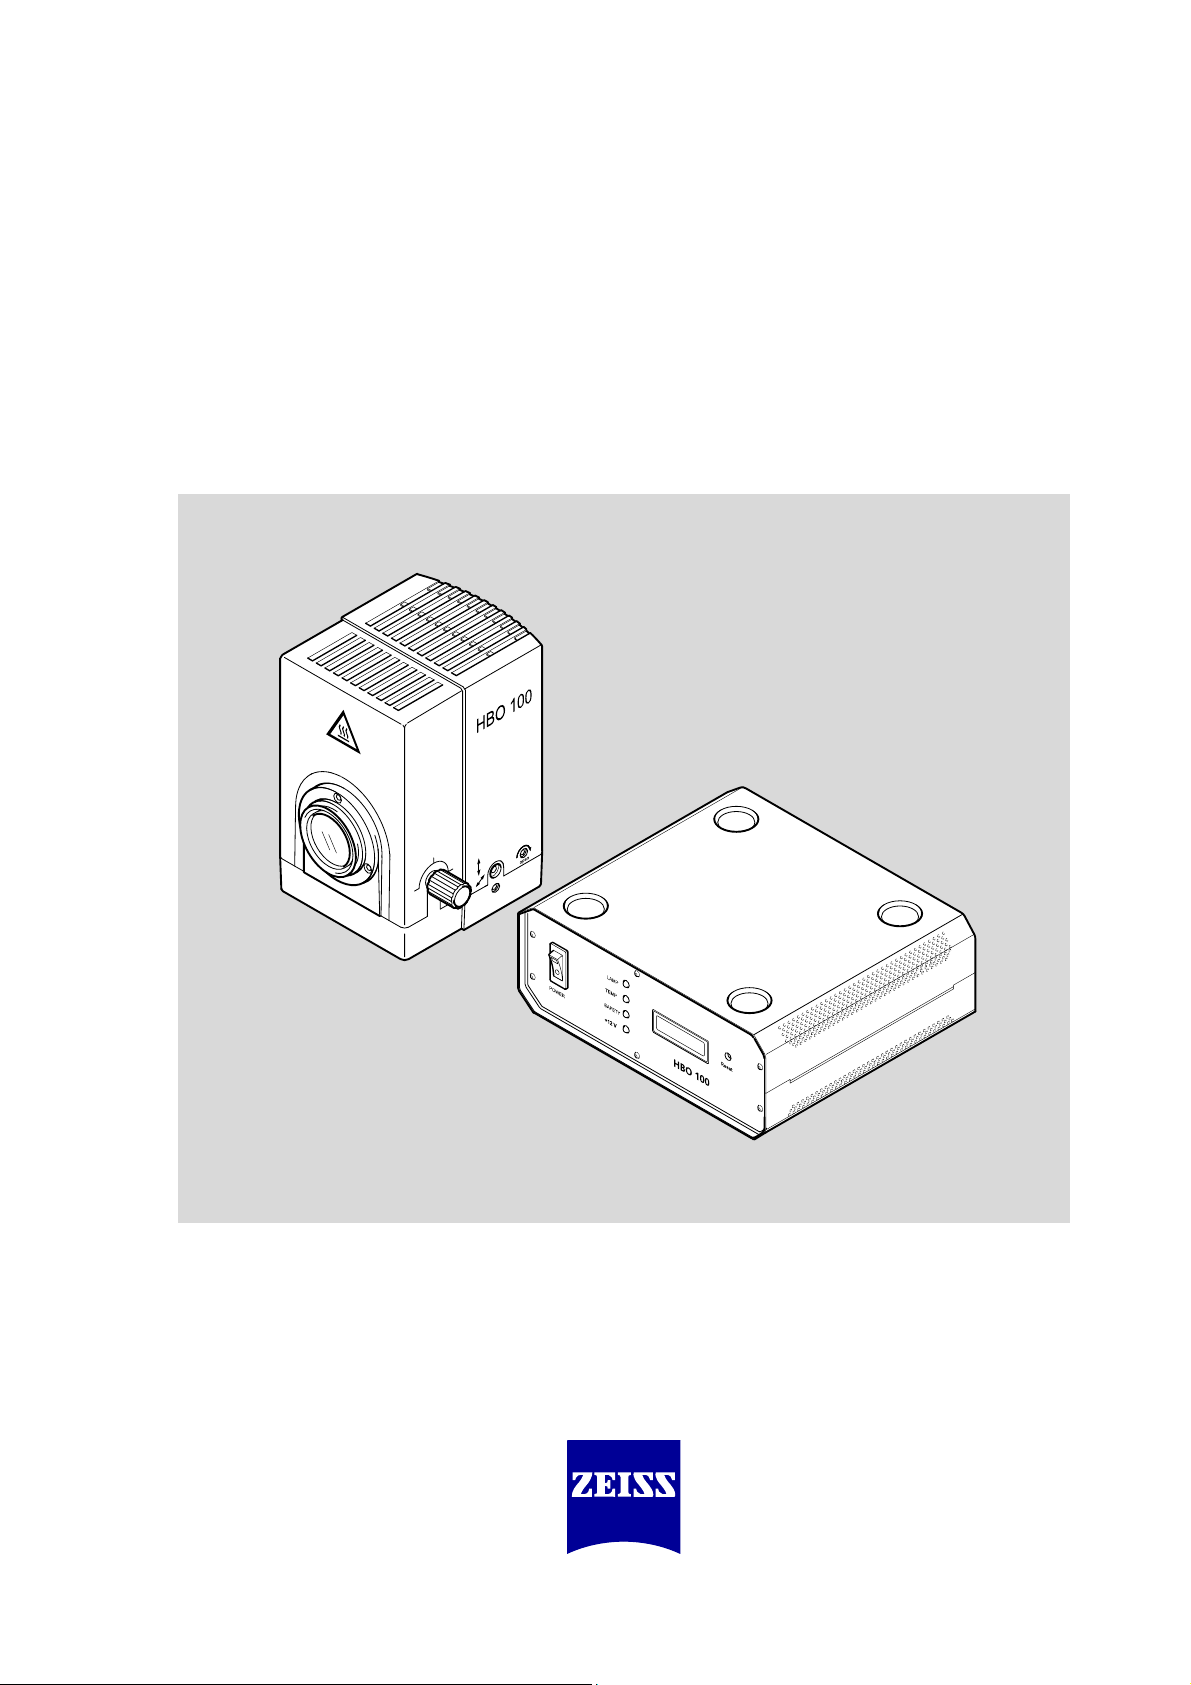
HBO 100
Microscope Illuminating
System
Operating Manual
Page 2

Page 3

Microscope Illuminating System
HBO 100 Copyright Carl Zeiss
Knowledge of this manual is required for the operation of the instruments. Would you therefore
please make yourself familiar with the contents of this manual and pay special attention to hints
concerning the safe operation of the instrument.
The specifications are subject to change.
© Unless expressly authorized, forwarding and duplication of this document, and the utilization and
communication of its contents are not permitted. Violations will entail an obligation to pay
compensation.
All rights reserved in the event of granting of patents or registration of a utility model.
Published by: Carl Zeiss MicroImaging GmbH
P.O.B. 4041, 37030 Göttingen, Germany
Phone: +49 (0) 551 5060 660
Fax: +49 (0) 551 5060 464
E-mail: micro@zeiss.de
www.zeiss.de
Number of this manual: 46-0063 e
Date of issue: 03/01/2006
B 46-0063 e 03/06 1
Page 4

Microscope Illuminating System
Carl Zeiss Contents HBO 100
Contents
1 Notes on Safety ......................................................................................4
1.1 General ................................................................................................................4
1.2 Regulations concerning Instrument Safety and Electromagnetic Compatibility
(EMC) ...................................................................................................................
1.3 Notes on Unpacking, Transport and Storage ......................................................... 5
1.4 Hints on Use ......................................................................................................... 5
1.5 Hints on Maintenance and Care............................................................................ 6
1.6 Advice on lamp breakage......................................................................................6
1.7 Hints on Disposal .................................................................................................. 7
1.8 Hints on Warranty.................................................................................................7
4
2 Instrument Description ..........................................................................8
2.1 Components of the Microscope Illuminating System ............................................8
2.2 Technical Data of the Microscope Illuminating Systems .........................................9
3 Start-Up .................................................................................................11
3.1 Lamp Insertion and Change ................................................................................ 11
3.2 Start-Up of HBO 100 Microscope Illuminating System .........................................13
3.3 Focusing and Centering the HBO 100 Microscope Illuminator (423010) ...............14
3.4 Focusing and Centering the HBO 100 Microscope Illuminator, self-adjusting
(423011-9901) .....................................................................................................
3.5 Setting Offset Values on HBO 100 Microscope Illuminator, self-adjusting
(423011-9901) ...................................................................................................
3.6 Inserting the Collector Attachment .....................................................................17
15
16
2 B 46-0063 e 03/06
Page 5

Microscope Illuminating System
HBO 100 Illustrations Carl Zeiss
Illustrations
Fig. 1 HBO 100 Microscope Illuminating System (manual adjustment) ............................ 8
Fig. 2 HBO 100 Microscope Illuminating System, self-adjusting...................................... 8
Fig. 3 Line spectrum of the HBO 100/103 mercury short-arc lamps............................... 10
Fig. 4 Inserting the HBO 103 lamp ............................................................................... 11
Fig. 5 Rear of transformer for HBO 100........................................................................ 13
Fig. 6 Front of transformer for HBO 100....................................................................... 13
Fig. 7 Lamp arc and mirror image................................................................................. 14
Fig. 8 Adjusting elements of HBO 100 for manual adjustment...................................... 14
Fig. 9 Adjustment of HBO 100, self-adjusting............................................................... 15
Fig. 10 Keys for setting offset values for the adjustment of lamp arc and mirror image... 16
Fig. 11 Inserting the collector attachment ...................................................................... 17
B 46-0063 e 03/06 3
Page 6
Safety Microscope Illuminating System
Carl Zeiss General, EMC HBO 100
1 Notes on Safety
1.1 General
Please make yourself familiar with the contents
of these operating instructions before attaching
and starting up the HBO 100 Microscope
Illuminating System. Additional information is
available from our maintenance service or from
authorized agencies.
The HBO 100 Microscope Illuminating System
should be used with Zeiss microscopes
exclusively.
The HBO 100 Microscope Illuminating System
may only be handled by trained personnel.
To ensure that the illuminating system functions
properly with the microscope, the appropriate
microscope manual must be observed.
In addition, observe the manual
"HBO 100 – Electronic ballast“.
Special regard must be paid to the notes on
instrument safety included in this manual.
The data sheets from the lamp manufacturers
must be observed when the HBO 103 lamps are
operated.
To guarantee the safe operation and function
of the HBO 100 Microscope Illuminating
System, it is necessary under any circumstances
to take the precautions and observe the
warnings contained in the operating
instructions.
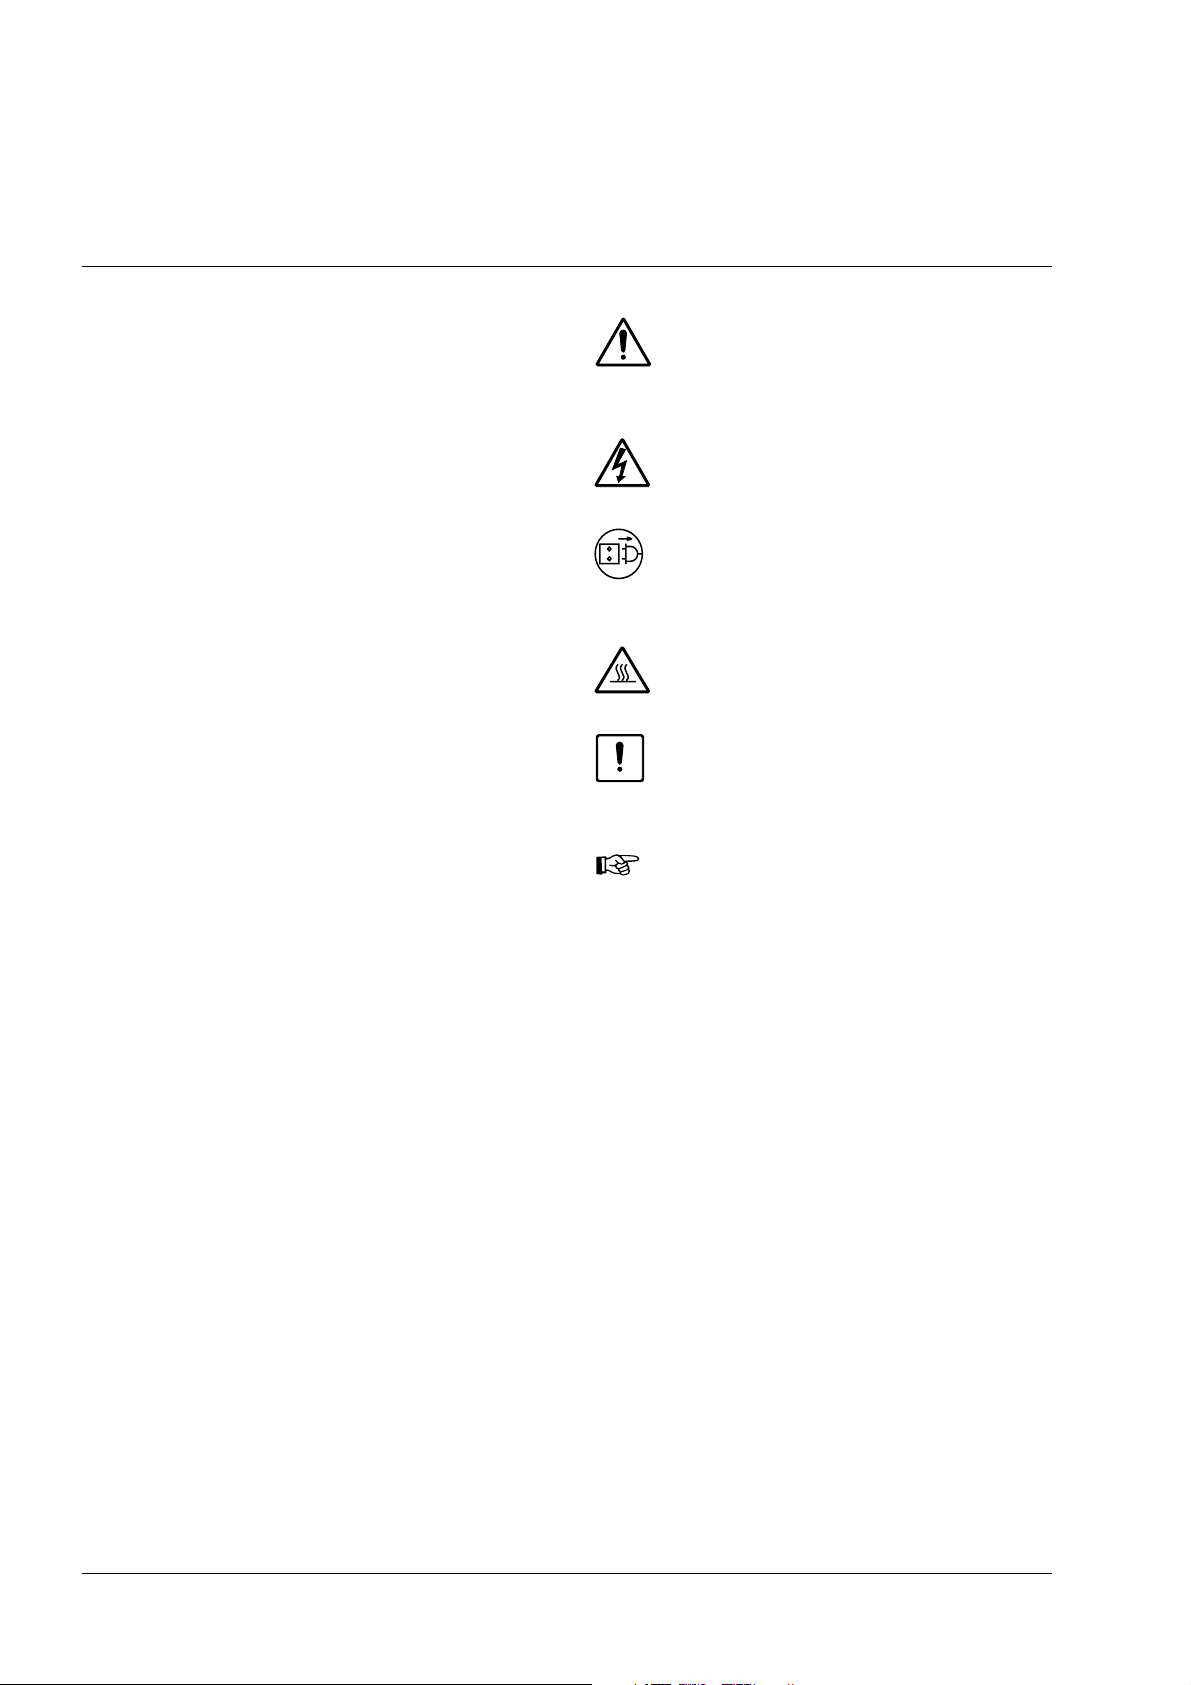
The following warning and information symbols
are used in this manual:
CAUTION!
Non-observance of the safety notes constitutes
a hazard for the user.
CAUTION!
Dangerous electrical voltage.
CAUTION!
Disconnect the instrument from the line before
opening it!
CAUTION!
Hot surface.
CAUTION!
Non-observance of the safety notes constitutes
the risk of damage to the instrument.
NOTE!
Notes which must be observed when using the
HBO 100 Microscope Illuminating System.
1.2 Regulations concerning
Instrument Safety and
Electromagnetic
Compatibility (EMC)
The HBO 100 Microscope Illuminating System
has been designed, produced and tested in
compliance with EN 61010, Part 1 (VDE 0411).
It was delivered in a technically safe and perfect
state.
The illuminating system meets the requirements
of EC directives 73/23 and 89/336 and the EMC
legislation, as amended on September 18,
1998.
Radio-noise suppression complies with
EN 55011, Class B, noise immunity with
EN 61326.
Compliance with the EC directives mentioned is
documented by the CE certificate.
4 B 46-0063 e 03/06
Page 7

Microscope Illuminating System Safety
HBO 100 Unpacking, Use Carl Zeiss
1.3 Notes on Unpacking,
Transport and Storage
The lamps may be removed from the package
only if the protection mask (Cat. No. 417009)
and the safety gloves with artery protection
(Cat. No. 417008) are worn.
For safety reasons, a safety holder is inserted in
the microscope illuminator instead of the bulb
during transport.
Both the HBO 100 microscope illuminator and
the HBO 103 lamp must be transported in their
original packaging.
This packaging must be kept for storage and
disposal.
The transport and storage temperatures to be
observed correspond to those of the microscope
stands.
1.4 Hints on Use
− When they are hot, the lamps are under high
internal pressure.
They may only be inserted in the microscope
illuminator if a safety mask and safety gloves
(see chapter 1.3) are worn.
− The HBO 103 lamps are under high pressure
during operation; they must always be
operated in closed lamp housings!
− The light of the HBO 103 short-arc lamps
contains a high amount of UV light:
Î Never look directly into the lamp or in
reflected light
Î Wear safety glasses (sunglasses) when
operating the lamps
Î Cover inspection openings with filters
− The UV radiation of the lamps produces little
quantities of harmful ozone.
Take care to ventilate the working room with
fresh air.
− Both the HBO 100 microscope illuminator
and the HBO 103 lamps must be protected
from impact and humidity. Always keep the
ventilation slats clear and ensure that no
objects enter the instrument through the
ventilation slats.
− If the lamp bulb has broken, observe the
information provided by the lamp
manufacturer.
Instead of the HBO 103 lamp, its predecessor
HBO 100 can also be used.
B 46-0063 e 03/06 5
Page 8

Safety Microscope Illuminating System
Carl Zeiss Maintenance, Care, Lamp breakage HBO 100
1.5 Hints on Maintenance and
Care
To ensure perfect function of the microscope
illuminating system, it is necessary to use only
components and spares marketed or approved
by us. When in doubt, please contact our
service staff.
With the exception of the work described in this
manual, the user must not perform any repairs
or changes himself.
We would like to emphasize that all other
changes and repairs must be performed by
specially authorized personnel.
Defective instruments or components may only
be repaired and maintained by our service
department.
− After expiry of the average operating time
(see data sheets from the lamp
manufacturers), the lamps must be
exchanged to avoid the risk of explosion!
The operating time of the HBO 103 can be
checked on the display of operating hour
meter of the relevant transformer.
(
Fig. 6)
With increasing service life, dirt will deposit
on the lamp bulb so that homogeneous
illumination of the object field is no longer
ensured.
− The lamps must be exchanged as described
in chapter
− Before each lamp exchange, make sure to
allow the HBO 100microscope illuminator to
cool down sufficiently long in order to
reduce the pressure; wait at least for 15
minutes!
− Always disconnect the instrument from the
line before each lamp exchange or any other
work inside the instrument.
3.1.
− Clean the housing of the microscope
illuminator when it is dirty.
Do not use any solvents.
Soak a cleaning cloth in a mixture of water
and washing-up liquid, remove the dirt and
dry the housing using a clean cloth.
1.6 Advice on lamp breakage
If the HBO lamps have reached their rated
lifetime or their bulbs show advanced
blackening, they should be replaced because of
the increasing risk of explosion.
If lamps are operated properly, lamp explosion
is very unlikely.
For the rare case, that an HBO lamp bursts and
the mercury (Hg) contained in the bulb is
released, we recommend to follow this
procedure:
− First of all, the persons being nearby should
instantly leave the place to avoid inhaling
mercury vapor.
− Air the laboratory thoroughly (for approx.
30 minutes)!
− Every lamp housing of a higher-power lamp
should be equipped with an individual
exhaust device that is not connected to the
domestic air-conditioning system to avoid
that mercury vapor enters this system.
− Once the lamp housing has cooled down,
collect any mercury residues precipitated
inside the lamp housing by using an
adsorbent available from a chemicals
supplier.
6 B 46-0063 e 03/06
Page 9

Microscope Illuminating System Safety
HBO 100 Disposal, Warranty Carl Zeiss
1.7 Hints on Disposal
Used HBO 103 lamps and defective microscope
illuminators should not be treated like domestic
waste; they should be disposed of in their
original packaging in accordance with the legal
regulations.
When in doubt, please contact the Carl Zeiss
microscopy service.
1.8 Hints on Warranty
The instrument manufacturer is not liable for
damage caused by unauthorized operation,
particularly the removal and exchange of
components, or the use of accessories from
other manufacturers. This forfeits all the claims
against warranty.
B 46-0063 e 03/06 7
Page 10

Instrument Description Microscope Illuminating System
Carl Zeiss Components, Catalogue Numbers HBO 100
2 Instrument
Description
2.1 Components of the
Microscope Illuminating
System
1 Lamp, top part
2 Line cable 5 Lamp, bottom part
3 Transformer for HBO 100 6 Dovetail
4 Connecting cable 7 Heat-protection filter
Fig. 1 HBO 100 Microscope Illuminating System
(manual adjustment)
The HBO 100 Microscope Illuminating System
is available in a manually and a self-adjusting
version.
The microscope illuminating systems include
the following components (
Fig. 1/Fig. 2):
− Illuminator with:
dovetail for attachment to the microscope,
integrated collector,
heat-protection filter
− HBO 103 W/2 mercury vapor short-arc lamp
(Osram)
− Transformer for HBO 100
− line cable with earth-contact plug
or
line cable with American flat plug
HBO 103
Microscope
Illuminators
Lamp
Transformer Transformer for HBO 100
Line cable
Line cable with American flat plug
HBO 100 illuminator
423010
HBO 100 illuminator, self-adjusting
423011-9901
Mercury vapor-
short-arc lamp
HBO 103 W/2
380301-9350-000
432604-9901
Line cable with earth-contact plug
380137-6750-000
380137-6740-000
Table: Catalogue numbers
1 Lamp, top part
2 Line cable 5 Lamp, bottom part
3 Transformer for HBO 100 6 Dovetail
4 Connecting cable 7 Heat-protection filter
Fig. 2 HBO 100 Microscope Illuminating System,
self-adjusting
8 B 46-0063 e 03/06
Page 11

Microscope Illuminating System Instrument Description
HBO 100 Technical Data Carl Zeiss
2.2 Technical Data of the Microscope Illuminating Systems
Lamp housing
HBO 100 illuminator, self-adjusting
Length 165 mm
Width 166 mm
Height 205 mm
Connection to stand dovetail
Connection to transformer Cable with special plug
Transformer
Line connection 100-240 V AC
Line frequency 50-60 Hz
Power consumption 155 VA
Fuse F1/F2 2x T 2 A/H
HBO 100 illuminator
Cat. No. 423010
Cat. No. 423011-9901
Transformer for
HBO 100
Cat.No. 432604-9901
Lamp
For the technical data of the lamps
please see the information
provided by the manufacturer.
Recommended:
Average life of the lamps OSRAM
Mercury vapor
short-arc lamp
OSRAM
Type HBO 103 W/2
Cat. No. 380301-9350-000
Type HBO 100 W/2 200 h
Type HBO 103 W/2 300 h
B 46-0063 e 03/06 9
Page 12

Instrument Description Microscope Illuminating System
Carl Zeiss Technical Data, Line spectrum HBO 100
Fig. 3 Line spectrum of the HBO 100/103 mercury short-arc lamps
10 B 46-0063 e 03/06
Page 13

Microscope Illuminating System Start-Up
HBO 100 Lamp Insertion and Change Carl Zeiss
3 Start-Up
3.1 Lamp Insertion and Change
Fig. 4 Inserting the HBO 103 lamp
− Before inserting the lamp, make sure the
illuminating system has been disconnected
from line power.
− The lamps may only be changed when they
are cooled down; allow the microscope
illuminator to cool down for at least
15 minutes to avoid the risks of burns and
explosion!
− The lamp may only be removed from the
packaging and inserted in the microscope
illuminator if a protection mask and safety
gloves are worn (see chapter
1.3).
− All clamping adjustments must be performed
carefully; strong heat during operation may
result in loose contacts.
1 Cooling body
2 Fixation screws for top part of lamp
3 Lamp mount
4 Clamping lever at lamp base
5 Control knob for collector
6 Lamp
7 Clamping lever at heat sink
B 46-0063 e 03/06 11
Page 14

Start-Up Microscope Illuminating System
Carl Zeiss Lamp Insertion and Change HBO 100
Procedure:
• Switch off the transformer.
• Disconnect the microscope illuminator cable
from the transformer.
• Allow the microscope illuminator to cool
down for 15 minutes.
• Wear protection mask and safety gloves.
• Remove microscope illuminator with cooled-
down lamp from the microscope.
• Turn control knob (
collector to mid position.
• Turn both fixation screws (
direction indicated by the arrow as far as it
will go; remove top part of lamp upward.
• Operate clamping lever (
Fig. 4/1) and withdraw heat sink upward
(
from the safety holder (in commissioning) or
from the lamp (
• Put heat sink down beside the illuminator.
For this, you need not disconnect the electric
connection to the heat sink.
• Push clamping lever at lamp base (
down, to release the lamp lock;
remove the defective lamp or the safety
holder (
Fig. 4/3) in the bottom part of the
(
illuminator. Release the lever.
Fig. 4/6) from the lamp mount
Fig. 4/5) to move
Fig. 4/2) in the
Fig. 4/7) at heat sink
Fig. 4/6).
Fig. 4/4)
• Push clamping lever at lamp base (
down and insert the new lamp into the
mount in the bottom part of the illuminator
(as far as it will go); release the lever to
clamp and center the lamp.
Do not exert any force when inserting the
lamp.
• Take the heat sink (
clamping lever (
sink onto the lamp (
clamping lever. By doing so, the electric
connection is established and the heat sink
clamped.
Do not exert any force to the lamp, when
attaching the heat sink.
• Put the top part of the illuminator onto the
bottom part.
• Turn both fastening screws (
bottom part of the illuminator oppositely to
the direction indicated by the arrow as far as
it will go.
• Turn the control knob of the collector back
to mid position, if necessary.
Fig. 4/1), push down its
Fig. 4/7) and put the heat
Fig. 4/6). Release the
Fig. 4/4)
Fig. 4/2) on the
• Dispose of the defective lamp in accordance
with the relevant regulations
(see section
12 B 46-0063 e 03/06
1.7 – Hints on Disposal).
Page 15

Microscope Illuminating System Start-Up
HBO 100 HBO 100 Carl Zeiss
3.2 Start-Up of HBO 100
Microscope Illuminating
System
Do not look directly into the lamp or its
reflected light.
Procedure:
• Install the HBO 100 microscope illuminator
on the microscope (see Operating Manual
of microscope).
• Connect the microscope illuminator to the
transformer as described in the supplied
operating instructions:
Fig. 5
1 Connector for HBO 100 illuminator
2 Power connector
Fig. 5 Rear of transformer for HBO 100
• Connect the transformer to the power
outlet using the provided power cable.
• Switch on the microscope illuminator using
the power switch at the front of the
transformer; the lamp will ignite
automatically:
Fig. 6
Function of the luminescence diodes:
"POWER" Lights when instrument is switched
on.
"LAMP" Lights when the lamp has been
ignited and is lighting.
"TEMP" Lights when the temperature
inside the transformer is within the
permissible range.
"SAFETY" Lights when the safety circuit of
the lamp housing is closed.
"+12V" Lights when the additional voltage
of the transformer is within the
permissible range.
Operating hour meter/"Reset" key:
1 LED LAMP
2 LED TEMP
3 LED SAFETY
4 LED +12V
5 Reset key
6 Display of operating hour meter
7 POWER switch with integrated power indicator LED
Fig. 6 Front of transformer for HBO 100
Pressing the "Reset" key will reset the
operating hour meter to "0". This must be
done after every lamp change. To avoid
resetting the meter by mistake, the key can be
actuated only with an appropriate tool (e.g. a
small screwdriver).
B 46-0063 e 03/06 13
Page 16

Start-Up Microscope Illuminating System
Carl Zeiss Focusing and Centering HBO 100
3.3 Focusing and Centering the
HBO 100 Microscope
Illuminator (423010)
Do not look directly into the lamp or its
reflected light.
• Switch on the lamp. Let it warm up for
more than 5 minutes.
• On the microscope, activate the adjusting
aid.
Fig. 7 Lamp arc and mirror image
mid position and generate a focused image
of the lamp arc/mirror image (
• Turn control knob of collector (
Fig. 8/3) into
Fig. 7).
Both images shall be
– at about the same level and
– closely side by side or half overlapping
(
Fig. 7)
• If this is not the case, adjust lamp arc and
mirror image accordingly by means of the
screws for vertical (
adjustment (
Fig. 8/2).
Fig. 8/1) and horizontal
• Deactivate the adjusting aid again.
1 Screw for vertical adjustment
2 Screw for horizontal adjustment
3 Collector control knob
Fig. 8 Adjusting elements of HBO 100 for manual
adjustment
14 B 46-0063 e 03/06
Page 17

Microscope Illuminating System Start-Up
HBO 100 Focusing and Centering Carl Zeiss
3.4 Focusing and Centering the
HBO 100 Microscope
Illuminator, self-adjusting
(423011-9901)
1 LED key
2 Collector control knob
Fig. 9 Adjustment of HBO 100, self-adjusting
Automatic adjustment of the HBO 100 requires
the collector to be set to mid position.
• Turn the collector control knob (
Fig. 9/2)
into mid position.
After the transformer of the connected
HBO 100 microscope illuminator was switched
on, the five minutes warm-up phase begins.
The LED key (
Fig. 9/1) lights orange during
warm-up.
After the five minutes are over, automatic
adjustment is started.
The LED key flashes green during the
adjustment.
The adjustment is finished after about 40
seconds. The LED key lights permanently green
then.
If the adjustment failed, the LED key lights red.
• In this case, you can start automatic
adjustment manually by a short pressure
(approx. one second) of the LED key
(
Fig. 9/1).
If the adjustment fails again, check whether
the lamp has been inserted correctly in the
base of the HBO 100 (pushed in as far as it will
go). For this, refer to Section
3.1.
B 46-0063 e 03/06 15
Page 18

Start-Up Microscope Illuminating System
Carl Zeiss Setting Offset Values HBO 100
3.5 Setting Offset Values on
HBO 100 Microscope
Illuminator, self-adjusting
(423011-9901)
Fig. 10 Keys for setting offset values for the adjustment
of lamp arc and mirror image
On the self-adjusting illuminator, the position
of the lamp arc and its mirror image may be
individually customized, if required, by the
adjustment of offset values.
After the automatic adjustment (see Section
3.4), LED key (Fig. 9/1) lights permanently
green.
By briefly pressing the recessed keys on the
rear side of the illuminator housing (
the motors for arc positioning are moved in
steps to the left, right, top or bottom within a
limited range.
During positioning, the LED key flashes
alternately green and orange. If you do not
press any key for more than 20 seconds, the
currently set value will be stored.
Not every key pressure will directly lead to a
movement of the motors: The intensity change
detected by the sensors must exceed a certain
threshold, before the position is readjusted.
Therefore, it may be necessary to press a key
repeatedly.
To reset the factory adjustment, the top button
of the keypad must be pressed for ten seconds.
Fig. 10),
16 B 46-0063 e 03/06
Page 19

Microscope Illuminating System Start-Up
HBO 100 Inserting the Collector Attachment Carl Zeiss
3.6 Inserting the Collector
Attachment
1 Collector attachment
2 Spring ring
3 Heat protection filter
4 Clamping ring
Fig. 11 Inserting the collector attachment
• Pull out clamping ring (Fig. 11/4).
• Remove heat protection filter (
Fig. 11/3).
• Screw the collector attachment into the
lamp as far as it will go (
Fig. 11/1). The
retaining ring on the collector attachment
must point to the outside.
• Clamp the collector attachment by inserting
the spring ring (
Fig. 11/2). The spring ring
engages in the groove of the lamp.
• Insert heat protection filter and lock it by
means of the clamping ring.
B 46-0063 e 03/06 17
Page 20

 Loading...