

Yaesu FTM-3200DR Advance Manual
FTM-3200DR
Advance Manual
VHF DIGITAL/ANALOG TRANSCEIVER
C4FM/FM
VOL
SQL
REV D/A V/MMHz
TXPO DW MW
DIAL
SETUP

Contents
Basic Operation .............................................................................................................. 3
Microphone Gain Setting ................................................................................................ 3
RF Squelch .................................................................................................................... 3
Advanced Operation ...................................................................................................... 4
Programming the Key Assignments ............................................................................... 4
Split Tone Operation ....................................................................................................... 5
Tone Search ................................................................................................................... 6
DCS Search ................................................................................................................... 7
EPCS (Enhanced Paging & Code Squelch) Operation .................................................. 8
Storing CTCSS Tone Pairs for EPCS Operation ..........................................................8
Activating the Enhanced Paging & Code Squelch System .......................................... 9
DTMF Operation .......................................................................................................... 10
Transmitting a DTMF code manually ......................................................................... 10
Registering a DTMF code .......................................................................................... 11
Transmitting the registered DTMF code.....................................................................12
Setting DTMF Autodialer sending Speed ................................................................... 12
Setting DTMF Autodialer TX delay time ..................................................................... 13
Memory Operation ........................................................................................................ 14
Split Memory ................................................................................................................ 14
Moving Memory Data to the VFO .............................................................................. 14
Memory Only Mode ...................................................................................................... 14
Naming a Memory Channel ......................................................................................... 15
Scanning ....................................................................................................................... 16
Scan Resume Options ................................................................................................. 16
Memory Skip Scanning ................................................................................................ 17
Preferential Memory Scan ............................................................................................ 18
Programmable Memory Scan (PMS) ........................................................................... 19
Registering to the programmable memory channels ................................................. 19
Scanning the programmable memory channels ........................................................ 20
Band Edge Beeper ....................................................................................................... 20
Priority Channel Scanning (Dual Watch) ...................................................................... 21
Priority Revert Mode .................................................................................................. 21
GM Function .................................................................................................................. 22
GM Alert Beep .............................................................................................................. 22
GM Polling Interval ....................................................................................................... 22
Clone .............................................................................................................................. 23
Setup (Menu) Mode ...................................................................................................... 24
Menu Selection Details ................................................................................................ 27
2
FTM-3200DR Advance Manual

Basic Operation
Microphone Gain Setting
The microphone gain has been programmed at the factory to a level that should be
satisfactory for the supplied MH-48A6JA Microphone. If an after-market microphone is
used, you may wish to set a different Mic Gain level.
1. Press and hold in the [MHz(SETUP)] key for
one second to enter the Set mode.
2. Rotate the DIAL knob to select “MIC GAIN
24”.
3. Press the [MHz(SETUP)] key, then rotate
the DIAL knob to select the desired microphone gain level (LEVEL 1 - LEVEL 9).
Default: LEVEL 5
4. Press and hold in the [MHz(SETUP)] key for
one second to save the new setting and exit
to normal operation.
RF Squelch
A special RF Squelch feature is provided on this radio, which allows setting the squelch so
that only signals exceeding a pre-set S-meter level will open the squelch.
Use the following procedure to set up the RF squelch circuit for operation:
1. Press and hold in the [MHz(SETUP)] key for
one second to enter the Set mode.
2. Rotate the DIAL knob to select “RF SQL 35”.
3. Press the [MHz(SETUP)] key, then rotate
the DIAL knob to select the desired signal
strength level for the squelch threshold (S1 S8 or OFF).
Default: OFF
4. Press and hold in the [MHz(SETUP)] key for
one second to save the new setting and exit
to normal operation.
VOL
SQL
REV D/A V/MMHz
TXPO DW MW
VOL
SQL
REV D/A V/MMHz
TXPO DW MW
DIAL
SETUP
DIAL
SETUP
3FTM-3200DR Advance Manual
Advanced Operation
Programming the Key Assignments
Default FTM-3200DR key functions have been assigned to the Microphone [P1]/[P2]/[P3]/
[P4]
keys at the factory. The user may change these key function assignments, if quick
access to another function is desired.
To change the assignments for the programmable keys:
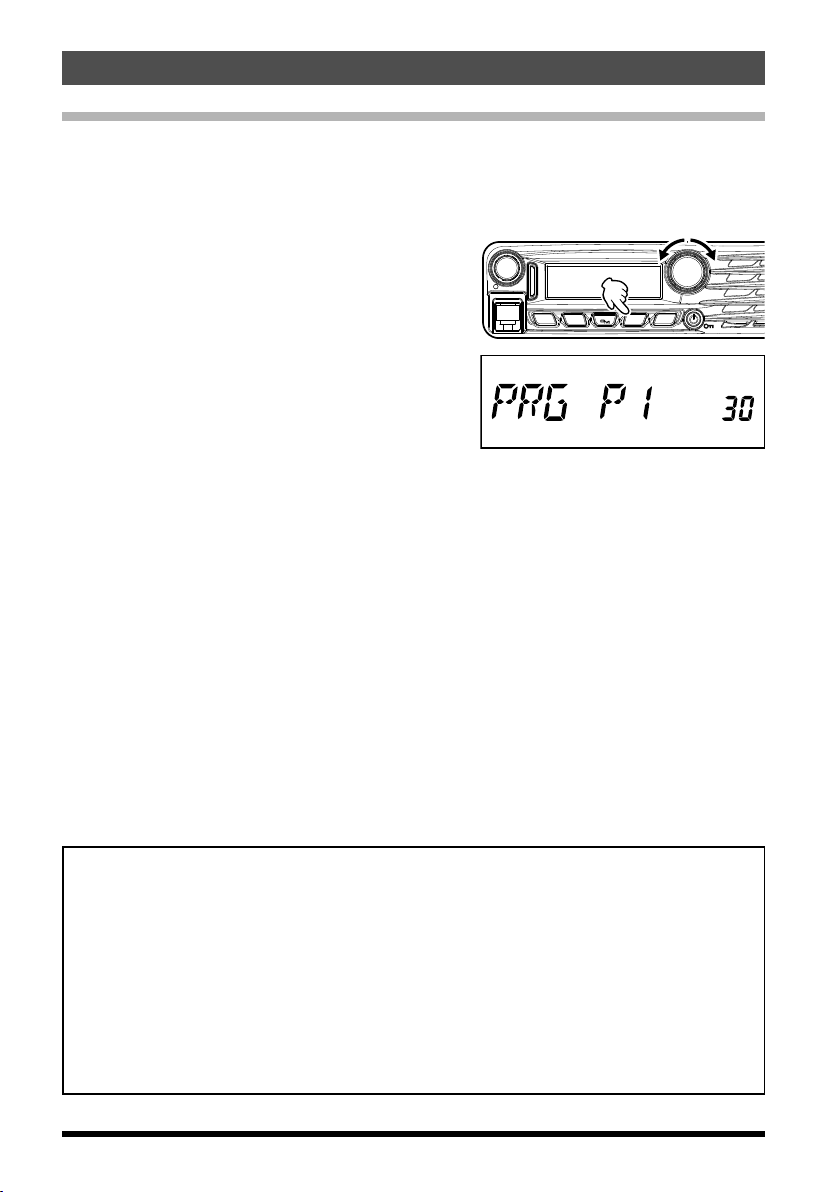
1. Press and hold in the [MHz(SETUP)] key
for one second, then rotate the DIAL knob
to select the Menu Item to configure the
desired microphone button: (“PRG P1 30”,
“PRG P2 31”, “PRG P3 32” or “PRG P4 33”).
2. Press the [MHz(SETUP)] key, then rotate
the DIAL knob to select the function you
wish to assign to the key you selected in the
previous step.
The available program functions differ slightly for each of the four keys, the choices
include:
SQL OFF: Open the Squelch to allow un-muted reception.
HOME: Recall the home channel.
WX CH: Switches operation to the Weather channels bank.
CD SRCH: Engages the Tone or DCS Search Scanning feature.
SCAN: Engages the Scan operation.
T CALL: Activates 1750 Hz Tone Burst.
TX POWER: Set the transmission power level.
DIG/ANA: Change the communication mode (Digital/Analog).
GM: Activates the GM (Group Monitor) function.
Alternatively, one of the Set Menu items previously assigned may be set. To assign
another desired Set Mode item to a programmable key, see the description in the box
shown below.
3. Press and hold in the [MHz(SETUP)] key for one second to exit to normal operation.
VOL
SQL
REV D/A V/MMHz
TXPO DW MW
DIAL
SETUP
You may assign Set Mode items to the Microphone [P1]/[P2]/[P3]/[P4] buttons, as
well, to do this:
1. Press and hold in the [MHz(SETUP)] key for one second to enter the Set mode.
2. Rotate the DIAL knob to select the Set Mode Item that you wish to assign to the
key as a Menu short cut.
3. Press and hold in the Microphone’s [P1], [P2], [P3] or [P4] key for one second to
assign the Set Mode Item to that button.
4. Now you can recall this preferred Set Mode Item by simply pressing the
Microphone button momentarily.
4 FTM-3200DR Advance Manual
Advanced Operation
Split Tone Operation
The FTM-3200DR can be configured to operate in a “Split Tone” system via the Setup
menu, to facilitate operation on repeaters using a mix of both CTCSS and DCS control.
1. Press and hold in the [MHz(SETUP)] key for
one second to enter the Set mode.
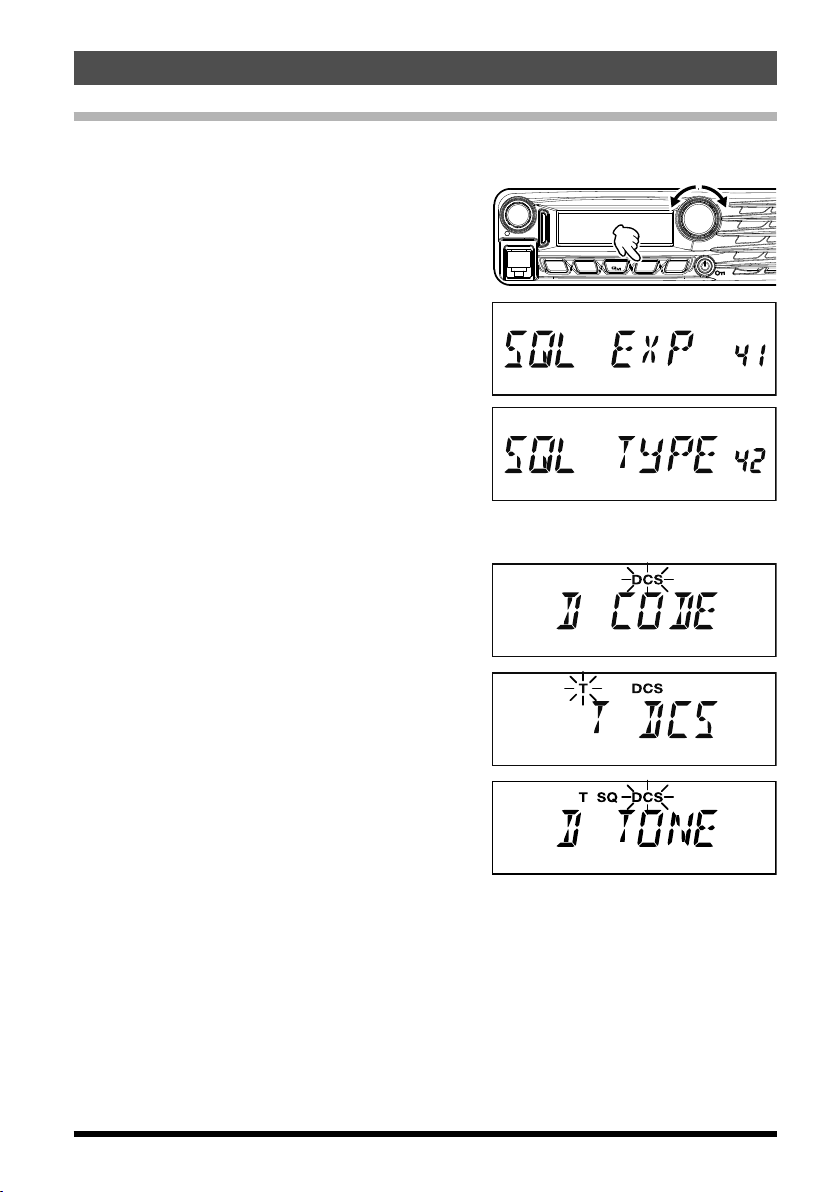
2. Rotate the DIAL knob to select “SQL EXP
41”.
3. Press the [MHz(SETUP)] key, then rotate
the DIAL knob to select “ON”.
Default: OFF
4. Press the [MHz(SETUP)] key momentarily,
then rotate the DIAL knob to select “SQL
TYPE 42”.
5. Press the [MHz(SETUP)] key, and then rotate the DIAL knob to select the following
parameters.
D CODE: DCS Encode only (the “DCS” icon
will blink during operation)
T DCS: Encodes a CTCSS Tone and
Decodes a DCS code (the “T”
icon will blink and the “DCS” icon
will appear during operation)
D TONE: Encodes a DCS code and
Decodes a CTCSS Tone (the “T
SQ” icon will appear and “DCS”
icons will blink during operation)
VOL
SQL
REV D/A V/MMHz
TXPO DW MW
DIAL
SETUP
FTM-3200DR Advance Manual
5
Advanced Operation
Tone Search
When the CTCSS tone being transmitted by another station is not known, you can tune
the radio to the incoming signal and activate tone scan to search for and identify the tone
being used.
To scan for the tone in use:
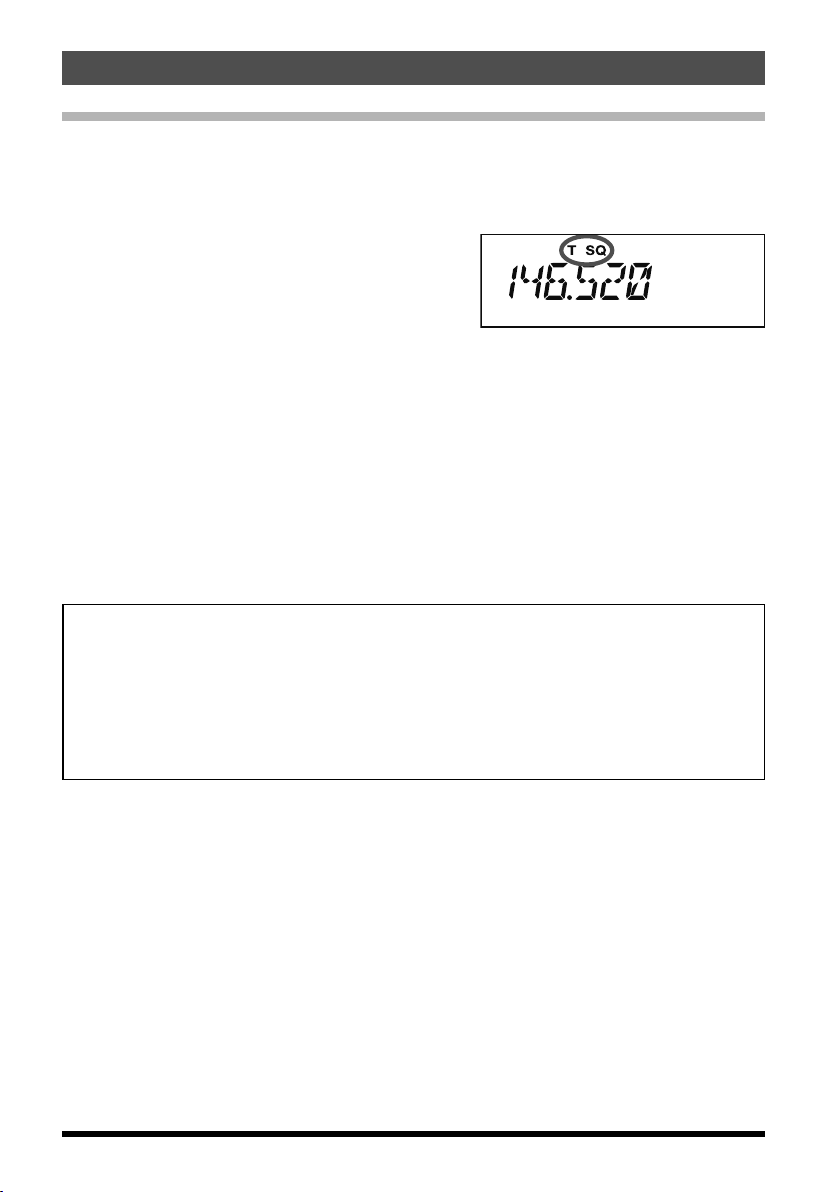
1. Set the transceiver up for CTCSS Decoder operation (see the description in the box
shown below.).
“T SQ” will appear on the display.
2. Press the Programmable key on the MH-48A6JA Microphone that is assigned “CD
SRCH” (see page 4) to start scanning for the incoming CTCSS code.
3. When the radio detects the correct tone, scanning will halt on that tone, and audio will
be allowed to pass.
4. Press the assigned Programmable key of the Microphone to lock in that tone and exit
to normal operation.
Note: You may listen to the (muted) signals from the other stations during Tone Scanning
when Set Mode Item “TS MUTE 47” is set to “OFF”. See page 34 for details.
You can also change the Tone Search scanning speed, using Set Mode Item “TS
SPEED 48” See page 34 for details.
CTCSS Decoder Operation
1. Press and hold in the [MHz(SETUP)] key for one second to enter the Set mode.
2. Rotate the DIAL knob to select “SQL TYPE 42”.
3. Press the [MHz(SETUP)] key, and then rotate the DIAL knob to select “TSQL”.
4. Press and hold in the [MHz(SETUP)] key for one second to save the new
setting and exit to normal operation.
6
FTM-3200DR Advance Manual

Advanced Operation
DCS Search
When the DCS code being transmitted by another station is not known, you can tune the
radio to the incoming signal and activate DCS code scan to search for and identify the
DCS code being used.
To scan for the DCS in use:
1. Set the transceiver up for DCS operation
(see the description in the box shown below.).
“DCS” will appear on the display.
2. Press the Programmable key on the MH-48A6JA Microphone that is assigned “CD
SRCH” (see page 4) to start scanning for the incoming DCS code.
3. When the radio detects the correct code, scanning will halt on that code, and audio will
be allowed to pass.
4. Press the assigned Programmable key of the Microphone to lock in that tone and exit
to normal operation.
Note: You may listen to the (muted) signals from the other stations during DCS Scanning
when Set Mode Item “TS MUTE 47” is set to “OFF”. See page 34 for details.
You can also change the DCS Search scanning speed, using Set Mode Item “TS
SPEED 48” See page 34 for details.
DCS Operation
1. Press and hold in the [MHz(SETUP)] key for one second to enter the Set mode.
2. Rotate the DIAL knob to select “SQL TYPE 42”.
3. Press the [MHz(SETUP)] key, and then rotate the DIAL knob to select “DCS”.
4. Press and hold in the [MHz(SETUP)] key for one second to save the new
setting and exit to normal operation.
FTM-3200DR Advance Manual
7
Advanced Operation
EPCS (Enhanced Paging & Code Squelch) Operation
The FTM-3200DR includes an Enhanced CTCSS tone encoder/decoder and a dedicated
microprocessor providing paging and selective calling features. This allows placing a call
to a specific station (Paging), and choosing to receive calls directed only to you (Code
Squelch).
The paging and code squelch systems use two pairs of (alternately switched) CTCSS
tones, which are stored in the pager memories. Basically, your receiver remains silent until
it receives the CTCSS tone pair that matches those stored in the Receiving Pager Memory.
The squelch then opens so the caller is heard, and the paging ringer immediately sounds,
if activated. When you close the PTT switch to transmit, the CTCSS tone pair that is
stored in the Transmitting Pager Memory will be transmitted automatically.
On the paged radio, the squelch will close automatically after the incoming page ends.
Storing CTCSS Tone Pairs for EPCS Operation
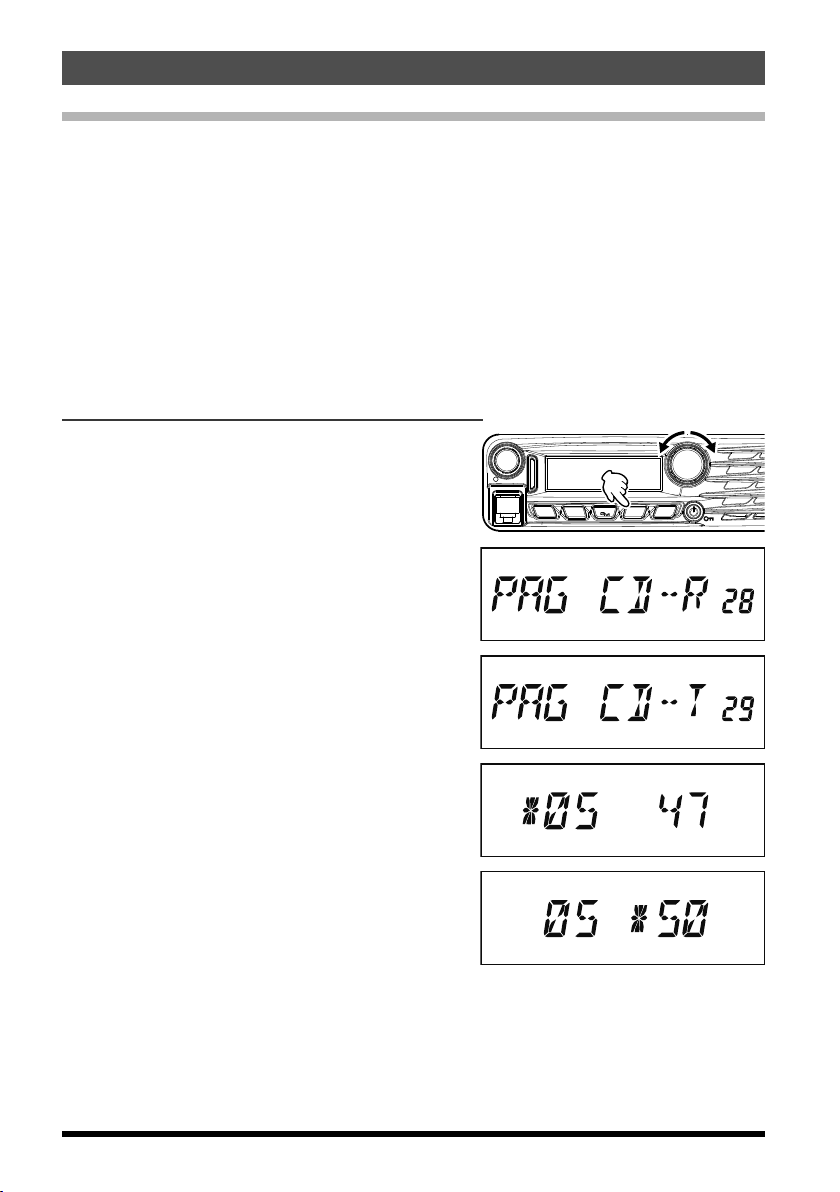
1. Press and hold in the [MHz(SETUP)] key for
one second to enter the Set mode.
2. Rotate the DIAL knob to select “PAG CD-R
28” for the Receiving CTCSS Tone Pair or
“PAG CD-T 29” for the Transmitting CTCSS
Tone Pair.
VOL
SQL
REV D/A V/MMHz
TXPO DW MW
DIAL
SETUP
3. Press the [MHz(SETUP)] key momentarily to
enable adjustment of this Set Mode Item.
4. Rotate the DIAL knob to set the CTCSS
Tone number, which corresponds to the first
tone of the CTCSS Tone Pair.
5. Press the [SQL(TXPO)] or [V/M(MW)] key,
then rotate the DIAL knob to set the CTCSS
Tone number, which corresponds to the second tone of the CTCSS Tone Pair.
6. Press and hold in the [MHz(SETUP)] key for one second to lock in that tone and exit to
normal operation.
Note: The FTM-3200DR does not recognize the order of the 1st tone and the 2nd tone.
In other words, for example, the FTM-3200DR considers both CTCSS pairs “05,
47” and “47, 05” to be identical.
8
FTM-3200DR Advance Manual
Advanced Operation
Activating the Enhanced Paging & Code Squelch System
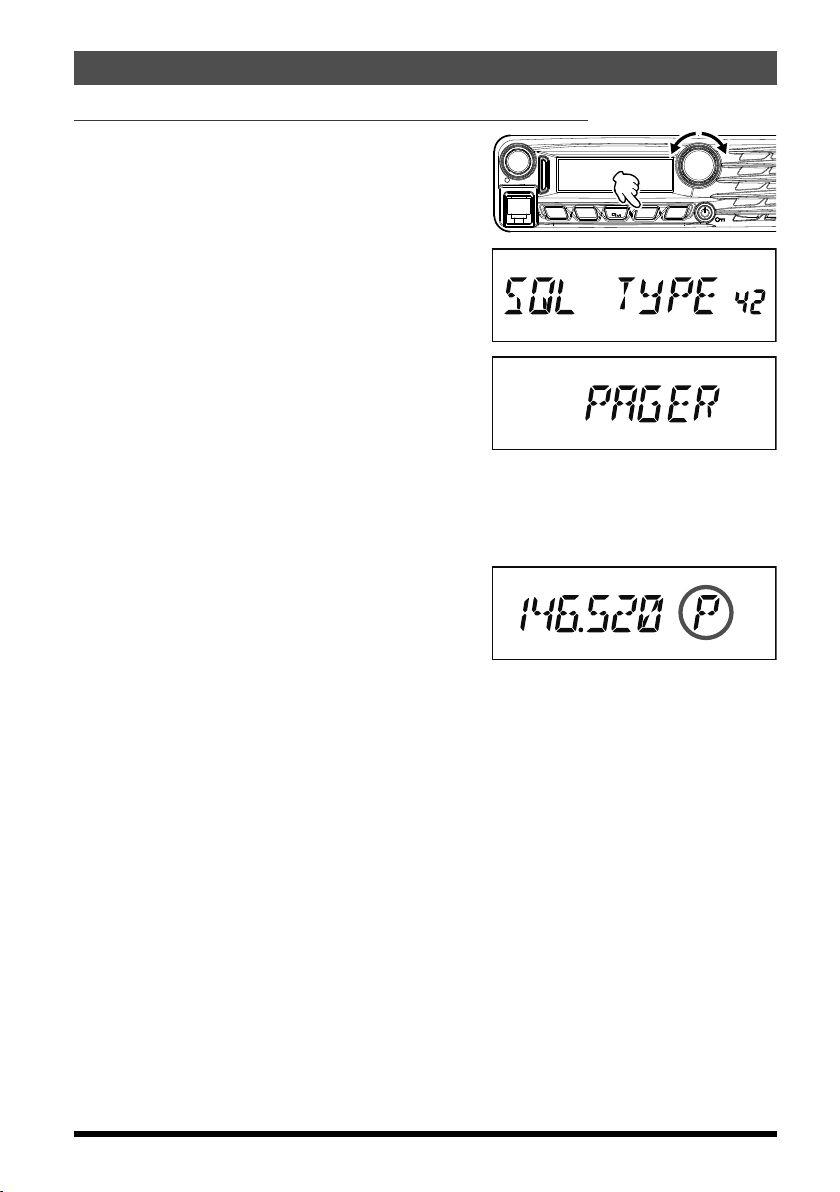
1. Press and hold in the [MHz(SETUP)] key for
one second to enter the Set mode.
2. Rotate the DIAL knob to select “SQL TYPE
42”.
3. Press the [MHz(SETUP)] key, and then
rotate the DIAL knob to select “PAGER”.
4. Press and hold in the [MHz(SETUP)] key for one second to save the new setting and
exit to normal operation.
5. To disable the Enhanced Paging & Code Squelch, just repeat the above procedure,
rotating the DIAL knob to select “OFF” in step 3 above.
When the Enhanced Paging & Code Squelch
feature is activated, the “P” notation will appear
on the right of the frequency display.
VOL
SQL
REV D/A V/MMHz
TXPO DW MW
DIAL
SETUP
FTM-3200DR Advance Manual
9
Advanced Operation
DTMF Operation
DTMF tones (Dual Tone Multi Frequencies) are the tones you hear when dialing from a
telephone keypad. The FTM-3200DR transceiver can transmit the DTMF codes by using
the keys on the microphone or recalling registered number strings from memories.
The maximum of 16-digit DTMF codes can be registered in up to 10 memory channels.
It is convenient to register telephone patch numbers, and network linking sequences to
the DTMF memory channels.
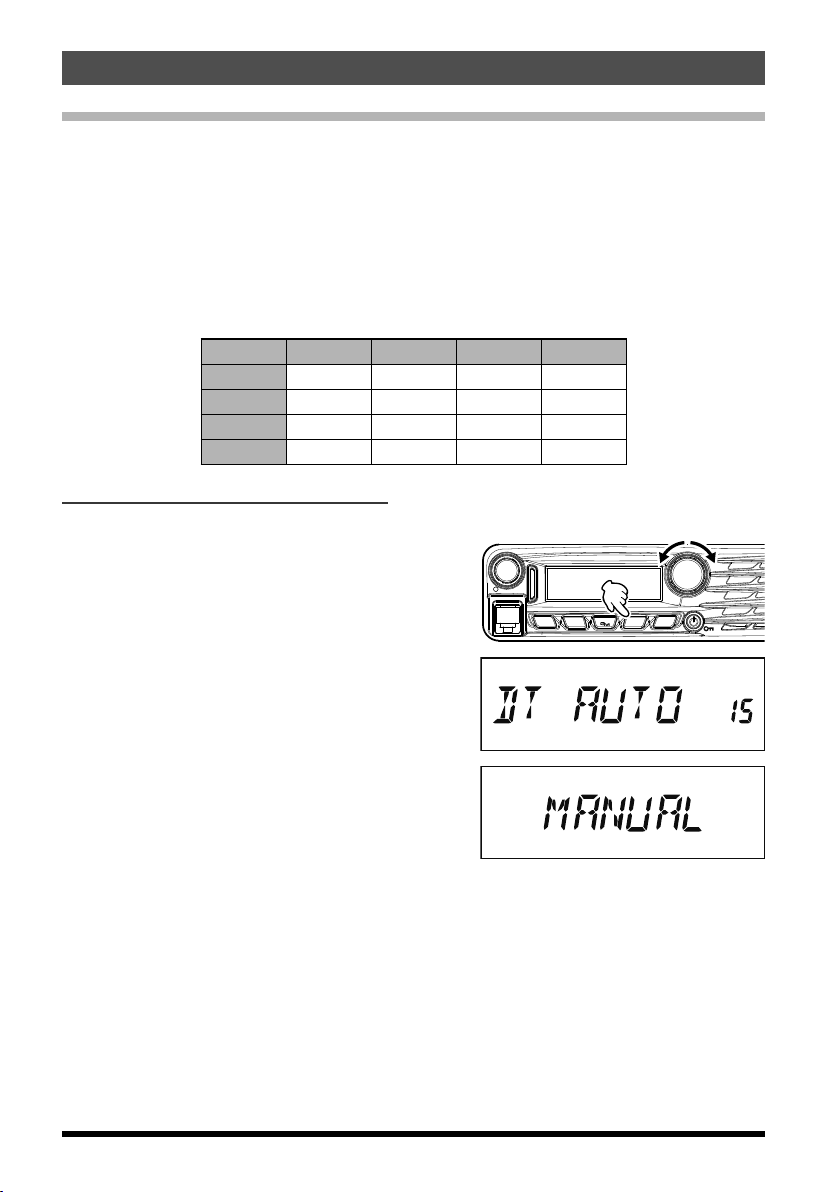
Note: The two combined frequencies of the DTMF tone transmitted for each key are
indicated in the following table:
1209 Hz 1336 Hz 1477 Hz 1633 Hz
697 Hz 1 2 3 A
770 Hz 4 5 6 B
852 Hz 7 8 9 C
941 Hz
]
Transmitting a DTMF code manually
You can generate DTMF tones during transmission manually.
1. Press and hold in the [MHz(SETUP)] key for
one second to enter the Set mode.
2. Rotate the DIAL knob to select “DT AUTO
15”.
0 # D
VOL
SQL
REV D/A V/MMHz
TXPO DW MW
DIAL
SETUP
3. Press the [MHz(SETUP)] key momentarily, and then rotate the DIAL knob to select
“MANUAL”.
4. Press and hold in the [MHz(SETUP)] key for one second to save the new setting and
exit to normal operation.
[
5. While pressing and holding PTT, press the desired DTMF characters ([0] to [9],
]
], [#]
or [A] to [D]), sequentially on the microphone keypad.
6 Release PTT.
While transmitting the DTMF code, transmission status is sustained even when PTT is
released.
10
FTM-3200DR Advance Manual
,
Advanced Operation
Registering a DTMF code
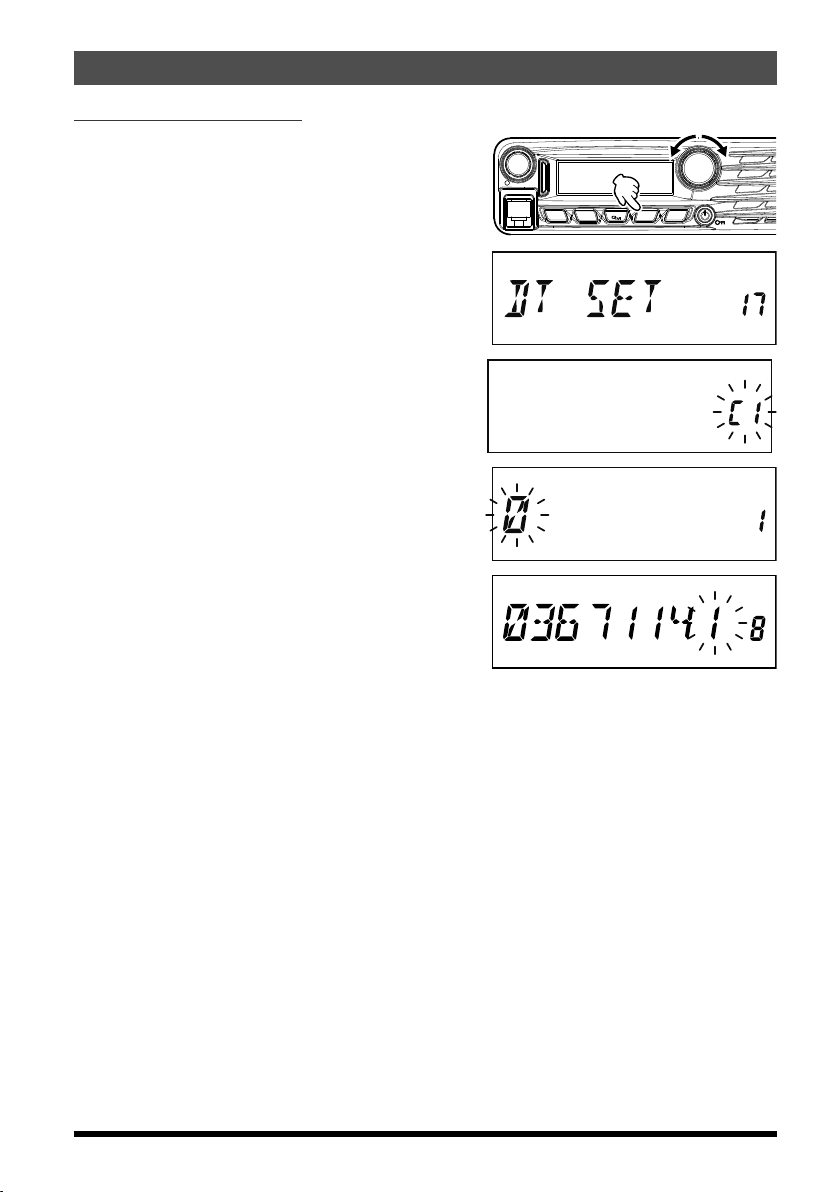
1. Press and hold in the [MHz(SETUP)] key for
one second to enter the Set mode.
2. Rotate the DIAL knob to select “DT SET 17”.
3. Press the [MHz(SETUP)] key momentarily,
then rotate the DIAL knob to select the desired memory channel (C0 to C9) to register
the DTMF code.
4. Press the [D/A(GM)] key momentarily, then
rotate the DIAL knob to select the first digit
of the DTMF code.
Note: You can also use the keypad on the
microphone to input the DTMF code.
5. When you have selected the correct digit,
press the [V/M(MW)] key momentarily. Now,
rotate the DIAL knob to select the second of
16 available numbers in the current DTMF
Autodialer memory register.
6. Repeat this procedure for each digit in the DTMF code.
Note: m To make a correction, press the [SQL(TXPO)] key to back-space the cursor,
then re-enter the correct number.
m Press and hold in the [REV(DW)] key for one second to delete all data after
the cursor that may have been previously stored.
7. When entry of all digits is complete, press and hold in the [MHz(SETUP)] key for one
second to set the DTMF code and exit to normal operation.
VOL
SQL
REV D/A V/MMHz
TXPO DW MW
DIAL
SETUP
FTM-3200DR Advance Manual
11
 Loading...