

Page 1

DocuPrint C2100
Belt Unit Installation Guide
Thank you for purchasing the belt unit.
This guide is intended for first-time users of the printer and gives instructions on installing this product to the printer.
To ensure safe operation of the printer, be sure to read "Safety Notes" in the Quick Reference Guide before starting the installation.
WARNING
• Never open or remove machine covers that are secured with screws unless specifically
instructed in the related manuals. A high voltage component can cause electric shocks.
• Do not try to alter the machine configuration, or modify any parts. An unauthorized
modification can cause smoke or fire.
CAUTION
• Switch off the machine before connecting the interface cable or optional accessories.
Connecting the cable or optional accessories with a live machine can cause electric
shocks.
• Avoid bright light and try to finish the replacement within 5 minutes.
• Make sure nothing touches or scratches the surface (black-colored film) of the belt unit.
Scratches, dirt, or oil from your hands on the film of the belt unit may reduce print quality.
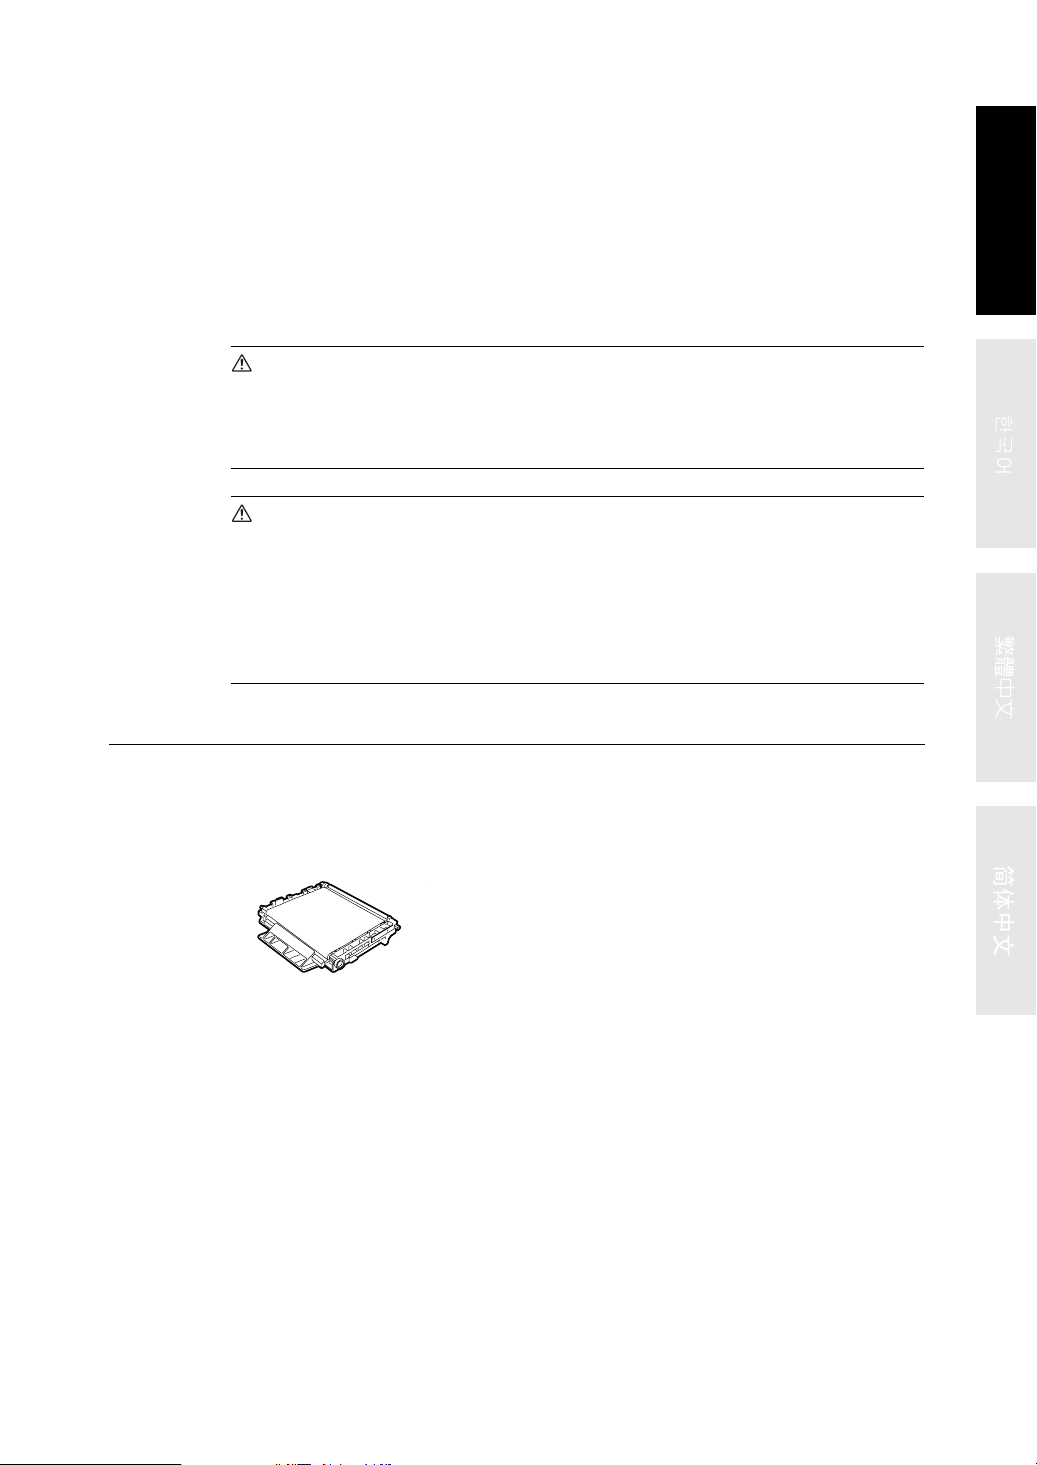
Checking the Package Contents
The packaging box contains the following items. If you find any items missing, please contact our Customer Support Center or your dealers.
English
• Belt unit • This guide
1
Page 2
Procedure
1. Make sure that the printer is turned off.
2. Remove any print jobs from the output tray.
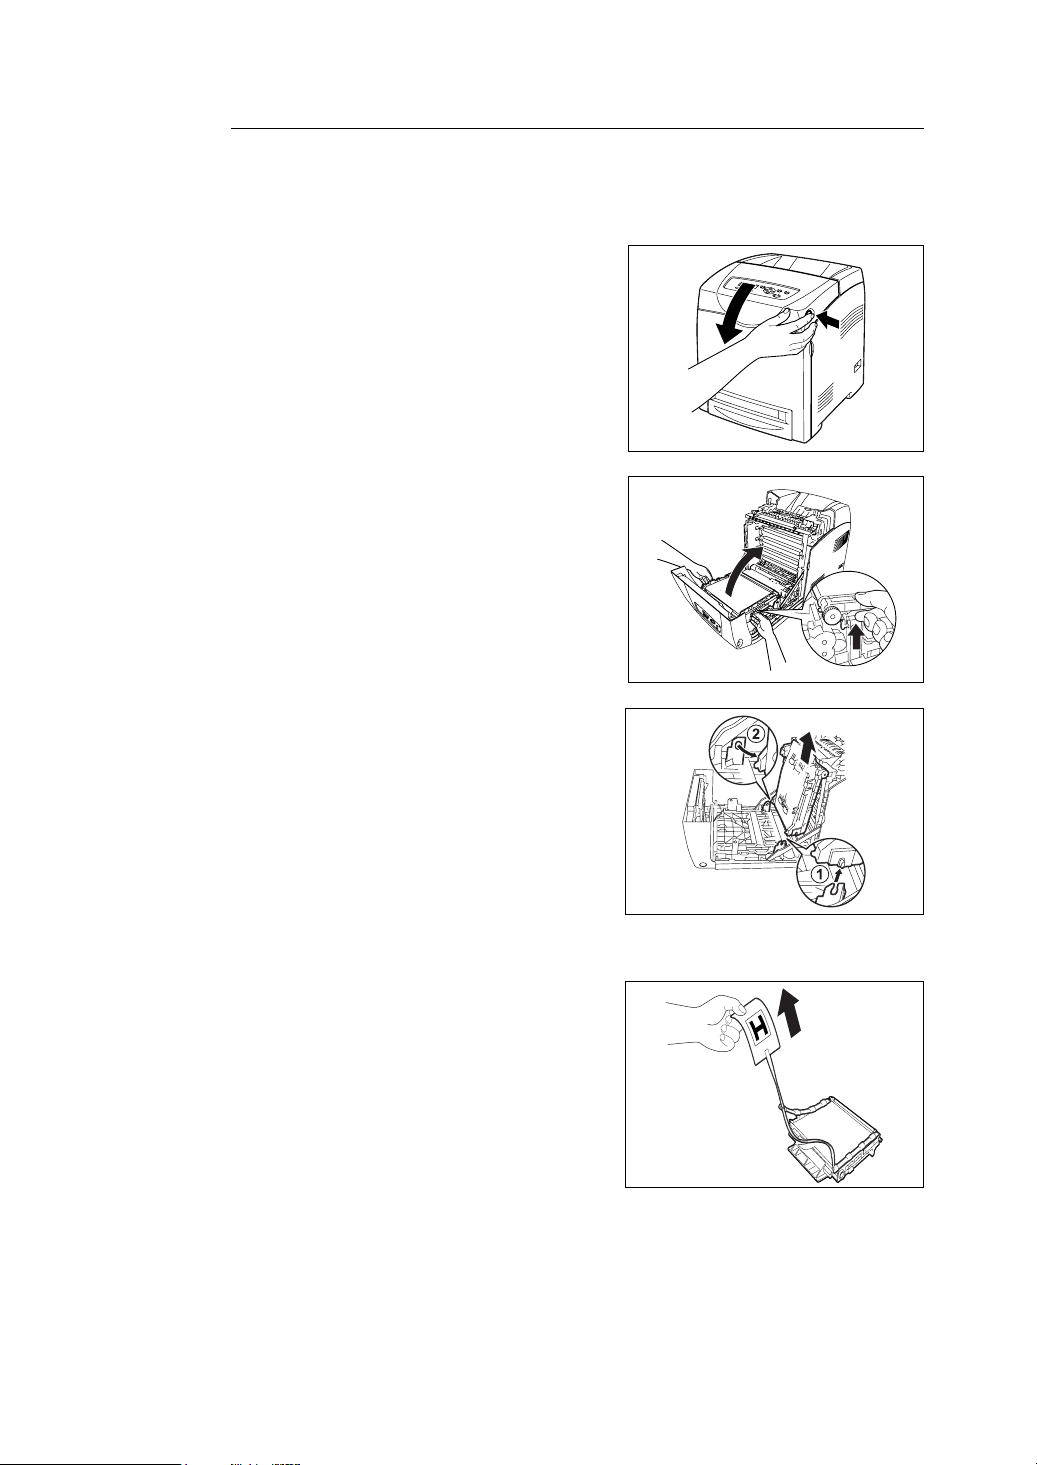
3. Push the button and open the front cover.
4. Hold the knobs of the Belt Unit and open
the unit fully.
Important
• Do not touch the inside of the printer with your hands.
Some parts may be hot. Allow time for the printer to
cool before attempting to remove parts in this area.
5. Hold both sides of the Belt Unit with both
hands and pull up the right side of the unit
until the knob on the right side comes out of
the groove. Then, shift the Belt Unit to the
right and remove the unit from the printer.
6. Unpack a new Belt Unit.
7. Remove the tag with the letter H on it from
the Belt Unit.
2
Page 3
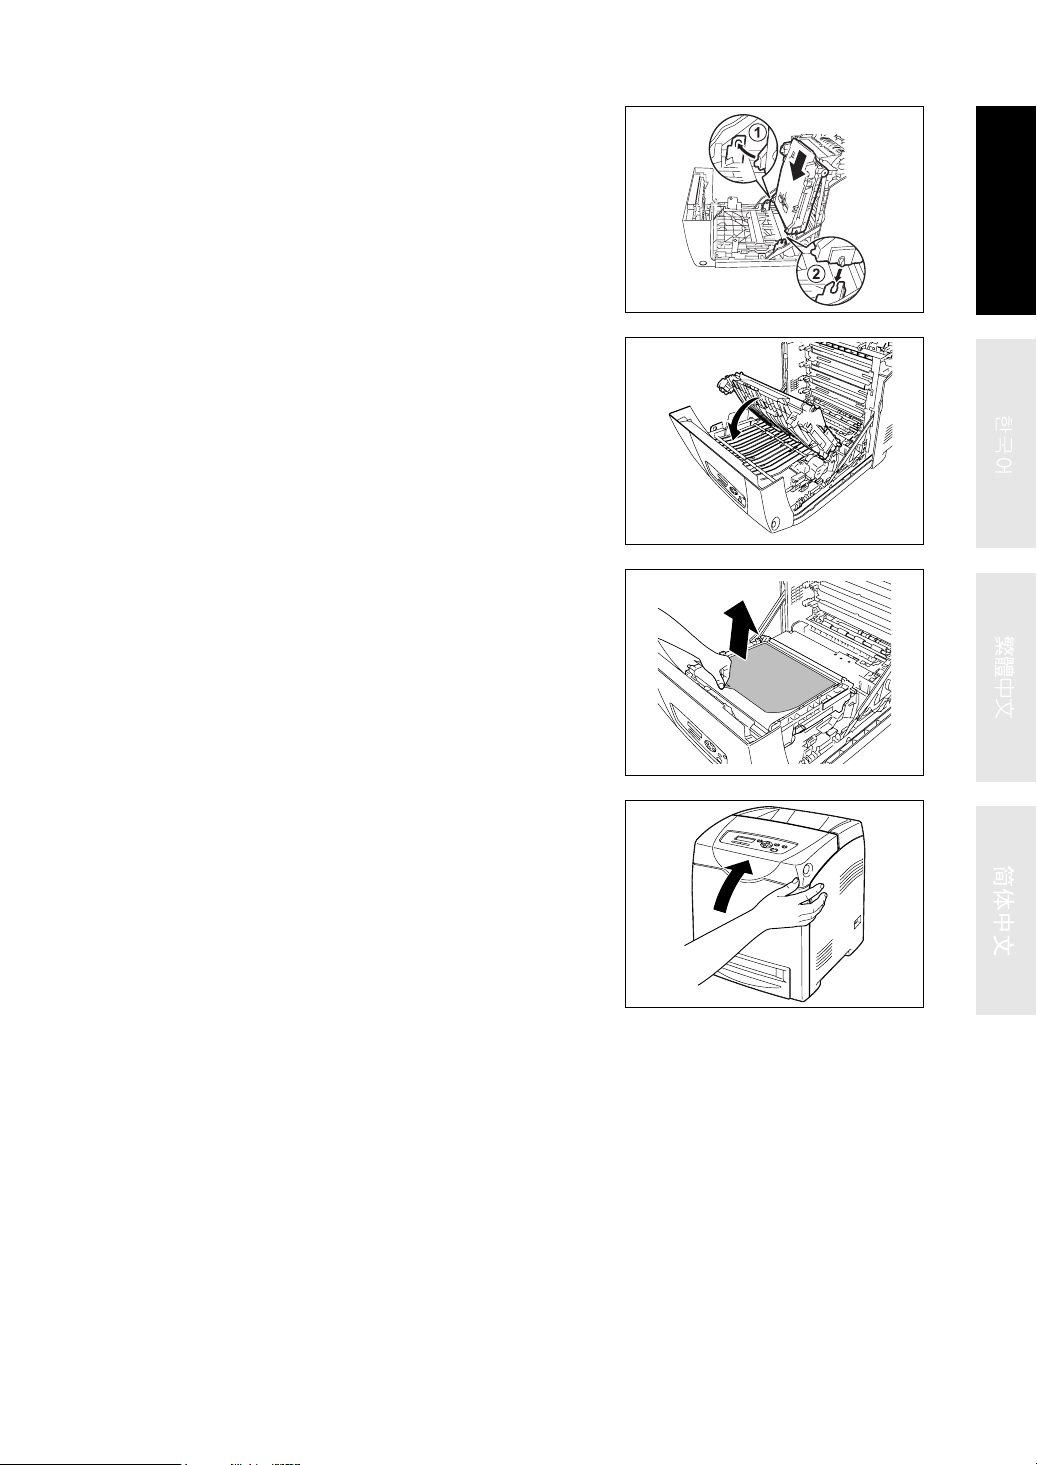
8. Insert the left knob of the Belt Unit into the
hole, and then align the other knob with the
groove and push down on the right side of
the Belt Unit.
9. Close the Belt Unit by pulling it down until it
clicks.
10. Remove the protective sheet from the Belt
Unit.
English
11. Close the front cover.
3
Page 4

Page 5
DocuPrint C2100
벨트 유니트 설치 안내서
벨트 유니트를 구입해 주셔서 감사합니다 .
본 안내서는 프린터를 처음 사용하는 사람을 위한 것으로 , 이 제품을 프린터에 설치하기
위한 지침을 제공합니다 .
프린터의 안전한 작동을 위해 설치를 시작하기 전에 빠른 참조 안내서의 " 안전 주의사항 "
을 읽으십시오 .
경고
• 나사로 고정되어 있는 기계 커버 등은 관련 설명서에서 지시하는 곳 이외에는 절대로 열
지 마십시오 . 고압 부품으로 인해 감전의 위험이 있습니다 .
• 기계 구성을 개조하거나 부품을 변경하여 사용하지 마십시오 . 화재나 발연의 원인이 될
수 있습니다 .
주의
• 인터페이스 케이블 또는 옵션 제품을 연결하기 전에 전원 스위치를 꺼 주십시오. 전원이
들어와 있는 기계에 케이블 또는 옵션 제품을 연결하는 것은 감전의 원인이 될 수 있습
니다 .
• 직사광선을 피하고 5 분 안에 교체하십시오 .
• 벨트 유니트의 표면 ( 검정색 필름 ) 을 만지거나 표면이 긁히지 않았는지 확인하십시오 .
벨트 유니트의 필름을 손으로 긁거나 먼지 또는 기름이 묻으면 인쇄 품질이 저하될 수
있습니다 .
English
포장 내용물 확인
포장 상자에는 다음 항목이 들어 있습니다 . 누락된 항목이 있으면 당사의 고객 지원 센터
나 구입처에 문의하십시오 .
• 벨트 유니트 • 본 안내서
1
Page 6

절차
1. 프린터 전원이 꺼졌는지 확인합니다 .
2. 배출 트레이에 있는 인쇄 작업을 제거합니다 .
3. 버튼을 눌러 전면 덮개를 엽니다 .
4. 벨트 유니트의 손잡이를 잡고 유니트를 완
전히 엽니다 .
중요
• 손으로 프린터 내부를 만지지 마십시오 . 일부 부품이
뜨거울 수 있습니다 . 부품을 제거하기 전에 먼저 프린
터를 식히십시오 .
5. 양손으로 벨트 유니트의 양쪽을 잡고 오른
쪽 손잡이가 홈에서 나올 때까지 유니트를
오른쪽으로 잡아 올립니다. 그런 다음 벨트
유니트를 오른쪽으로 이동시킨 다음 프린터
에서 꺼냅니다 .
6. 새 벨트 유니트의 포장을 뜯습니다 .
7. 벨트 유니트에서 H 라고 표시된 태그를 제
거합니다 .
2
Page 7

8. 벨트 유니트의 왼쪽 손잡이를 구멍에 삽입
한 후 다른 쪽 손잡이를 홈에 맞추고 벨트
유니트의 오른쪽을 아래로 누릅니다 .
9. 벨트 유니트를 딸깍 소리가 날 때까지 아래
로 당겨서 닫습니다 .
10. 벨트 유니트에서 보호시트를 제거합니다 .
English
11. 전면 덮개를 닫습니다 .
3
Page 8

Page 9

DocuPrint C2100
油輪組件安裝說明書
非常感謝您購買油輪組件。
本說明書供初次使用印表機的使用者使用,並提供關於將本產品安裝到印表機的指示。
為了確保安全操作印表機,請務必在開始安裝之前閱讀快速參考說明書中的 “為了機器的
安全使用”。
警告
• 嚴禁開啟或移除本操作說明書未指示的用螺絲固定住的機蓋,以免接觸到內部的高壓部
位而引起觸電。
• 請勿擅自改造機器、更換零件,以免機器起火或冒煙。
注意
• 連接介面電纜線及選購產品時,請務必關閉電源, 以免引起觸電。
• 避免強光並儘量在 5 分鐘之內完成更換。
• 確保不要讓任何東西接觸或刮傷油輪組件的表面 (黑色膠片)。
油輪組件膠片上的刮傷及污垢或油漬會降低列印質量。
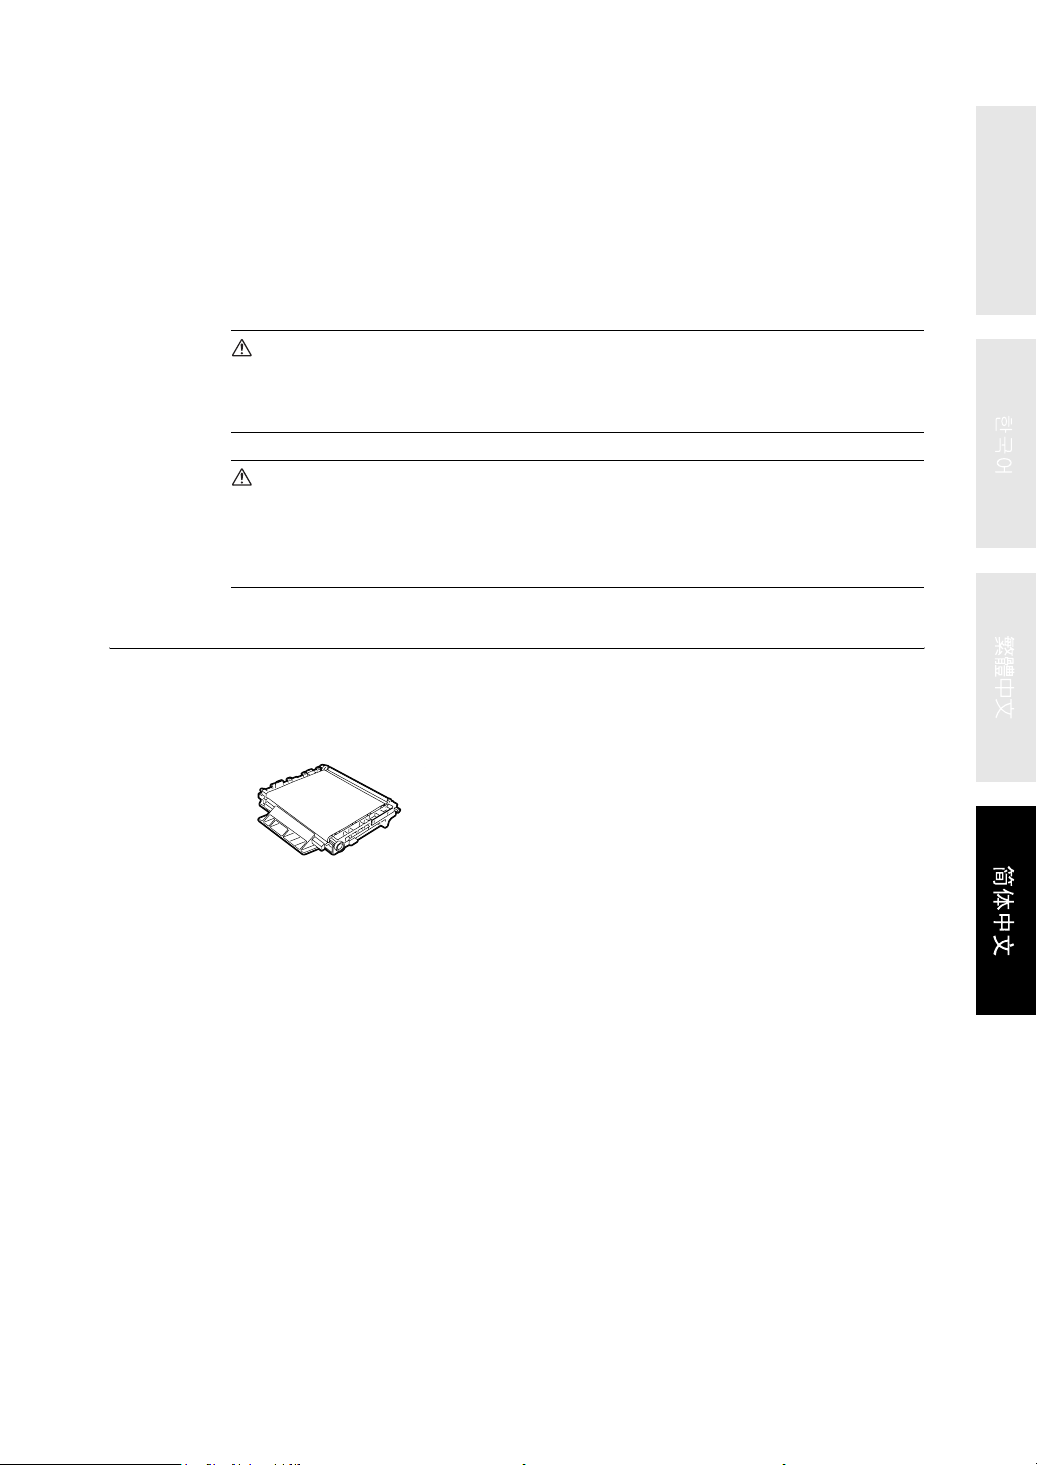
檢查包裝內容物
包裝盒內包括以下項目。 如發現任何項目缺失,請聯絡我們的客戶支持中心或經銷商。
English
• 油輪組件
• 本說明書
1
Page 10

步驟
1. 確保印表機關閉。
2. 從輸出承接盤拿走所有列印工作。
3. 推此按鈕並打開前蓋板。
4. 抓住油輪組件的凸起並完全打開組件。
重要
• 切勿用手觸摸印表機內部。 部分零件可能很燙。 嘗試
取出該區域內的零件時,請考慮印表機冷卻時間。
5. 用雙手抓住油輪組件的兩側,拉組件的右側
直到右側的凸起從凹槽出來。 然後將油輪組
件移到右邊,將組件從印表機上拆下。
6. 從包裝中拆下新的油輪組件。
7. 從油輪組件上撕下帶有字母 H 的標籤。
2
Page 11

8. 將油輪組件左邊的凸起插入孔中,然後將另
一個凸起與凹槽對準,按下油輪組件的右側。
9. 關閉油輪組件,按下它直到聽到哢嚓聲。
10. 從油輪組件上撕下保護層。
English
11. 關閉前蓋板。
3
Page 12

Page 13
DocuPrint C2100
皮带组件安装说明书
非常感谢您购买皮带组件。
本说明书供初次使用打印机的用户使用,并提供关于将本产品安装到打印机的指示。
为了确保安全操作打印机,请务必在开始安装之前阅读快速参考说明书中的 “安全注意事
项”。
警告
• 严禁开启或移除相关使用说明书未指示的用螺丝固定住的机盖,以免接触到内部的高压
部位而引起触电。
• 请勿擅自改造机器、更换零件,以免机器起火或冒烟。
注意
• 连接接口电缆线及选装产品时,请务必关闭电源,以免引起触电。
• 避免强光并尽量在 5 分钟之内完成更换。
• 确保不要让任何东西接触或刮伤皮带组件的表面 (黑色胶片)。
皮带组件胶片上的刮伤及污垢或油渍会降低打印质量。
检查包装内容物
包装盒内包括以下项目。 如发现任何项目缺失,请联络本公司客户支持中心或经销商。
English
• 皮带组件
• 本说明书
1
Page 14

步骤
1. 确保打印机关闭。
2. 从输出接收盘拿走所有打印作业。
3. 推此按钮并打开前盖板。
4. 抓住皮带组件的凸起并完全打开装置。
重要
• 切勿用手触摸打印机内部。 部分零件可能很烫。 尝试
取出该区域内的零件时,请考虑打印机冷却时间。
5. 用双手抓住皮带组件的两侧,拉装置的右侧
直到右侧的凸起从凹槽出来。 然后将皮带组
件移到右边,将装置从打印机上拆下。
6. 从包装中拆下新的皮带组件。
7. 从皮带组件上撕下带有字母 H 的标签。
2
Page 15

8. 将皮带组件左边的凸起插入孔中,然后将另
一个凸起与凹槽对准,按下皮带组件的右
侧。
9. 关闭皮带组件,按下它直到听到咔嚓声。
10. 从皮带组件上撕下保护层。
English
11. 关闭前盖板。
3
Page 16

Copyright
DE3656Z4-1 (Edition 1)
604E23230
©
2006 by Fuji Xerox Co., Ltd.
 Loading...