

Page 1
14
Printing from the Windows
workstations
Use the following instructions to set up options and print from one of
the following operating systems:
• Windows 95
• Windows 98
• Windows 2000
• Windows NT 4.0
For more information, refer to the chapter Print options.
Your screens may vary from those illustrated in this chapter.
This chapter describes printing to the DocuColor 2006 from Windows
95/98, Windows 2000, and Windows NT 4.0. You can print from a
networked Windows computer, a computer using Windows (WINS)
printing, or a Windows computer connected to the parallel port on the
printer. If you plan to print files at another location, follow the
procedures described in the section Saving files to print at a remote
location in this chapter.
Another way to print from a Windows computer is to download PCL,
PostScript, Encapsulated PostScript (EPS), or Portable Document
Format (PDF) files using WebDownloader. Basic instructions are
provided at the end of this chapter.
For information on connecting to the printer over the network, installing
printer drivers, and installing the Fiery utilities, refer to the appropriate
Windows installation chapter.
Xerox DocuColor 2006
14–1
Page 2

14. Printing from the Windows workstations
Printing from applications
Once you have installed the DocuColor 2006 printer driver and set it to
the proper port, you can print directly from most Windows applications.
Simply select the Print command from within your application.
Setting options and printing with Windows 95/98 and Windows 2000
To print from Windows 95/98 and Windows 2000, use either the Adobe
PostScript printer driver or the PCL printer driver for Windows 95/98 or
Windows 2000. Both drivers are included with the DocuColor 2006
user software.
Once you have installed the printer drivers and PDD files, you can
specify print settings for a particular job and print it
To print from Windows 95/98 or Windows 2000 applications by
connecting your computer to a print server via the network, one of the
following is required: a NetWare server, a Windows NT server, or a
UNIX server. Refer to the illustrations in the chapter Connecting to the
network.
To print from Windows 95/98 or Windows 2000 applications without
connecting to a print server, you can use SMB printing. Refer to the
appropriate chapter Installing user software for your system.
The procedures for setting options and printing are different depending
on which printer driver (PCL or PostScript) you use. Ensure that you
are using the correct procedures for your needs.
14–2
Xerox DocuColor 2006
Page 3
14. Printing from the Windows workstations
Configuring the PostScript print options for Windows 95/98
1. Select Print from your application to display a Print dialog box.
2. Ensure the DocuColor 2006 is selected in the printer Name field
and select the Properties button.
3. Select the Paper Source print option bar.
a. In the Page Size area, specify the paper size for the job.
b. In the Paper Source area, select the paper tray for the job.
c. In the Media Type area, select the type of media to use for
the job.
For more information on these and other print options, refer to the
chapter Print options.
If paper loaded in the selected tray is a different size, orientation, and/or
media type than that of the job you are sending, the printer displays an error
message and the job might not print. Load the correct paper in the selected
tray or cancel the job.
4. Select the Layout, Watermarks, ColorWise, Image Quality, and
Finishing print option bars to specify the appropriate settings for
the print job.
These print options are specific to the server and the printer. They
override settings specified in Printer Setup, but can be overridden
from the Fiery WebSpooler. For more information, refer to the
chapter Print options.
If you select Default Settings in the Saved Settings drop-down
menu, the job prints according to the settings entered during
setup, the current default settings. Refer to the chapter Print
options.
Some options can also be set from an application (for example,
Reverse Page Order or Collation). In these cases, use the driver
option to perform the function, rather than setting it from the
application. The application may not set up the file properly for
printing on the DocuColor 2006 and may also take longer to
process.
If you specify incompatible print settings, the Conflict dialog box may be
displayed. Follow the on-screen instructions to resolve the conflict.
Xerox DocuColor 2006
14–3
Page 4

14. Printing from the Windows workstations
5. To use the new settings as default settings for this workstation,
select Apply.
Refer to the section Using saved settings in this chapter for more
information about saved settings.
6. Select OK to close the properties window.
7. Select OK or Close to exit the print window.
14–4
Xerox DocuColor 2006
Page 5

14. Printing from the Windows workstations
Configuring the PCL print options for Windows 95/98
1. Select Start, Settings, and Printers.
2. Select the Xerox DocuColor 2006 PCL printer icon and select
Properties from the File menu. The Printer PCL5 Properties
dialog box displays.
3. Select the Fiery Printing tab.
This tab serves as the control center for all frequently used
printing functions.
4. Select the Paper Source print option bar.
a. In the Page Size area, specify the paper size for the job.
b. In the Paper Source area, select the paper tray for the job.
c. In the Media Type area, select the type of media to use for
the job.
For more information on these and other print options, refer to the
chapter Print options.
If paper loaded in the selected tray is a different size, orientation, and/or
media type than that of the job you are sending, the printer displays an error
message and the job might not print. Load the correct paper in the selected
tray or cancel the job.
5. Select the Layout, Colorwise and Image Quality print option
bars to specify the appropriate settings for the print job.
These print options are specific to the server and the printer. They
override settings specified in Printer Setup, but can be overridden
from the Fiery WebSpooler. For more information, refer to the
chapter Print options.
If you select Default Settings in the Saved Settings drop-down
menu, the job prints according to the settings entered during
setup, the current default settings. Refer to the chapter Print
options.
Some options can also be set from an application (for example,
Reverse Page Order or Collation). In these cases, use the driver
option to perform the function, rather than setting it from the
application. The application may not set up the file properly for
printing on the DocuColor 2006 and may also take longer to
process.
If you specify incompatible print settings, the Conflict dialog box may be
displayed. Follow the on-screen instructions to resolve the conflict.
Xerox DocuColor 2006
14–5
Page 6

14. Printing from the Windows workstations
6. To use the new settings as default settings for this workstation,
select Apply.
7. To save the settings, select the Save current setting button (the
icon resembles a floppy disk). Enter a name for the setting in the
Save Setting box and select OK. This saves the settings for use
at another time.
8. To delete a group of settings, select the Save and manage list of
settings button (the icon resembles a list). Select the desired
setting name, select the Delete button, and OK.
9. To import settings from another DocuColor 2006 job, select the
Save and manage list of settings button. Browse for the desired
settings with the extension of .sav and select OK.
10. To export settings to another DocuColor 2006 job, select the
Save and manage list of settings button. Browse for the desired
job and select OK.
This action retains the settings.
11. Select OK to close the properties window.
12. Select OK or Close to exit the print window.
14–6
Xerox DocuColor 2006
Page 7

14. Printing from the Windows workstations
Setting options and printing from Windows 2000
After you have installed the Windows 2000 PostScript printer driver
and PPD file, specify print settings for a particular job and print it.
PCL printing is not supported for Windows 2000.
You can install and use the PCL drivers and PDD files provided on the User
Software CD to print from Windows 95/98 and Windows NT 4.0 systems.
Refer to the appropriate Installing user software chapters and Printing
from Windows workstations for information on installing and printing with
the Windows 95/98 and Windows NT 4.0 drivers.
To set print options and print from Windows 2000 using the PostScript
printer driver:
1. Select Print in your application.
2. Select the DocuColor 2006, then set print options for the job by
selecting Properties (if necessary) and the print option tabs.
3. Select the Advanced button on the Layout or Paper/Quality tab to
display the Advanced Options dialog box.
4. Select a setting from the Paper Size drop-down list menu.
5. Scroll to Printer Features and select the appropriate settings for
the print job.
As you select print options, incompatible print settings are
displayed with a caution icon next to their names. If you specify
incompatible print settings the Incompatible Print Settings dialog
box is displayed. Follow the on-screen instructions to resolve the
conflict.
Xerox DocuColor 2006
14–7
Page 8

14. Printing from the Windows workstations
6. Select OK.
Depending on the application, you will see one of two dialog
boxes.
7. Select OK, then OK again to print; or, if the Print button is
available, select Print.
The job prints with the specified settings.
14–8
Xerox DocuColor 2006
Page 9
14. Printing from the Windows workstations
Using saved settings (Windows 95/98 and Windows NT 4.0)
Print option settings can be saved on your hard disk so you can easily
load specifically configured settings for a particular job. Settings files
can also be shared over a network, using the Import and Export
features.
Although the user interface differs slightly, the following procedures are the
same for both PostScript and PCL drivers, in Windows 95/98 and Windows
NT 4.0. The following examples show the Windows 95/98 PostScript driver.
This feature is not supported by Windows 2000.
Creating Saved Settings
1. Ensure that the Default Settings are displayed in the Saved
Settings drop-down list.
As soon as you change any settings, the Saved Settings menu
displays Untitled instead of Default Settings.
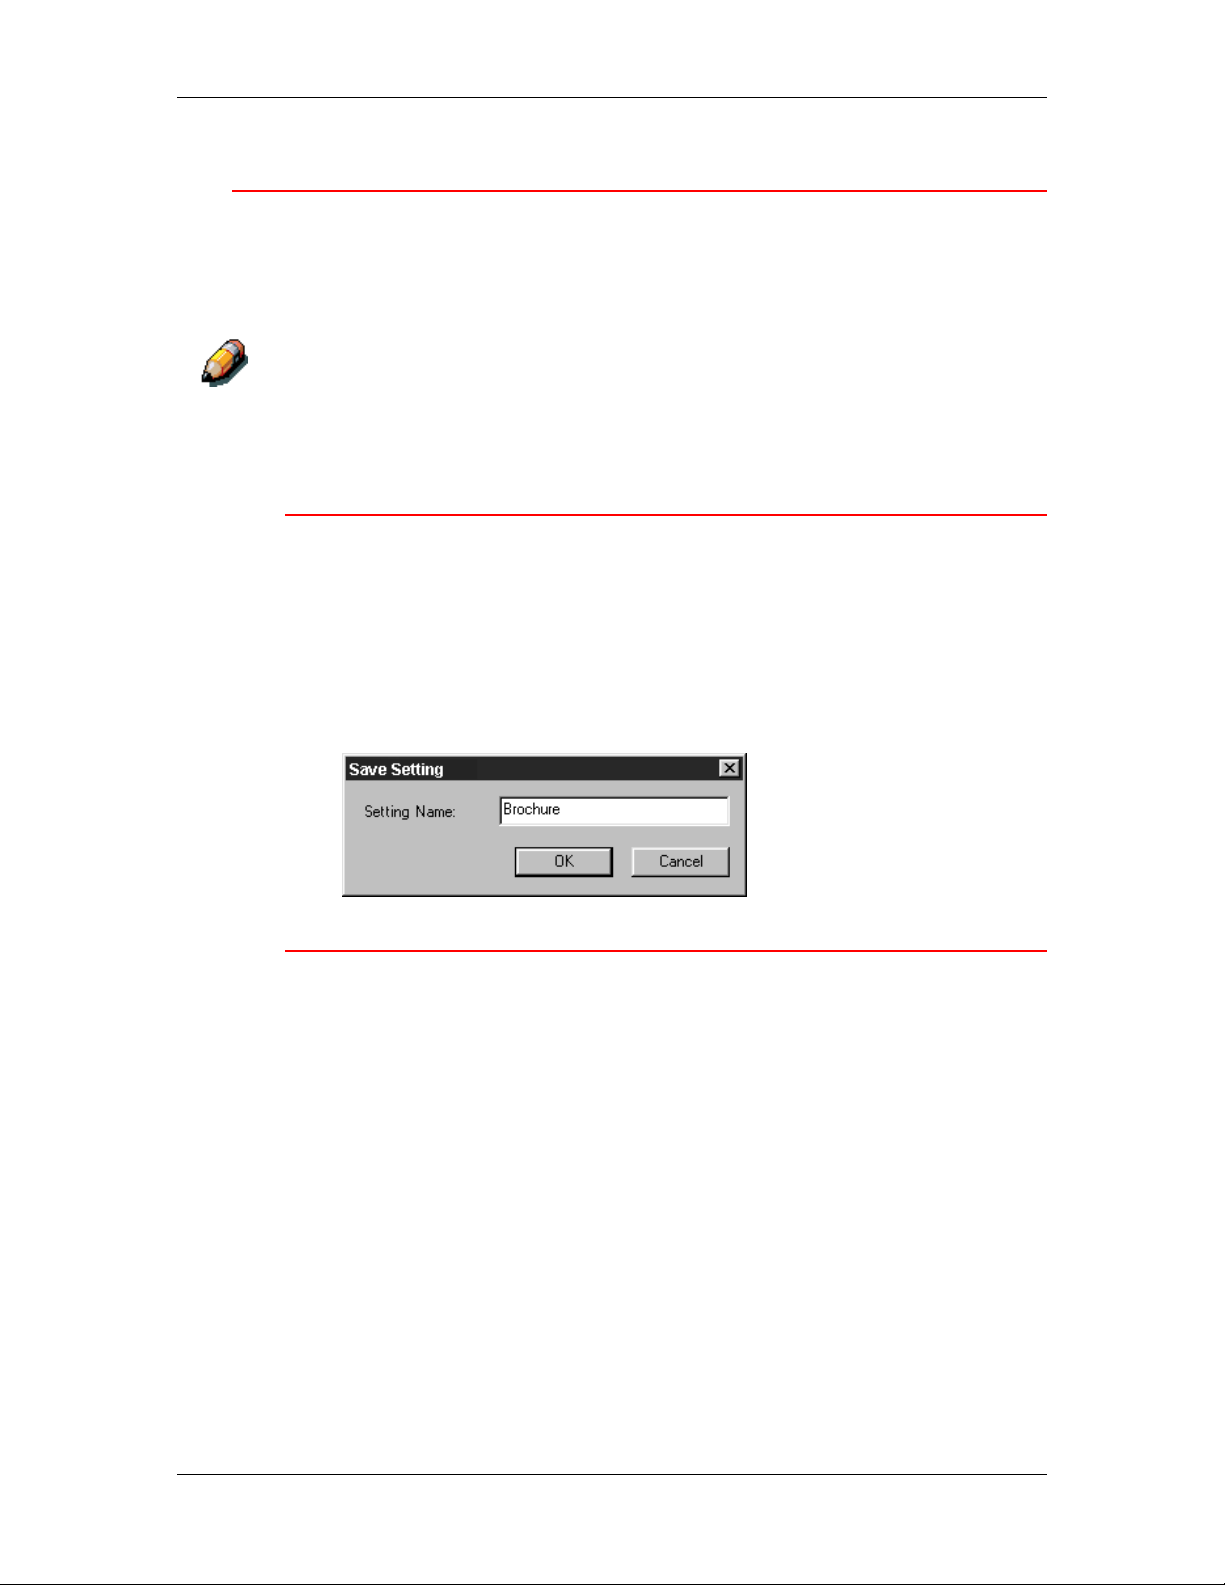
2. Select the Save current setting button (the disk icon).
3. Enter a Settings Name and select OK.
Loading Saved Settings
1. Ensure that the Default Settings are displayed in the Saved
Settings drop-down list.
2. Select the settings you want to use.
The options are automatically configured with the saved settings.
Xerox DocuColor 2006
14–9
Page 10

14. Printing from the Windows workstations
Deleting Saved Settings
1. From the Fiery Printing tab, select the Save and manage list of
settings button.
2. Select the settings you want to delete and select Delete.
3. Select Yes to confirm the deletion and OK.
Modifying Saved Settings
1. From the Fiery Printing tab, select the Saved Settings drop-down
list.
2. Select the settings you want to modify.
The options are automatically configured with the saved settings.
3. Configure your new settings from the print option bars, then
select the Save current setting button.
4. Select OK to save the modified settings.
14–10
Xerox DocuColor 2006
Page 11

14. Printing from the Windows workstations
Exporting Saved Settings
1. From the Fiery Printing tab, select the Save and manage list of
settings button.
2. Select the Saved Settings you want to export and select Export.
3. Browse to the location in which to save the file, enter a file name
and select OK.
The file name must include the .sav extension and can be up to eight
characters long (not including the extension). The file name does not have to
match the Settings name.
4. Select OK in the Settings dialog box.
Importing Saved Settings
1. From the Fiery Printing tab, select the Save and manage list of
settings button.
2. Select the Import button.
3. Browse to the location in which the file is saved. Select the file
and OK.
4. Select OK in the Settings dialog box.
When you import saved settings, they are displayed in the Saved Settings
menu under their Settings Name, not the file name. For example, the file
named present.sav would be imported, but it would be displayed in the
Saved Settings menu as Presentation (Settings Name).
Xerox DocuColor 2006
14–11
Page 12

14. Printing from the Windows workstations
Using Shortcuts
The Shortcuts section of the driver interface displays the current
settings for some of the most common print options. You can access
and change these settings quickly and easily using the Shortcuts. You
can also access some page layout and finishing options by selecting
the Finishing tab, then right-clicking the image of the page directly
below Shortcuts (PostScript drivers only).
Although the user interface differs slightly, the following procedures are the
same for both PostScript and PCL drivers, in Windows 95/98, Windows
2000, and Windows NT 4.0.
Setting print options using Shortcuts
1. From the Fiery Printing tab, place your cursor over the print option
you want to set.
When your cursor is directly over the print option name, the
cursor turns into a hand and the option name is underlined.
2. Select the print option and specify the appropriate settings.
Alternatively, right-click the print option and specify the settings
directly.
3. Select Apply to make the new settings the default.
4. Select OK.
Setting print options using Page Shortcuts
1. From the Fiery Printing tab, select the Finishing tab, then place
your cursor over the page image and right-click.
Page shortcuts are only available from the PostScript drivers.
2. Specify the appropriate settings for the print options.
3. Select Apply to make the new settings the default.
4. Select OK.
14–12
Xerox DocuColor 2006
Page 13

14. Printing from the Windows workstations
Working with custom page sizes in Windows 95/98 or Windows 2000
With custom page sizes, define the page dimensions and the
unprintable area of the page. You can save three different custom
page sizes for use any time you print.
Custom page sizes are not available from Windows NT 4.0. Although the
user interface differs slightly, the following procedures are the same for both
PostScript and PCL drivers for Windows 95/98 and Windows 2000. The
following examples show the Windows 95/98 PostScript driver.
Defining a custom page size
1. Select Print from your application.
2. Select the Fiery Printing tab.
3. Select the Paper Source print option bar.
4. Select the Custom button.
5. Enter the name and the dimensions of the page. Select any other
options that are applicable to the custom page, then select OK.
The new custom page name is displayed in the Page Size dropdown list.
6. Select OK.
After you define a custom page size, you can use it from within an
application, without having to redefine it each time you print.
Xerox DocuColor 2006
14–13
Page 14

14. Printing from the Windows workstations
Printing a custom page size
1. Select Print in your application.
2. Ensure the Xerox DocuColor 2006 is selected as the printer,
then select Properties from the File menu.
3. Select the Fiery Printing tab.
4. Select the Paper Source print option bar.
5. Select the custom page size from the Page Size drop-down list.
6. Select OK.
7. Select OK again to print the job.
14–14
Xerox DocuColor 2006
Page 15

14. Printing from the Windows workstations
Saving files to print at a remote location
If you do not have a DocuColor 2006 and are preparing final files to
take to a service bureau or other location, select the Print to file
checkbox and OK. Save the file to the appropriate location. For more
information about printing to a file, refer to your Windows or application
documentation.
You can also print to the File port to create a file to download using
WebDownloader.
Setting print options for a job with Windows NT 4.0
You can print from Windows NT 4.0 using the Adobe PostScript printer
driver or PCL printer driver, both of which are included on the User
Software CD.
Once you have installed the Adobe PostScript printer driver and PPD
file or the PCL printer driver and PDD file, you can specify print
options.
The procedures for setting options and printing are different depending
on which printer driver you use.
With the Adobe PostScript printer driver, you can set options on a jobby-job basis or establish default settings for all jobs printed from your
computer to the DocuColor 2006.
This section describes configuring print options for Windows NT 4.0
using the PostScript printer driver and the PCL printer driver.
Custom print options available from the PostScript and PCL printer
drivers are described in the chapter Print options.
Xerox DocuColor 2006
14–15
Page 16

14. Printing from the Windows workstations
Setting print options for a PostScript job (Windows NT 4.0)
1. Select Print in your application.
2. Ensure that the DocuColor 2006 PostScript printer is selected
and select Properties from the File menu.
3. Select the Fiery Printing tab.
This tab serves as the control center for all frequently used
printing functions.
4. Select the Paper Source print option bar.
a. In the Page Size area, specify the paper size for the job.
b. In the Paper Source area, select the paper tray for the job.
c. In the Media Type area, select the type of media to use for
the job.
For more information on these and other print options, refer to the
chapter Print options.
If paper loaded in the selected tray is a different size, orientation, and/or
media type than that of the job you are sending, the printer displays an error
message and the job might not print. Load the correct paper in the selected
tray or cancel the job.
14–16
Xerox DocuColor 2006
Page 17

14. Printing from the Windows workstations
5. Select the Layout, ColorWise, Image Quality, and Finishing
print option bars to specify the appropriate settings for the print
job.
These print options are specific to the server and the printer. They
override settings specified in Printer Setup, but can be overridden
in the Fiery WebSpooler or Fiery Override Print Settings dialog
box. For more information on these and other print options, refer
to the chapter Print options.
If you select Printer default, the job prints according to the
settings entered during Setup, or the default settings. Refer to the
chapter Print options.
Some options can also be set from an application (for example, Reverse
Page Order or Collation). In these cases, use the driver option to perform the
function, rather than setting it from the application. The application may not
set up the file properly for printing on the DocuColor 2006 and may also take
longer to process.
6. Select OK.
7. Select OK again to close the Print dialog box.
Xerox DocuColor 2006
14–17
Page 18

14. Printing from the Windows workstations
Setting print options for all PostScript jobs (Windows NT 4.0)
1. Select Start, Settings, and Printers.
2. Right-click to select the Xerox DocuColor 2006 PCL printer icon
and select Document Defaults.
3. Select the Fiery Printing tab.
4. Specify the appropriate default settings for all print jobs as
described in the previous procedure.
5. Select OK.
With the PCL printer driver, you can set options on a job-by-job
basis or establish default settings for all jobs printed from your
workstation to the DocuColor 2006.
Setting print options for a PCL job (Windows NT 4.0)
1. Select Print in your application.
2. Select the Xerox DocuColor 2006 PCL printer icon and select
Properties from the File menu.
3. Select the Fiery Printing tab.
This tab serves as the control center for all frequently used
printing functions.
4. Select the Paper Source print option bar.
a. In the Page Size area, specify the paper size for the job.
b. In the Paper Source area, select the paper tray for the job.
c. In the Media Type area, select the type of media to use for
the job.
For more information on these and other print options, refer to the
chapter Print options.
If paper loaded in the selected tray is a different size, orientation, and/or
media type than that of the job you are sending, the printer displays an error
message and the job might not print. Load the correct paper in the selected
tray or cancel the job.
14–18
Xerox DocuColor 2006
Page 19

14. Printing from the Windows workstations
5. Select the Paper Source, Layout, ColorWise, Image Quality
and Finishing print option bars to specify the appropriate settings
for the print job.
These print options are specific to the server and the printer. They
override settings specified in Printer Setup, but can be overridden
from the Fiery WebSpooler. For more information on these and
other print options, refer to the chapter Print options.
If you select Printer default, the job prints according to the
settings entered during Setup, or the default settings. Refer to the
chapter Print options.
Some options can also be set from an application (for example,
Reverse Page Order or Collation). In these cases, use the driver
option to perform the function, rather than setting it from the
application. The application may not set up the file properly for
printing on the DocuColor 2006 and may also take longer to
process.
6. Select OK in the Print dialog box.
Setting print options for all PCL jobs (Windows NT 4.0)
1. Select Start, Settings, and Printers.
2. Right-click to select the Xerox DocuColor 2006 PCL printer icon
and select Document Defaults.
3. Select the Fiery Printing tab.
4. Specify the appropriate default settings for all print jobs as
described in the previous procedure.
5. Select OK.
Xerox DocuColor 2006
14–19
Page 20

14. Printing from the Windows workstations
Printing with WebDownloader
Downloading files with WebDownloader is generally faster than printing
from application software. You can use WebDownloader to print
PostScript, PCL, EPS, or PDF files.
1. Select the WebDownloader button.
2. Select the queue in the Print Connection drop-down menu.
You can download files to the direct, print, or hold queue. Files
sent to the print queue are spooled in the memory of the printer.
Files sent to the hold queue remain in memory until they are
moved to the print queue or are deleted.
3. If you are sending a PDF job, select the PDF check box. If this
checkbox is not selected, the download may cause PS error.
4. Enter the desired number of copies to print. If you want a specific
page range to print, enter the first page and last page of the
range.
5. Select the Browse button to search for the file to download.
Select the file and Open.
6. Select the Send File button.
14–20
Xerox DocuColor 2006
 Loading...