

Whirlpool AWL 261, AWZ 564, AWZ 565, AWZ 566 INSTRUCTION FOR USE
GB TABLE OF CONTENTS
DESCRIPTION OF THE DRYER PAGE 13
FILTER PAGE 13
WATER CONTAINER PAGE 13
BEFORE USING THE DRYER PAGE 14
PRECAUTIONS PAGE 14
PREPARING THE LAUNDRY PAGE 15
SELECTING DRYING TIME OR PROGRAMME AND OPTIONS PAGE 16
STARTING AND COMPLETING TH E PRO G RAM ME PAGE 17
INSTALLATION PAGE 18
ELECTRICAL CONNECTION PAGE 18
DRAINAGE SYSTEM PAGE 20
DOOR REVERSIBILITY PAGE 20
MAINTENANCE PAGE 20
TROUBLE SHOOTING GUIDE PAGE 21
AFTER-SALES SERVICE PAGE 21
To get full satisfaction from your dryer, please re ad carefully your instruction manual.
12
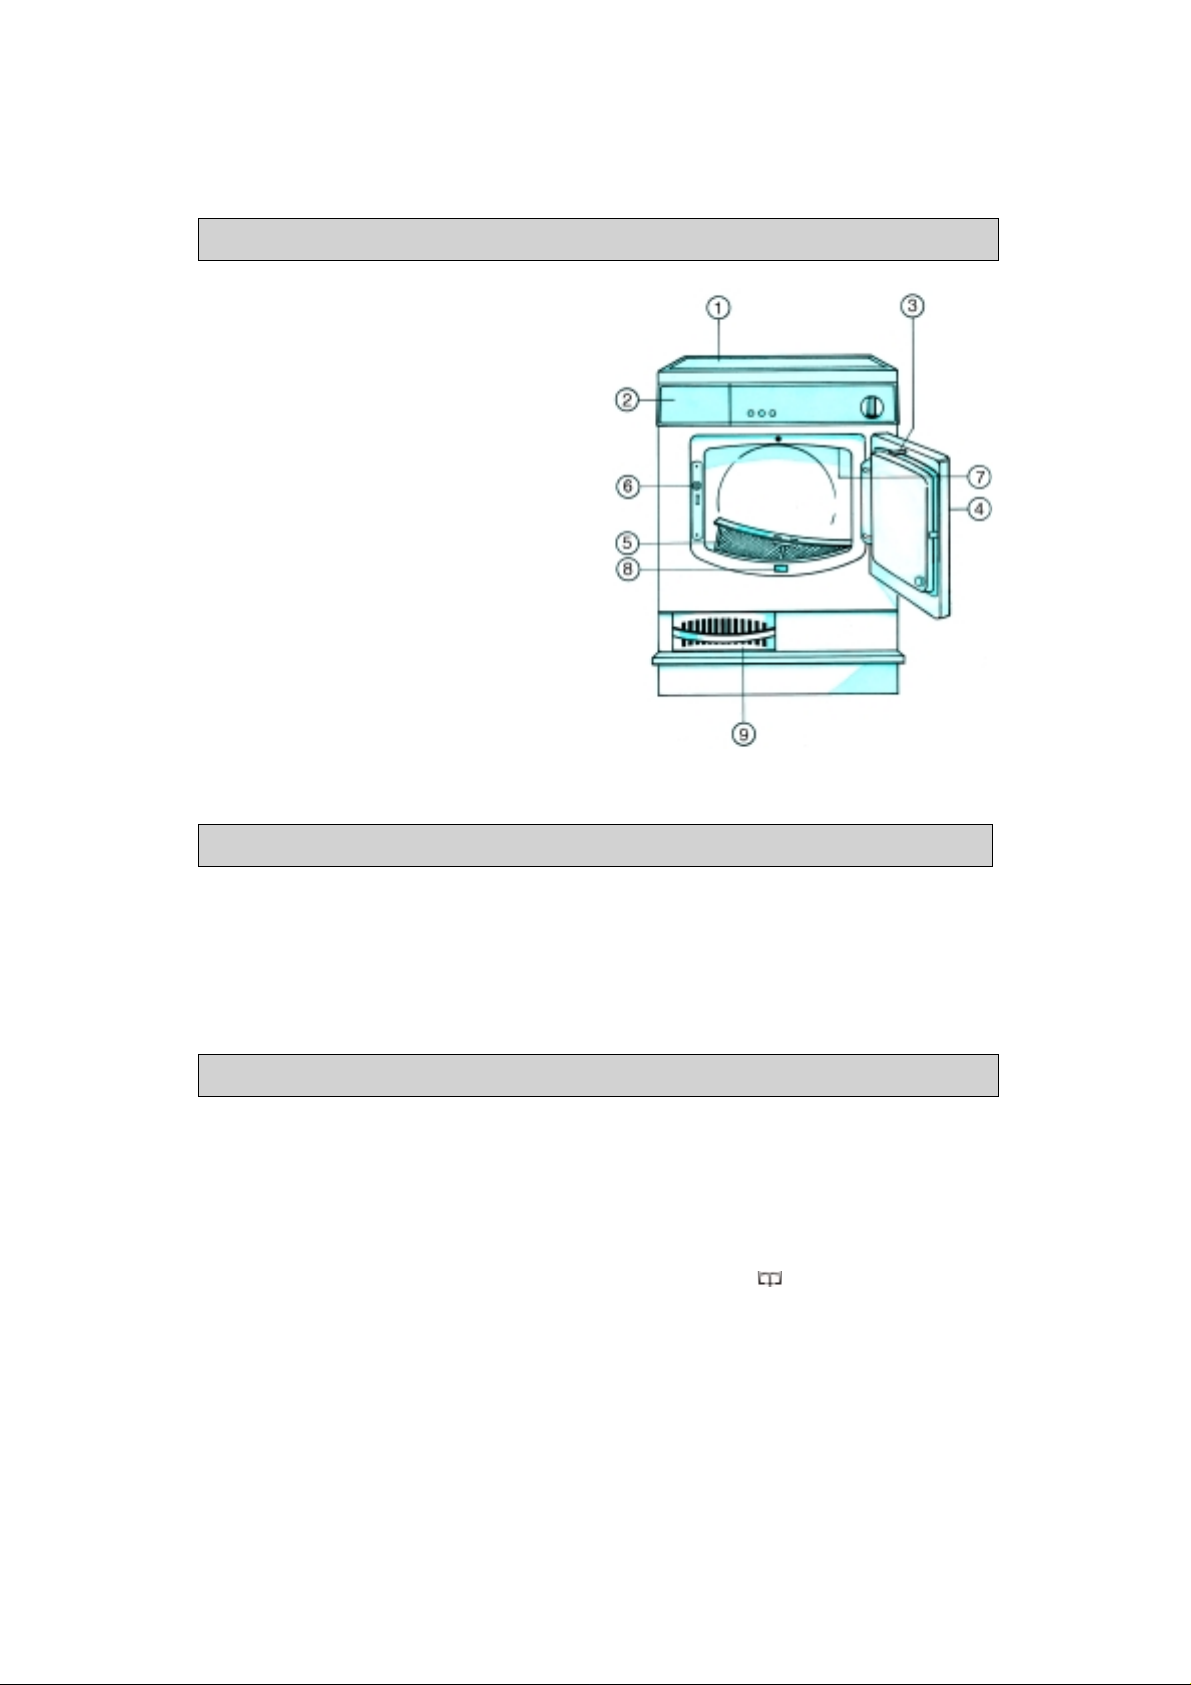
DESCRIPTION OF THE DRYER
1. Work-top
2. Condensation water container
3. Contact pin
4. Door (Door opening can be reversed).
See “Door reversibility” section.
To open the door: pull the handle out.
To close the door: push the door gently until
it closes.
5. Lint filter
6. Child safety-lock
Using a coin or a screw driv er turn t he plas tic
screw clockwise by 90°.
Slot vertical: the door cannot be closed.
Slot horizontal: the door can be closed.
7. Inside lamp (if available)
Only comes on when the door is open
(the programme has to be selected).
Light off: the programme s elector kn ob is set
to “0”.
8. Push-button for heat exchanger flap
opening
9. Heat exchanger.
FILTER
Clean the lint filter at the end of each
drying cycle.
1. Pull the filter upwards.
2. Open the filter.
3. Brush lint using a soft brush or your fingertips.
4. Close the filter and push it back well into place.
WATER CONTAINER
Empty the water container at the end of
each drying cycle
1. Open the flap with the push-push lock by
pressing gently on the right side of the flap
and remove the water container.
2. Empty the water container.
3. When it is empty, pu sh conta iner back into
housing until it clicks.
Water container indicator light
Indicates that the water container is full and
needs to be emptied. The drying programme is
automatically stopped.
Filter Indicator light
It warns that the filter is dirty and needs to be
cleaned.
If the laundry is insufficiently dry, check that the
filter is not clogged.
Electronic dryer
Set programme selector knob to “0”, empty the
water container and restart the programme.
Time-steered dryer
Empty the water contain er. Turn the pr ogramme
selector knob to the line on the left of the
emptying symbol ( )(Start button is pressed).
When the pump cycle has finished, turn the
selector knob to the position where it was when
the drying cycle was interrupted.
13
BEFORE USING THE DRYER
• After unpacking pleas e make sure tha t the dryer is
undamaged. In case of doubt do not use the dryer
but call a qualified technician or your retailer.
• Packaging material (plastic, etc.) must be kept out of
the reach of children as it constitutes a potential risk.
• This dryer was designed for domestic use and
must be used exclusively for drying laundry.
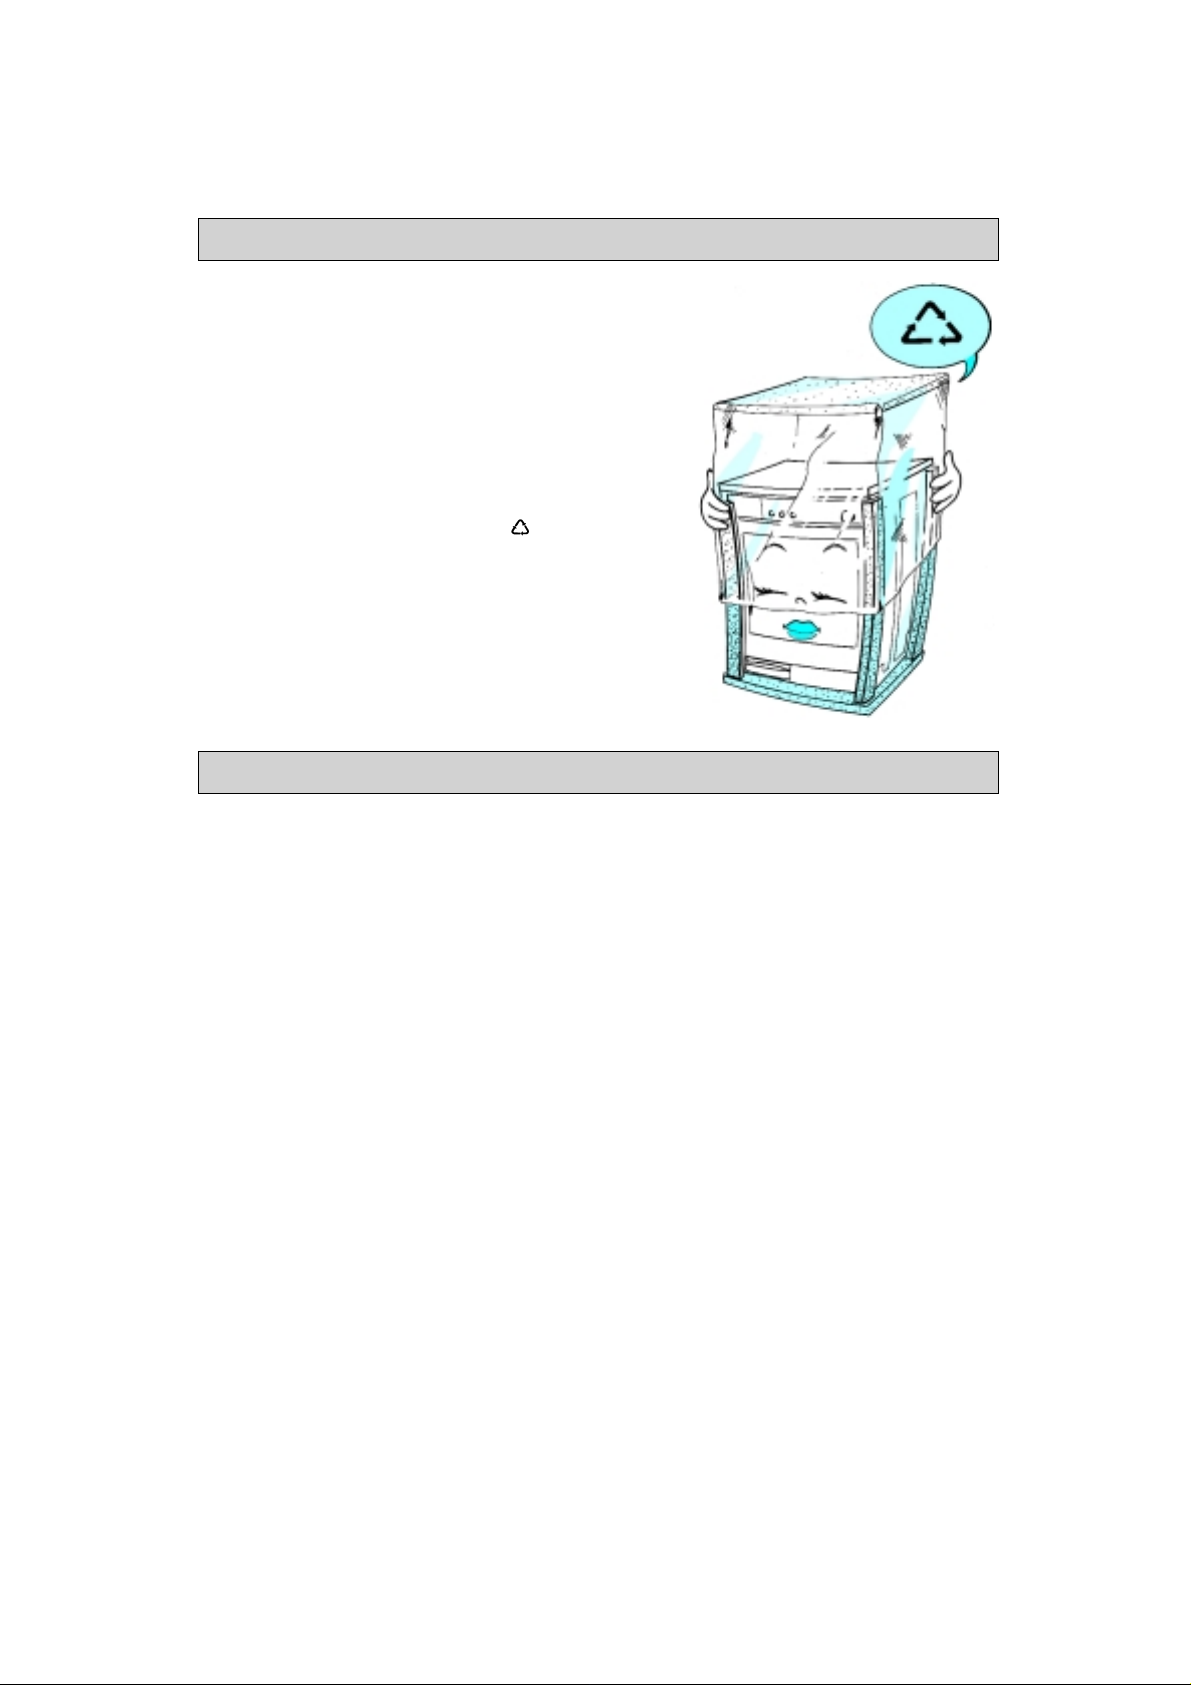
Environmental hints
1. Packaging material
The packaging ma terial can be 100% recycled , as
confirmed by the recycling symbol ( ).
2. Dryer
The dryer is built from recyclable materials. If you
decide to scrap the dryer act responsibly and
observe local waste disposal by laws. Cut off the
power cord so that the dry er cann ot be co nnecte d
to the mains.
PRECAUTIONS
Child safety
• After use, set the programme selector to position
“0”. This prevents children from switching on the
dryer accidentally.
For domestic use only
This dryer conforms to EEC directive 93/68.
14
 Loading...