

Visara iCON-1T Quick Start
Setup
Refresh button if the new server name
does not appear.
3. Click OK. You will be returned to the
name will appear in the Servers
Session Manager screen. Click the
Manage Accounts:
3. Click Update.
Click Logout to exit the ICON-1T
Configuration Utility.
user. Authorization may be given
individually for particular sessions, or for
all sessions on the server.
Set up a new user account:
1. Enter a Username and Password. Verify
2. Select the access authorization of the
the password by entering it again.
Click Submit to accept the changes, or
Click Manage Accounts from the ICON-1T
Configuration Utility menu.
Cancel to discard the changes.
6. Arbitration timeout in seconds - The
time, in seconds, that may lapse between
the last keystroke of one user and the
time that the other user may have
keyboard control.
5. Require User Authorization - Requires
userid and password to log in to an
emulation session.
Adding a server:
When the Session Manager window opens,
a message will appear that the Session
Manager is “Searching for Servers”. Any
available servers and sessions will appear in
To add a server to the list:
2. Enter the Server Address and Server
Name. Click Add Server. The new server
window will open.
1. Click the Server button at the bottom of
the Session Manager window. The
Visara ICON-1T Server List Setup
the “Available Sessions” window.
ICON Session Manager
Desk, Tel: 888.542.7282.
P/N 707106-002
window.
The ICON-1T Single Station Console Terminal
User’s Manual
If you encounter problems on Start-Up,
please contact VISARA Intellicenter Help
ATTENTION
http://www.visara.com.
is available for download at
the server name and click Connect. The
Session Screen will appear, or an
authorization window if user authorization
is required.
server name and any available sessions will
appear in the “Available Sessions” window.
To connect to an available server, highlight
Connecting to a server:
If a server has been successfully added, the
delete the server and add again.
Note: The Server Address or Server Name
may not be edited once added, only
deleted. If a correction is needed, simply
- 1 -- 7 -- 6 -
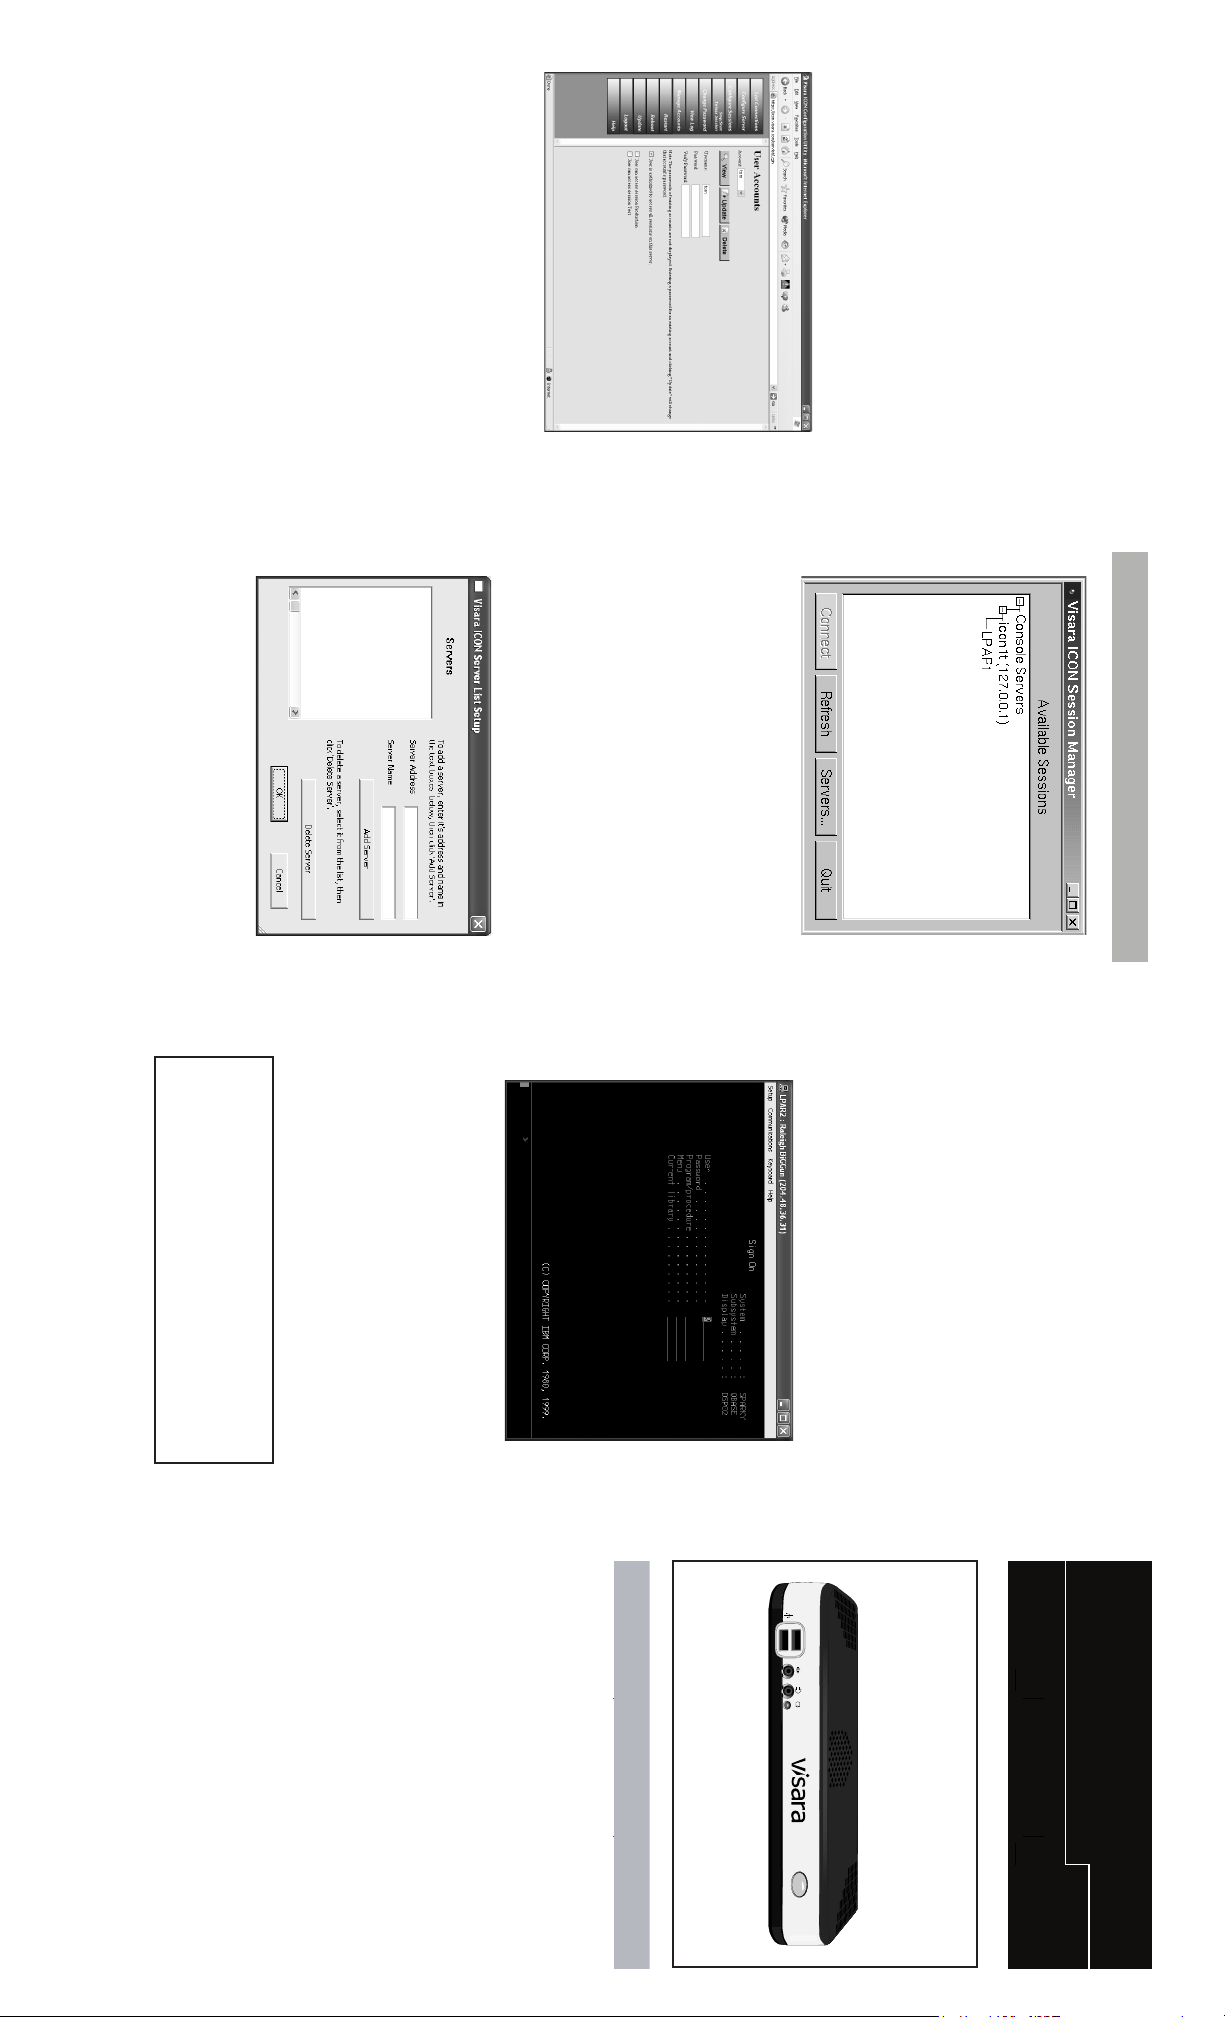
Power Up the Terminal:
1. First power the monitor ON.
2. Press the power switch on the front of the
terminal to power it on.
5. Connect the Twinax connector to the
RJ45 network connector.
T-cable attached to the rear of the unit.
2. Place the keyboard in front of the logic unit.
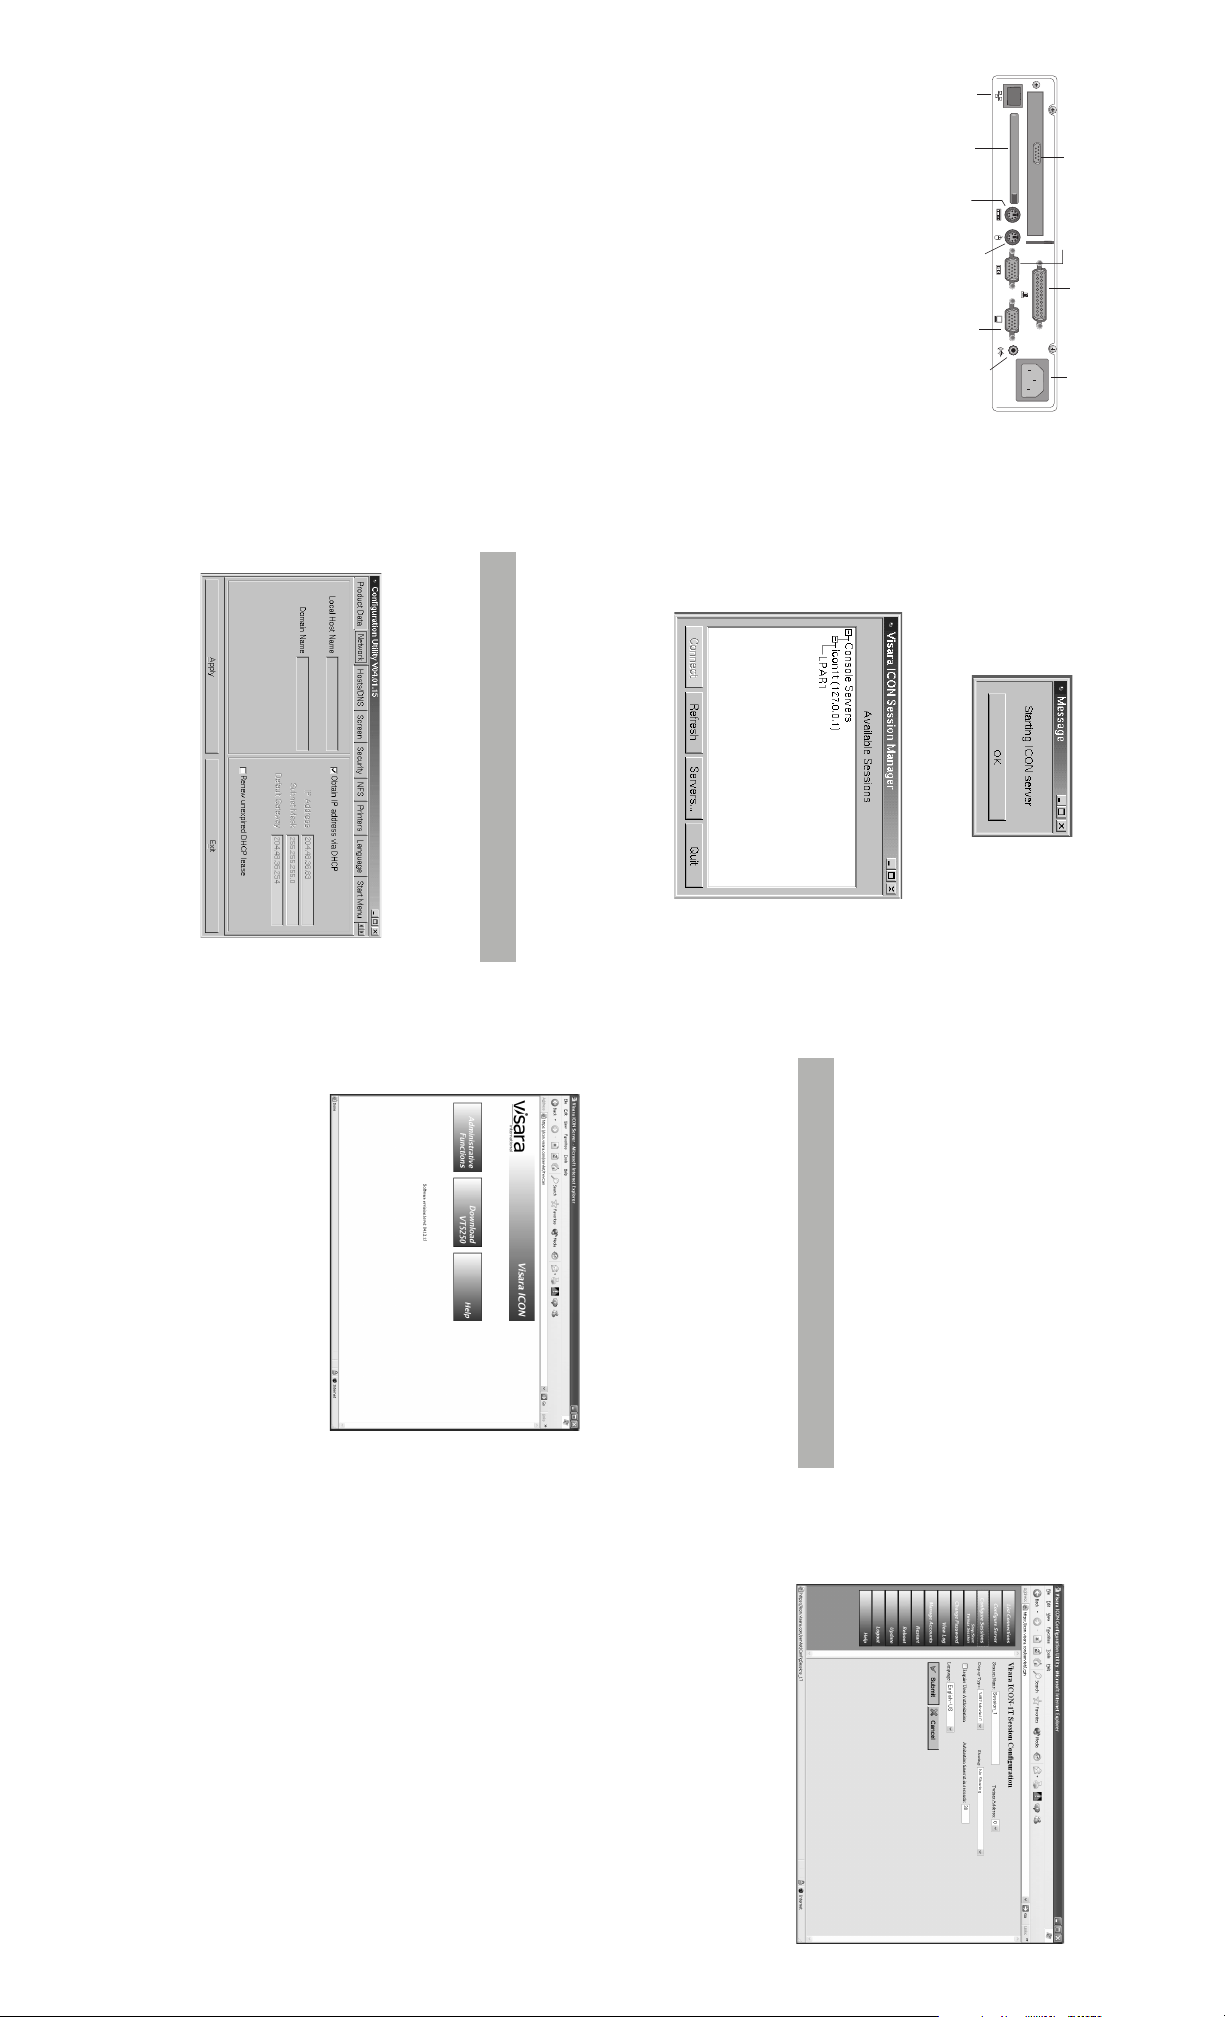
Refer to the diagram of the rear of the unit
to make the following connections:
1. Connect the display unit to the video
2. Connect the keyboard to the keyboard
3. Connect the mouse to the mouse
4. Connect the Ethernet network cable to the
Make sure that the power is off, on both
connector.
connector.
connector.
the logic unit and the display unit.
Initial Setup:
1. Place the display unit beside the logic unit.
Visara ICON-1T
Installation
Quick
Start
For the most current version of the User’s
Manual, visit the Support center at
http://www.visara.com.
The configuration instructions that follow are
for an initial quick setup only. The ICON-1T
Single Station Console Terminal User’s
Manual should be consulted for further
configuration instructions. This manual is
available by clicking Help from the ICON-1T
Start menu.
•Serial Port Connector
•Parallel Port Connector
This connector can be used for printer attachment.
16550UART connection for one serial device
This connector is for displaying on a standard VGA
compatible device.
•VGA Connector
(mini DIN).
This connector is for a standard keyboard using a PS/2
plug (mini DIN).
This connector is for a mouse using a PS/2 plug
Connect the 9-pin end of Twinax T-connector cable.
Accommodates Type I or Type II PCMCIA cards.
•PCMCIA Slot
•PS/2 Keyboard Connector
•PS/2 Mouse Connector
•Speaker Out
•Twinax Connector
•Ethernet Connector
Connection for headphones or speakers.
This connector can be used to connect the built-in 32-
bit 10/100 Ethernet network LAN Controller to a host or
Hub.
Ethernet
PCMCIA
Slot
PS/2 Keyboard
Connector
VGA
PS/2 Mouse
Twinax Connector
Serial Port
Rear View
Parallel Port
started by choosing Settings and then
General from the Start Menu.
time, you will need to configure the ICON-1T
with network, server, and user information before
The ICON-1T configuration program can be
connecting to a server session.
Network Configuration
If you are powering on your terminal for the first
Speaker
Out
The Visara ICON Session Manager window
will open.
Power
After powering on the ICON-1T, a Message
window will appear indicating that the ICON
Server is starting. Click OK.
password.) The default password is admin,
and is case sensitive. Enter password and
click Submit.
In addition to the above,
arbitration, one user is able to take control
of the keyboard by selecting Override
Lockout from the Keyboard menu on the
emulation screen.
prompted for the administrator password.
(Certificate related windows may be
displayed before you are asked for a
the time that control of the keyboard is
released to others.
- Sharing, with arbitration and override:
Click Administrative Functions. You will be
arbitration more than one user may use
the keyboard at the same time.
- Sharing, with arbitration: The session
may be shared by multiple users. With
arbitration only one user has control of the
keyboard. The arbitration timeout
determines how many seconds will lapse
between the last keystroke of one user and
- Sharing, no arbitration: The session
may be shared by multiple users. With no
Use the Netscape web browser to complete
the ICON-1T server configuration. Log in
to the server configuration utility by selecting
Programs and then Netscape from the Start
Menu. The browser has been pre-configured
with the address required to open the main
page of the ICON-1T Configuration Utility
(http://127.0.0.1).
address to become effective.
On the Network panel, enter Local Host
Name and Domain Name for Ethernet. The
IP Address, Subnet Mask and Default
Gateway must be entered unless provided
by DHCP. Select Renew unexpired DHCP
lease to allow an IP address to be renewed
if the DHCP lease has not expired.
Click Apply to accept the settings, or Exit
to ignore the changes and exit the
configuration program. The ICON-1T must
be shut down and restarted for the IP
Server Configuration
Configure Sessions:
Click Configure Sessions on the ICON-1T
1. Session Name - Enter a unique name for
3. Display Type - Select the display you wish
4. Sharing - Select from the following:
one session on the same twinax connection.
to emulate.
- No Sharing: Once the session is active,
it may not be accessed by another user.
2. Twinax Address - Select the twinax
the new session.
address to use for this session, 0 - 6. This
address must not be used for more than
Configuration Utility menu.
- 5 -- 4 -- 3 -- 2 -
S
haring with
 Loading...