

Page 1
TERMINAL MESSAGES
AMOUNT DUE/BALANCE DUE: A partial
authorization has occurred. Ask customer
for another form of payment for the
remaining balance of the sale. Press ENTER
to print the receipt. Pressing CANCEL will
not void the transaction.
AVS (ADDRESS VERIFICATION SERVICE):
Checks if the street address and ZIP code
entered match the customer’s billing address.
CALL: Call Voice Authorization Center. If
approved, proceed with Offline Entry.
HOLD/CALL OR PICK UP CARD: Hold the card.
Use Code 10 procedure. Call the Voice
Authorization Center.
CARD SWIPE ERROR: Magnetic stripe did not
read. Swipe card again or manually key-in
account number.
COMM ERROR: A communication error has
occurred. Check line connections, call
Help Desk.
GB (NUMBER): Good batch. Batch
transmission accepted.
AUTOMATIC DOWNLOADS
With this application, downloads are
automatically initiated by the terminal
at a preset time and date. Some
automatic downloads will require the
terminal to be re-authenticated. Any
manual configurations performed on the
terminal will be reset after a download.
MANUAL ENTRY NOT ALLOWED: Current
transaction will not allow manual entry.
Debit cards may not be manually keyed in.
QD (NUMBER) OR RB (NUMBER): Quit
Duplicating or Rejected Batch. Call Help Desk.
RECORD NOT FOUND: Invoice number is not
found in terminal batch.
SETTLE FAILED, RETRY: Settlement failed, call
help desk.
V-CODE: Verification Code. A 3-4 digit
non embossed number found on card
signature panel or near embossed
account number on front. V-code may
be prompted for on a manually-entered
transaction.
0300023
V102215
Verifone
Quick Reference
Guide
CASH ADVANCE
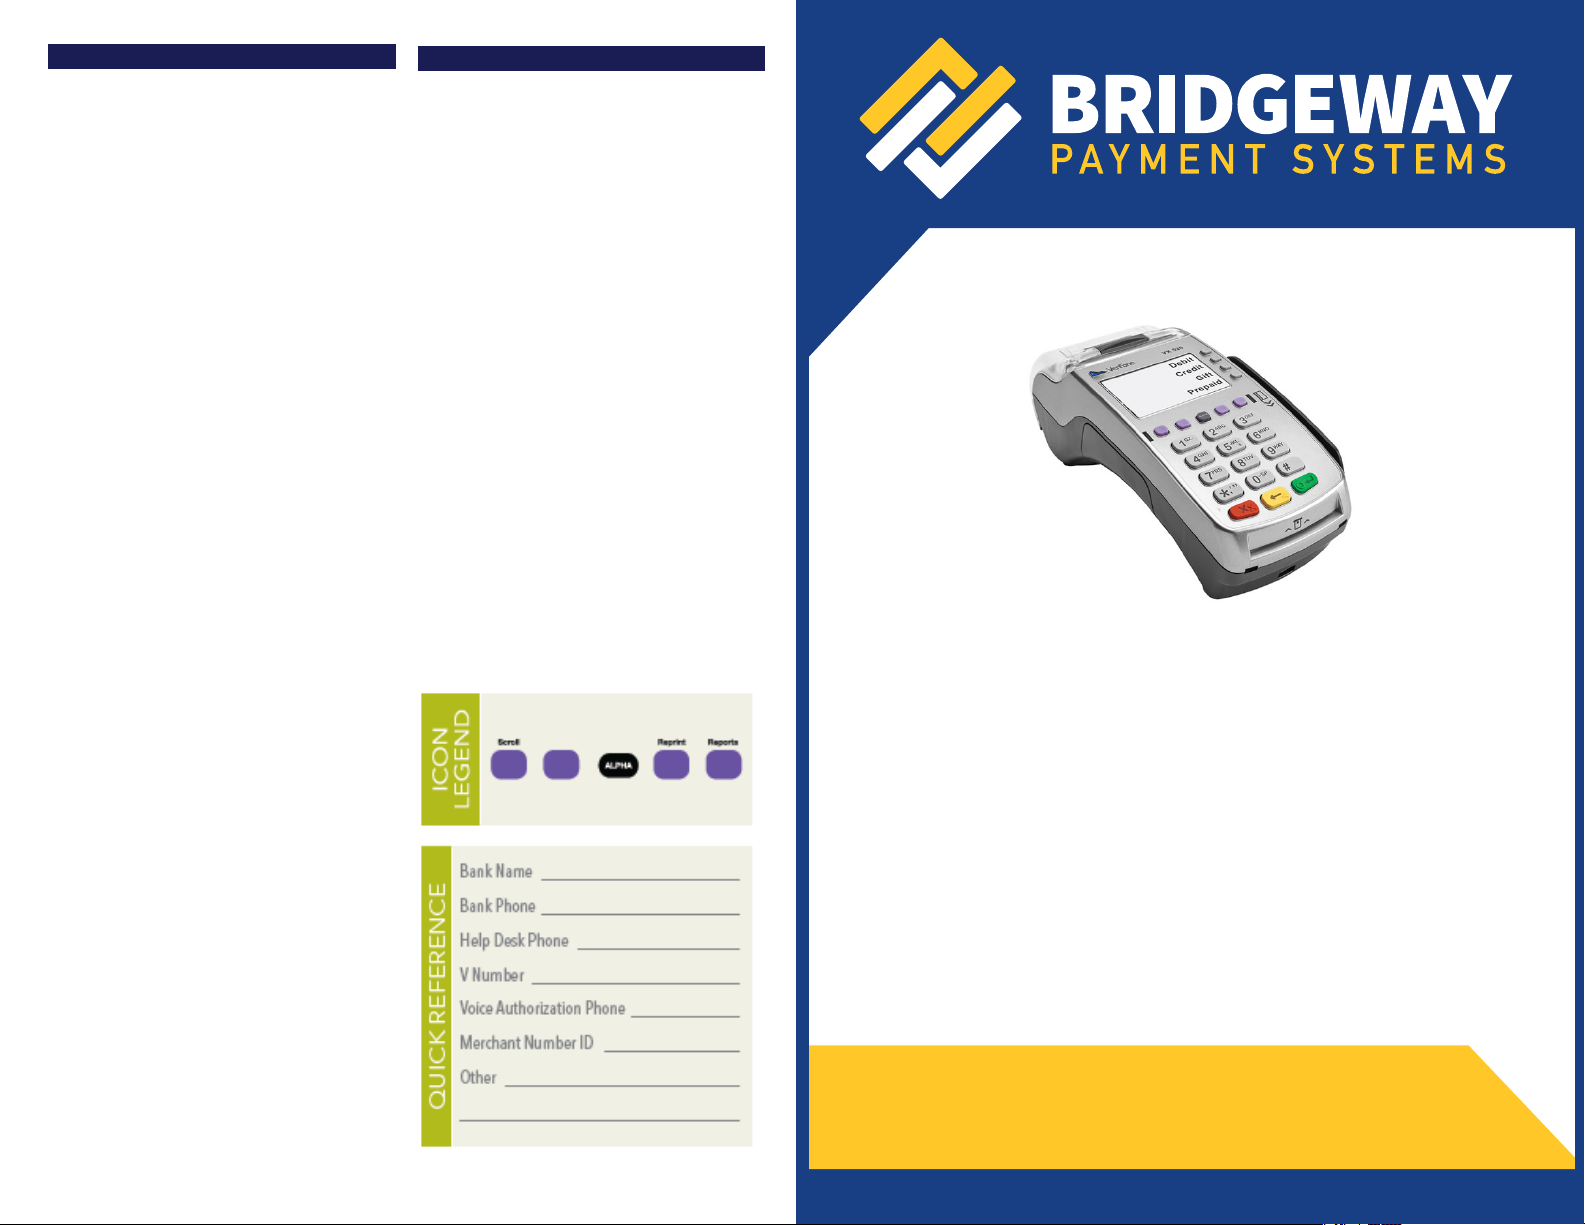
VX 520,
XEVA433
Page 2

CASH ADVANCE
• Select CASH ADVANCE
– Enter Teller ID and press ENTER
• Enter cash advance amount and press ENTER
• Select YES
• Swipe customer card, insert customer card, or
manually enter account number and press
ENTER
– Select the desired language
– Select CREDIT
– Enter first four digits of the card number and press
ENTER
– Enter expiration date (MMYY) and press ENTER
– Card present? Select YES
– Enter V-Code and press ENTER, or press ENTER
to bypass
– If bypassed, select V-Code option: NO (no V Code), XREAD (unreadable), or XPROV (not
provided)
– Enter billing street address and press ENTER
– Enter Zip Code and press ENTER
• Select ID Type
• Enter ID number and press ENTER
– Enter State code and press ENTER
• Enter expiration date of the ID card (MMYY) and
press ENTER
– Have customer enter PIN on PIN pad and press
ENTER
• Terminal dials out
– Select YES or NO to accept or decline transaction
by AVS Code result
– Remove the card
• Receipt prints
ADD TELLER
• Press ENTER
• Select TELLER SETUP
• Select ADD TELLER
– Enter password and press ENTER
• Enter teller ID (1-4 characters), and press ENTER
• Enter teller password (5-10 characters), and press
ENTER
• Re-enter the teller password, and press ENTER
• Repeat steps to add another teller
REVERSAL (FULL/PARTIAL)
Reversals may only be processed on cash
advance transactions within the current batch.
• Press the purple DOWN ARROW key until
Reversal displays
• Select REVERSAL
• Select FULL (full amount reversed) or PARTIAL
(partial amount reversed)
• Select retrieval method: INV# (invoice #) or AMT
(amount)
• Enter retrieval information, and press ENTER
• Transaction displays on screen; select YES
(reverses trans), NO (returns to last screen), or
NEXT (scrolls to next trans)
– If No or Next, follow prompts.
– If partial reversal, enter the dollar amount to be
reversed and press ENTER
• Terminal dials out, receipt prints
CASH ADVANCE FORCE
• Press the purple DOWN ARROW key until Cash
Adv Force displays
• Select CASH ADV FORCE
– Enter Teller ID and press ENTER
• Enter cash advance amount and press ENTER
• Select YES
• Swipe customer card, insert customer card, or
manually enter account number and press
ENTER
• Select CREDIT
– Enter first four digits of the card number and press
ENTER
– Enter expiration date (MMYY) and press ENTER
• Enter transaction ID (15 characters), and press
ENTER
• Enter approval code (six digits), and press
ENTER
• Select ID Type
• Enter ID number and press ENTER
– Enter State code and press ENTER
• Enter expiration date of the ID card (MMYY) and
press ENTER
• Receipt prints
NOTE: Italicized steps are optional and may not be prompted for.
NOTE: Printing the customer copy is an option on all transactions.
REPRINT A RECEIPT
• Press the purple REPRINT key
• Select reprint option: LAST RECEIPT (last
transaction in batch) or ANY RECEIPT (desired
transaction in batch)
– If Any Receipt , enter invoice number and press
ENTER
• Receipt prints
REPORTS
• Press the purple REPORTS key
• Choose report: TOTALS (total amounts),
DETAIL (each transaction), or TELLER
REPORTS (teller totals/detail)
– If Teller Reports, select option: TOTALS or
DETAIL
– If Teller Detail, select ONE (one teller) or ALL (all
tellers)
– If One teller, enter the Teller ID, and press ENTER
• Report prints
TRANSACTION REVIEW
• Press the purple DOWN ARROW key until Batch
Review displays
• Select BATCH REVIEW
• Select retrieval method: SRVR (teller ID), AMT
(amount), ACCT (last 4 digits), or INV# (invoice #)
• Enter retrieval information, and press ENTER
• Transaction displays, select PREV or NEXT to
scroll transactions
VIEW TOTALS
• Press the purple DOWN ARROW key until Batch
Totals displays
• Select BATCH TOTALS
– Press PREV or NEXT to scroll hosts, then press
SLCT to select host
• Batch totals display, press ENTER to exit
BATCH SETTLEMENT
• Press the purple DOWN ARROW key until
Settlement displays
• Select SETTLEMENT
• Cash advance and refund totals display, press
ENTER to confirm
– Or key in the sale and refund totals and press
ENTER
• Terminal dials out, and displays GB XXXX
ACCEPTED
• Press ENTER
• Settlement report prints
TRANSACTION REVIEW
RB or QD response
• Terminal will display RB
[NUMBER]
• DO NOT delete batch or continue without Help
Desk
[NUMBER] or QD
AUTHENTICATE THE TERMINAL
• Press ENTER
• Select SETUP
– Enter password and press ENTER
• Select AUTHENTICATION
• Enter the Authentication Code and press
ENTER
• Enter your Zip Code and press ENTER
• Terminal dials out, then displays ACTIVATED
DEACTIVATE THE TERMINAL
• Press ENTER
• Select SETUP
– Enter password and press ENTER
• Select DEACTIVATION
• Terminal dials out, then displays
DEACTIVATED
• More merchants? Select NO
• The screen then displays Authentication Code.
The terminal must be authenticated before
transaction can be processed
ALPHA CHARACTERS
• Press key corresponding with desired letter
• Tap the ALPHA icon until desired letter
appears [Number + ALPHA = Letter]
CARD TYPES ACCEPTED
• Visa
• MasterCard
• Discover
 Loading...