

Page 1
Ultra-Violet Products Ltd.
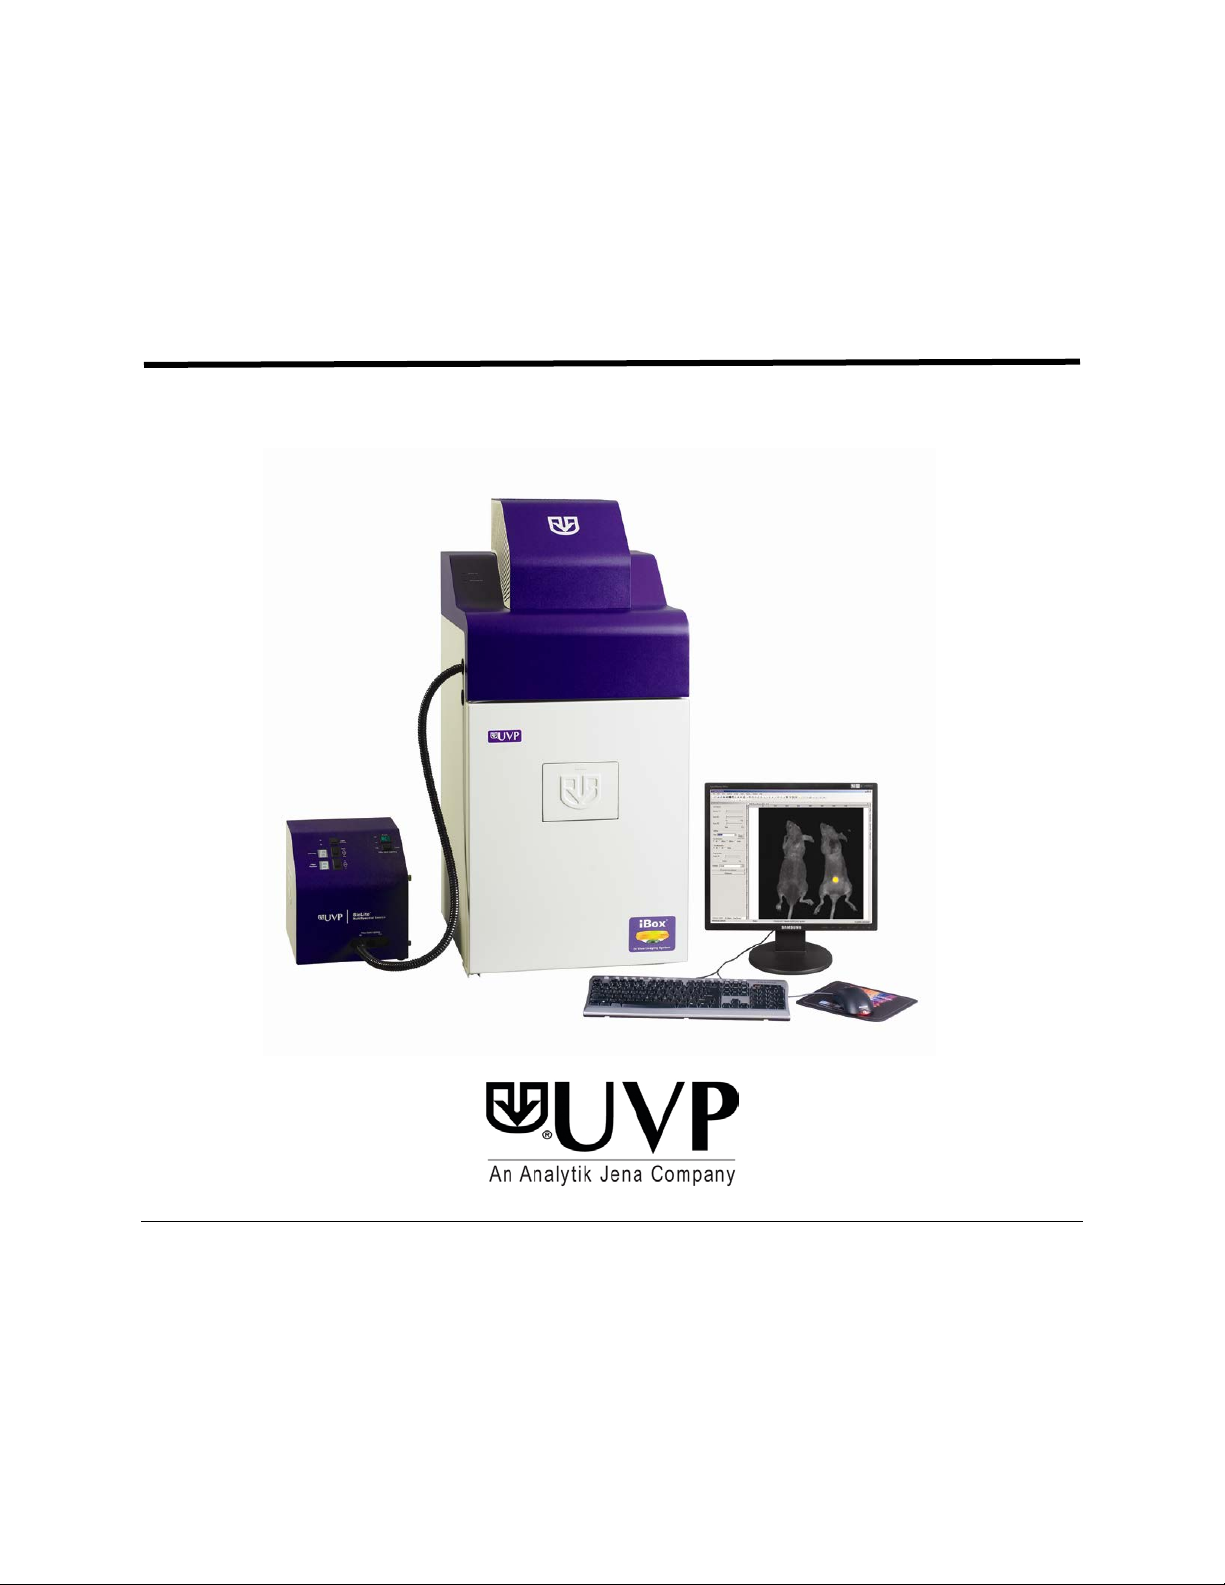
iBox® Scientia™
Small Animal Imaging System
Instruction Manual
UVP, LLC
2066 W. 11th Street, Upland, CA 91786
Tel: (909) 946-3197 / (800) 452-6788
Fax: (909) 946-3597
Web Site: www.uvp.com
Tel: +44(0)1223-420022 Fax: +44(0)1223-420561
Nuffield Road, Cambridge CB4 1TG UK
Unit 1, Trinity Hall Farm Estate
81-0304-01 Rev J
Page 2
iBox Scientia Small Animal Imaging System 2
Introduction
The iBox Small Animal Imaging System is designed to automate research with one-touch, pre-s et or userdefined PC controls for accurate, repeatable imaging of small animals.
The iBox system incorporates the light tight darkroom, BioLite and matched emission/excitation green
fluorescent protein (GFP) and red fluorescent protein (RFP) filter sets.
The darkroom has a UV blocking window, built-in overhead 365nm UV, Visi-Blue™ 480nm and white light,
five-position emission filter array, and a software controlled power lift.
The iBox system comes equipped with a warming plate with internal heating elements that keep the surface
of the warming plate at a constant 37°C.
The BioLite offers an eight position filter wheel, six position intensity selector, and a direct lighting source
using fiber optic bundles to tightly control the output spectrum for consistent, repeatable measurements.
The iBox offers a highly sensitive CCD came r a for in vivo applications and supplies real time, live preview
images.
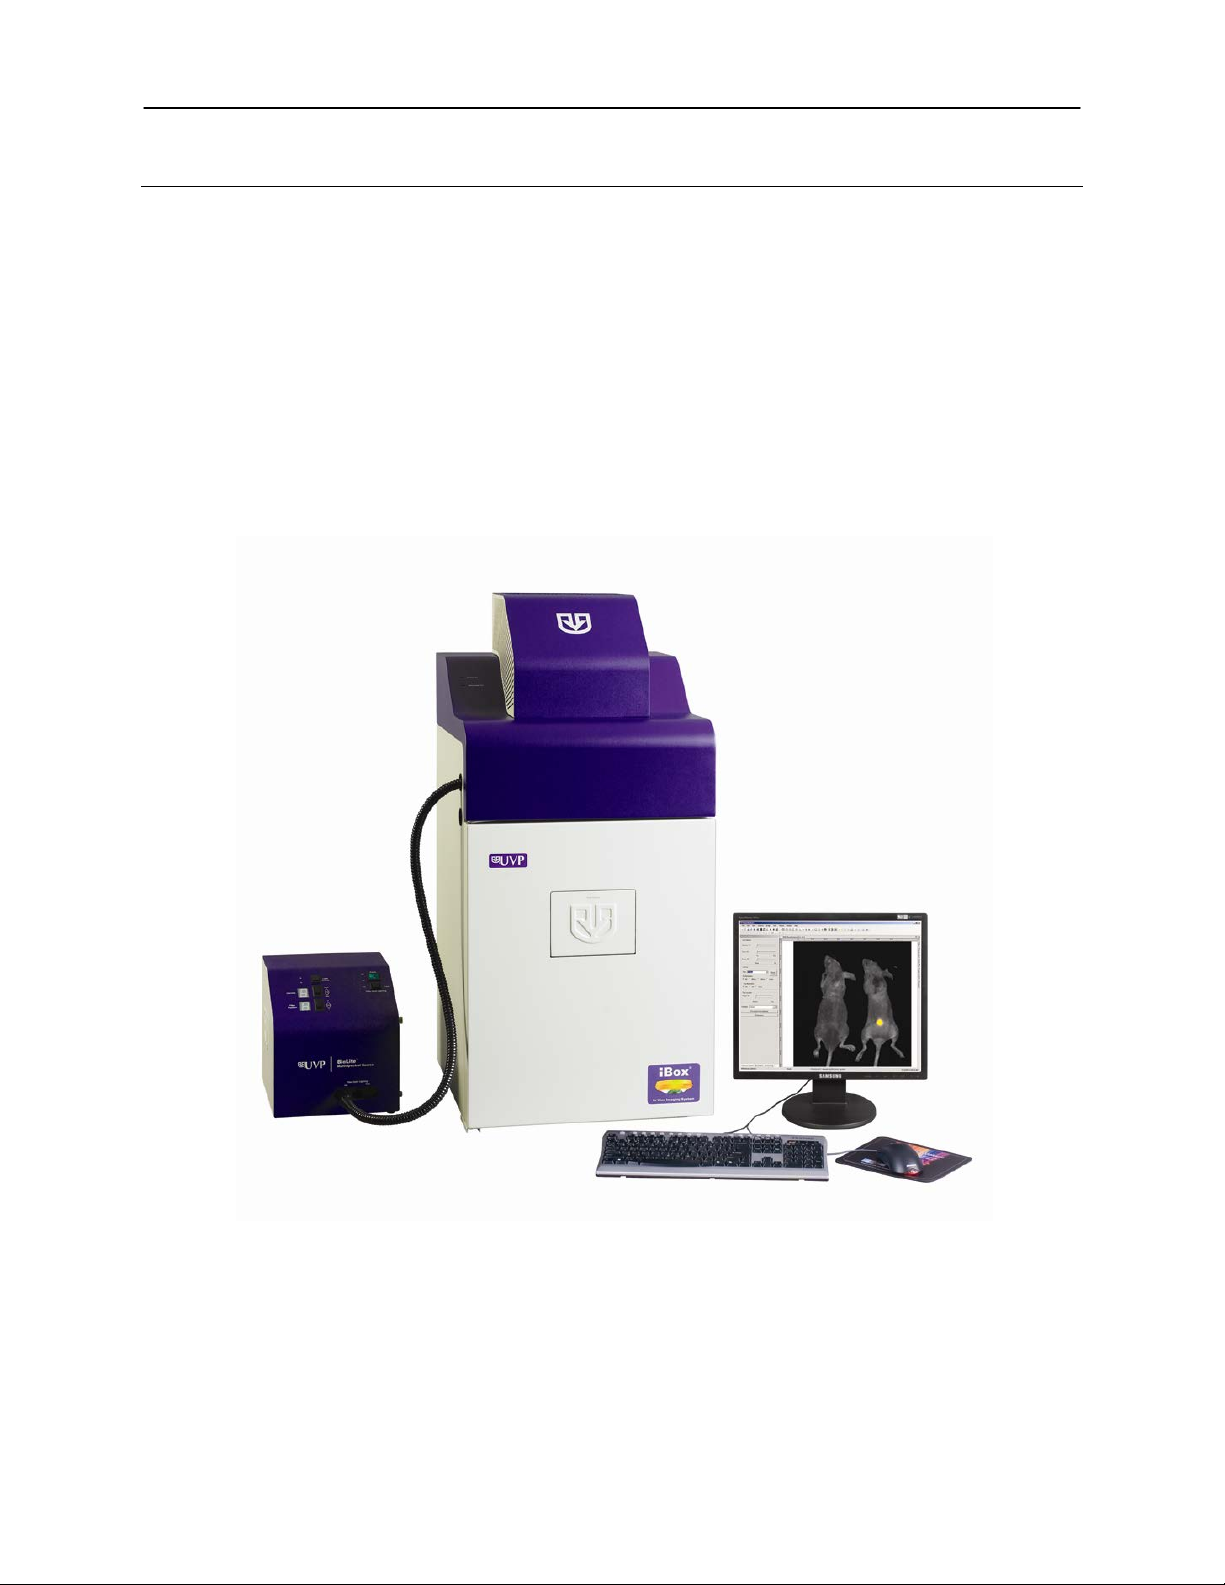
iBox Small Animal Imaging System
shown with the Automated BioLite MultiSpectral Source
Page 3

iBox Scientia Small Animal Imaging System 3
Components
The iBox Imaging System is comprised of the following equipment:
Darkroom Cabinet
Automated Filter Wheel with Emission Filters (GFP & RFP)
CCD Camera and Lens:
o OptiChemi™ 610 with either 50mm f/1.2 Fixed or 28mm f/1.8 Fixed Lens
o BioChemi™ 500 with either 50mm f/1.2 Fixed or 28mm f/1.8 Fixed
Gel Viewer
Motorized Lift
Epi Illumination
BioLite MultiSpectral Source with Excitation Filters (GFP & RFP)
Warming Plate
VisionWorksLS Software
Check the packing slip for a complete equipment list. The system may additionally include a computer and
transilluminator.
Darkroom Cabinet
The iBox Imaging System is manufactured of aluminum construction and fabricated to provide a light-tight
chamber.
Darkroom Dimensions: 17.5W x 17.5D x 32H inches (445 x 445 x 813 mm)
Note: Camera cover dimensions additional
Emission and Excitation Filters
Green Florescent Protein (GFP) and Red Fluorescent Protein (RFP) emission and excitation filters are
included. The darkroom can accommodate five emission filters in its filter wheel. The BioLite MultiSpectral
Source is designed to accommodate up to eight excitation filters.
BioLite™ MultiSpectral Source
The BioLite Automated Multispectral Source is a 150-Watt quartz halogen visible light source designed for
use with ferrule fiber optic bundles. It features a closed optical path to tightly control the output spectrum,
allowing consistent repeatable measurements with superior signal to noise. The BioLite features a 6 position
dimmer permitting variable intensity. The integrated filter wheel accommodates up to 8 excitation filters.
Warming Plate
The warming plate houses internal heating elements which connect inside the iBox and keep the surface of
the warming plate at a constant 37°C.
CCD Camera and Lens
The CCD camera, housed in the top of darkroom, generates extremely fast optics and high sensitivity for
capturing high resolution images. The camera’s motorized lens is controlled by the VisionWorksLS software.
Gel Viewer
The viewer in the darkroom door opens for safe viewing of samples. The acrylic window allows viewing
without exposure to ultraviolet radiation.
Motorized Lift
The motorized lift, controlled by the software, can be finely adjusted within its 10 inch range.
Page 4

iBox Scientia Small Animal Imaging System 4
Epi Illumination
Overhead lighting includes 365nm UV, Visi-Blue 480nm and white light. Lighting is controlled via the
software interface.
Minimum Computer Requirements
Processor: Pentium 4, 1.6 GHz or higher
RAM: 2GB (4GB Preferred)
Display: 1024 x 768
Operating System: Microsoft Windows XP Service Pack 2 or Newer (32-bit or 64-bit)
Internet Browser: Microsoft Internet Explorer 6.0 or later
Computer USB Ports: Computer must come equipped with a minimum of four USB ports; additional
peripherals (mouse, keyboard, printer, etc.) may require additional USB ports.
Anesthesia Kit (Optional)
The optional anesthesia system is an optional component designed to safely anesthetize up to five small
animals at a time inside the darkroom. The patented non-rebreathing technology safely prevents backflow of
gases into the darkroom. Anesthesia units are available with either isoflurane or sevoflurane, as well as with
or without oxygen regulators. Contact UVP for ordering information.
Page 5

iBox Scientia Small Animal Imaging System 5
1. Double click the VisionWorks
2. To activate the software,
5. Complete all required information
Software Installation
Install the VisionWorks®LS Software
1. Insert the VisionWorksLS CD (not network CD) into the computer.
2. Click on the “Install” button for VisionWorksLS.
3. Click OK, Next, then agree to “I accept terms of licensing agreement”, then Next. Leave all the
defaults. Then click Next, Next, Install, and finally Finish.
Registering the Software
Open the Software
software icon on the desktop.
registration is required. To
immediately activate the software
through the internet, choose On
the fly activation. If the computer
is not connected to the internet,
please follow the instructions for
Offline activation or call UVP to
register the software.
3. Click Next to continue.
4. Already have an activat ion ID is
useful when reloading the
software after receiving an initial
activation code.
on the form.
6. Fill out the Serial Number located
on the CD. The number should be
four sets of six numbers.
7. Click onto Get Activation No. and
then click onto Activate when the
Activation Number appears in the
box.
Page 6

iBox Scientia Small Animal Imaging System 6
8. If the computer is not connected to
10. Click the link provided and
the internet, click Offline activation
to register the software. This
allows the user to obtain the
activation code and enter it at
another time.
9. Click Next to continue.
complete the form to obtain
instructions. Click Finish.
Page 7

iBox Scientia Small Animal Imaging System 7
Specifications
BioChemi 500
OptiChemi 610
Type
CCD, Monochrome
CCD, Monochrome
Resolution
2048 x 2048
2184 x 1472
Bit Depth
16-bit
16-bit
Quantum Efficiency
55% peak
86% peak
Cooling
-28˚ C, Absolute
-50˚C from Ambient
Binning
Yes
Yes, 1x1 thru 10x10
PC Interface
USB
USB
Hardware Installation
Darkroom Setup
1. Remove all the tape on the darkroom (filter wheel, doors, interior cables).
2. Detach the epi-light covers from the Velcro at the top of the darkroom and place the covers in a secure
location.
3. If included: place the UV transilluminator on the pull-out tray then connect the power cable to the interior
of the darkroom.
4. If included: place the Chemi Tray onto the top of the UV transilluminator.
5. If included: place the LED White Light Illuminator on top of the Chemi Tray.
6. Use a level to ensure that the darkroom is flat and make adjustments to the four feet of the darkroom if
necessary.
Darkroom Filter Wheel Setup
1. Ensure that the darkroom is in a fixed and permanent location
as filters may slide in movement.
2. Locate the filter wheel in the darkroom’s camera well at the
very top of the darkroom.
3. Each filter location in the darkroom is numbered for a
corresponding filter. By touching the sides of the filters only,
insert the filters into the proper location. (The numbers on the
side of the filter facing you and right side up.)
First position #1 = Leave Empty
Second position #2 = GFP f ilt e r (Rectangular filter,
503nm-523nm)
Placing Filter at the Top of the
Darkroom
Cameras
High sensitivity, scientific grade CCD cameras are designed for use with UVP’s iBox Scientia Imaging
Systems. Th is section covers the components and steps required to install and run UVP’s cameras. Every
camera has slightly different installation instructions. The following cameras are covered in this manual:
Refer to the packing list for the camera included with the system.
Specifications
Third position #3 = RFP filter (Rectangular filter,
580nm-630nm)
Fourth position #4 = User Choice (filter provided if ordered separately)
Fifth position #5 = User Choice (filter provided if ordered separately)
BioChemi 500
OptiChemi 610
Page 8

iBox Scientia Small Animal Imaging System 8
3
4 5 6
7
1
2
Components
Note: The BioChemi 500 and OptiChemi 610 cameras use many of the same component s and are installed
in a similar manner. Therefore, the installation instructions herein will refer to both cameras interchangeably.
Note: Some components may not be shipped with all systems.
Components
1. USB Cable
2. Camera
3. Base Mount (ships
attached to the
darkroom)
4. Bracket
5. Black Thumb Screw and
Brass Thumb Nuts
6. Camera Lens &
Controller
7. Lens Controller Power
Supply Cable
Hardware Installation
The photograph shows the parts required for assembly of the BioChemi 500 and OptiChemi 610
camera kits with the automated lens on the iBox Scientia Imaging System. The BioChemi 500 and
OptiChemi 610 cameras will have a different appearance but will be installed in the same manner.
Note: The image above shows the 50mm f/1.2 lens (6). Another lens and/or lens controller may be
shipped with the system.
1. Attach the camera bracket (4) to the base mount with the brass thumb nuts (5).
2. If not already removed, take the lens cap off the lens. Do not unscrew the lens cap, as it will simply
pull straight off.
3. Place the camera/lens assembly in the hole in the base mount. Then, use the bla ck thu mb screw
(5) to secure the camera in place, attaching it through the hole at the top of the bracket (4).
Note: When looking at the darkroom from the front, the BioChemi 500 attaches to the bracket with the
Black Thumb Screw at the front of the system facing the user. The USB and power cables will extend
from the left of the darkroom.
The OptiChemi 610 cameras attach to the bracket with the Black Thumb Screw at the righ t of the
system. The USB and power cables will extend from the front of the camera, facing the user.
Page 9

iBox Scientia Small Animal Imaging System 9
1. Plug the power cord into the receptacle on the
1. Insert the filter cartridge into the filter port.
2. Remove the epi light covers at the top of the
USB Cable
Power Cord
Epi Light Guides
Stopper
Fiber Optic Cable
BioLite MultiSpectral Light Source
back of the unit and to a power outlet.
2. Connect the USB cable (if applicable) to the unit
and leave the other end unplugged. The manual
BioLite does not have USB connection.
3. Position the power source to the left of the
darkroom.
Manual BioLite (Manually Controlled)
NOTE: Filters and their cartridges are directional.
Make sure that the label is facing the front.
Because of the intense light of the BioLite, only
tempered interference filters s hould be used.
darkroom. They should be held in place by two
strips of Velcro adhesive. There are two screws
that protrude from the epi light fixtures, which will
be used to secure the BioLite light guides.
3. Remove the top plug from the access port at the
upper left side of the darkroom.
4. Thread the knurled (non-smooth) side of the fiber
optic cable from the inside of the darkroom through
the access port until the large stopper separating
the smooth and rough side of the fiber optic cable
can no longer be pushed through the opening.
5. The light guides should be on the inside of the
darkroom. Make sure that the fiber optic cables
extend from the light guide towards the front of the
darkroom (towards you). Match the drilled holes in
the light guides to the protruding screws in the epilight structure. Use the thumbscrews provided to
secure the light guides.
Page 10

iBox Scientia Small Animal Imaging System 10
6. Insert the fiber optic bundle into the silver
7. Attach the cable to the silver connector with the
Filters will be installed in their black casing at the UVP factory.
1. To insert the filter/holder into the filter wheel, hold
3. Slide the holder into the wheel slot.
Ridge
Side of
connector.
screw.
Automated BioLite (Software Controlled)
the assembly so that it is positioned vertically with
the ridge to the top left as shown in the photo.
2. The filter/holder ridge is then positioned closest to
the front of the unit.
4. Load the GFP filter in position number one.
5. Load the RFP filter in position number two.
NOTE: Do not force the filter assembly inside the BioLite
wheel slot. First check to ensure that the orientation of
the filter assembly is correct.
Unit
Page 11

iBox Scientia Small Animal Imaging System 11
6. Remove the epi light covers at the top of the
10. Remove the soft rubber cap from the tip of the fiber
Epi Light Guides
Stopper
Fiber Optic Cable
Plug the Fiber
darkroom. They should be held in place by two
strips of Velcro adhesive. There are two screws
that protrude from the epi light fixtures, which will
be used to secure the BioLite light guides.
7. Remove the top plug from the access port at the
upper left side of the darkroom.
8. Thread the knurled (non-smooth) side of the fi ber
optic cable from the inside of the darkroom through
the access port until the large stopper separating
the smooth and rough side of the fiber optic cable
can no longer be pushed through the opening.
9. The light guides should be on the inside of the
darkroom. Make sure that the fiber optic cables
extend from the light guide towards the front of the
darkroom (towards you). Match the drilled holes in
the light guides to the protruding screws in the epilight structure. Use the thumbscrews provided to
secure the light guides.
optic cable. Plug the cable into the left port in the
BioLite unit.
Warming Plate Setup
1. Place the warming plate on the lift platform inside the darkroom. Plug the jumper cord into the
Accessory outlet located in the upper back panel of the darkroom. Plug the other end into the
warming plate.
NOTE: Ensure that the warming plate is plugged into the Accessory outlet. This Accessory outlet
is a live outlet that has a constant supply of power.
2. Ensure that the warming plate on/off switch is turned on and that the warming plate is plugged into
the Accessory plug of the darkroom.
3. The warming plate will show the temperature of the warming plate in the display. In several
minutes, the warming plate will reach 37°C.
NOTE: The warming plate must be turned off or unplugged after use. Software does not control the
function of the warming plate.
NOTE: The warming plate has an over limit switch that prevents the unit from exceeding 41°C. Should
the unit reach 41°C, the plate must be returned to a temperature of 25°C before the unit reheats.
NOTE: Allow the warming plate to reach room temperature prior to operating. If the unit is extremely
cold when switched on, the warming surface temperature can exceed the preset temperature indicated
on the LCD display.
Optic Cable into
the Left Port
Page 12

iBox Scientia Small Animal Imaging System 12
1. The mouse should be under anesthesia to prevent
Operation
Using the Software
Caution: Do not place objects under the lift platform as these will suffer damage if lift is moved to the lowest position.
If the darkroom cabinet’s automated lift platform is unexpectedly stopped by an obstruction, the software w ill send a
warning message to the user requesting that the user check for the obstruction before raising or lowering the lift
platform.
Note: The lift platform will only move if the darkroom door is closed. If the user attempts to change the height of the
platform, a warning message from the software will appear in orange stating “Darkroom door is open. Please close
the door to resume lift movement”.
Capture White Light Image of Mouse/Rat
movement.
2. It is highly recommended that the mouse be hairless for
imaging. The researcher may remove the hair on the target
areas prior to imaging or purchase hairless mice at the
beginning of the experiment.
3. Position the mouse on the warming plate so that the
fluorescent target is closest to the camera. (For example,
brain tumor with the mouse on its feet; pancreatic cancer
with mouse on its back)
4. Set the Aperture to the smallest number possible (1.2).
5. Set the Focus so that the image is clear.
6. Turn on the Epi Illumination White lights or use the
Automated BioLite plugin to set the Intensity six with no
filter inserted into the slot.
7. Move the Tray Location to the Top position or type in the
Height % desired. (Example: 50% is halfway up, 100% is
at the top position)
NOTE: After setting the lift height, the software will return to
the specified height even after the darkroom has been
turned off. There is no need to readjust the lift height.
8. Set Exposure time to 50msec frame rate.
9. Select Preview.
10. If important areas of the mouse are not visible in preview
(viewing area is too small), lower the lift.
Page 13

iBox Scientia Small Animal Imaging System 13
11. After adjusting the lift, ensure that the Saturation preview
1. Select the appropriate BioLite filter and the Darkroom filter
box is checked, adjust the focus and the exposure time so
that the preview is not saturated (saturated areas appear
red when the Saturation preview box is checked).
12. Capture the mouse image. The captured image can be
saved to be used later in the Composite Image step.
Capture Fluorescent Image of Mouse/Rat
from that corresponds to the fluorescent protein in the
mouse. (For example, if the mouse has a GFP fluorescent
target, use the GFP BioLite filter and GFP Darkroom filter.)
2. Change the Exposure time to 1 second.
3. Ensure that 4X4 binning is selected for preview and that
1X1 binning is selected for capture.
4. Ensure that Compensate exposure for binning box is
checked.
5. Capture the image. The captured image can be saved to
be used later in the Composite Image step
If the target is saturated (is showing red or yellow areas),
reduce the exposure time to half [1sec->500msec>250sec…].
If the captured image shows a flat dark image, increase the
exposure time in steps of 20 seconds [1sec->20sec>40sec->1min…] until yellow areas appear. Once yellow
appears reduce by 20 seconds.
If the captured image shows a bright image looking no
different from the white light image, the fluorescent signal
might not be strong enough to be observed. (Fluorescent
proteins can take 48 hours to express. Implanted, in-depth,
fluorescent tissue can take one week to grow to a
discernible size. In these two cases, one might just have to
wait another day to image again.)
Create a Composite Image of a Mouse/Rat
1. Open the Image Action Tab and click onto the Multi-Image Actions Menu Button.
2. The Image Compositing window appears.
3. Select the number of images to make the composite. One RFP tumor, for example, will need two images
to create the composite.—a white light (or visible) image and a fluorescent image. (A Pseu doco lor may
be added to the fluorescent image to create a colorful Pseudocolor map as shown below.)
4. Use the drop down menu to open the saved image of the white light mouse or rat created using page 16
instructions for capturing a white light image.
5. Use the drop down menu to open the saved image of the florescent mouse or rat created using page 17
instructions for capturing a fluo resc ent ima ge.
6. Select the Mode desired for your application. (Overlay is more pixilated, whereas Blend is smoothed out)
7. Select the Pseudocolor map checkbox to view the legend of the colors depicted in the image.
8. Select the desired florescent vs. white light combination by moving the Threshold slider for the imag e.
Page 14

iBox Scientia Small Animal Imaging System 14
Page 15

iBox Scientia Small Animal Imaging System 15
The Type EKE 150 watt halogen bulb has a standard life of 200 hours. It must be replaced with the
1. After allowing the unit sufficient time to cool after last
Service Procedures
Return Procedure
A Returned Goods Authorization (RGA) number must be obtained from UVP Customer Service before
returning any product.
Replacement Parts and Accessories
Replacement parts and accessories part numbers are show n below. To order accessories or replacement
parts, contact UVP’s offices listed under Technical Support.
Part Description Part Num ber
Bulb, Type EKE 150 Watt Halogen (for BioLite) 34-0088-01
Power Cord, 100V/115V 46-0023-38
Power Cord, 230V 46-0023-39
Thermal printer, digital archive quality 256-grayscale (Mitsubishi) 89-0069-06 (115V)
Thermal printer, digital archive quality 256-grayscale (Mitsubishi) 89-0069-07 (230V)
Thermal printer, digital archive quality 256-grayscale (Sony for Europe) 89-0069-15 (230V)
Thermal paper, Mitsubishi (4 rolls – 800 images) 89-0038-01
Thermal paper, Sony high gloss (5 rolls – 1000 images) 89-0174-01
Thermal paper, Sony glossy (5 rolls – 1000 images) 89-0031-01
Replacement Instructions
Bulb Replacement for the BioLite
same type bulb only. The UVP part number is 34-0088-01. The replacement procedure is as follows:
use (at least a half of an hour), unplug the BioLite
from the wall. Then, use a wrench to open the bulb
access port on the bottom of the BioLite.
2. Once the nut and access port cover have been
removed, take out the bulb using the mechanism built
into the bulb holder.
3. Grasp the chrome wire to the left of the bulb, and
push it in the direction of the base of the bulb.
4. Return the bulb removal mechanism to its original
downward, position.
5. Insert the replacement EKE halogen 150 watt bulb,
making sure it fully seats.
6. Replace cover and secure with nut before plugging
unit back in or turning it on.
Page 16

iBox Scientia Small Animal Imaging System 16
Service Procedures
Return Procedure
A Returned Goods Authorization (RGA) number must be obtained fr om UVP Customer Service before
returning any product.
Troubleshooting
No Power to the Darkroom
1. Recheck main power cord connections to the darkr oom.
2. Check fuses, located at the back of the unit, near the power port. A flat-head screwdriv er will be
required. Turn the fuseholder cap counterclockwise and the fuse holder will pop out. Inspect the
thin wire within the glass fuse to see if there is a break in the wire. If so, replace the fuse(s). If fuses
are blowing repeatedly, contact UVP Technical Support for additional troubleshooting.
Technical Support
UVP offers expert technical support on all UVP products If there are any questions about product use,
operation or repair, contact UVP’s offices at the locations below.
NOTE: A Returned Goods Authorization (RGA) number must be obtained from UVP’s Customer Service
prior to returning any product.
If you are in North America, South America,
East Asia or Australia:
If you are in Europe, Africa, the Middle East or
Western Asia:
Call (800) 452-6788 or (909) 946-3197, and ask
for Technical Support during regula r busin es s
days, between 7:00 am and 5:00 pm, PST.
E-mail your message to: info@uvp.com or
techsupport@uvp.com
Fax Technical Support at (909) 946-3597
Write to: UVP, LLC. 2066 W. 11th Street, Upland,
CA 91786 USA
iBox and VisionWorks are registered trademarks of UVP, LLC.
Scientia, Visi-Blue, OptiChemi, BioChemi and BioLite are trademarks of UVP, LLC.
Call +44(0) 1223-420022, and ask for Customer
Service during regular business days between 9:00
am and 5:30 pm.
E-mail your message to: uvp@uvp.co.uk
Fax Customer Service at
+44(0) 1223-420561
Write to: Ultra-Violet Products Ltd. Unit 1, Trinity Hall
Farm Estate, Nuffield Road, Cambridge CB4 1TG UK
 Loading...