

Page 1

Sunbeam Remote Controlled
Tower Fan
Instruction Booklet
FA7200 90cm Remote Controlled Tower Fan
Please read these instructions carefully
and retain for future reference.
Page 2
Contents
Sunbeam’s Safety Precautions 1
Safety Precautions For Your Tower Fan 2
Locating Your Tower Fan 3
Features Of Your Sunbeam Tower Fan 4
Assembling Your Tower Fan 6
Using Your Tower Fan 8
Troubleshooting Guide 12
Care And Cleaning 12
Page 3

Sunbeam’s Safety Precautions
Sunbeam are very safety conscious when
designing and manufacturing consumer products, but it is essential that the product user
also exercise care when using an electrical
appliance. Listed below are precautions which
are essential for the safe use of an electrical
appliance:
Read carefully and save all the instructions
•
provided with an appliance.
Always turn the power off at the power outlet
•
before you insert or remove a plug. Remove by
grasping the plug - do not pull on the cord.
Turn the power off and remove the plug when
•
the appliance is not in use and before cleaning.
Do not use your appliance with an extension
•
cord unless this cord has been checked and
tested by a qualifi ed technician or service
person.
Always use your appliance from a power
•
outlet of the voltage (A.C. only) marked on the
appliance.
Close supervision is necessary when your
•
appliance is being used near children or infi rm
persons.
Never leave an appliance unattended while in
•
use.
Young children should be supervised to ensure
•
that they do not play with the appliance.
Do not use an appliance for any purpose other
•
than its intended use.
Do not place an appliance on or near a hot gas
•
fl ame, electric element or on a heated oven. Do
not place on top of any other appliance.
Do not let the power cord of an appliance hang
•
over the edge of a table or bench top or touch
any hot surface.
•
For safety reasons and to avoid maintenance
by unskilled persons, some appliances are
‘sealed’ using tamperproof screws. Such
appliances should always be returned to the
nearest Sunbeam Appointed Service Centre for
adjustment or repair if required.
Do not operate any electrical appliance with a
•
damaged cord or after the appliance has been
dropped or damaged in any manner. If damage
is suspected, return the appliance to the
nearest Sunbeam Appointed Service Centre for
examination, repair or adjustment.
For additional protection, Sunbeam recommend
•
the use of a residual current device (RCD)
with a tripping current not exceeding 30mA in
the electrical circuit supplying power to your
appliances.
Do not immerse the appliance in water or any
•
other liquid.
If you have any concerns regarding the performance and use of your appliance,
please visit www.sunbeam.com.au or contact the Sunbeam Consumer Service Line.
Ensure the above safety precautions are understood.
1
Page 4

Safety Precautions For
Your Tower Fan
Do not use outdoors.
•
Do not run the cord of the fan under carpeting.
•
Do not cover the cord with throw rugs, runners
or other fl oor coverings. Arrange the cord away
from traffi c areas so that it will not be tripped
over.
Do not use this fan in the immediate surrounds
•
of a bath, shower, laundry area or swimming
pool.
Be sure the fan is placed on a dry, even
•
surface. Do not use on soft surfaces, such as
beds, where opening may become blocked.
Keep your fan away from heat sources,
•
corrosive gases and avoid direct sunlight.
This fan is only to be used with the base fi tted
•
and in good condition.
Disconnect the power plug before dismantling,
•
assembling or before cleaning.
Always unplug the fan when not in use for any
•
long length of time.
The fan must not be used if the guards are
•
damaged in any way.
Do not insert or allow foreign objects to enter
•
any ventilation or exhaust openings as this may
cause electric shock or fi re, or damage to the
fan.
Never insert fi ngers, pencils or any other
•
objects through the guards whenever the power
plug is connected, especially while running.
Avoid touching mobile parts of the fan.
•
Do not attempt to move your fan whilst it is
•
operating. If your fan needs to be moved,
please ensure that it is turned off and you use
the carry handle on top of the tower.
When scrapping the fan at the end of its useful
•
life, follow local regulations.
Important Instructions - Retain For
Future Use
If you have any concerns regarding the performance and use of your appliance,
please visit www.sunbeam.com.au or contact the Sunbeam Consumer Service Line.
Ensure the above safety precautions are understood.
2
Page 5

Locating Your Tower Fan
Always locate your fan on a fl at level surface.
1.
Your tower fan should be located in a dry,
2.
cool, well ventilated location. Keep your fan
away from heat sources, corrosive gases and
avoid direct sunlight.
Do not attempt to move your tower fan
3.
whilst it is operating. If your fan needs to be
moved, please ensure that it is turned off
and you use the carry handle at the rear of
the fan.
3
Page 6

Features Of Your Sunbeam
Tower Fan
Remote control storage
When not in use, store your remote control in the handy
storage compartment on the rear of the fan body.
Carry handle
Convenient carry handle allows you to easily carry your fan
from room to room.
Power button
Simply press the power button to turn the unit on.
Control panel
The easy to read control panel allows you to quickly
see what functions have been selected on your tower
fan.
4
Page 7

Remote control
Adjust the fan setting, auto off or oscillation
from anywhere in the room using the full
function remote control.
Auto Off button
The auto off timer allows
you to set your tower fan to
turn off after either 1, 2, 4
or 8 hours.
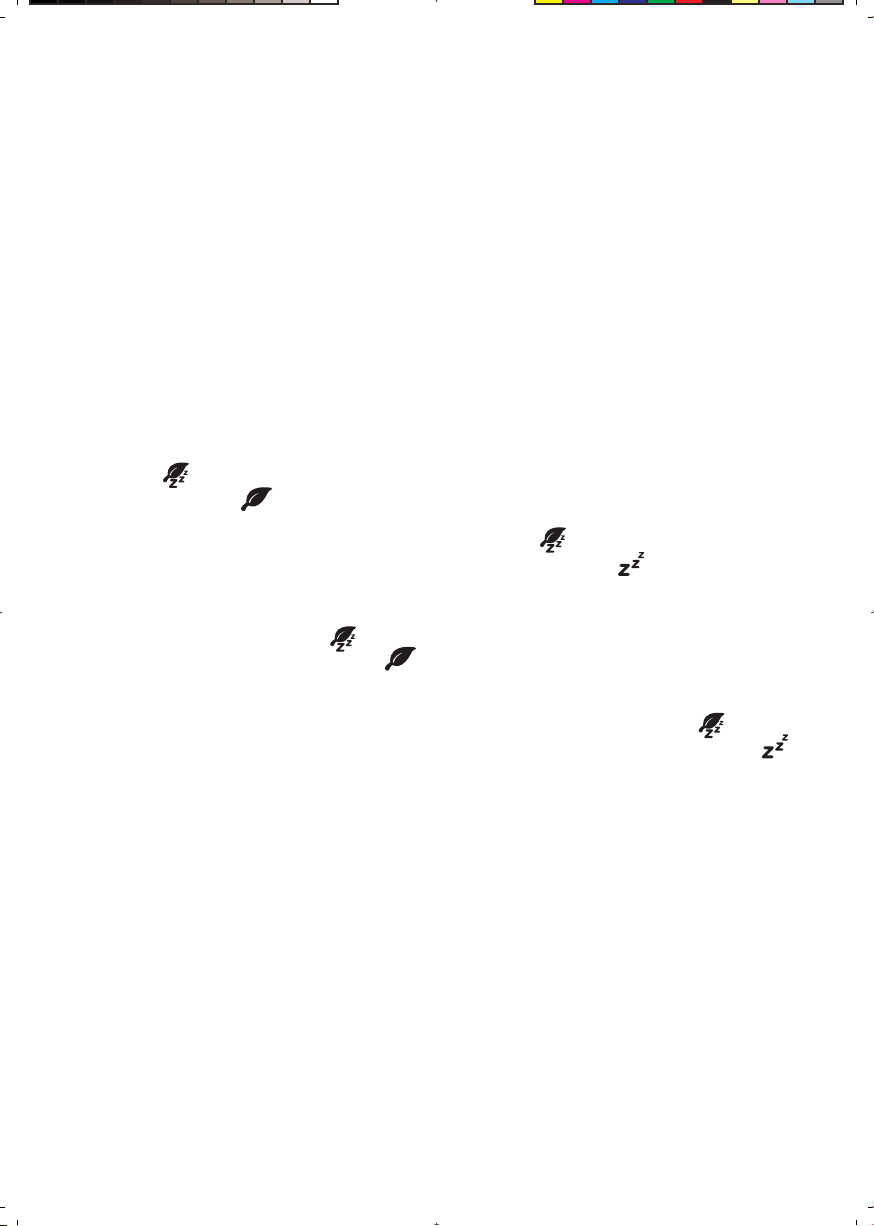
Nature and Sleep mode
When used in nature mode, the fan speed
is randomly adjusted, giving the feeling of
a natural breeze.
Sleep mode is designed to be used when
retiring to bed; the fan speed is gradually
decreased until the unit is operating on
low speed, and when used in conjunction
with the auto off timer, will ultimately
switch the unit off.
Fan speed button
Choose from 3 speed
settings, low medium
or high.
Oscillation
Your tower fan oscillates 70°,
distributing cool air throughout
the room.
5
Page 8

Assembling Your Tower Fan
Remove the screws from beneath the tower
Using a phillips head screwdriver, remove the
1.
4 screws from underneath the tower.
Put the screws aside. You will need them to
2.
secure the base.
Join the two halves of the base together
Feed the cord between the two halves of the
1.
base.
Clip the two halves of the base together,
2.
ensuring the cord remains within the channel
formed when the two halves come together.
6
Page 9

Assembling Your Tower Fan (continued)
Lower the tower onto the base
Align the tower and the base as shown.
1.
Push the tower down onto the base until it is
2.
fi rmly held into position.
Screw the tower to the base
Use the 4 screws you put aside earlier to
1.
secure the tower to the base.
Clip the power cord into the semi circular
2.
slot at the edge of the base. Ensure that the
cord fi ts neatly into the channel.
Stand the fan upright. It is now ready for
3.
use.
7
Page 10

Using Your Tower Fan
Switching the fan on
Place the fan on a fl at level surface.
1.
Insert the plug into a 230/240V power outlet
2.
and turn the power on.
Press the power button
3.
Press the fan speed button
4.
low, medium or high depending on your
preference.
Switching the fan off
To switch the fan off, simply press the power
•
button
•
While the fan remains plugged in to the
power socket, the fan will remember your last
fan speed, oscillation and mode setting for
the next time you switch the fan on again.
•
If you will not be using the fan for a length of
time, it is advisable to turn the power off at
the wall socket and unplug the power cord.
.
.
to select
Selecting a fan speed setting
Your Sunbeam tower fan has 3 speed settings
as follows:
•
low speed “1” light illuminates
•
medium speed “2” light illuminates
•
high speed “3” light illuminates
To select a fan speed, simply press the fan
speed button
Each press of the button will increase the
fan speed and then return back to the lowest
speed again.
on the tower or the remote.
8
Page 11

Using Your Tower Fan (continued)
Using the remote control
Remove the remote control from its compart-
1.
ment at the rear of the tower as shown.
Point the remote towards the control panel
2.
on the front of the tower to operate.
Changing the batteries
Slide the rear cover off the remote control
1.
unit.
Replace the spent batteries with 2 fresh AAA
2.
batteries as shown.
Replace the rear cover.
3.
9
Page 12

Using Your Tower Fan (continued)
Using the oscillation function
The 70 degree oscillation function can be
used on any setting.
1.
Turn the unit on and select any
2.
Press the button on the tower or the
remote. The fan will begin to oscillate from
side to side.
To stop the fan from oscillating, simply
press the
button once again.
fan speed.
Using the auto off timer
The auto off timer automatically switches the
fan off after a preset number of hours.
To activate this feature, simply press the auto
off button
control unit.
Press the auto off button once to switch
1.
the fan off after 1 hour. The light on the
tower corresponding to the position will
illuminate.
Press the auto off button again to have the
2.
fan switch after 2 hours. The light on the
tower corresponding to the
illuminate.
Similarly, pressing the auto off button a 3rd
3.
or 4th time will set the fan to switch after 4
or 8 hours respectively. The corresponding
light on the tower or will illuminate
accordingly.
To cancel the setting, keep pressing the auto
off button until it cycles past 8 hours and
returns to its normal setting. The auto off
timer will be deactivated, the timing light will
be off, and the fan will remain on until it is
switched off manually.
on the tower or on the remote
position will
10
Page 13
Using Your Tower Fan (continued)
Nature mode
Nature mode provides an extra level of
comfort by simulating the natural rise and fall
of the wind over time. You can use this mode
on any fan speed setting.
To use Nature mode:
1.
Choose a fan speed.
2.
Press the
the remote until the
The fan will now vary its speed every few
seconds between the chosen fan speed, each
lower fan speed, and off. For example, if you
set the fan speed to 2 (medium), the actual
fan speed will alternate between 2, 1 and off.
To cancel Nature mode, Press the button
on either the tower or the remote until the
light is no longer illuminated.
button on either the tower or
light illuminates.
Sleep mode
Sleep mode is identical to Nature mode with
the added advantage that the highest fan
speed gradually decreases over time. This
allows you to turn the fan on a high speed
setting last thing at night, knowing that by
the time you are asleep, the fan has switched
itself down to a slower speed.
To use Sleep mode:
1.
Choose a fan speed.
2.
Press the
the remote until the
The fan will now operate in the same manner
as with Nature mode, except that after 30
minutes, the maximum speed will decrease.
Eventually in this mode, the fan switches
down to 1 (low) speed, which alternates
between 1 and off.
To cancel Sleep mode, Press the
on either the tower or the remote until the
light is no longer illuminated.
button on either the tower or
light illuminates.
button
11
Page 14

Troubleshooting Guide
If your tower fan fails to operate check the
following:
Make sure the electrical outlet or circuit
•
breaker is working.
Check for obstructions around the air intake
•
grill.
If your remote control fails to operate check
the following:
Ensure that you point the remote towards the
•
front of the fan.
Check that the batteries are not worn.
•
Replace if necessary.
Care And Cleaning
Ensure that your fan is switched off and
disconnected from the power outlet before
cleaning.
Carefully wipe your fan using a clean cloth.
•
Do not use abrasive cleaners or brushes to
clean the appliance as these may scratch the
surface.
12
Take care that excessive dust does not build
•
up in the air-intake and air-outlet grill, and
clean it occasionally using a dry brush or
vacuum cleaner.
Store the fan in a cool dry place when not in
•
use, in its original carton if possible.
Page 15

2 Year Replacement Guarantee
We are so confi dent of the quality of our product, should this
appliance develop any malfunction within 2 years of purchase
(3 Months commercial use) due to faulty materials
or manufacture, we will replace it for you absolutely free.
Should you experience any diffi culties
with your appliance, please phone our
free call customer service line for advice
on 1300 881 861 in Australia, or 0800
786 232 in New Zealand.
Alternatively, simply return the faulty
appliance to your place of purchase,
along with your purchase receipt.
Your Sunbeam 2 Year Replacement
Guarantee naturally does not cover
misuse or negligent handling, and
excludes breakables such as glass or
ceramic items, and normal wear and tear.
Similarly, your 2 Year Replacement
Guarantee does not cover damage to
household surfaces as a result of water
or other substances leaking from your
appliance, nor does it cover freight costs.
In Australia, this guarantee is additional
to the conditions and guarantees which
are mandatory as implied under the
Trade Practices Act 1974 and State and
Territory legislation.
Sunbeam Service Centres
Sunbeam has established a network of
authorised service centres throughout
Australia and New Zealand to provide
quick, convenient service for our
customers.
Should your appliance require repair
or service, either during or after the
guarantee period, contact your nearest
service centre.
For a complete list of Sunbeam’s
authorised service centres:
Australia
www.sunbeam.com.au/service
1300 881 861
New Zealand
www.sunbeam.co.nz/service
0800 786 232
13
Page 16

Consumer Hotline
In Australia
Visit www.sunbeam.com.au
Or call 1300 881 861
In New Zealand
Visit www.sunbeam.co.nz
Or call 0800 786 232
is a registered Trademark of Sunbeam.
Made in China.
Due to minor changes in design or otherwise,
the product may differ from the one shown in this leafl et.
© Copyright Sunbeam Corporation Limited 2008.
ABN 45 000 006 771
Sunbeam Corporation is a division of GUD Holdings Ltd.
0708
 Loading...