

User Guide
iCube
™
029-0693-02/V1.00/2008-01/A+W
Printed in Switzerland © Phonak AG All rights reserved
www.phonak.com
0682
!
GA_iCube_GB._AK1_9.10.07.qxp 24.1.2008 14:27 Uhr Seite 1

2
3
Programming hearing
instruments without clients 25
Reset button 26
Indicators 28
Battery indicator 28
Fitting status indicator 30
Software indicators 32
Important information 34
Maintenance and care 34
Safety notice and other important
information 35
Troubleshooting 38
Declaration of conformity 40
Service and warranty 41
Phonak distributors worldwide 42
Contents
Welcome 5
Description 6
iCube accessories 7
Getting started 8
Installing and using the iCube charger 8
Charging the battery 9
Operating time 10
Battery status 11
Turning iCube ON/OFF 12
Turning iCube ON 12
Turning iCube OFF 12
Connecting iCube to your computer 13
Connecting via Bluetooth 13
Deleting Bluetooth pairing 19
Connecting via USB cable 20
iPFG System Configuration options 21
Using iCube 22
Wearing iCube 22
Detecting and programming
hearing instruments 23
GA_iCube_GB._AK1_9.10.07.qxp 24.1.2008 14:27 Uhr Seite 2

4
5
Congratulations on choosing iCube from Phonak,
the first manufacturer to offer you CableFree Fitting.
iCube enables the wireless transfer of fitting data
from your PC directly to your client’s hearing
instruments. Based on Bluetooth technology the
fitting process is fast, smooth and stable, and
most importantly, cable-free.
Please read this manual carefully to benefit from all
the features of your iCube. For further information,
please visit the Phonak website www.phonak.com.
Phonak – life is on
For your safety, carefully read the chapter
“Important information” on pages 34-39.
Welcome
GA_iCube_GB._AK1_9.10.07.qxp 24.1.2008 14:27 Uhr Seite 4

6
햲 Neckloop
햳 Right side fitting indicator
햴 Battery indicator
햵 Bluetooth / left side fitting indicator
햶 Not supported
햷 ON/OFF button
햸 Bluetooth pairing button
햹 Reset button (covered)
햺 Detachable cover
햻 Audio & FM connection (not supported, do not use!)
햽 Mini USB charging and programming connection
iCube
햷
햸햹햲햺
햴햳햵 햶
햻햽
7
• USB cable, 3 m (10 ft.)
• iCube charger
• USB Bluetooth adaptor
• USB hub
Contents may vary depending on country.
iCube accessoriesDescription
GA_iCube_GB._AK1_9.10.07.qxp 24.1.2008 14:27 Uhr Seite 6
8
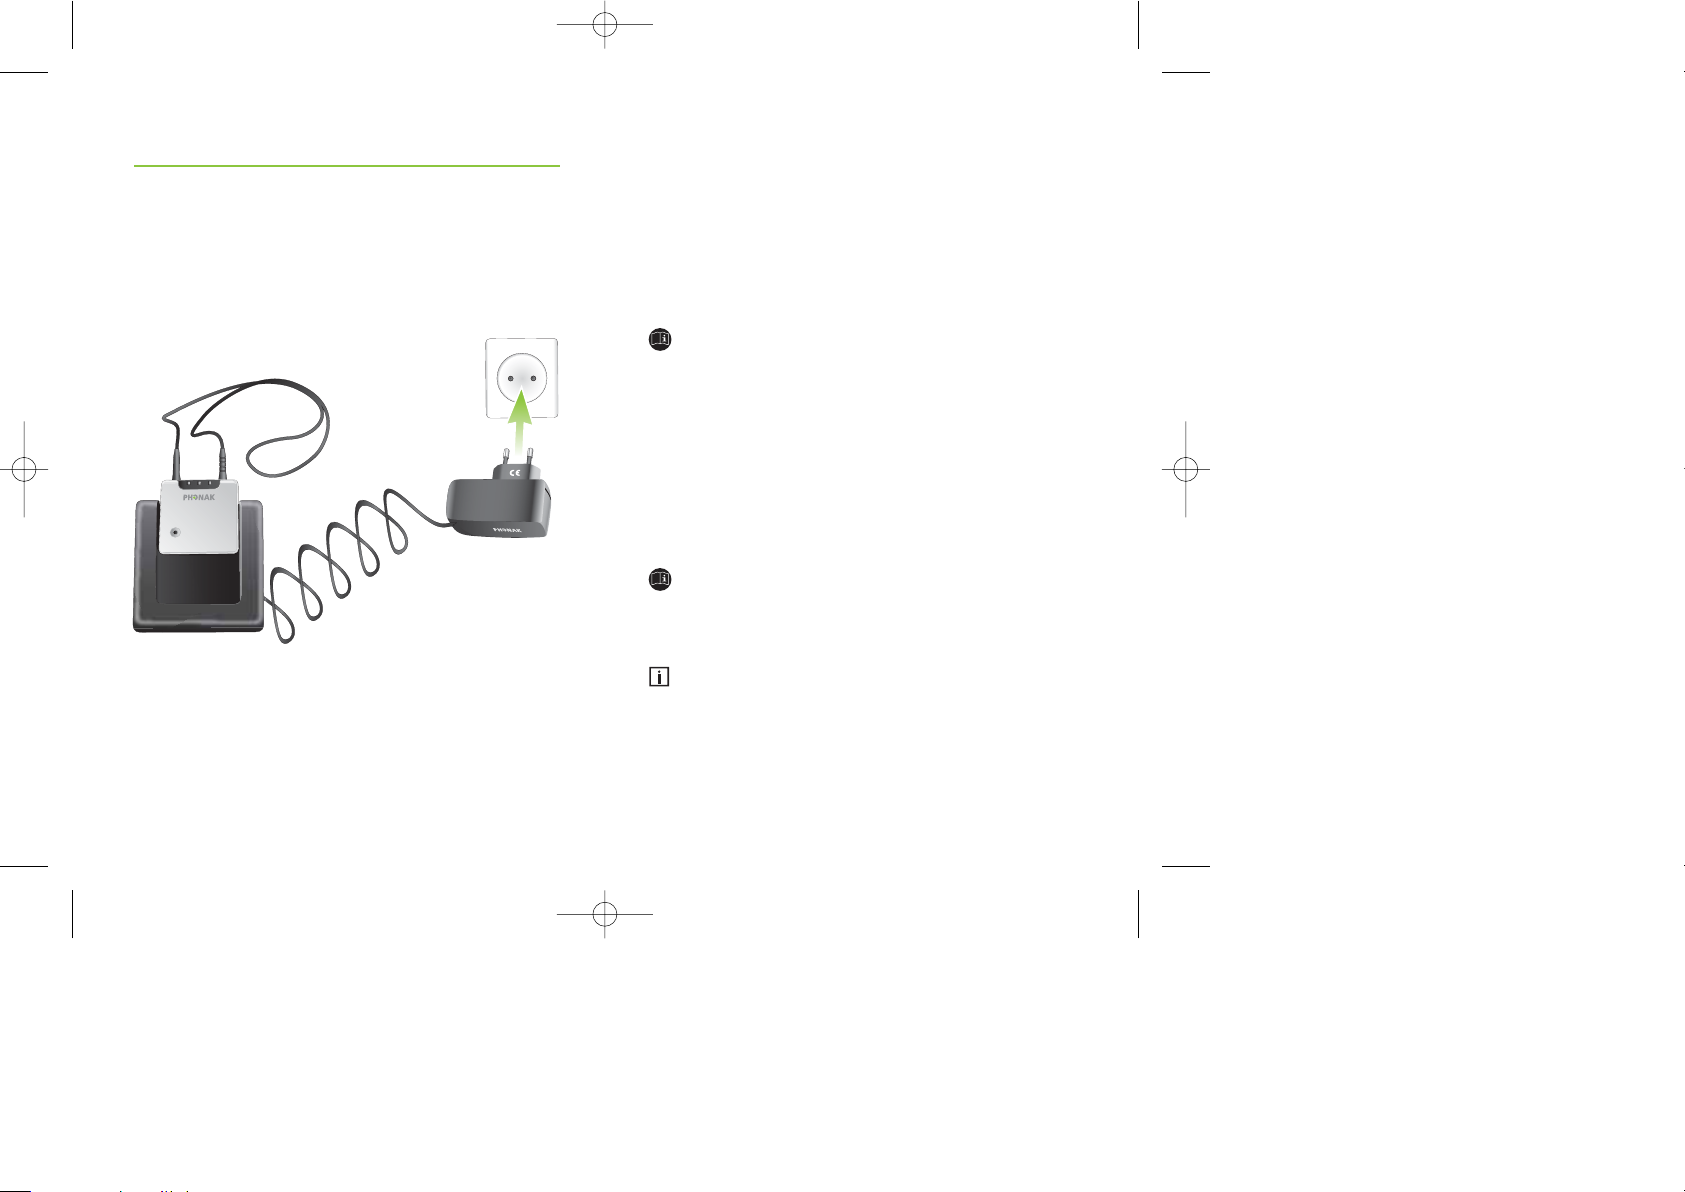
Installing and using the iCube charger
Install the iCube charger by plugging the power
supply into a power outlet and docking iCube into the
iCube charger as shown below.
It is recommended that you use the iCube charger to
store and charge iCube whenever it is not in use.
This way it will be sufficiently charged and ready for
the next fitting session.
Getting started
9
Charging the battery
Your iCube has an internal, rechargeable battery.
As soon as you place your iCube on the iCube charger,
the battery starts charging.
For safety reasons, recharge the battery only with
chargers supplied by Phonak.
During the charging process, the battery indicator is
lit solid. Once the battery is fully charged, the battery
indicator will start flashing slowly. Normally, charging
an empty battery takes about 90 minutes. It is safe
to leave the charger connected overnight — the battery
cannot be overcharged.
When charging your iCube for the first time,
leave it to charge for at least three hours (even
if the battery indicator starts flashing earlier).
A new battery’s full performance is achieved only
after two or three complete charge and discharge
cycles.
iCube
GA_iCube_GB._AK1_9.10.07.qxp 24.1.2008 14:27 Uhr Seite 8

10
Getting started
Your iCube battery can be charged hundreds of times.
If the operating time of your iCube reduces substantially,
please contact your local Phonak representative.
Operating time
Battery consumption and the operating time of the
iCube greatly depend on the usage of the device.
Heavy use will reduce the operating time of your iCube
between battery recharges.
Fully charged, your iCube will operate for up to
four hours in normal use.
11
Battery status
While turned ON, your iCube indicates the battery
status on the battery indicator LED as follows:
• Yellow, slow flash 컄 Battery level is high.
• Yellow, fast flash 컄 Battery level is low.
Once the fast flashing starts, your iCube will still
operate for about an hour, but you should recharge
the battery as soon as possible.
Low battery status is also indicated in iPFG in the
“CableFree Fitting Status” dialog.
GA_iCube_GB._AK1_9.10.07.qxp 24.1.2008 14:27 Uhr Seite 10
13
12
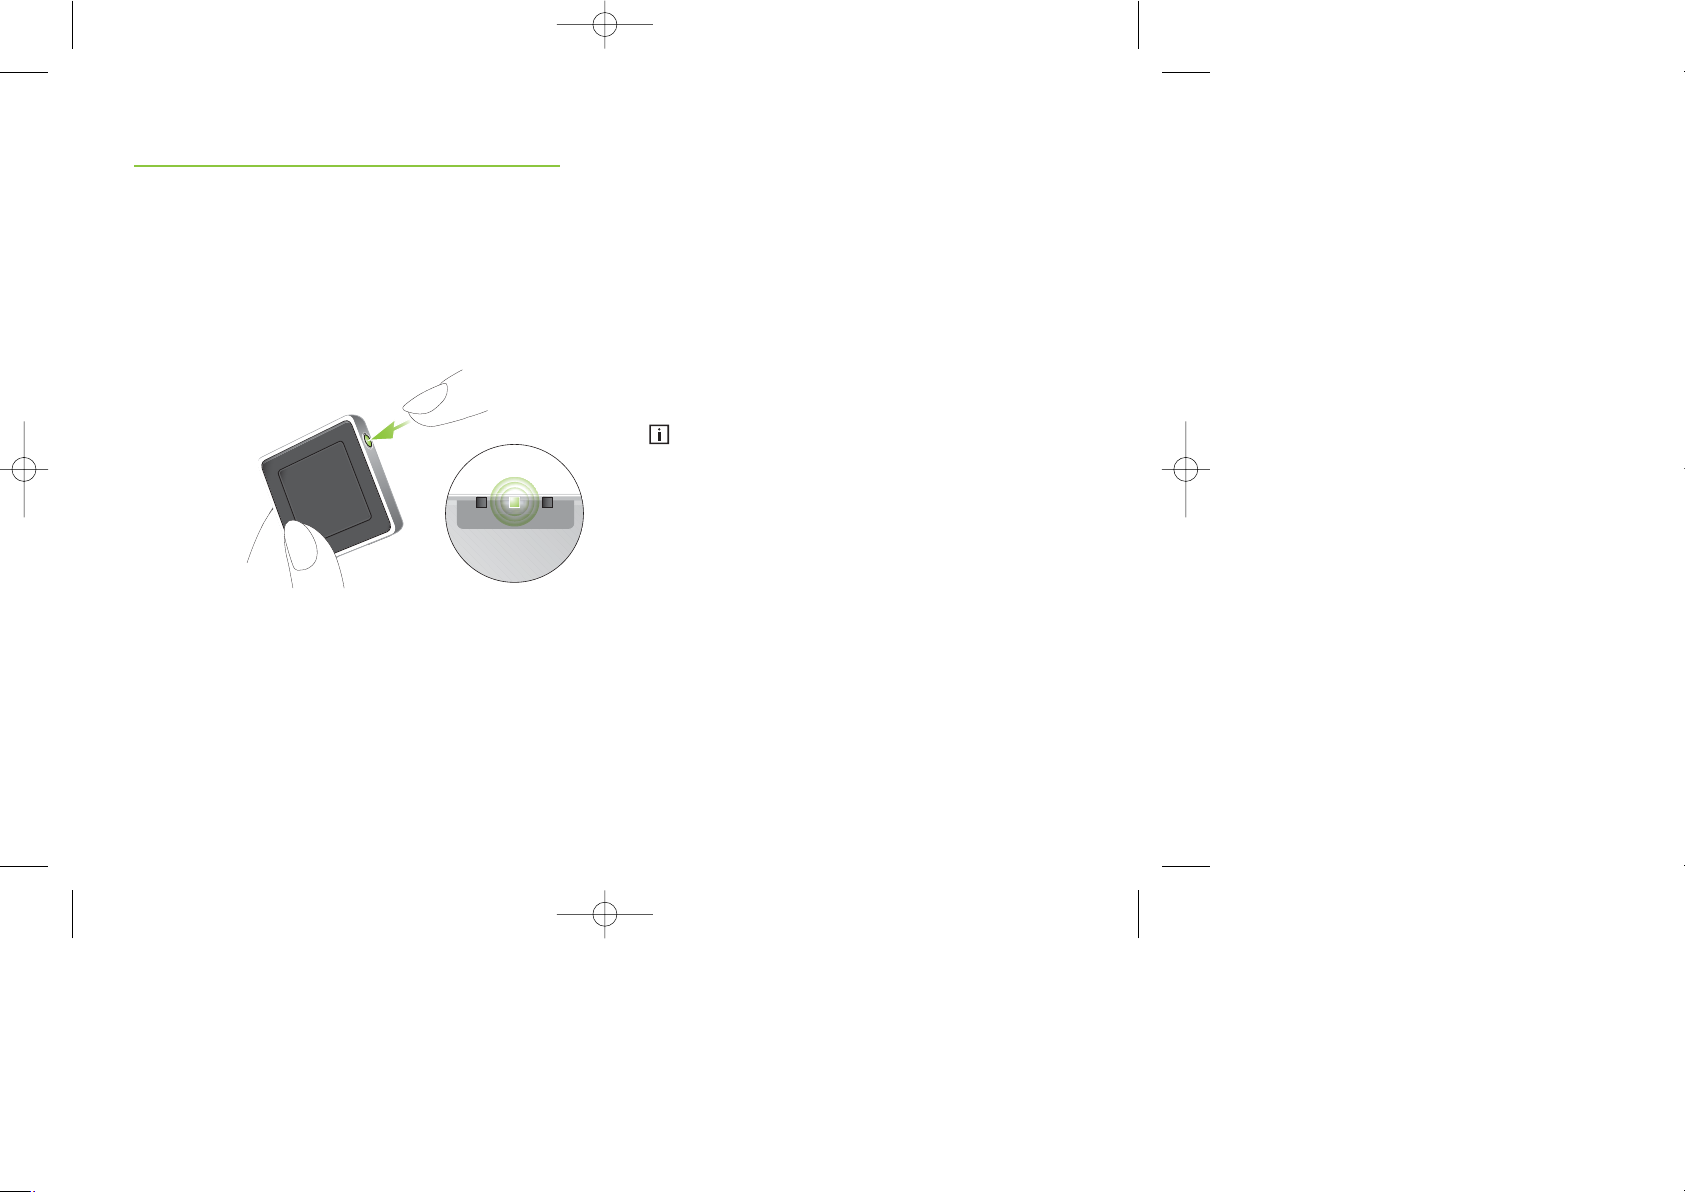
Turning iCube ON/OFF
Turning iCube ON
To turn ON your iCube, press and hold the ON/OFF
button for about a second until you see the battery
indicator turn ON. Once your iCube is fully operational,
the battery indicator will flash slowly.
Turning iCube OFF
To turn OFF your iCube, press and hold the ON/OFF
button for about two seconds until you see the battery
indicator turn ON. Release the ON/OFF button. Once
you release the ON/OFF button, the battery indicator
will go dark and your iCube is OFF.
햲
햳
Getting started
Connecting iCube to your computer
iCube was designed to bring you the benefits of
CableFree Fitting via Bluetooth connection. However,
there are locations where Bluetooth connections are
not allowed, so iCube can alternatively be used with a
USB connection. In either case, before you can start
using your iCube it needs to be connected with your
computer.
Before you continue, make sure the iCube battery
charge is high.
Connecting via Bluetooth
Connecting your iCube via Bluetooth is done in three
steps:
1. Prepare the Bluetooth connection on your computer
To use iCube wireless via Bluetooth make sure that you
have Bluetooth activated. If your computer is equipped
with Bluetooth built in, find the Bluetooth settings
and activate it. For specific instructions please refer to
the documentation of the computer and operating
system you are using.
GA_iCube_GB._AK1_9.10.07.qxp 24.1.2008 14:27 Uhr Seite 12

15
14
Getting started
If you are using NoahLink and you have already
installed the corresponding external Bluetooth adaptor,
you can use that same adaptor for iCube.
If your computer is neither equipped with Bluetooth
built in nor with a NoahLink compatible Bluetooth
adaptor, use the Bluetooth adaptor accessory provided
by Phonak. Refer to the “quick start guide” document
available with the adaptor's Software CD and follow
the instructions.
iCube works within a Bluetooth operating range of
up to 10 meters (33 ft.) of the fitting computer.
2. Start the Connection Wizard for iCube
With Bluetooth functionality turned ON, you can now
initiate the connecting process via the iPFG fitting
application. In iPFG, press the iCube status button
which is located at the right-hand side of the iPFG
screen.
If no iCube has been previously connected, pressing
the iCube status button will start the “Connection
Wizard for iCube”. (Later, pressing the iCube status
button will guide you directly to the “CableFree
Fitting Status” screen as described on page 18).
GA_iCube_GB._AK1_9.10.07.qxp 24.1.2008 14:27 Uhr Seite 14
 Loading...