

Page 1
Deutsch Français Italiano Español Português NederlandsEnglish
Quick Guide
Page 2
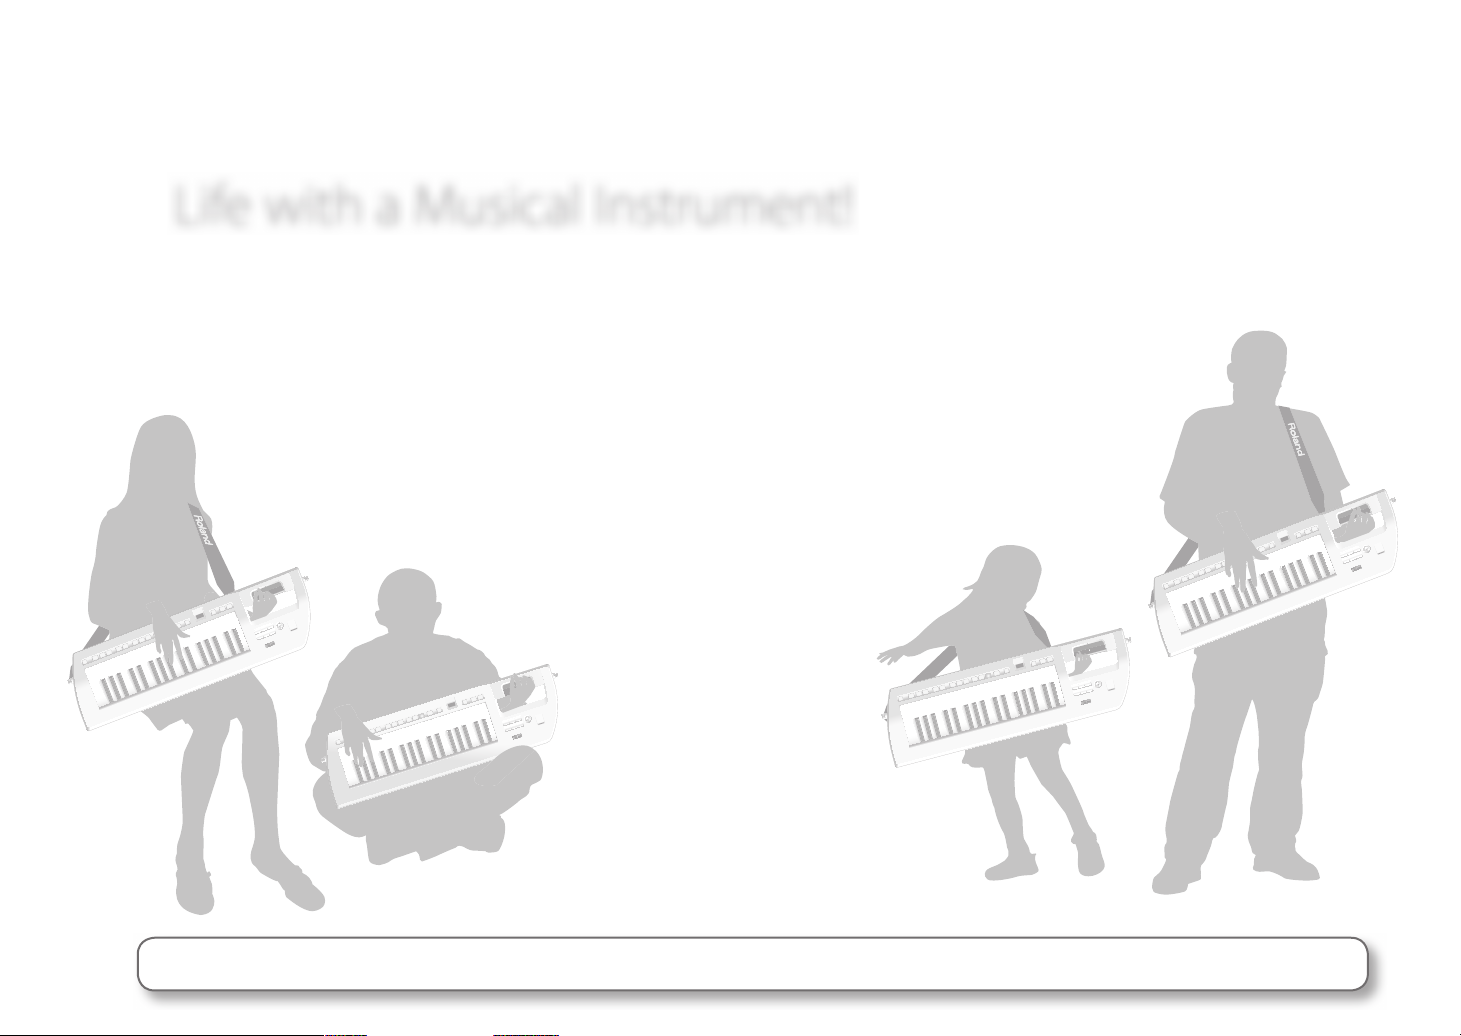
Life with a Musical Instrument!
Roland’s Lucina AX-09 is the new shape of synthesizers. It represents a new concept that lets you...
Enjoy playing a synthesizer anytime and anywhere.
Enjoy the lifestyle of playing a musical instrument.
This “Quick Guide” explains basic operation in a way that should be understandable even to someone who’s never
touched a synthesizer before.
Now let’s pick up the Lucina AX-09 and start enjoying “life with a musical instrument”!
Copyright © 2010 ROLAND CORPORATION
All rights reserved. No part of this publication may be reproduced in any form without the written permission of ROLAND CORPORATION.
Before using this unit, carefully read the sections entitled: “USING THE UNIT SAFELY” (Owner’s Manual) and “IMPORTANT NOTES” (Owner’s Manual). These sections provide important information concerning the proper operation of the
unit. Additionally, in order to feel assured that you have gained a good grasp of every feature provided by your new unit, Owner’s Manual should be read in its entirety. The manual should be saved and kept on hand as a convenient reference.
Page 3
Contents
Deutsch Français Italiano Español Português NederlandsEnglish
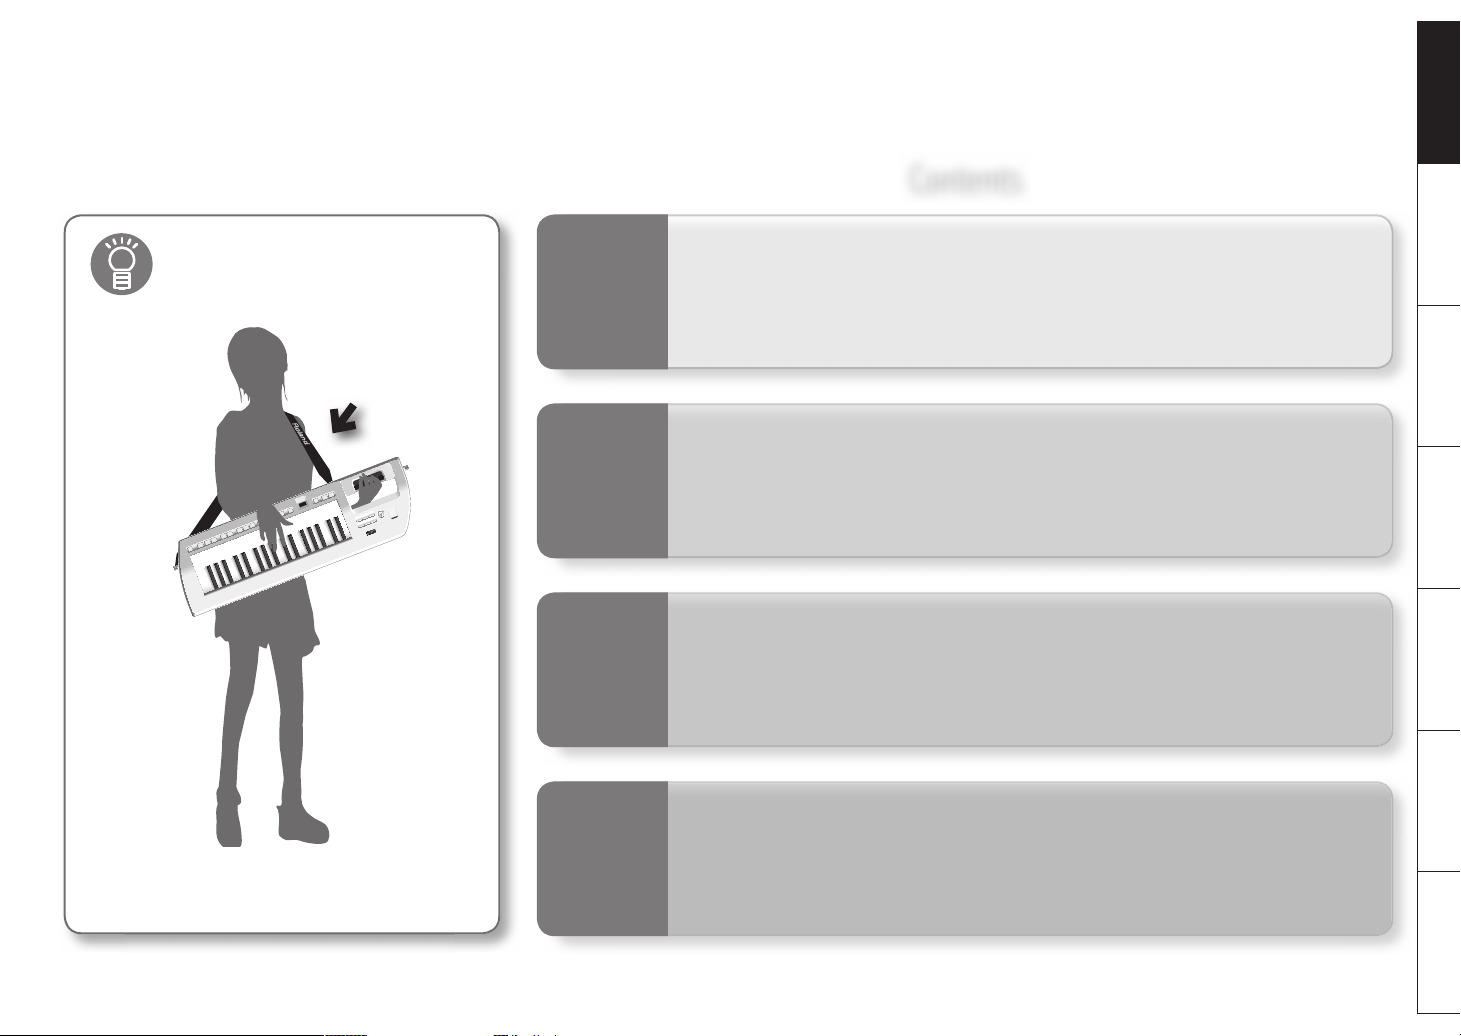
First attach the strap!
For details, refer to p. 7 in the “Owner’s Manual.”
☞
1
2
3
4
Getting Ready
Selecting Sounds
Performing
Playing Along with a
Favorite Song
Connect the Lucina AX-09 to your ampli ed speakers, and turn
on the power switch.
The Lucina AX-09 contains a wide variety of sounds. This
chapter explains how to select sounds.
The Lucina AX-09 has controllers and a D Beam that you can use
to modify the sound. This chapter explains how to use them.
You can connect your portable audio player to the Lucina AX-09
and play the Lucina AX-09 along with your favorite songs. You
can also copy your audio les (MP3, WAV, AIFF) to USB memory
and play them through the Lucina AX-09.
3
Page 4
Getting
1
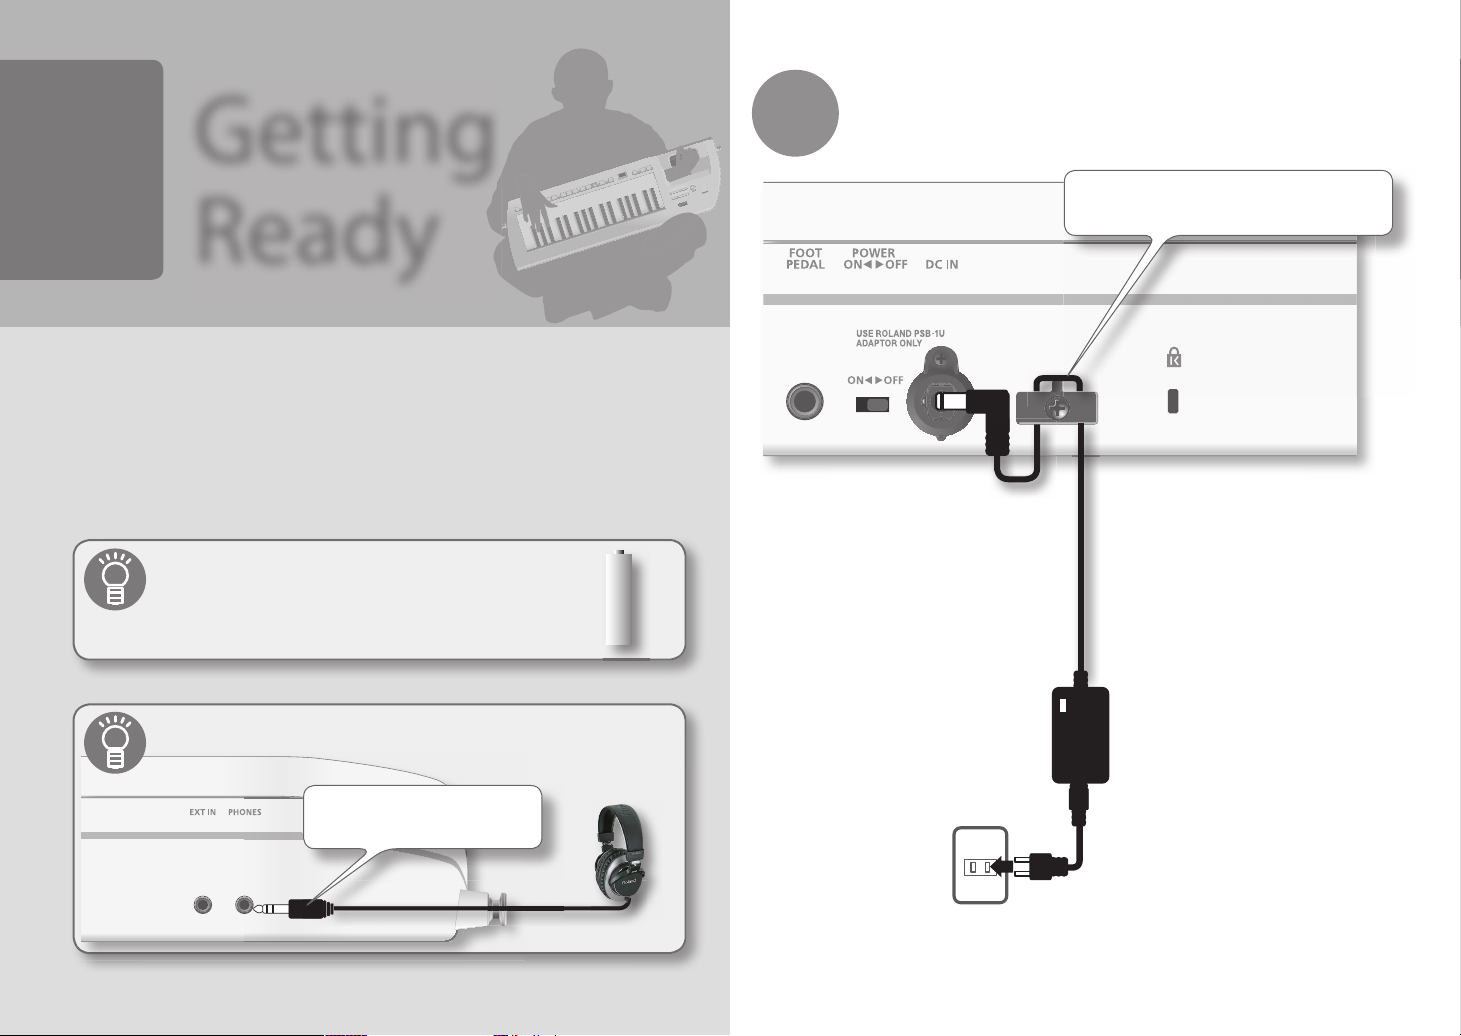
Connect the AC adaptor.
1
Ready
In order to hear sound, you’ll need to use an audio cable to connect the Lucina AX-09 to
ampli ed speakers (which from here on we’ll simply call “speakers”).
Once you’ve got everything hooked up, turn on the power switch.
You can also use batteries.
For details, refer to p. 6 in the “Owner’s Manual.”
☞
You can connect headphones (sold separately).
Wrap the cord from the AC adaptor around the
cord hook as shown in the illustration.
You can connect headphones that
have a stereo mini-plug (1/8” plug).
For details, refer to p. 7 in the “Owner’s Manual.”
4
☞
Page 5

2 3
Connect your speakers (sold separately). Turn on the [POWER] switch.
Use audio cables (PCS series; sold separately) to
make this connection.
It’s a good idea to pass the speaker
cables behind the strap as shown in the
illustration.
First, minimize the volume of the Lucina AX-09 and your speakers.
Then, switch on the Lucina AX-09’s power, and nally power up your speakers.
4
Use the [VOLUME] knob to raise the volume.
Deutsch Français Italiano Español Português NederlandsEnglish
For details, refer to p. 8 in the “Owner’s Manual.”
☞
Slowly turn the knob toward the
right.
Play the keyboard while you adjust
the volume of the Lucina AX-09 and
the speakers.
For details, refer to p. 8 in the “Owner’s Manual.”
☞
5
Page 6

Try playing the keyboard. You’ll hear the tone you selected.
For details on each tone, refer to the “Tone List” at the back of the
Selecting a Regular Tone
Selecting
2
Sounds
This chapter explains how to select sounds.
What is a Tone?
On the Lucina AX-09, the sounds you can select and play are called “tones.”
There are two kinds of tones: “Regular Tones” and “Special Tones.”
What are Regular Tones?
Regular tones are organized into six groups, with 24 variations in each group. In
other words, the Lucina AX-09 has 144 regular tones.
What are Special Tones?
These are six high-quality, very expressive tones that were created speci cally
for the Lucina AX-09.
1
2
Press one of the [1]–[6] buttons to select a group.
Group Explanation
1 SYNTH / PAD Synthesizer/pad (sustained synth) sounds
2 PIANO / KEYBOARD Piano and keyboard sounds
3 ORGAN / ACCORDION Organ and accordion sounds
4 STRINGS / CHOIR String and chorus sounds
5 BRASS / W WINDS Brass and woodwind sounds
6 GUITAR / BASS Guitar and bass sounds
Use the [INC/+] [DEC/–] buttons to select a variation.
Each group contains variations 1–24. The display shows the variation
number.
Pressing the [INC/+] button increments the number by one, and
pressing the [DEC/–] button decrements it by one.
Convenient previewing
If you press the [PREVIEW] button, the Lucina AX-09 will
play a demo for the selected tone using an appropriate
phrase.
6
Try playing the keyboard. You’ll hear the tone you selected.
For details on each tone, refer to the “Tone List” at the back of the
☞
owner’s manual.
Page 7

Selecting a Special Tone Registering Favorite Tones
1
Hold down the [SPECIAL TONE] button and press one of
the [1]–[6] buttons.
Special Tone Explanation
1 SYNTH 1 Lead synthesizer sound suitable for solo playing
2 SYNTH 2 Polyphonic synthesizer sound suitable for chords
3 SYNTH BASS Synth bass sound
4 VIOLIN Violin sound
5 TROMBONE Trombone sound
6 JAZZ SCAT Jazz scat sound
You can register twelve of your favorite tones (six each in banks A and B). (Special Tones
cannot be registered.)
Before you continue, select the tone that you want to register.
Press the [WRITE] button.
1
Hold down the bank [A] or [B] button, and press one of
2
the [1]–[6] buttons.
The tone will be registered to the selected bank and number.
Deutsch Français Italiano Español Português NederlandsEnglish
Try playing the keyboard. You’ll hear the special tone you selected.
For details, refer to p. 9 in the “Owner’s Manual.”
☞
Recalling a Favorite Tone
Press the bank [A] or [B] button, and then press one of
1
the [1]–[6] buttons.
The favorite tone that you registered in the selected bank and number will be recalled.
For details, refer to p. 10 in the “Owner’s Manual.”
☞
7
Page 8

3
The Lucina AX-09 has controllers and a D Beam that you can use to modify the sound. This
chapter explains how to use these.
Performing
When do I use them?
Raising or lowering the key range by octaves
You can raise or lower the range of the keyboard in steps of one octave, for a
maximum of three octaves upward or downward.
Raising or lowering the key range by semitones
If you lower the key range by a semitone, pressing the “C” key will sound the
“B” note. For example, if you’re playing a song that’s in B-major, you might nd
that the ve sharps of that key make the ngering di cult. In this case, you
could lower the key range by a semitone, and play the song using C-major
ngering—in other words, using just the white keys!
Raising or Lowering the Key Range by Octaves
Press the [+] button to raise the key range by one octave.
1
Press the [–] button to lower the key range by one octave.
You can change the key range by a
maximum of +/–3 octaves.
To return to the original key range,
press the [+] and [–] buttons
simultaneously.
Raising or Lowering the Key Range by Semitones
Hold down the [TRANSPOSE] button and use the [+] / [–]
1
buttons to raise/lower the key range in steps of a semitone.
Touch controller
The touch controller lets you vary the pitch by moving your nger. For
example, you can use this to simulate the way in which a guitarist bends the
pitch of a string.
You can change the key range by -5–+6
semitones.
To return to the original key range, hold
down the [TRANSPOSE] button and the [+]
/ [–] buttons simultaneously.
D Beam
You can vary the sound by moving your hand over the D Beam sensor.
For example, if you’ve selected PITCH, the pitch will change when you move
your hand over the D Beam while playing the keyboard.
For details, refer to p. 11 in the “Owner’s Manual.”
8
☞
Page 9

Using the Touch Controller and Modulation Bar
If you place your nger on the touch controller and move
1
it to left and right, the pitch will change.
Using the D Beam
Press a button to select the D Beam e ect.
1
D Beam
PITCH Modi es the pitch of the sounds you play.
FILTER Modi es the tonal character of the sound you play.
ASSIGNABLE
Explanation
Allows you to assign a desired e ec t. With the factory settings, an e ect
appropriate for each tone will be applied.
Deutsch Français Italiano Español Português NederlandsEnglish
When you press a button
so it’s lit, the e ect listed
in the table below will be
applied.
If you press the lit button
once again, the D Beam
will turn o .
By pressing the modulation bar you can apply vibrato.
2
For the special tones “VIOLIN” and “TROMBONE,” pressing the modulation bar will
vary the dynamics (expression).
For details, refer to p. 11 in the “Owner’s Manual.”
☞
While you perform, position your hand above the
2
D Beam sensor and move it slowly up and down.
For details, refer to p. 12 in the “Owner’s Manual.”
☞
9
Page 10

Connecting a Portable Audio Player and Playing Along
Playing Along
4
with a Favorite
Song
You can connect your portable audio player to the Lucina AX-09, and play the Lucina
AX-09 along with your favorite songs.
You can also copy audio les (MP3, WAV, AIFF) from your computer to USB memory, and
play them through the Lucina AX-09.
What les can I play from USB memory?
You can play MP3, WAV, or AIFF les.
Files of the following formats can be played.
with a Song
1
Connect your portable audio player.
Use a stereo mini (1/8”) cable (sold separately)
to connect your player to the EXT IN jack.
10
MP3
Format MPEG-1 audio layer 3
Sampling Frequency 44.1 kHz
Bit Rate
WAV, AIFF
Sampling Frequency 44.1 kHz
Bit Rate 8/16/24 -bit
32/40/48/56/64/80/96/112/128/160/192/224/256/320 kbps,
VBR (Variable Bit Rate)
2
Play back a song on your portable audio player, and play
along on the Lucina AX-09.
Use the controls of your player to adjust the volume.
Page 11

Copying Audio Files (MP3, WAV, AIFF) to USB Memory for Playback on the Lucina AX-09
The Lucina AX-09 can play back audio les
(MP3, WAV, AIFF) from USB memory.
Before you proceed, you’ll need to copy the
audio les from your computer to the root
level of your USB memory, and insert the USB
memory into the Lucina AX-09.
Press the [AUDIO PLAYER] button.
1
2
Press the [
] button to play the song.
Copy to USB drive
MP3, WAV, AIFF
When the button
lights up, the Lucina
AX-09 is ready to
play songs from USB
memory.
Insert USB memory
To select a song, hold down the [AUDIO PLAYER] button
3
and use the [INC/+] or [DEC/–] button.
The songs will be in the order of their le name (in order of
numerals, uppercase letters, lowercase letters). Hold down the
[AUDIO PLAYER] button and press the [INC/+] button to jump to
the next song, or the [DEC/–] button to jump to the beginning of
the current song (or the preceding song if you’re already at the
beginning of the song).
For details, refer to p. 14 in the “Owner’s Manual.”
☞
Deutsch Français Italiano Español Português NederlandsEnglish
Playback will start
when the button
lights.
Press the button
once again to pause
playback.
You can set things such as the song’s playback volume
You can set the song’s playback volume, and also specify whether
playback is to stop for each song, or play consecutively without stopping.
For details, refer to p. 15 in the “Owner’s Manual.”
☞
11
Page 12

* 5 1 0 0 0 1 1 5 1 1 - 0 1 *
 Loading...