

Page 1

Kinetix 2000 Slot Filler Module
(Cat. No. 2093-PRF)
Installation Instructions
Inside ...
English Section . . . . . . . . . . . . . . . . 3
Français . . . . . . . . . . . . . . . . . . . . . 5
Deutscher Abschnitt . . . . . . . . . . . 7
Sezione in Italiano . . . . . . . . . . . . . 9
Sección en español . . . . . . . . . . . . 11
Seção em português . . . . . . . . . . . . 13
Japanese . . . . . . . . . . . . . . . . . . . . 15
. . . . . . . . . . . . . . . . . . . . . . . 17
Korean
Chinese . . . . . . . . . . . . . . . . . . . . . . 19
Publication 2093-IN003A-MU-P - December 2006
Page 2

2
Publication 2093-IN003A-MU-P - December 2006
Page 3

Installation Instructions
Kinetix 2000 Slot Filler Module
Catalog Number 2093-PRF
Topic Page
About This Publication 3
Mount Slot Fillers 4
About This Publication
This publication provides instructions to mount the slot filler module on a Kinetix 2000
power rail.
The slot filler module provides continuity on the contactor enable string in a multi-axis
Kinetix drive system. When installed, it permits energizing of the dc power bus, and prevents
personal exposure to potentially hazardous voltages at an exposed slot on the power rail.
Use this document with the Kinetix 2000 Multi-axis Servo Drive Installation Instructions,
publication 2093-IN001, to install a Kinetix 2000 drive system. For information about
installing or removing equipment and accessories not mentioned here, refer to the
Kinetix 2000 Multi-axis Servo Drive User Manual, publication 2093-IN004.
Publication 2093-IN003A-MU-P - December 2006
Page 4
Mount Slot Fillers
This procedure assumes you have mounted your power rail, integrated axis module, axis
modules, or shunt module (catalog numbers 2093-AC05-MPx, 2093-AMPx, 2093-AM0x, and
2093-ASP06).
Follow these steps to mount a slot filler module on the Kinetix 2000 power rail.
1. Determine which power rail slot requires a slot filler module.
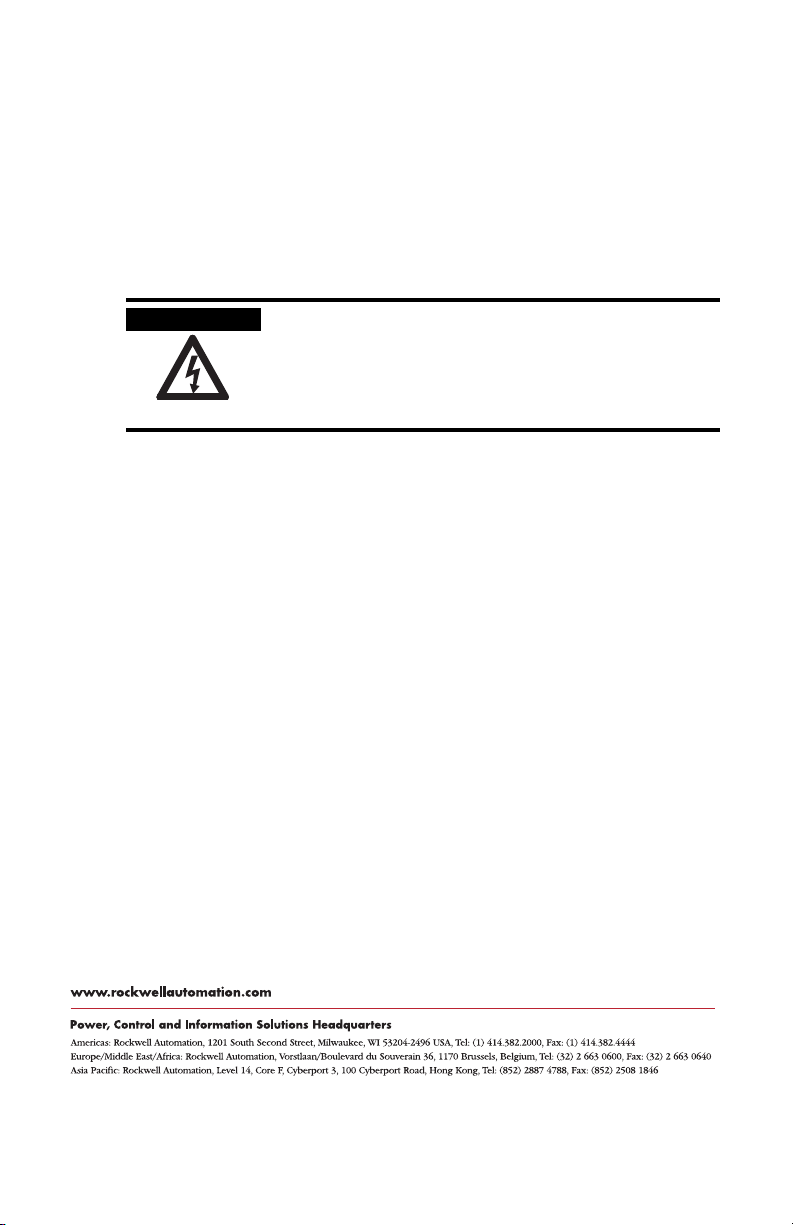
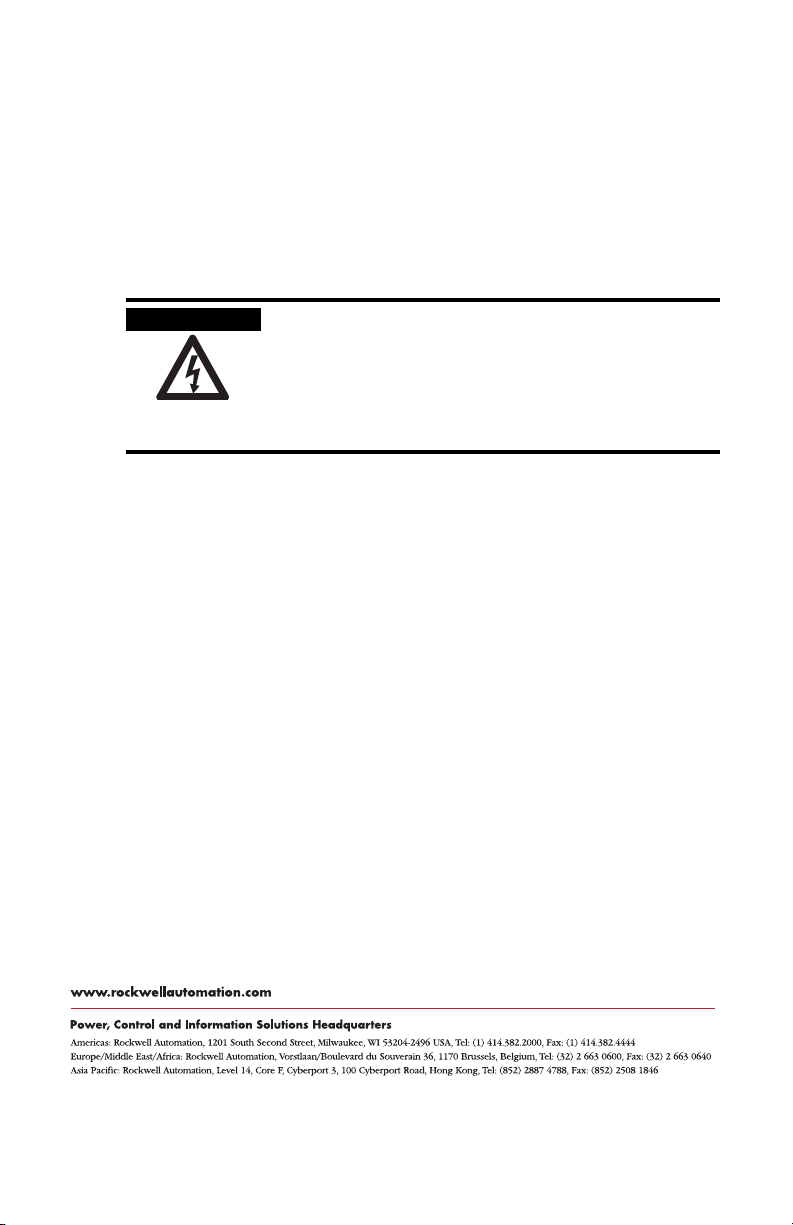
SHOCK HAZARD
To avoid personal injury due to electrical shock, place a slot filler
module in any empty slot on the Kinetix 2000 power rail.
An unoccupied slot in the power rail will disable the Kinetix 2000
system, but control ac power will continue to be applied to the
power rail.
2. Insert the module in the appropriate power rail slot.
a. Align the module locking screw with its corresponding slot on the power rail.
b. Push the module straight forward, by applying force at the top and bottom of the
module.
The module is fully seated when the locking clip snaps into the bottom of the power
rail, and the locking screw boss is flush at the top of the power rail.
3. Torque the mounting screw to 0.7 Nm (6 lb-in).
4. Repeat this procedure as required to install a slot filler in any empty slots on the
power rail.
Allen-Bradley, Kinetix, and Rockwell Automation are trademarks of Rockwell Automation, Inc.
Trademarks not belonging to Rockwell Automation are property of their respective companies.
Publication 2093-IN003A-MU-P - December 2006
Copyright © 2006 Rockwell Automation, Inc. A ll rights reserved. Printed in t he U.S.A.
Page 5

Notice d’installation
Cache d’emplacement pour Kinetix 2000
Référence 2093-PRF
Rubrique Page
A propos de cette publication 5
Montage des caches d’emplacement 6
A propos de cette publication
Ce document indique comment monter un cache d’emplacement sur un rail d’alimentation
pour Kinetix 2000.
Dans un système multi-axe Kinetix, le cache d’emplacement assure la continuité du circuit
d’activation du contacteur. Une fois installé, il permet l’activation du bus d’alimentation c.c. et
empêche l’exposition du personnel à des tensions potentiellement dangereuses au niveau d’un
emplacement vide sur le rail d’alimentation.
Utilisez ce document ainsi que la notice d’installation du variateur brushless multi-axe
Kinetix 2000 (publication 2093-IN001) pour installer un système Kinetix 2000. Pour de plus
amples informations sur l’installation ou le démontage des équipements et des accessoires
non mentionnés dans la présente notice, reportez-vous au manuel d’utilisation des modules
d’axe Kinetix 2000 (publication 2093-UM001).
Publication 2093-IN003A-MU-P – Décembre 2006
Page 6
Montage des caches d’emplacement
Cette procédure suppose que vous ayez monté le rail d’alimentation, le module d’axe intégré,
les modules d’axe ou le module résistance de freinage (références 2093-AC05-MPx,
2093-AMPx, 2093-AM0x et 2093-ASP06).
Pour monter un cache d’emplacement sur le rail d’alimentation pour Kinetix 2000, procédez
comme suit.
1. Déterminez les emplacements du rail d’alimentation qui requièrent un cache.
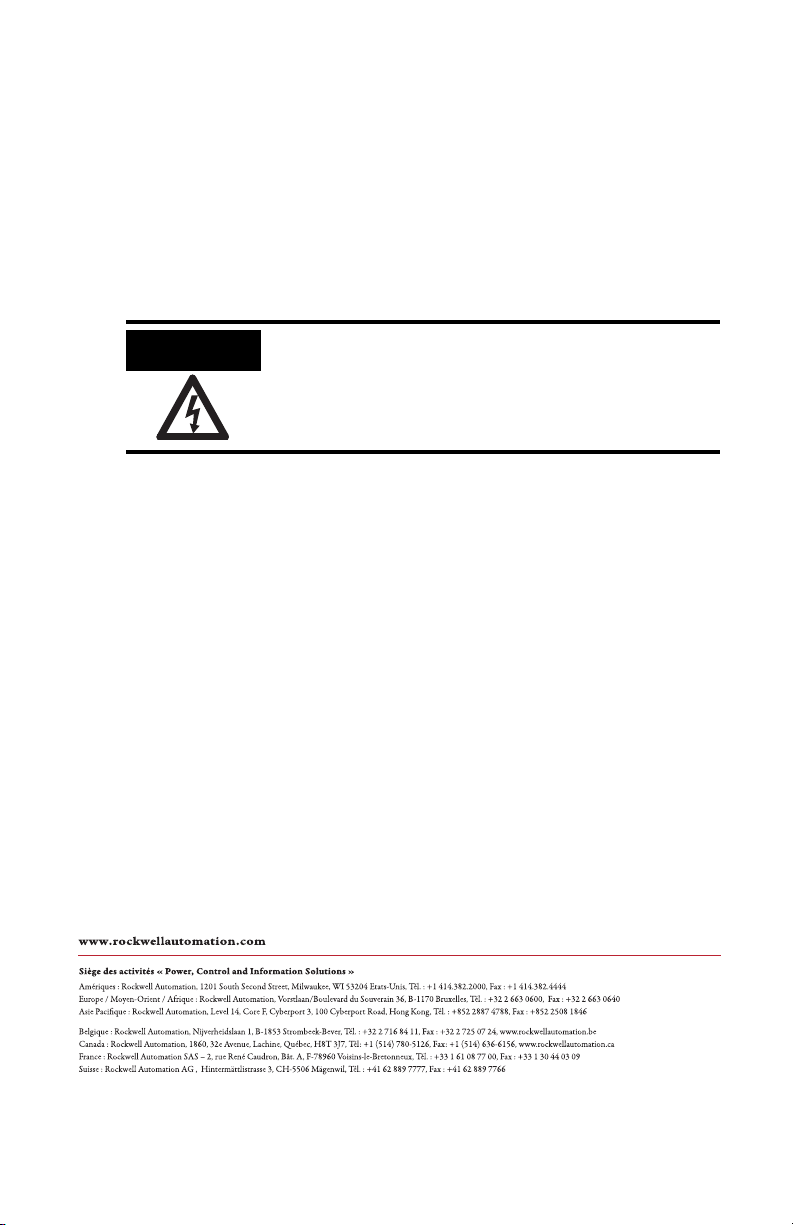
DANGER
D’ELECTROCUTION
Pour éviter tout risque d’électrocution, placez un cache
d’emplacement dans tout emplacement vide du rail d’alimentation
pour Kinetix 2000.
Tout emplacement inoccupé sur le rail d’alimentation désactive le
système Kinetix 2000, mais le rail d’alimentation reste alimenté.
2. Insérez le module dans l’emplacement approprié du rail d’alimentation.
a. Alignez la vis de fixation du module sur l’emplacement correspondant sur le rail
d’alimentation.
b. Poussez le module bien droit, en appuyant en haut et en bas du module.
Le module est correctement emboîté lorsque le loquet de verrouillage s’enclenche sur
la partie inférieure du rail d’alimentation et lorsque la vis de fixation affleure sur la
partie supérieure du rail.
3. Serrez la vis de fixation avec un couple de 0,7 Nm.
4. Répétez cette procédure pour installer un cache d’emplacement dans chaque
emplacement vide du rail d’alimentation.
Allen-Br adley, Kinetix et Rockwell Autom ation sont des marques commerci ales de Rockwel l Automation, Inc.
Les marques commerciales n’appartenant pas à Rockwell Automation sont la propriété de leurs sociétés respectives.
Publication 2093-IN003A-MU-P – Décembre 2006
Copyright © 20 06 Rockwell Automation, Inc. Tous droits réservés . Imprimé aux Etats-Unis .
Page 7

Installationsanleitung
Blindmodul für Kinetix 2000
Bestellnummer 2093-PRF
Thema Seite
Hinweise zu dieser Publikation 7
Einbau von Blindmodulen 8
Hinweise zu dieser Publikation
Diese Publikation enthält Anweisungen zum Montieren des Blindmoduls auf einer
Stromschiene des Typs Kinetix 2000.
Das Blindmodul deckt alle Kontakte berührungssicher ab und vervollständigt das
Stromschienen-System. Im eingebauten Zustand erlaubt das Blindmodul, dass die
DC-Sammelschiene stromführend geschaltet werden kann, und schützt Personen davor, mit
potentiell gefährlichen Spannungen an einem freien Steckplatz auf der Stromschiene in
Berührung zu kommen.
Verwenden Sie dieses Dokument zusammen mit der Installationsanleitung für den
Multi-Achs-Servoantrieb Kinetix 2000 (Publikation 2093-IN001) zum Installieren eines
Antriebssystems Kinetix 2000. Informationen zum Einbau oder Ausbau von hier nicht
erwähnten Geräten und Zubehörteilen finden Sie im Anwenderhandbuch für den
Multi-Achs-Servoantrieb Kinetix 2000 (Publikation 2093-IN004).
Publikation 2093-IN003A-MU-P – Dezember 2006
Page 8
Einbau von Blindmodulen
Diese Verfahrensvorschrift geht davon aus, dass Sie Ihre Stromschiene, ein integriertes
Achsmodul, Achsmodule oder ein Bremsmodul montiert haben (Bestellnummern
2093-AC05-MPx, 2093-AMPx, 2093-AM0x und 2093-ASP06).
Befolgen Sie diese Schritte zum Montieren eines Blindmoduls auf der Stromschiene des
Systems Kinetix 2000.
1.
Stellen Sie fest, an welchem Steckplatz der Stromschiene ein Blindmodul erforderlich ist.
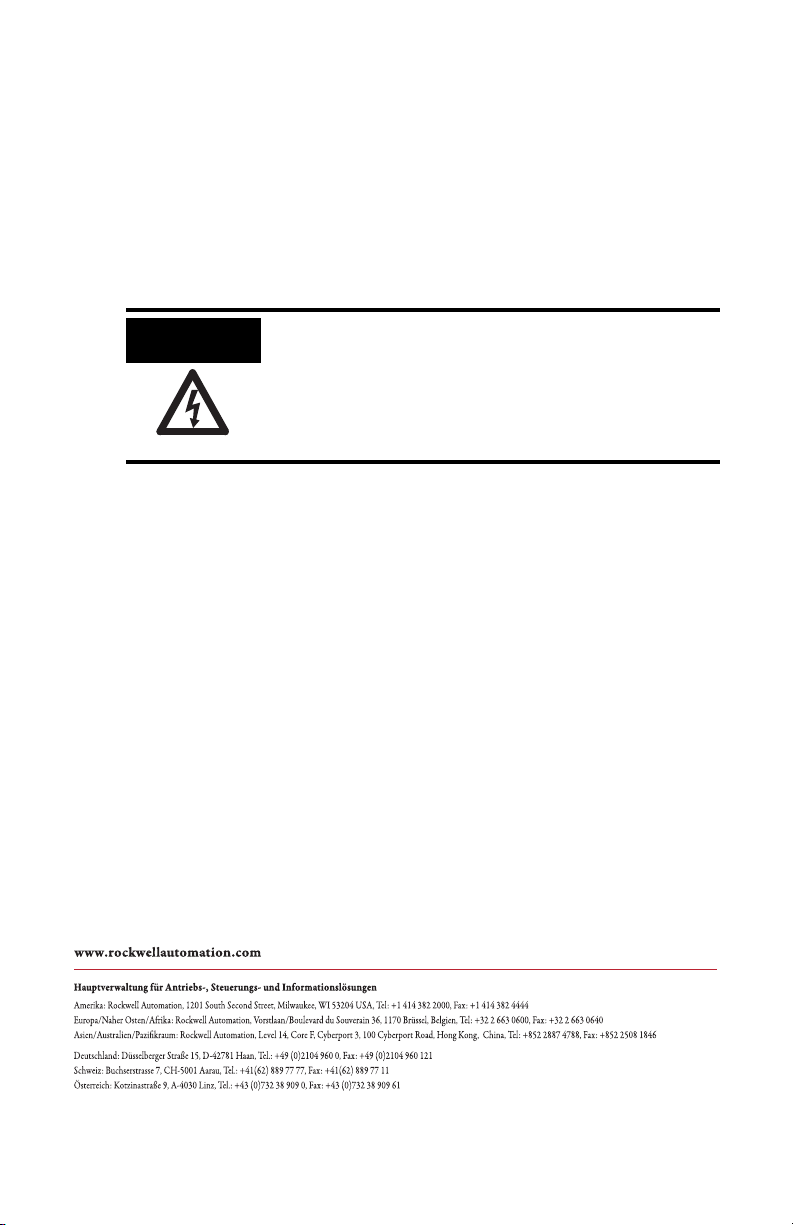
STROMSCHLAG-
GEFAHR
Um Verletzungen durch elektrischen Schlag zu vermeiden, setzen
Sie in jeden leeren Steckplatz auf der Stromschiene des Systems
Kinetix 2000 ein Blindmodul sein.
Ein unbelegter Steckplatz auf der Stromschiene deaktiviert das
System Kinetix 2000, doch die AC-Steuerspannung liegt weiterhin
an der Stromschiene an.
2.
Setzen Sie das Modul in den entsprechenden Steckplatz der Stromschiene ein.
a. Richten Sie die Sicherungsschraube des Moduls mit dem entsprechenden
Steckplatz auf der Stromschiene aus.
b. Drücken Sie das Modul gerade nach vorn, indem Sie Kraft oben und unten am
Modul ausüben.
Das Modul wurde vollständig in Endlage gebracht, wenn die Sicherungsklammer im
unteren Profil der Stromschiene einrastet und der Kopf der Sicherungsschraube
bündig mit dem oberen Profil der Stromschiene abschließt.
3. Ziehen Sie die Montageschraube mit einem Drehmoment von 0,7 Nm (6 lb-in) fest.
4. Wiederholen Sie diesen Vorgang nach Bedarf, um ein Blindmodul in jeden leeren
Steckplatz der Stromschiene einzubauen.
Allen-Bradley, Kinetix, und Rockwell Automation sind Marken von Rockwell Automation, Inc.
Marken, die nicht Eigentum von Rockwell Automation sind, sind Eigentum der entsprechenden Unternehmen.
Publikation 2093-IN003A-MU-P – Dezember 2006
Copyright © 20 06 Rockwell Automation , Inc. Alle Rechte vorb ehalten. Printed in US A.
Page 9

Istruzioni per l’installazione
Modulo di riempimento slot Kinetix 2000
Numero di catalogo 2093-PRF
Argomento Pagina
Informazioni sulla pubblicazione 9
Montaggio dei moduli di riempimento slot 10
Informazioni sulla pubblicazione
Questa pubblicazione fornisce istruzioni per il montaggio del modulo di riempimento slot su
una linea di alimentazione di Kinetix 2000.
Il modulo di riempimento slot garantisce continuità sulla catena di abilitazione del contattore
in un sistema di azionamento Kinetix multiasse. Una volta installato, esso consente
l’eccitazione del bus di alimentazione in CC ed evita che il personale sia esposto a tensioni
potenzialmente pericolose presenti negli slot vuoti della linea di alimentazione.
Per installare un sistema Kinetix 2000 utilizzare il presente documento e le Istruzioni per
l’installazione del servoazionamento multiasse, pubblicazione 2093-IN001, Kinetix 2000.
Per informazioni sull’installazione o la rimozione di apparecchiature o accessori non citati nel
presente documento, consultare il Manuale dell’utente sul servoazionamento multiasse
Kinetix 2000, pubblicazione 2093-IN004.
Pubblicazione 2093-IN003A-MU-P – Dicembre 2006
Page 10

Montaggio dei moduli di riempimento slot
La presente procedura presuppone che siano stati montati la linea di alimentazione, il modulo
assi integrato, i moduli assi o il modulo shunt (numeri di catalogo 2093-AC05-MPx,
2093-AMPx, 2093-AM0x e 2093-ASP06).
Per montare un modulo di riempimento slot sulla linea di alimentazione di Kinetix 2000,
procedere come segue:
1. Stabilire quale slot della linea di alimentazione necessita di un modulo di riempimento.
RISCHIO DI
FOLGORAZIONE
Per evitare lesioni personali dovuti a scosse elettriche, posizionare
un modulo di riempimento slot in uno slot vuoto sulla linea di
alimentazione di Kinetix 2000.
Uno slot vuoto nella linea di alimentazione disabilita il sistema
Kinetix 2000, ma l’alimentazione in CA del controllo continua ad
essere presente sulla linea di alimentazione.
2. Inserire il modulo nello slot appropriato della linea di alimentazione.
a. Allineare la vite di blocco del modulo allo slot corrispondente sulla linea di
alimentazione.
b. Facendo forza sulla parte superiore e inferiore del modulo, spingerlo in avanti.
Il modulo si trova nella posizione corretta quando la clip di fissaggio scatta in
posizione nella parte inferiore della linea di alimentazione e la borchia della vite di
blocco è allineata alla parte superiore della linea di alimentazione.
3. Serrare la vite di montaggio a 0,7 Nm (6 lb-in).
4. Per installare un altro modulo di riempimento slot in eventuali slot vuoti sulla linea di
alimentazione, ripetere la procedura.
Allen-Bradley, Kinetix, e Rockwell Automation sono marchi commerciali di Rockwell Automation, Inc.
I marchi commercial i che non apparten gono a Rockwell Automati on sono proprietà delle rispettive aziende.
Pubblicazione 2093-IN003A-MU-P – Dicembre 2006
Copyright © 2006 Rockwell Automation, Inc. Tutti i diritti riservati. Stam pato negli Stati Uniti
Page 11

Instrucciones de instalación
Módulo de tapa ciega Kinetix 2000
Número de catálogo 2093-PRF
Te ma Página
Acerca de esta publicación 11
Montaje de las tapas ciegas 12
Acerca de esta publicación
Esta publicación proporciona las instrucciones para montar el módulo de tapa ciega en una
línea de tensión Kinetix 2000.
El módulo de tapa ciega proporciona una continuidad en la cadena de habilitación del
contactor en un sistema de variador multiejes Kinetix. Cuando está instalado, permite activar
el bus de alimentación eléctrica de CC, y evita la exposición personal a tensiones
potencialmente peligrosas en una ranura expuesta de la línea de tensión.
Utilice este documento junto con el documento Kinetix 2000 Multi-axis Servo Drive
Installation Instructions, publicación 2093-IN001, para instalar un sistema de variadores
Kinetix 2000. Para obtener más información sobre la instalación y desinstalación de algún
tipo de equipamiento o accesorio que no se hayan mencionado en este documento, consulte
el documento Kinetix 2000 Multi-axis Servo Drive User Manual, publicación 2093-IN004.
Publicación 2093-IN003A-MU-P – Diciembre 2006
Page 12

Montaje de las tapas ciegas
Este procedimiento da por sentado que usted ha montado su línea de tensión, el módulo de
eje integrado, los módulos de eje o el módulo de derivación (números de catálogo
2093-AC05-MPx, 2093-AMPx, 2093-AM0x y 2093-ASP06).
Siga estos pasos para montar el módulo de tapa ciega en la línea de tensión
Kinetix 2000.
1. Determine qué ranura de la línea de tensión necesita un módulo de tapa ciega.
PELIGRO DE
CHOQUE
Para evitar accidentes por descargas eléctricas, coloque un módulo
de tapa ciega en toda ranura vacía de la línea de tensión
Kinetix 2000.
Una ranura vacía en la línea de tensión desactivará el sistema
Kinetix 2000, pero se seguirá aplicando la alimentación eléctrica
CA de control a la línea de tensión.
2. Introduzca el módulo en la ranura de la línea de tensión correspondiente.
a. Alinee el tornillo de seguridad del módulo en su ranura correspondiente de la línea
de tensión.
b. Empuje el módulo hacia adelante, aplicando fuerza en la parte superior e inferior
del mismo.
El módulo estará completamente encajado cuando se oiga el chasquido del sujetador
de seguridad en la parte inferior de la línea de tensión y la saliente del tornillo de
seguridad quede al ras en la parte superior de la misma.
3. El par del tornillo de montaje es de 0.7 Nm (6 lb-pulg.).
4. Repita el procedimiento para instalar una tapa ciega en cualquiera de las ranuras vacías
de la línea de tensión.
Allen-Bradley, Kinetix, y Rockwell Automat ion son marcas comerc iales de Rockwell Automation, Inc.
Las marcas comerciales que no pertenecen a Rockwell Automation son propiedad de sus respectivas empresas.
Publicación 2093-IN003A-MU-P – Diciembre 2006
Copyright © 20 06 Rockwell Automation , Inc. Todos los derecho s reservados. Impreso e n EE.UU.
Page 13

Instruções de Instalação
Módulo Cego Kinetix 2000
Código de Catálogo2093-PRF
Tópico Página
Sobre Esta Publicação 13
Instalação do módulo cego 14
Sobre Esta Publicação
Esta publicação fornece instruções de como montar o módulo cego em um barramento de
alimentação Kinetix 2000.
O módulo cego fornece a continuidade no grupo que habilita o contator em um sistema de
acionamento Kinetix com múltiplos eixos. Quando instalado, ele permite a energização do
barramento de força CC e evita a exposição pessoal a tensões potencialmente perigosas em
um slot exposto no barramento de alimentação.
Use este documento com o Kinetix 2000 Multi-axis Servo Drive Installation Instructions,
publicação 2093-IN001, para instalar um sistema de acionamento Kinetix 2000.
Para informações sobre a instalação e a remoção do equipamento e dos acessórios não
mencionados aqui, consulte o Kinetix 2000 Multi-axis Servo Drive User Manual, publicação
2093-IN004.
Publicação 2093-IN003A-MU-P – Dezembro 2006
Page 14
Instalação do módulo cego
Este procedimento presume que você instalou seu barramento de alimentação, o módulo de
eixo ou módulo shunt (códigos de catálogo 2093-AC05-MPx, 2093-AMPx, 2093-AM0x e
2093-ASP06).
Siga essas etapas para instalar um módulo cego em um barramento de alimentação Kinetix
2000.
1. Determine qual o slot do barramento de alimentação requer um módulo cego.
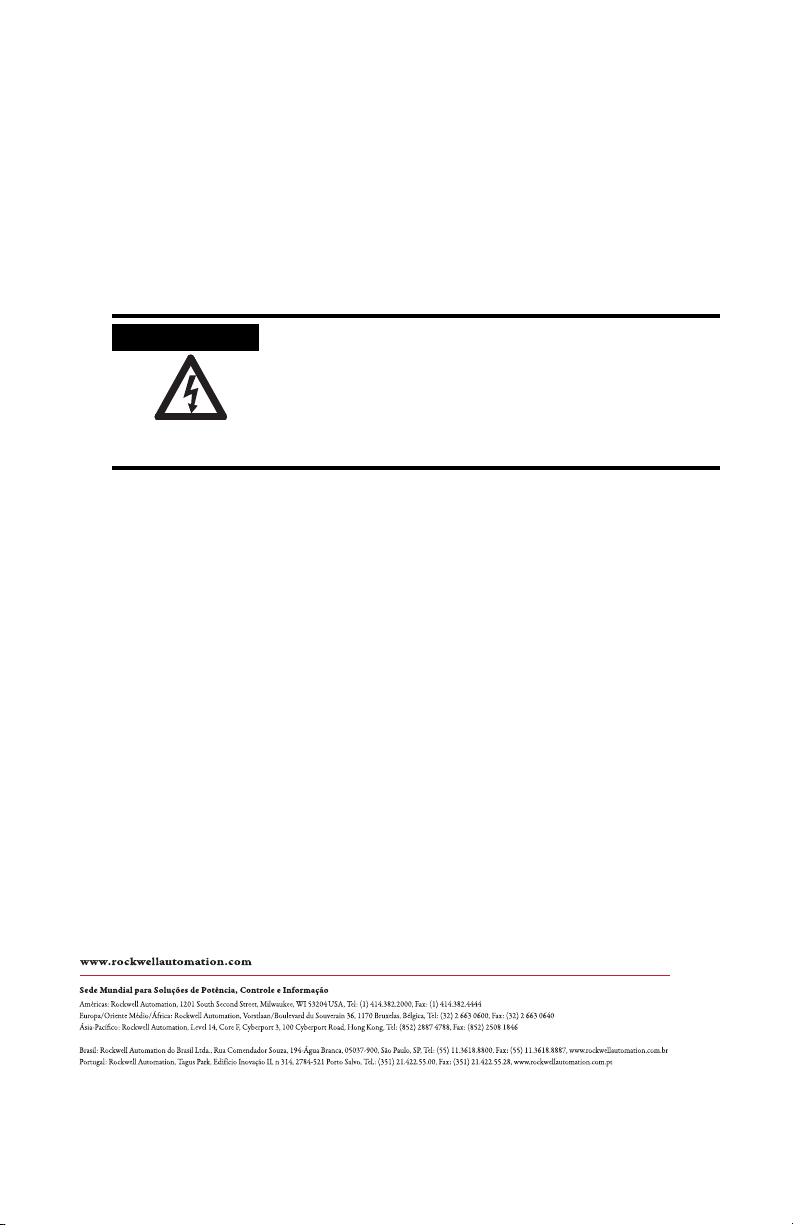
PERIGO DE CHOQUE
Para evitar ferimentos pessoais causados por choques elétricos,
coloque um módulo cego em um slot vazio no barramento de
alimentação Kinetix 2000.
Um slot desocupado no barramento de alimentação desabilitará o
sistema Kinetix 2000, mas a alimentação CA de controle continuará
a ser aplicada ao barramento de alimentação.
2. Insira o módulo no slot do barramento de alimentação adequado.
a. Alinhe o parafuso de travamento do módulo com seu slot correspondente no
barramento de alimentação.
b. Empurre o módulo reto, aplicando a força na parte inferior e superior do módulo.
O módulo está totalmente assentado quando a trava encaixar na parte inferior do
barramento de alimentação e o parafuso de travamento mestre estiver rente à parte
superior do barramento de alimentação.
3. Aperte o parafuso de fixação com um torque de 0,7 Nm (6 lb-pol.).
4. Repita este procedimento conforme necessário para instalar um módulo cego em
todos os slots vazios no barramento de alimentação.
Allen-Bradley, Kinetix, e Rockwell Automat ion são marcas comercia is de Rockwell Automation, Inc.
As marcas comerciais que não pertencem à Rockwell Automation são de propriedade de suas respectivas empresas.
Publicação 2093-IN003A-MU-P – Dezembro 2006
Copyright © 2006 Rockwell Automation, Inc. Todos os direitos reservados. Impresso nos EUA.
Page 15

インストレーションインストラクション
Kinetix 2000 スロット・フィラー・モジュール
Cat. No. 2093-PRF
項目 ページ
本書について
スロットフィラーの取付け
本書について
本書には、スロット・フィラー・モジュールを Kinetix 2000 パワーレールに取
付けるための手順を記載しています。
スロット・フィラー・モジュールは Kinetix 多軸ドライブシステム内でコンタク・
イネーブル・ストリングを導通させます。スロット・フィラー・モジュールを取
付けると、DC 電源バスの通電が可能になり、また作業員が、パワーレール上のむ
き出しになったスロットの潜在的に危険な電圧へさらされることを防ぎます。
本書と『Kinetix 2000 多軸サーボドライブ インストレーションインストラク
ション』(Pub. No. 2093-IN001)を併用して、Kinetix 2000 ドライブシステム
を取付けてください。本書に記載されていない機器やアクセサリの取付け・取り
外しに関する情報については、『Kinetix 2000 多軸サーボドライブ ユーザーズ
マニュアル』(Pub. No. 2093-UM001)を参照してください。
15
16
Pub. No. 2093-IN003A-MU-P - December 2006
Page 16

スロットフィラーの取付け
この取付け手順は、すでにパワーレール、一体型軸モジュール、軸モジュール、
またはシャントモジュール(Cat.No. 2093-AC05-MP
2093-ASP06)が取付けられていることを前提としています。
以下の手順に従って、スロット・フィラー・モジュールを Kinetix 2000 パワー
レールに取付けてください。
1. スロット・フィラー・モジュールが必要なパワーレールスロットを決定し
ます。
x
, 2093-AMPx, 2093-AM0x,
感電の危険
感電による人体への危険を防ぐために、Kinetix 2000
パワーレールのすべての空スロットにスロット・フィ
ラー・モジュールを取付けてください
パワーレールの空スロットに空スロットがあると、
Kinetix 2000 システムは無効になりますが、制御 AC
電源は連続してパワーレールに印加されます。
2. 適切なパワーレールスロットにモジュールを挿入します。
a. モジュール固定ねじをパワーレールの該当するスロットに合わせます。
b. モジュールの上面と底面に力を加えながら、モジュールをまっすぐ押
します。
固定クリップをカチッと音がするまでパワーレールの底面にはめ込み、固
定ねじの突起部分がパワーレールの上面と同じ高さになると、モジュール
は完全に取付けられていることになります。
3. 取付けねじを 0.7Nm(0.6 インチポンド)のトルクで締付けます。
4. 必要に応じてこの手順を繰返し、パワーレールの空スロットにスロット
フィラーを取付けます。
Allen-Bradely, Kinetix, および Rockwell Automation は、Rockwell Automation, Inc. の商標です。
ロックウェル・オートメーションに属さない製品の商標は、それらを有する各企業の所有物です。
Pub. No. 2093-IN003A-MU-P - December 2006
Copyright © 20 06 Rockwell Automation , Inc. All rights reserv ed. Printed in the U.S.A .
Page 17

설치 지침
Kinetix 2000 슬롯 필러 모듈
카탈로그 번호 2093-PRF
주제 쪽
이 문서에 대하여 17
슬롯 필러 설치 18
이 문서에 대하여
이 문서는 Kinetix 2000 파워레일에 슬롯 필러 모듈을 설치하기 위한 지침서입니다 .
슬롯 필러 모듈은 다축 Kinetix 드라이브 시스템에서 접촉기의 연속성을 제공합니
다 . 설치시 DC 전원 버스가 활성화되고 사람이 파워레일의 빈 슬롯에 내재된 위
험한 전압에 노출되는 것을 방지합니다 .
Kinetix 2000 다축 서보 드라이브 션트 모듈 설치 지침 2093-IN001 과 함께
이 문서를 참고하여 Kinetix 2000 드라이브 시스템을 설치하십시오 . 장치와
액세서리를 설치하고 제거하는 것에 대한 정보는 여기에 제시되어 있지 않습니다 .
Kinetix 2000 다축 서보 드라이브 사용자 메뉴얼 2093-IN004 를 참조하십시오 .
Publication 2093-IN003A-MU-P - 2006.12
Page 18
슬롯 필러 설치
이 과정은 귀하가 파워레일, 통합 축 모듈 또는 션트 모듈을 설치하였다고 가정한
x
것입니다 ( 카탈로그 번호 2093-AC05-MP
2093-ASP06).
이 과정을 따라서 슬롯 필러 모듈을 Kinetix 2000 파워레일에 설치하십시오 .
1. 어떤 파워레일 슬롯에 슬롯필러 모듈을 설치하여야 하는지 확인하십시오 .
, 2093-AMPx, 2093-AM0x,
감전 사고
전기 쇼크로 인한 인명 피해를 방지하기 위해 , 슬롯
필러 모듈을 Kinetix 2000 파워레일의 빈 슬롯에 장착
하십시오 .
파워 레일에 비어있는 슬롯이 있으면 Kinetix 2000
시스템이 비활성화되지만 , 제어용 AC 전원은 파워
레일에 계속 공급됩니다 .
2. 모듈을 해당 파워레일 슬롯에 끼우십시오 .
a. 모듈 잠금 스크류를 파워레일의 해당 슬롯에 정렬하십시오 .
b. 모듈의 위와 아래에 힘을 가하여 모듈을 앞으로 똑바로 미십시오 .
잠금 클립이 파워레일의 아래쪽으로 걸려들어가면 모듈이 완전히 장착된
것이며 , 잠금 스크류 보스는 파워레일의 상부에 접촉하게 됩니다 .
3. 마운팅 스크루를 0.7 Nm (6 lb-in) 로 돌리십시오 .
4. 필요에 따라 이 과정을 반복하여 슬롯 필러를 파워레일의 빈 슬롯에 설치
하십시오 .
Allen-Bradley, Kinetix 및 Rockwell Automation 은 Rockwell Automation, Inc. 의 상표입니다
Rockwell Automation 이외의 상표는 각 상표를 소유한 회사의 재산입니다 .
Publication 2093-IN003A-MU-P - 2006.12
Copyright © 2006 Rockwell Automation, Inc. All rights reserved. Printed in the U.S.A.
Page 19

安装操作说明
Kinetix 2000 填槽模块
目录号 2093-PRF
主题 页码
关于本出版物 19
安装填槽模块 20
关于本出版物
本出版物提供在 Kinetix 2000 电源导轨上安装填槽模块的说明。
有了填槽模块,接触器便可以连续连接,在多轴 Kinetix 驱动系统中可形成串
联。安装后,可给直流电源总线上电,并可防止电源导轨上的暴露插槽给人员带来
因潜在有害电压而造成的伤害。
使用本文档 ( 包括 Kinetix 2000 多轴侍服驱动安装手册,发行号 2093-IN001)
安装 Kinetix 2000 驱动系统。如需了解有关安装和拆除本文未提及的设备和附件
的信息,请查阅 Kinetix 2000 多轴侍服驱动用户手册,发行号 2093-IN004。
出版物 2093-IN003A-MU-P - 2006 年 12 月
Page 20

安装填槽模块
在执行本过程时假定您已经安装了电源导轨、集成轴模块、轴模块或分流模块 (
x
目录号 2093-AC05-MP
按照这些步骤在 Kinetix 2000 电源导轨上安装填槽模块。
1. 确定哪个电源导轨插槽需要填槽模块。
、2093-AMPx、2093-AM0x 和 2093-ASP06)。
触电危险
为了避免因电击造成人员伤害,请在 Kinetix 2000 电
源导轨的所有空插槽中各放入一个填槽模块。
如果电源导轨中有一个插槽未占用,Kinetix 2000 系
统将被禁用,但将继续向电源导轨输送控制交流电。
2. 在适当的电源导轨插槽中插入模块。
a. 将模块锁紧螺钉对准电源导轨上的相应插槽。
b. 用力按住模块顶部和底部,向正前方推动模块。
当这些锁定夹都卡入电源导轨底部后,模块完全到位,锁紧螺钉套与电源
导轨的顶部对齐。
3. 用 0.7 Nm (6 lb-in) 的力矩拧紧螺丝。
4. 如有必要请重复这一步骤,在电源导轨的各个空插槽中安装填槽模块。
Allen-Bradley、Kinetix 和 Rockwell Automation 是罗克韦尔自动化的商标。
不属于罗克韦尔自动化的商标是其它相应公司的财产。
出版物 2093-IN003A-MU-P - 2006 年 12 月
© 2006 年罗克韦尔自动化版权所有,保留一切权利。美国印刷。
Page 21

21
Publication 2093-IN003A-MU-P - December 2006
Page 22

22
Publication 2093-IN003A-MU-P - December 2006
Page 23

23
Publication 2093-IN003A-MU-P - December 2006
Page 24

Rockwell Automation Support
Rockwell Automation provides technical information on the Web to assist you in using its
products. At http://support.rockwellautomation.com
knowledge base of FAQs, technical and application notes, sample code and links to software
service packs, and a MySupport feature that you can customize to make the best use of these
tools.
For an additional level of technical phone support for installation, configuration, and
troubleshooting, we offer TechConnect Support programs. For more information, contact
your local distributor or Rockwell Automation representative, or visit
http://support.rockwellautomation.com
.
Installation Assistance
If you experience a problem with a hardware module within the first 24 hours of installation,
please review the information that's contained in this manual. You can also contact a special
Customer Support number for initial help in getting your module up and running.
, you can find technical manuals, a
United States 1.440.646.3223
Outside United
States
Monday – Friday, 8am – 5pm EST
Please contact your local Rockwell Automation representative for any
technical support issues.
New Product Satisfaction Return
Rockwell tests all of its products to ensure that they are fully operational when shipped from
the manufacturing facility. However, if your product is not functioning, it may need to be
returned.
United States Contact your distributor. You must provide a Customer Support case number
Outside United
States
Allen-Bradley, CompactLogix, Rockwell Automation, TechConnect, SLC, and SLC 500 are trade marks of Rockwell Automatio n, Inc.
Trademarks not belonging to Rockwell Automation are the property of their respective companies.
Publication 2093-IN003A-MU-P - December 2006
(see phone number above to obtain one) to your distributor in order to
complete the return process.
Please contact your local Rockwell Automation representative for return
procedure.
Copyright © 200 6 Rockwell Automation, Inc. All r ights reserved. Printed in K orea.
 Loading...