

Radio Shack Emergency Phone Dialer Owner's Manual

49-255 9.fm Page 1 We dnesday, August 18, 1999 3:29 PM
Emergency Phone Dialer
Cat. No. 49-2559
OWNER’S MANUAL
Please read before using this equipment.
Plug ’n Power® Compatible

y
y
49-255 9.fm Page 2 We dnesday, August 18, 1999 3:29 PM
FEATURES
Your RadioShack Emergency Phone Dialer lets you call for help, even when you
cannot reach the phone. The system includes a console and a call pendant.
Just press the call pendant’s button and
the console’s built-in dialer calls a friend
or neighbor whose phone number you
have stored. The system then plays a
message recorded in your own voice
and gives the called person the option of
listening in through the system’s built-in
microphone.
The Phone Dialer’s console is Plug ’n
®
Power
compatible. Its expandable design lets you add more call pendants or
Plug ’n Power modules to control lamps,
appliances, and other electrical devices
(see “Expanding Your System” on
Page 13).
The Emergency Phone Dialer has these
features:
House Code Selecto
r — lets you control which optional Plug ’n Power modules are controlled by the system.
Unit Code Selector
— lets you control
which lamps or appliances connected to
a Plug ’n Power module are turned on
when you use the system.
Simple Controls
— make it easy to set
up and operate your system.
Built-in Piezo Siren
— 95dB siren
alerts people in or near your home when
you need help.
Four Num ber Memor
— stores up to
four phone numbers for the dialer to call
when you need help.
— dials a friend or neighbor for
Dialer
assistance and plays back a message
recorded in your own voice.
Wireless Call Pendant
— lets you activate either the dialer or the alarm with
the touch of a button. An d, it is w ater resistant so you can even wear it while
showering, washing dishes, or working
around water.
Panic Alarm
— lets you sound the
alarm without the system dialing out , so
you can get immediate help from someone in or near your home.
Built-in M icrophone
— lets the pers on
you call press any number button on
their touch-tone phone and listen to
what is happening in the room where the
console is located.
AC Power Indicator
system has power.
Backup Batter
Indicator
when it is time to change the backup
battery.
RadioShack, Plug ’n Power, and Powerhorn are registered trademarks used by Tandy Corporation.
2
— shows that your
— tells you
©
1998 Tandy Corporation.
All Rights Reserved.
Caution:
You should not immerse the
call pendant in water. For example, do
not wear it while swimming. The pendant is water resistant, not waterproof.
49-255 9.fm Page 3 We dnesday, August 18, 1999 3:29 PM
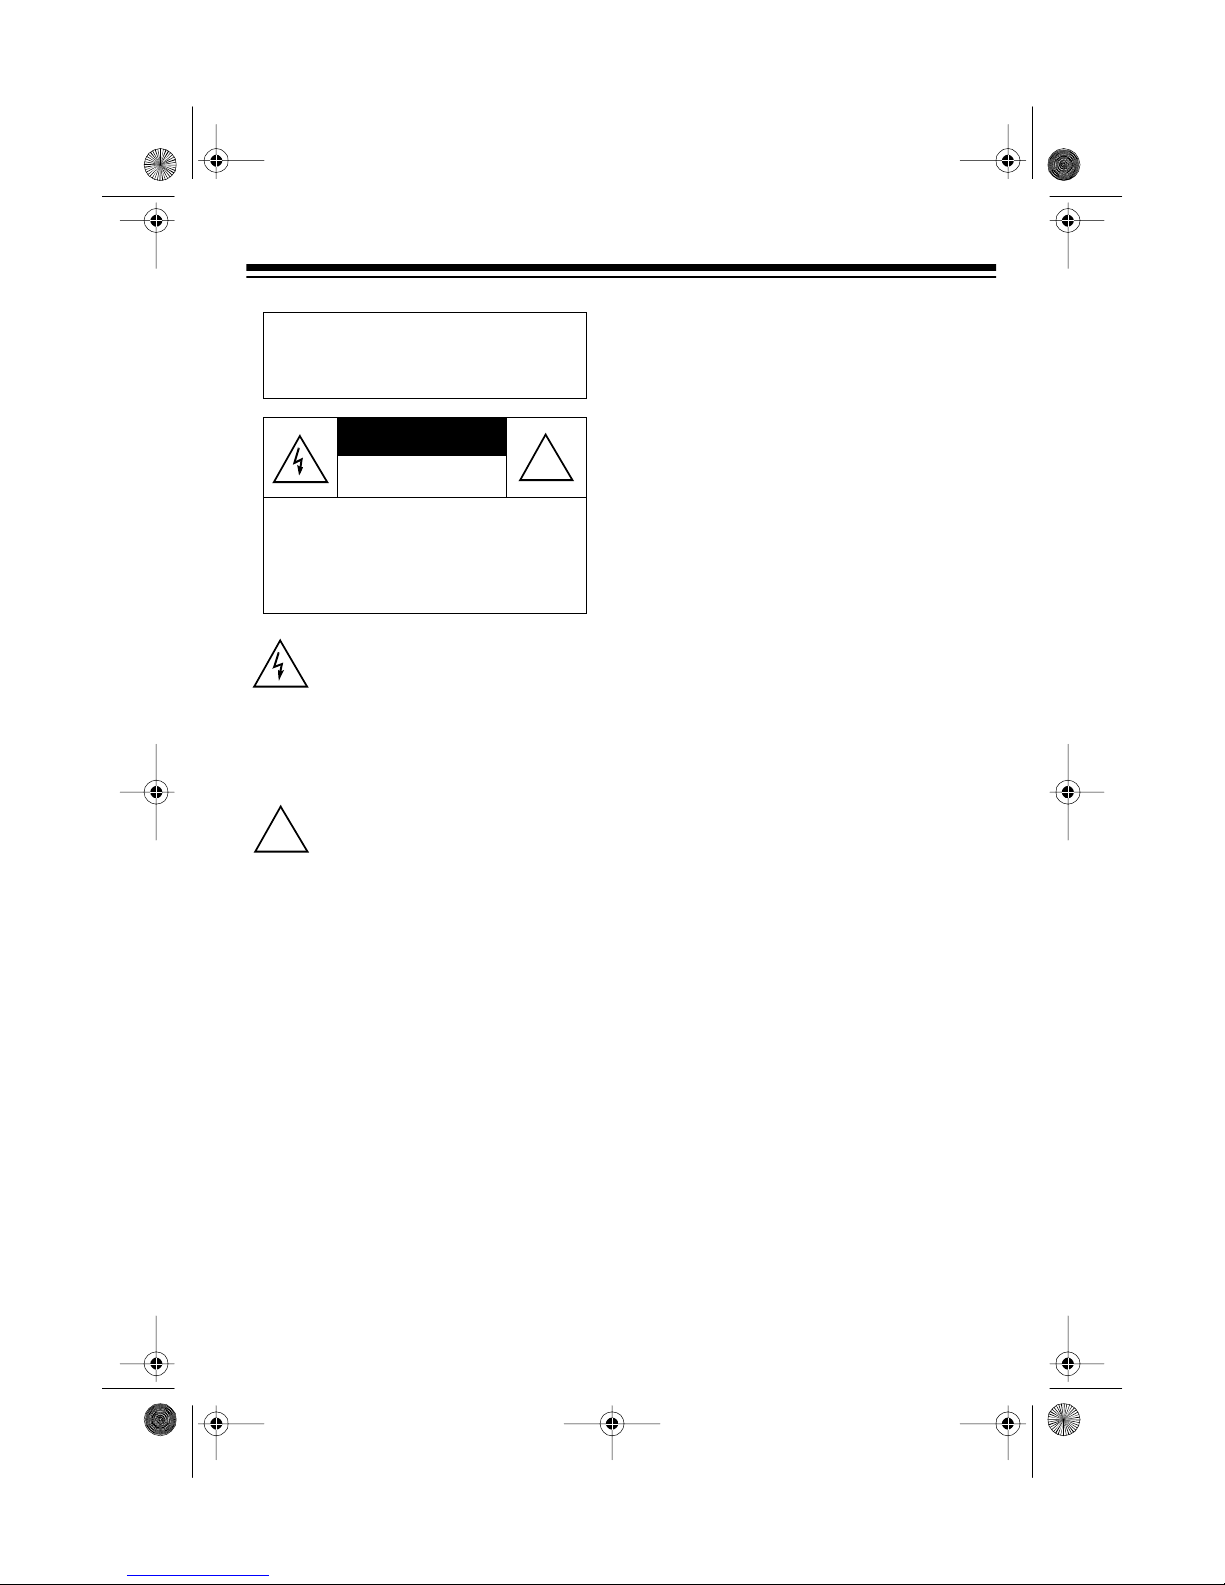
Warning: To prevent f ire or shoc k
hazard, do not expose this product to rain or moisture.
CAUTION
RISK OF ELECTRIC SHOCK.
DO NOT OPEN.
CAUTION: TO REDUCE THE RISK OF
ELECTRIC SHOCK, DO NOT REMOVE
COVER OR BACK. NO USER-SERVICEABLE PARTS INSIDE. REFER SERVICING TO QUALIFIED PERSONNEL.
This symbol is intended to alert you to
the presence of uninsulated dangerous voltage within the product’s enclosure that might be of sufficient
magnitude to constitute a risk of electric sh ock. Do not open th e produ ct’s
case.
This symbol is intended to inform you
that important operating and mainte-
!
nance instructions are included in the
literature accompanying this product.
!
The telephone portion of your security
console has been tested and found to
comply with all applicable UL and FCC
standards.
Notes:
• The suitability of this product to perform as a security system or as an
emergency service device has not
been evaluated by Underwriters
Laboratories, Inc.
• The manufacturer makes no claim
as to the su itab ility of t his product to
perform as a life-saving device. See
the back cover for full warranty conditions.
• The console will not work through a
switchboard or a phone system t hat
requires a delay (for example, systems where you must dial 9 to get
an outside line).
READ THIS BEFORE
INSTALLATION
We have designed your Emergency
Phone Dialer’s console to conform to
federal regulations and you can connect
it to most phone lines. However, each
device that you connect to the telephone
line draws power from the line. We refer
to this power draw as the ph one’s
equivalence
number
, or REN. The REN
is on the bottom of your dialer.
If you use more than one phone or other
device on the line, add up all the RENs.
If the total is more than five, your phones
might not ring. In rural areas, a total
REN of three might impair ringer operation. If ringer operation is impaired, remove one of the devices from the line.
ringer
3

49-255 9.fm Page 4 We dnesday, August 18, 1999 3:29 PM
FCC STATEMENT
Your console’s telephone dialer complies with Part 68 of
must, upon request, provide the FCC
registration number and the REN to your
telephone company. Both numbers are
on the bottom of the console.
Note:
You must not connect your con-
sole to:
• coin-operated systems
• party-line systems
• most electronic key telephone systems
This equipment complies with the limits
for a Class B digital device as specified
in Part 15 of FCC Rules. These limits
provide reasonable protection against
radio and TV interference in a residential
area. However, your equipment might
cause TV or radio interference even
when it is operating properly. To eliminate interference, you can try one or
more of the following corrective measures:
FCC Rules
. You
Consult your local Radio Shack store if
the problem still exists.
If you cannot eliminate the interference,
the FCC requires that you stop using
your system.
• Reorient or relocate the receiving
antenna.
• Increase the distance between the
equipment and the radio or TV.
• Use outlets on different electrical circuits for the equipment and the
radio or TV.
4

g
g
g
49-255 9.fm Page 5 Wednesday, August 18, 1999 3:29 PM
CONTENTS
Installing the System .............................................................................................. 6
Installin g a Backup Bat tery in the Co ns ole .... .. .... . .. .... . .. ... .. .. ... .. .. ... .. .............. .. . . 6
Choosing a Location ........................................................................................... 7
Connecting the Console ..................................................................................... 7
Initializing the Call Pendant ................................ ....... .......... .. ....... .......... .. ....... ... 8
Testing and Replacing the Call Pendant’s Battery ....................................... 9
Storing Phone Numbers . .................................................................................... 9
Recording Your Message ................................................................................. 10
Testing the Dialer .............................................................................................. 11
the System .................................................................................................. 12
Usin
Using the Panic Alarm ...................................................................................... 12
Expandin
How Plug 'n Power Works ................................................................................ 13
Adding Call Pendants ....................................................................................... 13
Adding Lamp Modules ...................................................................................... 13
Adding Wall Switch Modules ............................................................................ 14
Adding a Remote Control ................................................................................. 14
Powerhorn Remote Siren ................................................................................. 14
Troubleshootin
Care and Maintenance .......................................................................................... 17
The FCC Wants You To Know .......................................................................... 18
Lightning ........................................................................................................... 18
Specifications ....................................................................................................... 19
Your System ....................................................................................... 13
.................................................................................................... 15
5
49-255 9.fm Page 6 Wednesday, August 18, 1999 3:29 PM
INSTALLI NG THE SYSTEM
INSTALLING A BACKUP
BATTERY IN THE
CONSOLE
If AC power fails or you u nplug the c onsole, a 9V backup bat tery (not supplied)
saves all of the in format ion stored in t he
console’s memory. To provide at least
12 hours of backup time, we recommend an alkaline battery such as RadioShack Cat. No. 23-553.
Caution:
required size and recommended type.
Follow these steps to install a backup
battery.
1. Slide the battery compartment cover
Use only a fresh battery of the
in the direction of the arrow to
remove it.
2. Snap the battery’s contacts firmly to
the battery connector and place the
battery into the compartment.
3. Replace the cover.
Replace the battery at least once each
year or when the BATTERY LOW indicator on the console lights.
6
To avoid losing stored informa-
Note:
tion, do not unplug t he console fro m AC
power while you replace the battery.
Cautions:
• Always remove an old or weak battery. Batteries can leak chemicals
that can destroy electronic parts.
• Dispose of old batteries promptly
and properly. Do not burn or bury
them.
 Loading...