

Radio Shack DR-83 Owner's Manual
DR-83 90-Minute Digital
Recorder
Owner’s Manual
Please read before using this equipment.

ˆ
Contents
Features ............................................... 5
Preparation .......................................... 7
Installing Batteries ............................ 7
Setting the Clock .............................. 8
Connecting Earphones ..................... 9
Listening Safely ............................ 9
Traffic Safety ...................... ... ... ... 10
Connecting an External
Microphone .................................... 11
Attaching the Wrist Strap ............... 11
A Quick Look at the Recorder .......... 12
Operation .................................. ......... 13
Locking the Recorder’s Controls .... 13
Types of Folders ............................. 13
Selecting a Folder .......................... 14
Recording ....................................... 14
Recording Messages in
A B
Folder
Schedule Recording ................... 16
Using Voice-Activated
Recording ................................... 16
Playing Back Messages ................. 17
Using Fast Playback ................... 18
Using Schedule Playback ........... 18
Fast-Forwarding/Rewinding ........... 19
Using Forward Skip/Reverse
or ............................. 14
2001 RadioShack Corporation. All Rights Reserved.
©
RadioShack and RadioShack.com are trademarks used
2
by RadioShack Corporation.

Skip ................................................ 20
Moving a Message Between
A B
Folders
and ............................ 20
Erasing Messages ......................... 21
Erasing a Single Message ......... 21
Erasing All Messages in
a Folder ...................................... 22
Erasing Messages in Folder ....... 22
S
Erasing All Messages for a
Selected Date ............................ 22
Erasing All Messages in
S
Folder ..................................... 23
Resetting the Recorder .................. 23
Special Features ............................... 25
Checking the Remaining Recording
Time ............................................... 25
Using Power Save ......................... 25
Setting the Options ........................ 25
Setting the Recording Mode ...... 26
Setting Microphone Sensitivity ... 27
Setting Voice Activation ............. 28
Message Alarm Playback .......... 28
Schedule Alarm Playback .......... 30
Turning the Key Tone
On/Off ......................................... 31
Resetting the Time ..................... 32
Troubleshooting ................................ 33
Care .................................................... 34
Specifications ................................... 35
3

THE FCC WANTS YOU TO
KNOW
This device complies with Part 15 of the
FCC Rules
lowing two conditions: (1) this device may
not cause harmful interference, and (2)
this device must accept any interference
received, including interference that may
cause undesired operation.
This equipment complies with the limits for
a Class B digital device as specified in
Part 15 of
vide reasonable protection against radio
and TV interference in a residential area.
However, your equipment might cause TV
or radio interference even when it is operating properly. To eliminate interference,
you can try one or more of the following
corrective measures:
• reorient or relocate the receiving
• increase the distance between the
. Operation is subject to the fol-
FCC Rules
antenna
equipment and the radio or TV
. These limits pro-
• use outlets on different electrical circuits for the equipment and the radio
or TV
Consult your local RadioShack store if the
problem still exists.
4

ˆ
Features
Your RadioShack 90-Minute Digital Recorder is ideal for quick note-taking. Its
light weight and ultra-small size makes it
easy to slip into a pocket, briefcase, or
purse. You can use it at school, at business conferences, for dictation in the office, or anywhere on the go. You can start
recording manually or set the recorder so
sound activates recording. The recorder
provides an hour and a half of recording
time, allowing you to record and store detailed comments.
Your recorder includes these features:
Flash Memory
no tapes to load or break.
Three Message Folders
up to 100 messages in each folder so you
can organize your messages more effectively.
Voice Activation
able Control Voice Actuator (VCVA) lets
the recorder start recording when it picks
up sound and stop a few seconds after the
sound stops.
— digital recording means
— let you save
— the recorder’s Vari-
Features
5

Liquid Crystal Display
— clearly displays mode, recording, and playback
information.
External Microphone Jack
— lets you
use an external microphone, so you can
extend your recording range.
Earphone Jack
— lets you use an optional earphone to listen to messages
privately.
Message Alarm Playback
— the
recorder sounds an alarm at a set time
and date and plays back a selected
message.
Schedule Alarm Playback
— the
recorder sounds an alarm at a set time
and plays back schedule messages for a
set date.
Built-In Microphone and Speaker
— let
you record and play back notes anywhere.
6
Features

ˆ
Preparation
INSTALLING BATTERIES
Your recorder requires two AAA batteries
(not supplied) for power. For the best performance and longest life, we recommend
RadioShack alkaline batteries.
Cautions:
• Use only fresh batteries of the required size and recommended type.
• Do not mix old and new batteries, different types of batteries (standard, alkaline, or rechargeable), or rechargeable batteries of different capacities.
Follow these steps to install batteries.
HOLD
1. Slide
arrow.
2. Push down on the battery compartment cover and slide it off in the
direction of the arrow.
in the direction of the
3. Place the batteries in the compartment as indicated by the polarity sym-
Preparation
7

bols (+ and –) marked outside the
compartment.
4. Replace the cover. The time appears,
and the hour digits flash. See “Setting
the Clock” below to set the time.
When appears, the sound becomes
weak or distorted, or the recorder stops
operating properly, replace the batteries.
Warning:
Dispose of old batteries
promptly and properly. Do not burn or
bury them.
Caution:
If you do not plan to use the
recorder for a week or longer, remove the
batteries. Batteries can leak chemicals
that can destroy electronic parts.
SETTING THE CLOCK
To reset the clock, see “Resetting the
Time” on Page 32.
1. Repeatedly press (or hold down)
+
or
MENU/FOLDER
to set the hour, then press
to store the setting.
2. Repeat Step 1 to set the minute, year,
month, and day. After you set the
date,
END
and
HOLD
appear briefly,
then the recorder turns off.
8
Preparation
–

Notes:
STOP
• Press
time-setting mode.
• If you do not press any button for
about 3 minutes, the recorder automatically exits the time-setting mode
without saving your settings. See
“Resetting the Time” on Page 32.
at any time to exit the
CONNECTING EARPHONES
You can use an optional
mono earphone with a 1/8inch (3.5-mm) mini-plug
to listen to your recordings in private. Your local
RadioShack store carries
a wide selection of earphones.
Insert the earphone’s plug into the
EAR
recorder’s
automatically disconnects.
Listening Safely
jack. The built-in speaker
To protect your hearing, follow these
guidelines when you use earphones.
Preparation
9

• Set the volume to the lowest setting
before you begin listening. After you
begin listening, adjust the volume to a
comfortable level.
• Do not listen at extremely high volume levels. Extended high-volume
listening can lead to permanent hearing loss.
• Once you set the volume, do not
increase it. Over time, your ears
adapt to the volume level, so a volume level that does not cause discomfort might still damage your
hearing.
Traffic Safety
• Do not wear earphones while operating a motor vehicle or riding a bicycle.
This can create a traffic hazard and
could be illegal in some areas.
• Even though some earphones let you
hear some outside sounds when listening at normal volume levels, they
still can present a traffic hazard.
10
Preparation
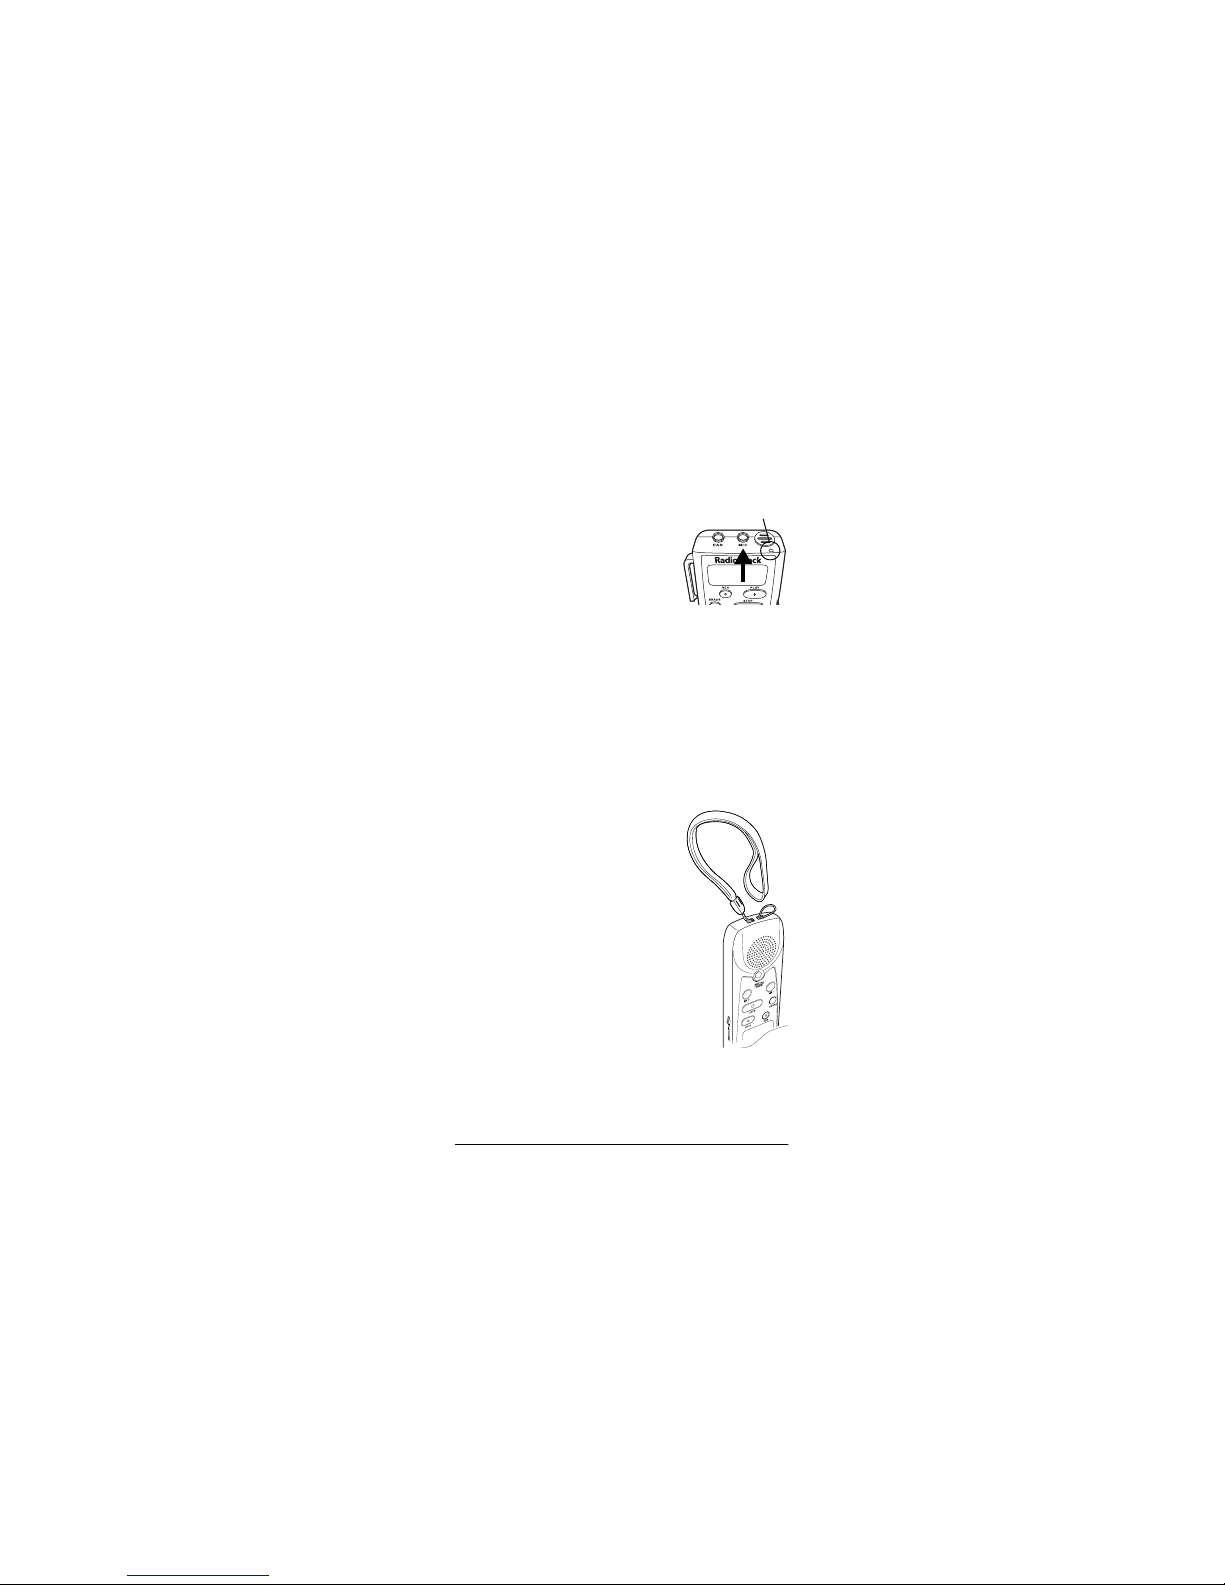
CONNECTING AN
Record
Indicator
EXTERNAL MICROPHONE
You can use an optional
microphone with a 1/8-inch
(3.5-mm) plug to extend
the recording range. Your
local RadioShack store
carries a wide selection of
microphones.
Insert the microphone’s plug into the
MIC
recorder’s
phone automatically disconnects.
jack. The built-in micro-
ATTACHING THE WRIST
STRAP
Thread the strap’s small
loop through the holes on
the bottom of the recorder.
Slip the larger end of the
strap through the smaller
loop. Pull the larger loop to
tighten it.
Preparation
11
 Loading...