

Presonus R80 V2, R65 V2 Owner’s Manual
R-Series R65 V2 and R80 V2
Active AMT Studio Monitors
Owner’s Manual
®
www.presonus.com
English

Table of Contents
1 Overview — 1
1.1 Introduction — 1
1.2 Product Registration — 2
1.3 What’s in the Box — 2
2 Hookup — 3
2.1 Rear Panel Connections and Controls — 3
2.1.1 Inputs — 3
2.1.2 Power — 3
2.1.3 Acoustic Tuning Controls — 4
2.2 Hookup Diagrams — 5
2.2.1 Basic Setup — 5
2.2.2 Advanced Setup with Monitor Controller and
Speaker Switching — 6
3 Application Guide — 7
3.1 Monitor Placement and Acoustic Space
Settings — 7
3.2 Calibrating Using 85 dB SPL “Standard”
Reference — 9
4 Resources — 11
4.1 Technical Specifications — 11
4.2 Troubleshooting — 13
1 Overview
R-Series R65 V2 and R80 V2
Owner’s Manual
1.1 Introduction
1 Overview
1.1 Introduction
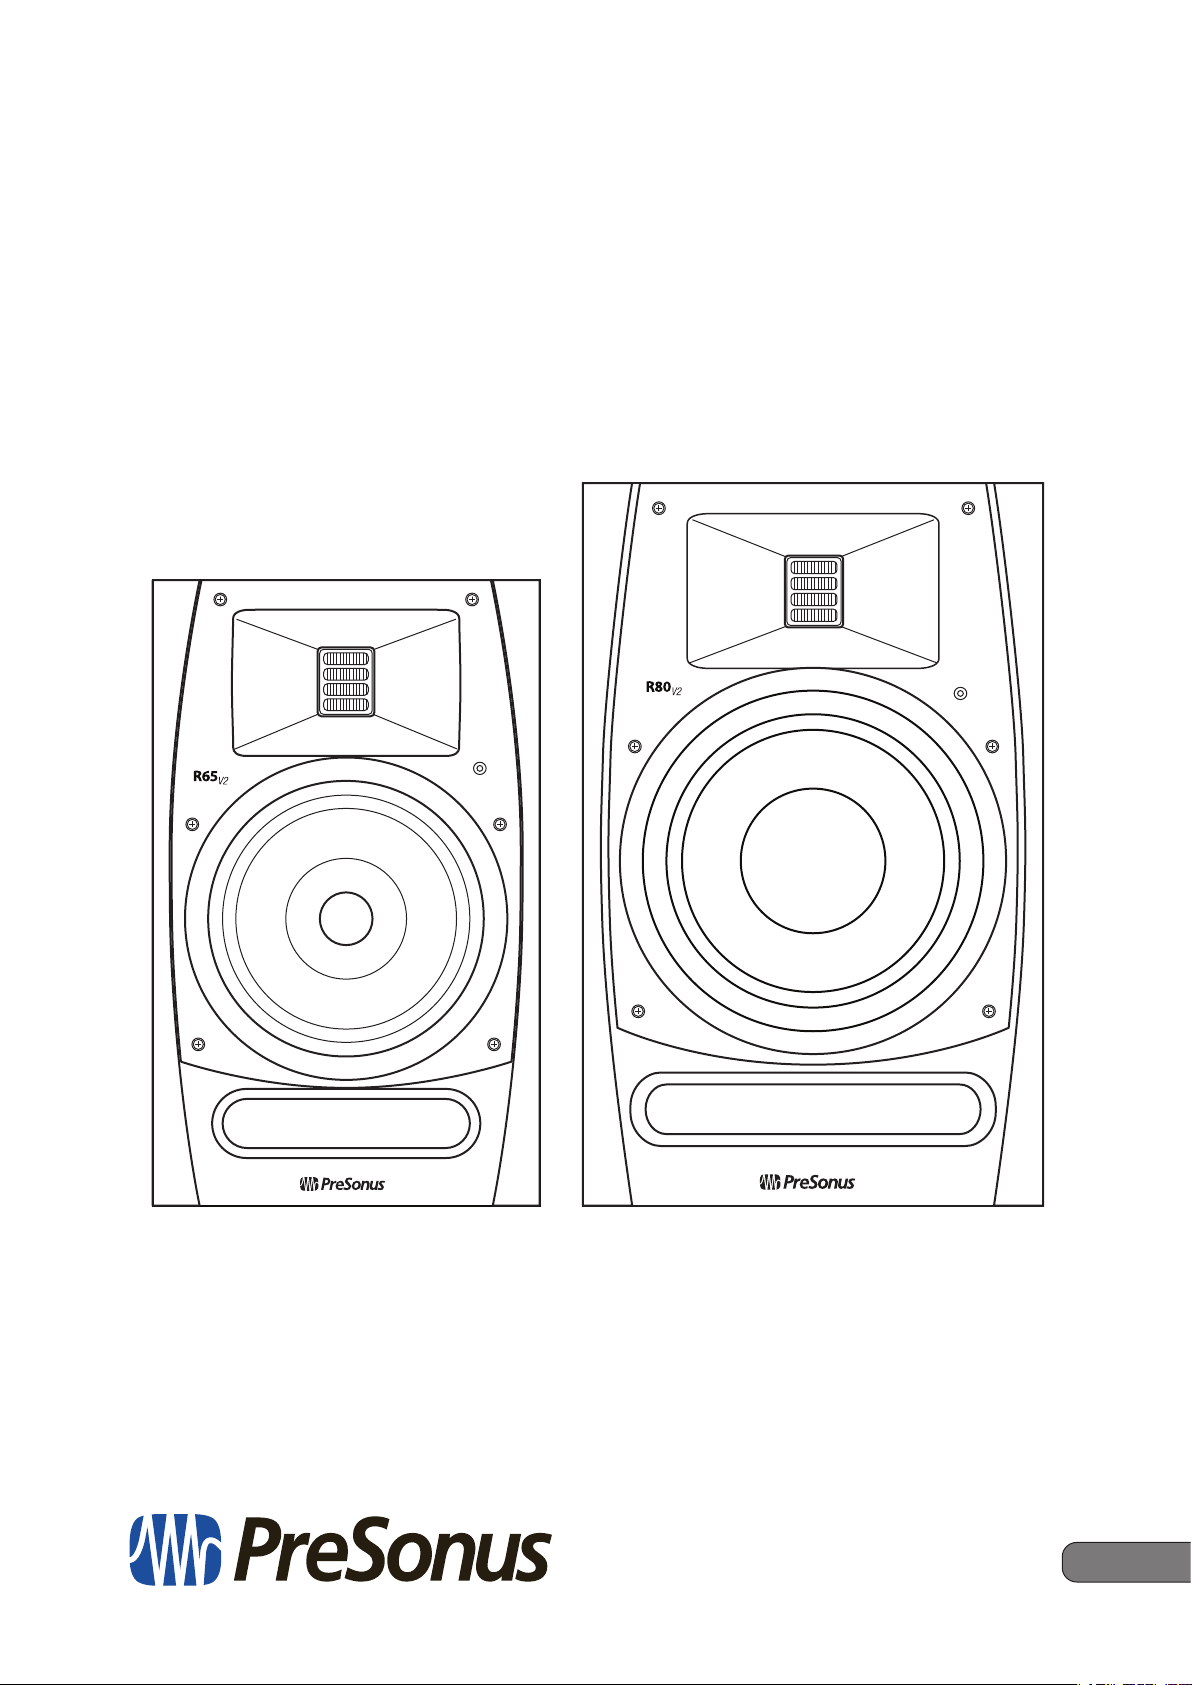
Thank you for purchasing the PreSonus® R65 V2 or R80 V2 active AMT studio
monitor. PreSonus Audio Electronics has designed the R65 V2 and R80 V2 utilizing
high-grade components to ensure optimum performance that will last a lifetime.
The R65 V2 and R80 V2 self-powered near-field monitors differ in cabinet and driver
size, crossover frequency, low-frequency extension, and maximum sound-pressure
level; all other specs are identical. Both models utilize a custom AMT tweeter. This
design affords an ultra-fast transient response and consistent high-frequency
response. The 6.8-inch AMT tweeter reproduces subtle ultra-high harmonics, adding
air and sense of space not possible with traditional dome tweeters. The result is
that you hear every nuance of your mix with astonishing clarity and coherence.
PreSonus Audio Electronics is committed to constant product improvement, and
we value your suggestions highly. We believe the best way to achieve our goal
of constant product improvement is by listening to the real experts: our valued
customers. We appreciate the support you have shown us through the purchase
of this product and are confident that you will enjoy your R65 V2/R80 V2!
About this manual: We suggest that you use this manual to familiarize
yourself with the features, applications, and workflows for your R-Series
studio monitors before trying to connect it to the rest of your studio
equipment. This will help you to get better performance and results.
Throughout this manual you will find Power User Tips that can quickly make
you an studio monitor expert so you can get the most out of your investment.
If this is your first pair of studio monitors, please take a look at Section 3
for details on setting them up properly in your mix environment. More
information is available at www.presonus.com/learn/technical-articles.
1
1 Overview
R-Series R65 V2 and R80 V2
Owner’s Manual
www.presonus.com
R-Series R65 V2 and R80 V2
1.2 Product Registration
1.2 Product Registration
PreSonus is committed to delivering the best experience for our customers.
MyPreSonus is a one-stop portal for all our registered customers’ needs.
From your my PreSonus account, you can view all your PreSonus hardware
and software registrations; contact support; track orders and more.
OR
Download the MyPreSonus app from the Apple App Store or Google Play.
To register your R-Series studio monitor, go to My.PreSonus.com and
follow the onscreen instructions.
1.3 What’s in the Box
Your R-Series package contains the following:
(1) R65 V2 or R80 V2 active AMT studio monitor
Active AMT Studio Monitors
Quick Start Guide
®
R-Series Quick Start Guide
IEC Power Cable
2
2 Hookup
R-Series R65 V2 and R80 V2
Owner’s Manual
2.1 Rear Panel Connections and Controls
2 Hookup
2.1 Rear Panel Connections and Controls
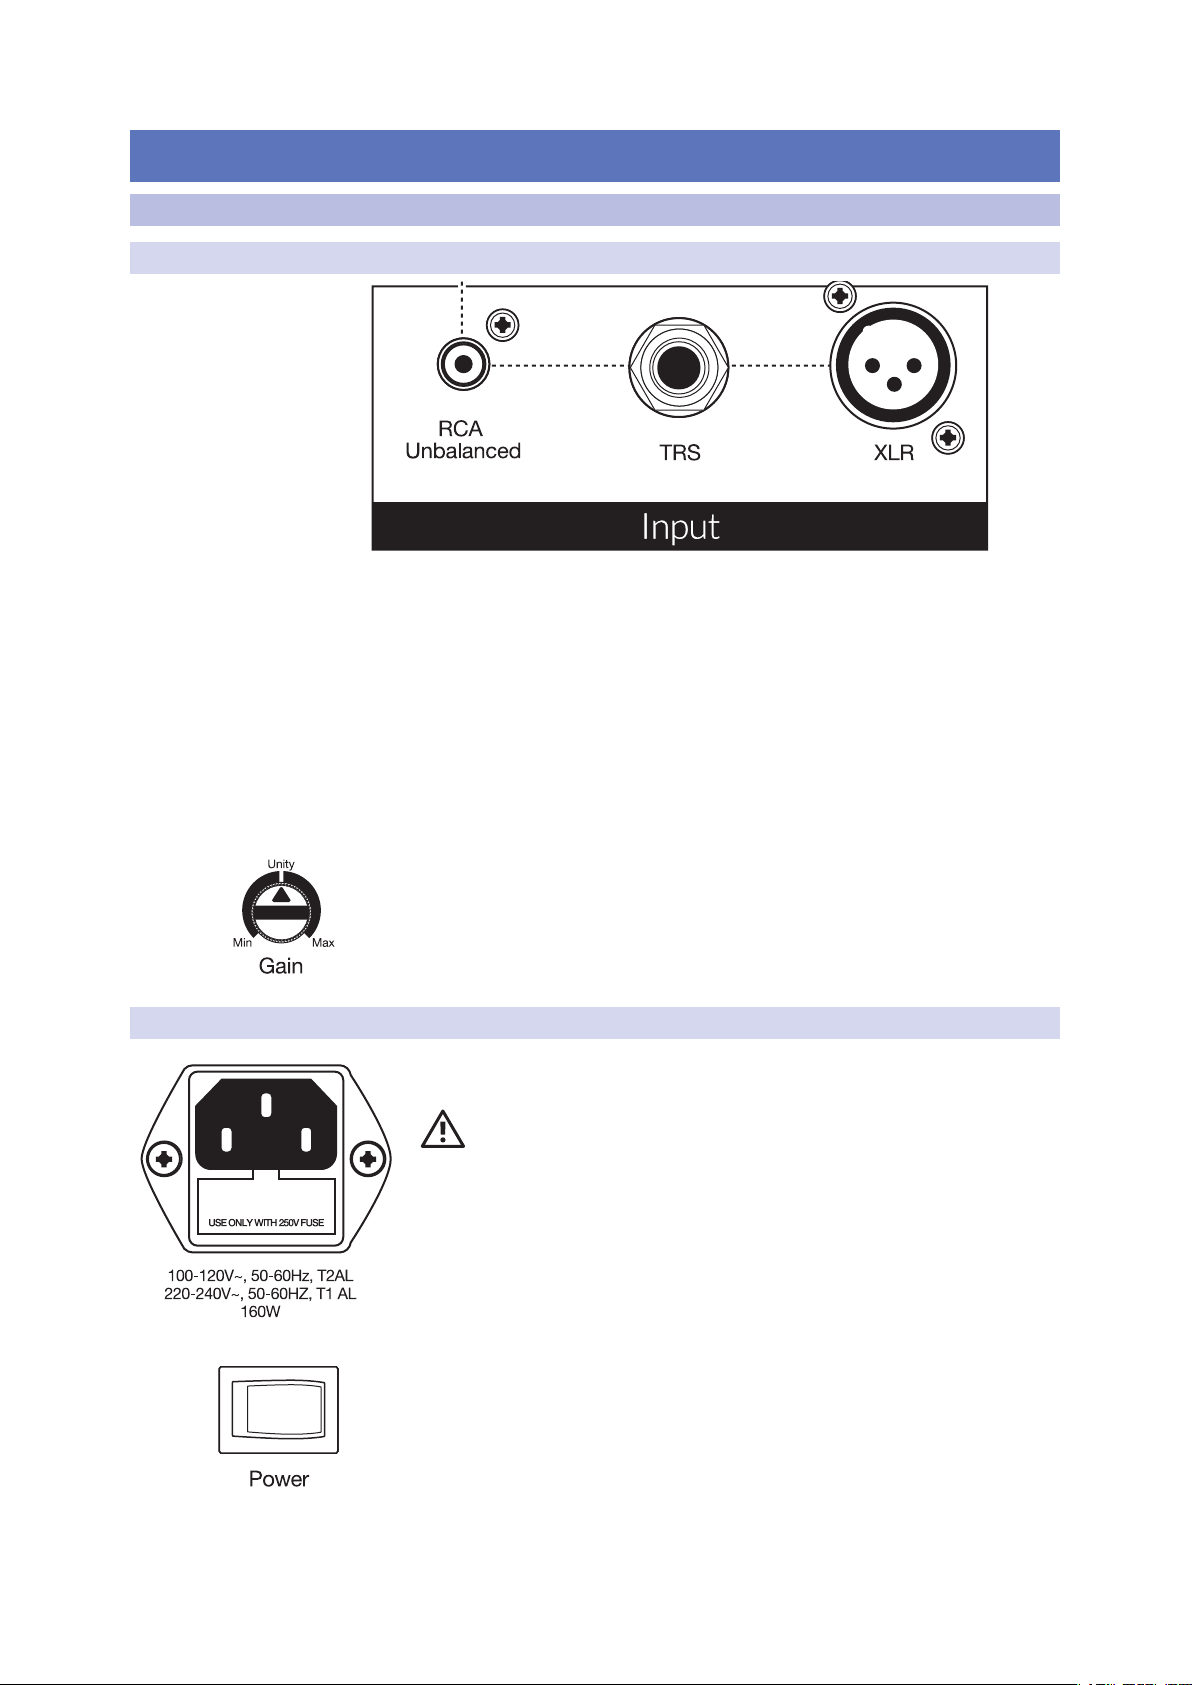
2.1.1 Inputs
Line-level Inputs. The R-Series studio monitors provide a choice of three linelevel input types: balanced XLR, balanced ¼” TRS, and unbalanced RCA. Do not
connect more than one source to your R-Series studio monitors simultaneously.
Power User Tip: Whenever possible, it is recommended that you utilize the balanced
line-level inputs on your R-Series studio monitors. Balanced cables and connections are
resistant to induced noise from radio frequencies and electromagnetic interference (RMI
and EMI). If your audio source has only unbalanced connections (either ¼” TS or RCA), it is
recommended that the RCA input be used. ¼” TS-to-RCA cables and adapters are readily
available at most music supply stores. Whether utilizing the balanced or unbalanced
inputs, always use the shortest cable length possible to minimize the risk of induced noise
in your studio monitors.
Input Gain. Sets the level of the input signal before it is amplified.
2.1.2 Power
IEC Power Connection. This is the power inlet for your R-Series studio
monitor.
Warning: Do not remove the center grounding prong or use a groundlift adapter, as this could result in electric shock.
Power Switch. This is the On/Off switch for your R-Series studio monitor. When your
R-Series studio monitor is powered On, the blue LED on the front panel will
illuminate.
3

2 Hookup
R-Series R65 V2 and R80 V2
Owner’s Manual
2.1 Rear Panel Connections and Controls
AC Select Switch. The input-power voltage is set at the factory to correspond with
the country to which the R-Series studio monitor was shipped. Use this switch only if
you are using your R-Series monitor in a country that uses a different standard
voltage than is used in the country where your purchased your monitor originally.
2.1.3 Acoustic Tuning Controls
High Frequency. Boosts or cuts all frequencies above 10 kHz by ±6 dB.
Power User Tip: The High control on the R-Series studio monitors is a high-shelf EQ and
raises or lowers all frequencies above 10 kHz. This EQ is much like the treble control on a
car stereo and likewise can make big changes to the sound very quickly. If you find your
mixes are translating too dark on other speaker systems, try lowering this control. Too
bright? Raise this control a bit. In either case, anomalies in your room may be negatively
impacting your R-Series studio monitors’ performance. See Section 3 for set-up and
calibration tips.
Mid Frequency. Boosts or cuts frequencies around 1 kHz by ±6 dB.
Power User Tip: The Mid control is a peak EQ that lets you raise or lower the level of a
two-octave-wide frequency band centered at 1 kHz that can make subtle changes to the
frequency response of your R-Series monitors. In general, you will not want to alter this
control as it will change the flat frequency response of your R-Series monitors. However, if
you would like to quickly emulate the performance of consumer speakers, lowering this
control will mimic the mid-range scoop that is the hallmark of consumer designs.
Low Cutoff. Rolls off the level of all frequencies below the specified frequency (80 or
100 Hz) at a slope of -12 dB / octave. Setting this control to Flat allows the speaker’s
natural roll off to take over.
Power User Tip: If you are using a subwoofer that doesn’t feature a variable low pass
filter, like the PreSonus Temblor T10 provides, you will use this control to set the crossover
point for your 2.1 system. For information on configuring a 2.1 system in the studio,
please visit www.PreSonus.com/Learn/Technical-Articles.
4
 Loading...