

Page 1
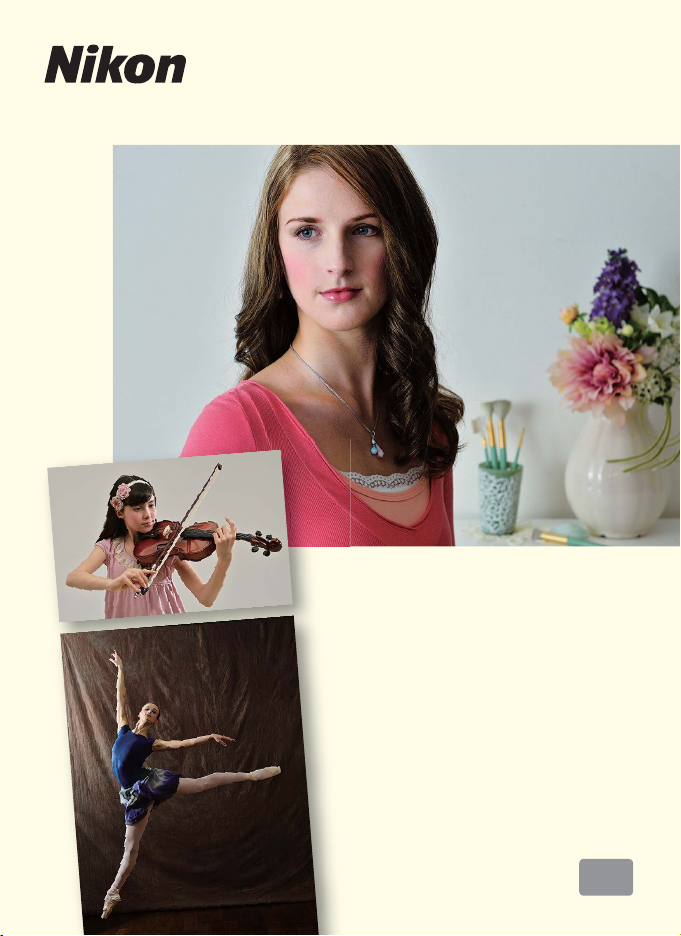
A collection of example photos
SB-910
This booklet introduces various SB-910 flash
techniques and example photos.
En
1
Page 2

Take a step forward into creative lighting
Revealing the textures of your subjects and adding depth to your images.
By improving your lighting techniques, you can get closer to your true vision.
Get the pictures you want, with Speedlights.
Making harsh light soft and natural
4
Capture the charm of backlit subjects
6
5
7
Capture the glitter of night illumination
8
9
22
Page 3
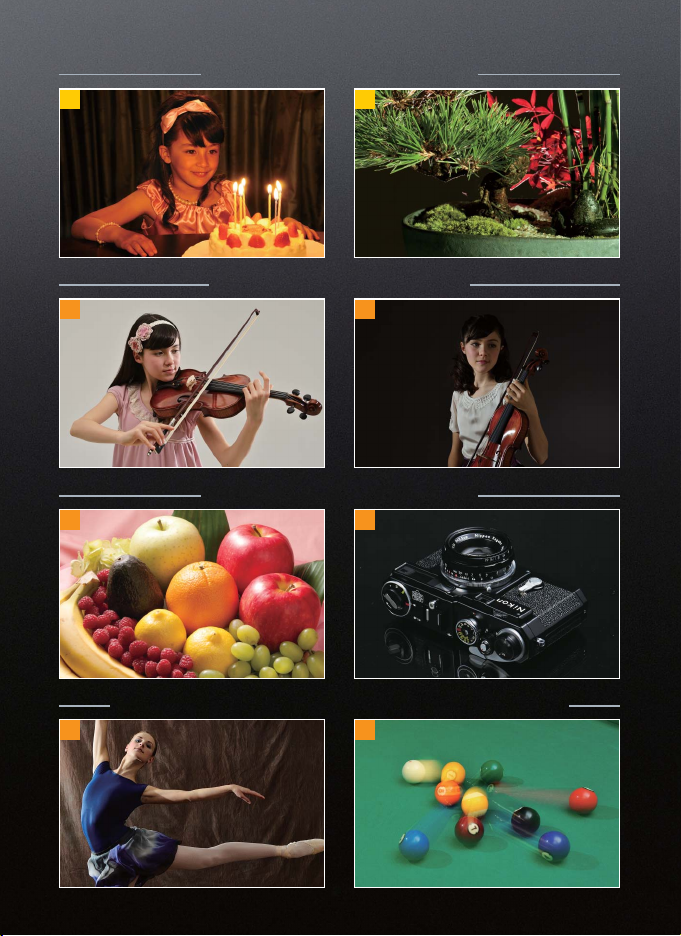
Add color to emphasize realism and mood
10 11
Add depth to a portrait (Multiple flash)
12
Capture texture and detail (Multiple flash)
14
13
15
Capture the moment while retaining the sense of depth (Multiple flash)
16
17
33
Page 4

Making harsh light soft and natural
Natural-looking cheeks so soft you want to touch them
The faint reddish cheeks and subtle facial expression was achieved through soft light that
extends to the details.
Tilt the flash head up toward the ceiling. Taken with the camera’s built-in flash
4
Page 5
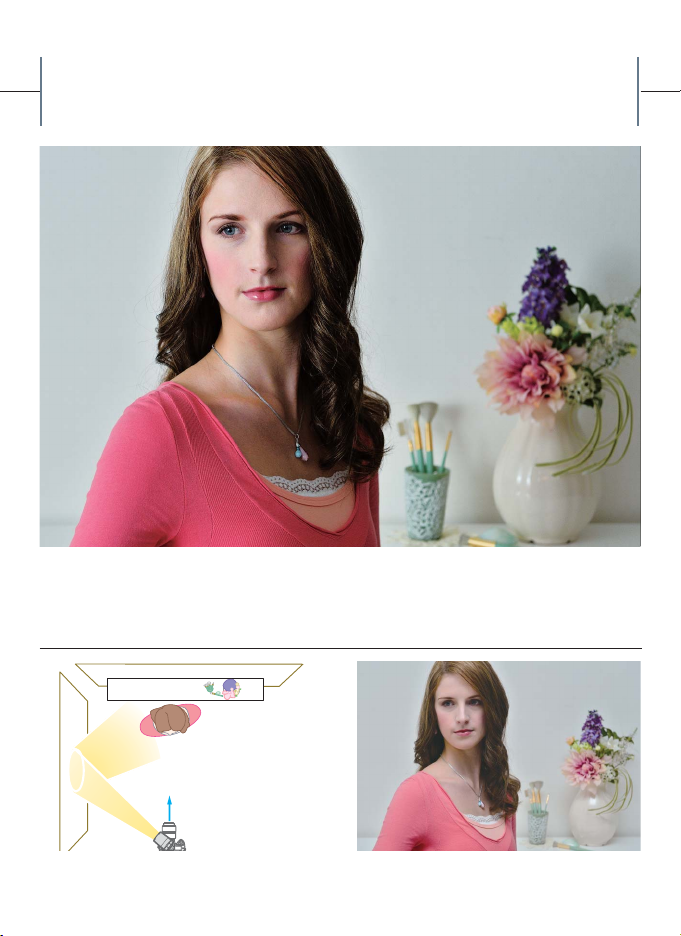
Bounce flash: By bouncing the flash light off a ceiling or wall, you can diffuse
and soften light, which adds a more natural look to photographs.
Capture the feminine nuances of a woman’s expression
Soft shadows on the subject add a three-dimensional look to the image.
Wall
Rotate the flash head toward the wall. Bounce off the ceiling: results in soft, flat lighting
5
Page 6

Capture the charm of backlit subjects
Highlighting the cuteness of your kid
With a wide aperture used in the bright outdoors, the cheekiness of the boy’s expression is
highlighted against the blurred background.
Background
Select the desired aperture in A or M exposure mode. Taken with standard sync
6
Page 7

Auto FP high-speed sync: Flashes are also effective for backlit scenes. And
higher shutter speeds can expand photographic expression.
Capture the excitement of playing with water
The laughing faces of the children have been clearly captured. And high shutter speeds have
managed to freeze the glittering spray of the water.
Select the desired shutter speeds in S or M exposure
mode.
Taken without a flash
7
Page 8

Capture the glitter of night illumination
Illuminations play an important supporting role in night portraits
The scene was captured as it appeared, with a beautiful nightscape in the background.
Background
Set the camera’s flash mode to slow sync. Taken with auto flash mode
8
Page 9

Slow sync: Automatically balance the exposure of a dark background with a
foreground subject. This is ideal for nighttime portraits with illuminations.
Painting with light and pausing
Painting with light in the darkness is a lot of fun. Here, we are able to capture the girl,
although she moves across the scene, making this an impossible shot with normal slow sync.
Nightscape
A girl paints with light while
walking into the frame.
Girl
Orange light
Set the camera’s flash mode to rear-curtain slow sync. With normal slow sync, flash fires when the girl is out
Boy
White light
of frame.
9
Page 10

Add color to emphasize realism and mood
Project a warm inviting atmosphere
Candlelight, which has a special place in all our hearts, can bring a special warmth to almost
any scene.
Attach an incandescent filter to the Speedlight and set
camera’s white balance to direct sunlight.
Taken with the camera’s built-in flash
10
Page 11

Color filters and color compensation filters: Filters can balance colors, change
moods and add contrast to a scene — resulting in a wider range of expressions.
Display the vivid world of Japanese bonsai
Pine needles and moss are dark in tone, while the red leaves shine, creating a beautiful
picture.
B
A
Attach a fluorescent filter to flash A. Flash B emphasizes
the color of the leaves.
Taken without a fluorescent filter
11
Page 12

Add depth to a portrait
Multiple fl ash-unit photography
Emphasize the dignity of the face of the girl and the moment
Lighting from right and left eliminates shadows on the face and the violin, while the third
flash unit emphasizes the contours of the face and captures the facial expressions.
C
B
A
Bounce off the ceiling
SB-910 on the camera controls three remote flash units
set to group A, B and C.
Taken with the camera’s built-in flash
12
Page 13

From the side and rear use two or more flash units to cancel out shadows caused
by the flashes. This results in a natural-looking picture with a sense of depth.
Add shadows to create a serene atmosphere
The shadows of the main flash are softened by the second flash. The use of shadow gives the
girl’s face a sense of maturity.
A
Built-in flash or SB-910 on the camera controls two
remote flash units set to group A and B.
B
Taken with flash A only
13
Page 14

Capture texture and detail
Multiple fl ash-unit photography
Color and shine make food look delicious
Highlighting fruit to emphasize shine and softening shadows for more vibrant colors brings
the freshness of the fruit to the fore.
Tracing paper
Refl ector board
Remote flash unit fires from behind left and the
reflector board softens the shadow from the front right.
Taken without a reflector board
14
Page 15

Multiple flash with tracing paper is effective for photographing still life. Widely
diffused light captures its own texture and contours in detail.
How to produce a feeling of quality
The camera was placed on a sheet of glass over black paper to cause a reflection that adds a
sense of quality.
Tracing paper
Tracing paper
Two flash units illuminate the top of the camera and
logo.
Taken with one flash unit on front
15
Page 16

Capture the moment while retaining the sense of depth
Multiple fl ash-unit photography
16
Page 17

SU-4 type wireless multiple flash-unit photography is effective for shooting a
moving subject. The very small time lag allows for precise timing.
A perfect jump should be captured at the most beautiful moment
A beautiful pose, with arms and legs extended, is captured with SU-4 type wireless multiple
flash-unit photography.
Master and remote flash units are set to SU-4
Refl ector
board
type, and remote flash units are triggered by
flash light from the master flash unit attached
to the camera.
Capture a moment that cannot be seen with the naked eye
The dynamic moment of a pool break is captured with SU-4 type wireless multiple flash-unit
photography.
Bounce off the ceiling
17
Master and remote flash units are set to SU-4
type, and remote flash units are triggered
by flash light from the master flash unit
attached to the camera.
Page 18

Control buttons and switches/functions
1
2
3
4
5
6
7
8
1. [MODE] button
Selects fl ash mode.
2. [MENU] button
Displays custom settings.
3. Function buttons
Selects item to be confi gured.
4. Test fi ring button
Controls test fi ring and modeling
illumination.
5. Lock release
To set wireless mode for multiple fl ash
units, rotate the power switch/wireless
mode switch for multiple fl ash units while
holding down the lock release in the
center of the switch.
6. Power switch/wireless mode
switch for multiple fl ash units
Rotate to turn power on and off.
Selects the master or remote mode in
wireless multiple fl ash-unit photography.
7. Selector dial
Rotate to change selected item. The
selected item is highlighted on the LCD.
8. [OK] button
Confi rms selected setting.
18
Page 19

LCD examples
With single fl ash unit
SB-910 flash information
Flash mode
ISO sensitivity
Effective flash output
distance range
FX format
Aperture f-number
Zoom head position
Functions assigned for function buttons
Remote mode Master mode
SB-910 status icons
Connected to a
CLS-compatible camera
Group
Channel
Remote mode
Sound monitor
Remote flash unit zoom head position
Master flash unit flash mode and flash
compensation value
Channel
Remote flash unit flash mode
and flash compensation value
Master flash unit zoom head position
19
Page 20

© 2011 Nikon Corporation
20
AMA14373
Printed in Europe
TT1J01(11)
8MSA4911-01
 Loading...