

Page 1

Firmware Updater for
LS-2000/COOLSCAN III
Contents
1. Introduction
1.1 Overview
1.2 Before Running the Updater
2. Running the Updater
2.1 Starting the Updater
2.2 Beginning the Update
2.3 Exiting the Updater
2.4 Errors and How to Deal with Them
Instruction Manual
- 1 -
Page 2
1. Introduction
1.2 Before Running the Updater
1.1 Overview
The LS-2000 firmware update program, LS2000_xxx.exe
(Macintosh version LS2000_xxx; “xxx” is a three-digit number
giving the firmware version), and the LS-30 firmware update
program, COOLSCANIII_xxx.exe, are utilities that update the
firmware stored in the flash memory of the LS-2000 or
COOLSCAN III. The program code to be written to the LS2000 and COOLSCAN III is incorporated in “LS2000_xxx.exe”
and “COOLSCANIII_xxx.exe” respectively.
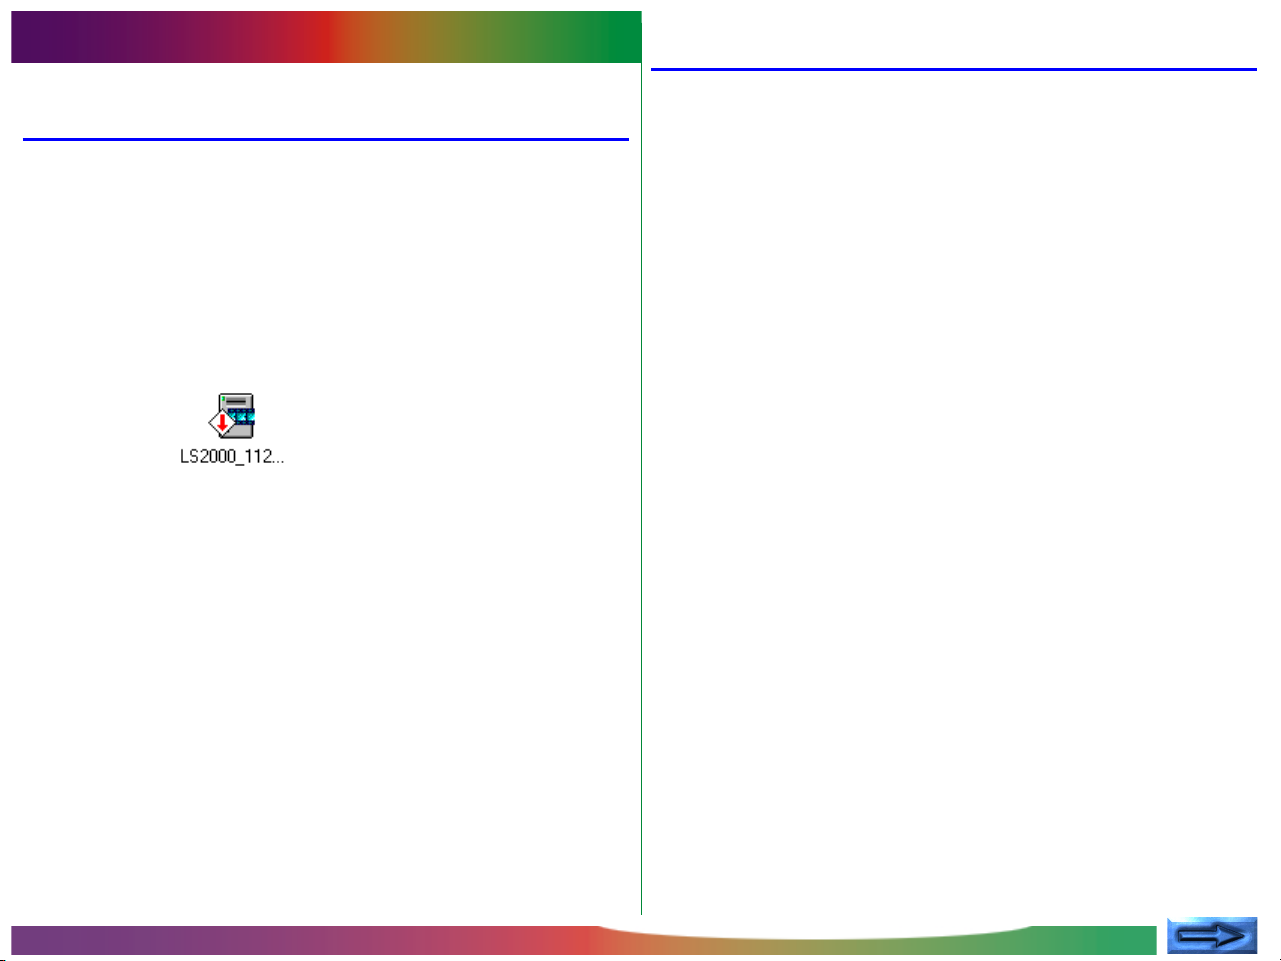
Update program icon
To run the update program, you must have Nikon Scan version
2.0 or later installed on your system and your LS-2000 or
COOLSCAN III must be ready for use. Note also that the
existing firmware can not be overwritten by an earlier version.
Before running the updater, close any other applications. No
operations of any kind, including moving the mouse, should be
performed on the host computer while the updater is running.
You should also turn off any programs such as screen savers
that start after a certain length of time has passed.
Before performing an update, check again to make sure that the
power cables for both the scanner and host computer, and the
interface cable(s) connecting the two, are firmly in place. After
beginning the update, do not turn off the scanner or the host
computer until a message appears indicating that the update is
complete. You should also be sure not to disconnect the
interface cable. Depending on their timing, either of these
actions could damage the scanner’s firmware, making further
downloads impossible.
The update will take about a minute to finish.
- 2 -
Page 3

2. Running the Updater
2.1 Starting the Updater
If you are using Windows 95, Windows 98, or Windows
NT4.0, select “LS2000_xxx.exe” or “COOLSCANIII_xxx.exe”
from the Windows Explorer or by selecting Run… from the
Start menu to start the updater. Macintosh users can start the
updater by double-clicking the program icon.
The first dialog displayed after the updater starts is the software
license agreement. The license agreement is available in Japanese, English, French, German, and Spanish; the language displayed can be selected from the language menu at lower left. If,
after reading the software license agreement, you agree to its
terms and conditions, click Yes. The updater dialog will then
be displayed. If you do not agree to the terms and conditions
of the license agreement, click No. The program will end
without updating the scanner’s firmware.
2.2 Beginning the Update
In the explanations that follow, the LS-2000 is used for illustrative purposes unless otherwise noted. The procedures are
however the same for the COOLSCAN III. If you are performing an update on a COOLSCAN III scanner, read
“COOLSCAN III” for “LS-2000” where appropriate.
The updater begins a scan of the SCSI bus after the main dialog
(shown below) is displayed.
(1)
(2)
(3)
All subsequent dialogs will be displayed in the language selected
in the license agreement dialog box.
(1) Device name (gives bus information for LS-2000 or
COOLSCAN III scanners found on the SCSI bus)
(2) Message box
(3) Status (shows operating status)
- 3 -
Page 4

The items displayed in the device name box are described
below.
Nikon LS-2000 1.04 HA:0 ID:5
(1) (2) (3) (4)
(1) Device name (LS-2000/COOLSCAN III)
(2) Current firmware version
(3) Host adapter ID
(4) Device ID
Once the updater has located an LS-2000 or COOLSCAN III
scanner, a message like that shown above will be displayed in
the device name box. The version number shown in the message box is the version number of the firmware that will be
written to the scanner by the update program.
If the message “No LS-2000 connected” is displayed in the
message box, the computer is unable to detect an LS-2000
scanner. Restart the updater after making sure that the computer can detect the LS-2000.
Yes
Click Yes to perform the update given in the message box on
the scanner currently listed in the device name box. The dialog
shown below will be displayed.
Should you attempt to replace the scanner firmware with an
earlier version, the message “This LS-2000 does not need to be
updated” will be displayed. No update will be performed when
the OK button is clicked. The updater can not replace firmware with the same or an earlier version number (note that the
higher the version number, the later the version).
Once a message has been displayed in the message box, the
updater will pause to wait for input. To proceed, click Yes,
No, or Exit. The operations performed by each of these
buttons are explained below.
Clicking Yes in this dialog will start the process of replacing the
firmware. Clicking No will return you to the main dialog.
Note: As part of this operation, about thirty seconds are needed
to load data, followed by another period of approximately thirty
seconds to initialize the device. If possible, no other operation,
including moving the mouse, should be performed at this time to
ensure that the update is performed safely. Before beginning the
update, be sure to turn off any programs such as screen savers
that would otherwise begin after a certain length of time has
passed.
- 4 -
Page 5

No
2.3 Exiting the Updater
If you have several LS-2000 or COOLSCAN III scanners connected and want to update a device not currently shown in the
device name box, click No. Another LS-2000 or COOLSCAN
III will be selected as the target for the update operation. The
message “No additional LS-2000 connected” or “No additional
COOLSCAN III connected” indicates that the computer is
unable to detect additional LS-2000 or COOLSCAN III scanners.
Exit
Click Exit to end the program without performing an update.
The status area
During the update operation, program status is displayed in the
status area.
Searching for…: searching for connected devices
Loading data…: loading data
Initializing…: initializing device
The dialog shown below is displayed when the update finishes
without incident. Clicking OK returns you to the main dialog,
where the updater will wait for input.
If more than one LS-2000 or COOLSCAN III is connected,
another scanner will be selected in the main dialog and the
updater will wait for input. Repeat the steps given above to
perform additional updates. To exit the program, click Exit.
- 5 -
Page 6

2.4 Errors and How to Deal with Them
If either of the messages below is displayed during an update,
follow the steps below.
“Update failed. Try again.”
An error was detected while the firmware was being written to
the scanner, and there is a possibility that firmware may not
have been copied successfully. Click OK to return to the main
dialog, where the updater will be ready to attempt another
update on the same scanner. Click Yes in the main dialog to
begin the update.
Should this message appear again, check that the scanner is
turned on and that the power and interface cables are not
disconnected. In the event that you find that the scanner was
off or a cable disconnected, restart the update program after
reconnecting the cables, turning the scanner on, and restarting
the host computer. (Note that in these circumstances the
scanner will not perform the usual initialization process after
being turned on, nor will the status LED blink. This does not
however indicate a malfunction; the scanner will start in a
condition that allows the minimum signals necessary to be
passed across the interface.)
If this error occurs on an LS-2000 or COOLSCAN III scanner
connected to a Macintosh computer, before performing the
update operation a second time, copy the file MAID Driver
HS from the Nikon Software:Nikon Scan2.x:Utility
folder to the Preferences:Nikon MAID folder in the System
folder. If you had been using your scanner with no MAID
Driver HS file in the Nikon MAID folder, delete this file
from the Nikon MAID folder after exiting the updater.
Should the same error appear after the above steps have been
performed, there may be a problem with your scanner. Contact your Nikon service representative. Have the numerical
code that appeared in the dialog to hand so that our service
representative will be able to identify the problem.
“Failed to initialize device.”
Although the firmware was successfully copied to the scanner,
the program failed to initialize the device. Re-initialize the
scanner by turning it off and then on again. Note that the
scanner may not initialize normally when the FH-2 strip-film
holder is in place in the MA-20 adapter. In this case you should
remove the FH-2 before turning the scanner off and on. The
device may also fail to initialize normally if any of the adapters is
not inserted properly. Either insert the adapter fully or remove
the adapter before turning the scanner off and on.
If initialization does not complete after you have turned the
scanner off and on, this may indicate a problem with the device.
Contact your Nikon service representative.
- 6 -
 Loading...