

Page 1
Installation Guide
Follow these quick steps to install your WG311
PCI Adapter.
The basic installation and configuration instructions below assume that
your wireless network connection will be to an access point, and you are
not using WEP security. Please refer to the Reference Manual on the
WG311 54 Mbps Wireless PCI Adapter Resource CD for detailed instructions
on configuring WEP, using Ad-Hoc mode, or using advanced options.
Windows XP Basic Installation
1. First, install the WG311 software.
a. Power on your desktop and log into the Windows Operating System
b. Insert the WG311 54 Mbps Wireless PCI Adapter Resource
CD into your CD-ROM drive. The CD main page shown
below will load.
c. Click the Install Driver & Utility link.
d. Follow the InstallShield Wizard steps, and click Finish when done.
2. Next, install the WG311 Wireless PC Card.
a. Shut down the PC and remove the power cord from the PC. Insert
the WG311 Wireless PCI Adapter into an available PCI slot.
Connect the antenna to the adapter and position the antenna to up
position. Reconnect the power cord and reboot the computer.
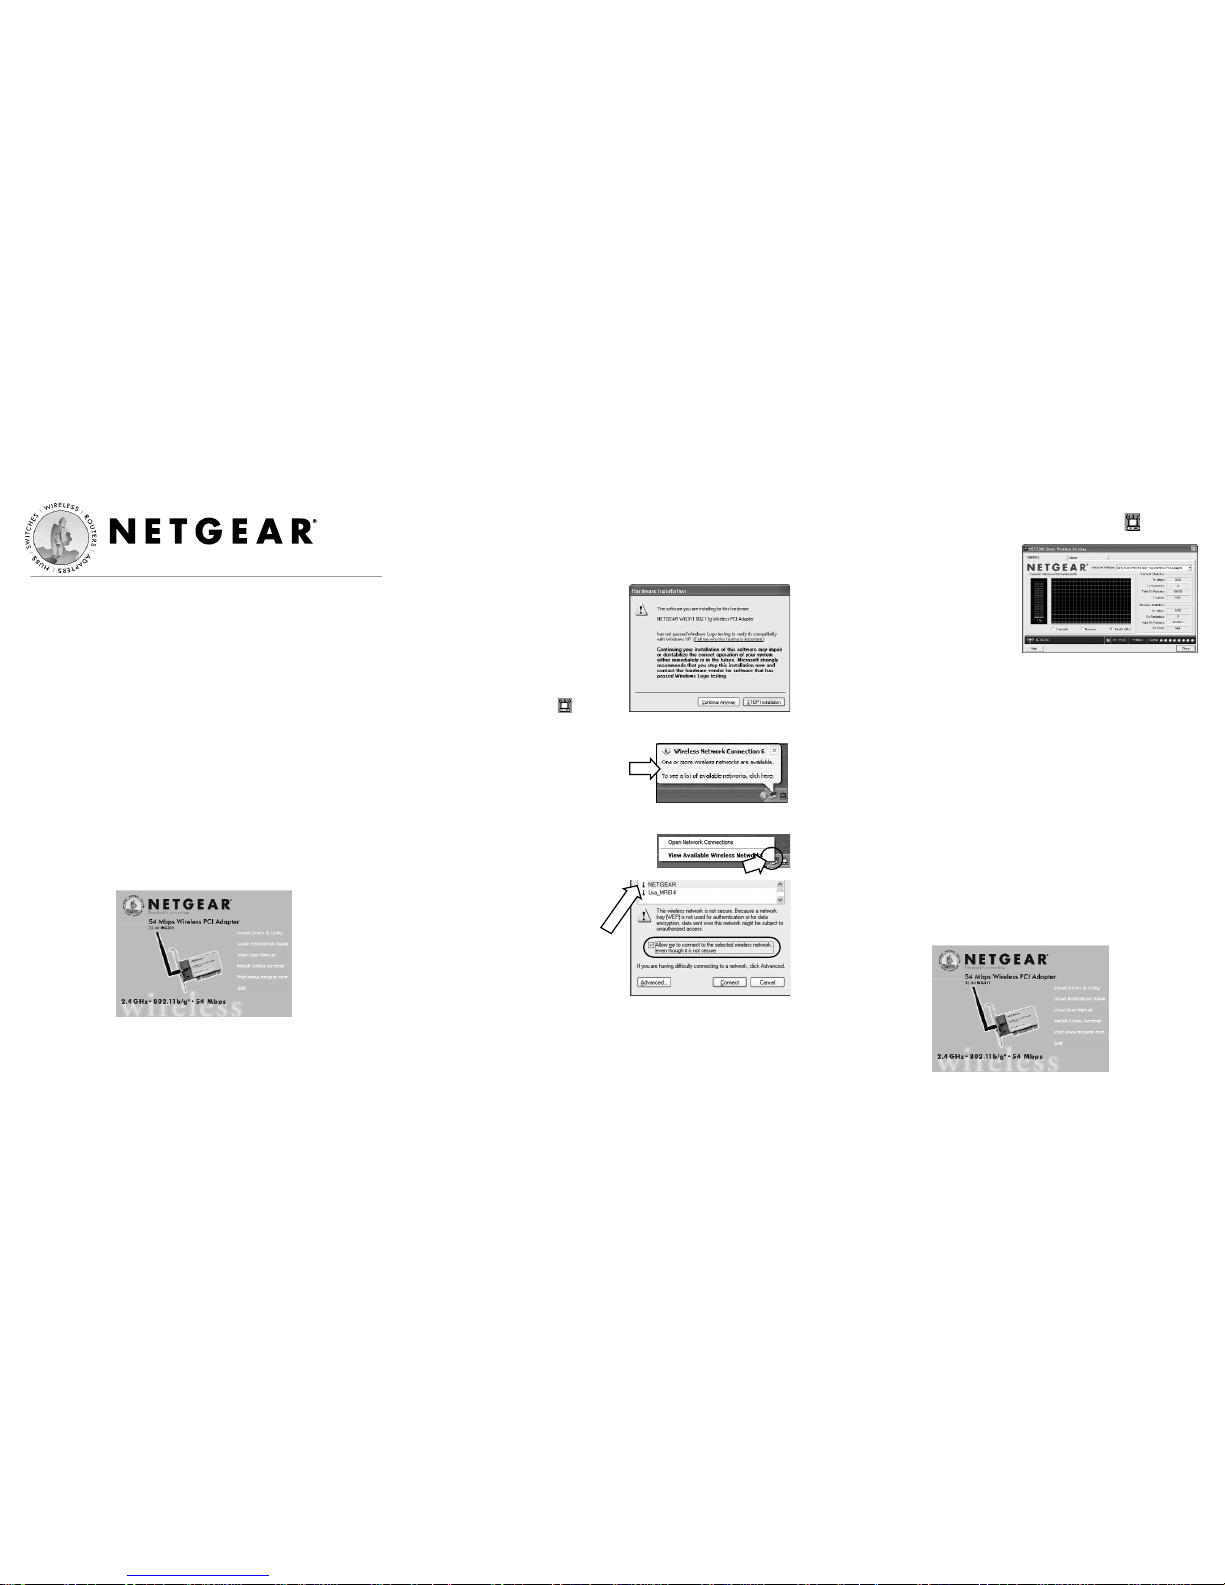
b. After a short delay, the Found
New Hardware Wizard displays.
Note: If a Windows XP logo
testing warning appears, click
Continue Anyway to proceed.
When installation is complete,
you will see the WG311
system tray icon on the
lower right portion of the
Windows task bar.
3. Now, configure your WG311
a. Right click on the network icon in
the Windows XP system tray to
open the network options menu.
b. Click on the View
Available Wireless
Networks menu item.
c. Click on the Allow me to
connect to the selected
wireless network even though this is not secure check box.
d. Click Connect.
4. Finally, verify wireless network connectivity.
a. Open the WG311 utility by clicking on the icon in the
Windows system tray.
Note: When the Windows
XP wireless configuration
utility is selected, only these
two tabs pages appear.
To see the full NETGEAR
utility, please refer to the
Reference Manual on the 54
Mbps Wireless PCI Adapter WG311 Resource CD.
b. Verify that your connection information matches your
wireless network.
c. Verify connectivity to the Internet or network resources.
Note: If you are unable to connect, see troubleshooting tips in the
Basic Installation section of the Reference Manual on the WG311 54
Mbps Wireless PCI Adapter Resource CD.
Windows 2000, Me/98SE Basic Installation
1. First, install the WG311 software.
a. Power on your desktop and log into the Windows Operating
System.
b. Insert the WG311 54 Mbps Wireless PCI Adapter Resource CD for
the WG311 into your CD-ROM drive. The CD main page
shown below will load.
54 Mbps Wireless PCI Adapter WG311
Windows XP will display a
Wireless Network Connection
message like this one.
If there is more than one
wireless network in your
vicinity, click on the one to
which you will connect.
Page 2
©2003 NETGEAR, Inc. NETGEAR, the Netgear logo, The Gear Guy, Everybody's
connecting, and Auto Uplink are trademarks or registered trademarks of Netgear in the
United States and/or other countries. Other brand and product names are trademarks or
registered trademarks of their respective holder. Information is subject to change without
notice. All rights reserved.
c. Click the Install Driver & Utility link.
d. Follow the InstallShield Wizard steps, and click Finish when done.
2. Next, install the WG311 Wireless PC Card.
a. Shutdown the PC and remove the power cord from the PC.
Insert the WG311 Wireless PCI Adapter into an available PCI
slot. Reconnect the power cord and reboot the computer.
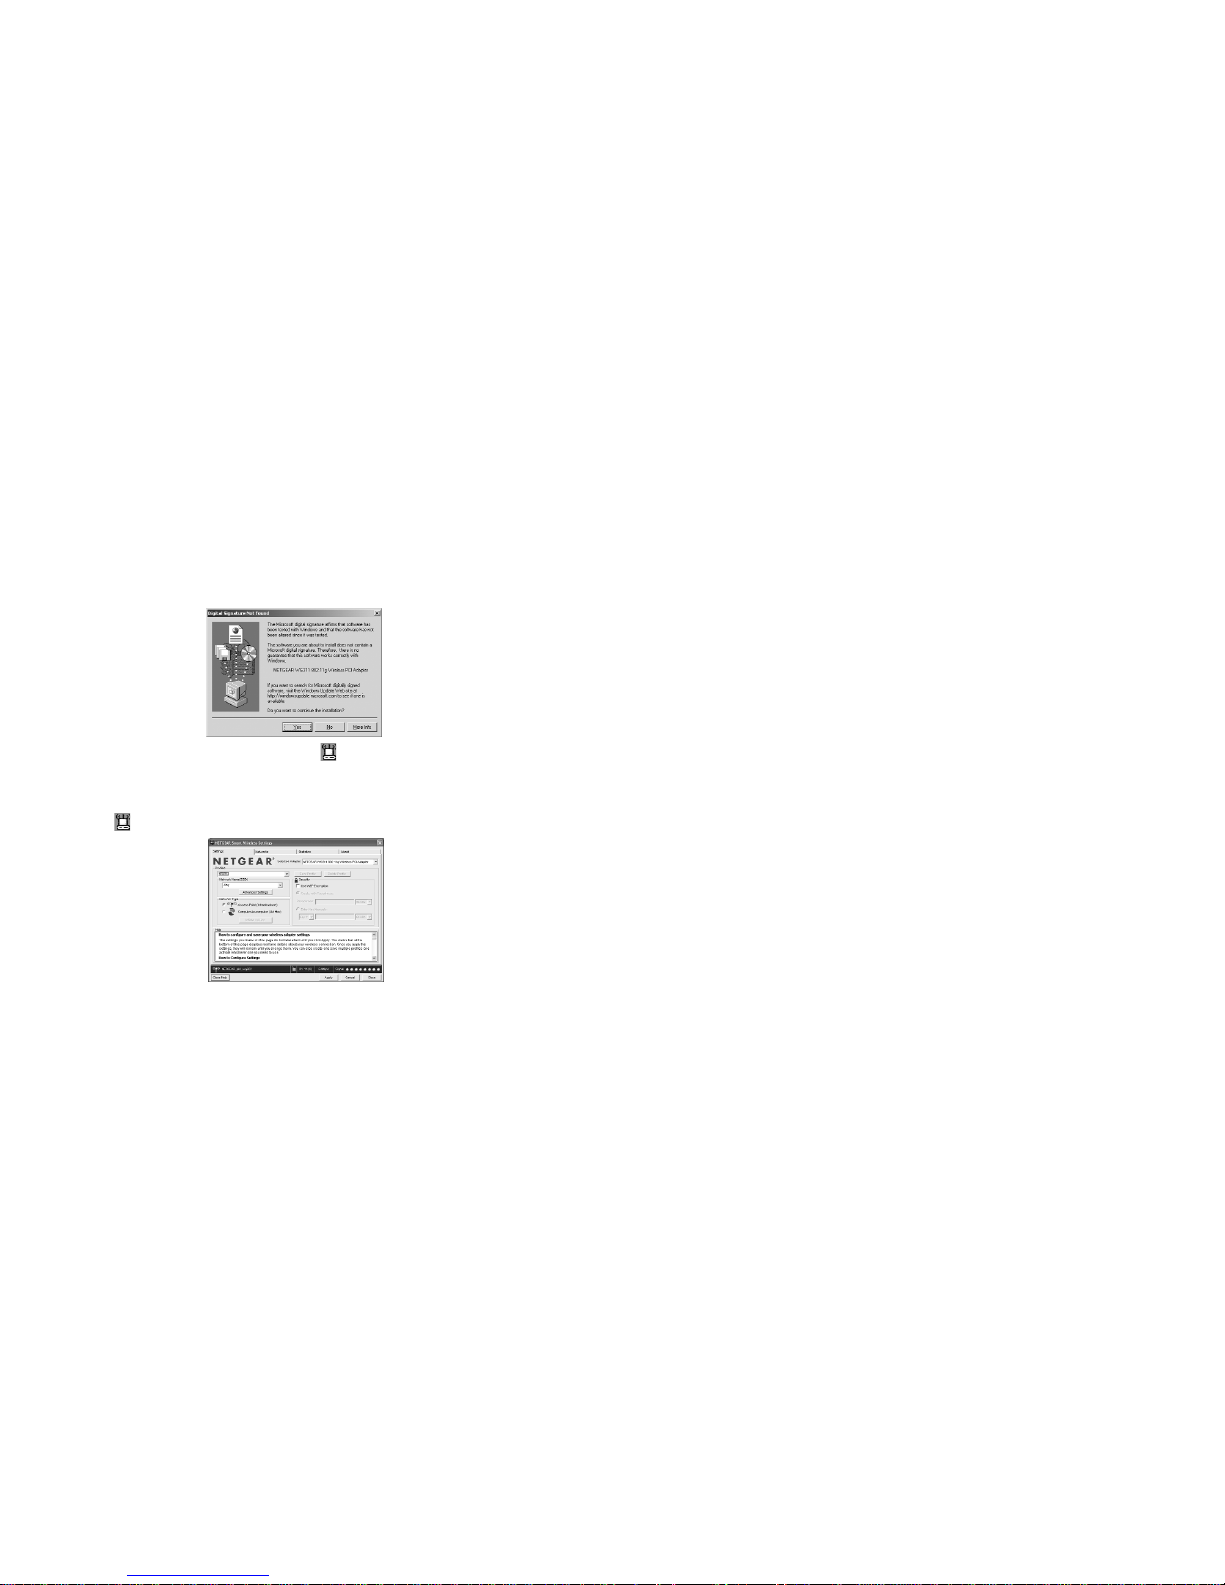
b. After a short delay, the
Found New Hardware
Wizard displays.
Note: If a Windows 2000
displays a Digital
Signature Not Found
warning, click Yes to
continue the installation.
When installation is
complete, you will see the WG311 system tray icon on the
lower right portion of the Windows task bar.
3. Now, configure your WG311
a. Open the WG311 Smart Wireless Settings Utility by clicking on
the icon the Windows system tray. The utility opens to the
Settings page.
b. Change the Network
Name SSID to match
your network.
Tip: As an alternative to
typing in the SSID, you
can use the Network tab
to view the available
wireless networks, and
double click on the
desired network.
c. Click the Apply button to activate the connection.
d. You can also enter a profile name and click on the Save Profile
button to store current settings.
Tip: If you use your desktop PC to connect to a wireless network
at work and at home, create profiles called work and home. Then,
activate whichever one you need for wherever you are located.
4. Finally, verify wireless network connectivity.
Note: You can also use the Networks tab to verify the availability of
wireless networks and their SSIDs. Please see the Reference Manual on
the 54 Mbps Wireless PCI Card WG311 Resource CD.
a. Verify that your connection information matches your
wireless network.
b. Verify connectivity to the Internet or network resources.
Note: If you are unable to connect, see troubleshooting tips in
the Basic Installation section of the Reference Manual on the
WG311 54 Mbps Wireless PCI Adapter Resource CD.
*M-10116-01*
M-10116-01
May 2003
Technical Support
PLEASE REFER TO THE SUPPORT INFORMATION CARD
THAT SHIPPED WITH YOUR PRODUCT.
By registering your product at www.NETGEAR.com/register, we can
provide you with faster expert technical support and timely notices of
product and software upgrades.
NETGEAR, INC.
Support Information
Phone: 1-888-NETGEAR (For US & Canada only) - 24 x 7 phone support
See Support information card for other countries.
E-mail: support@NETGEAR.com (24 x 7 online support)
www.NETGEAR.com
 Loading...