

Page 1
Broadband Setup
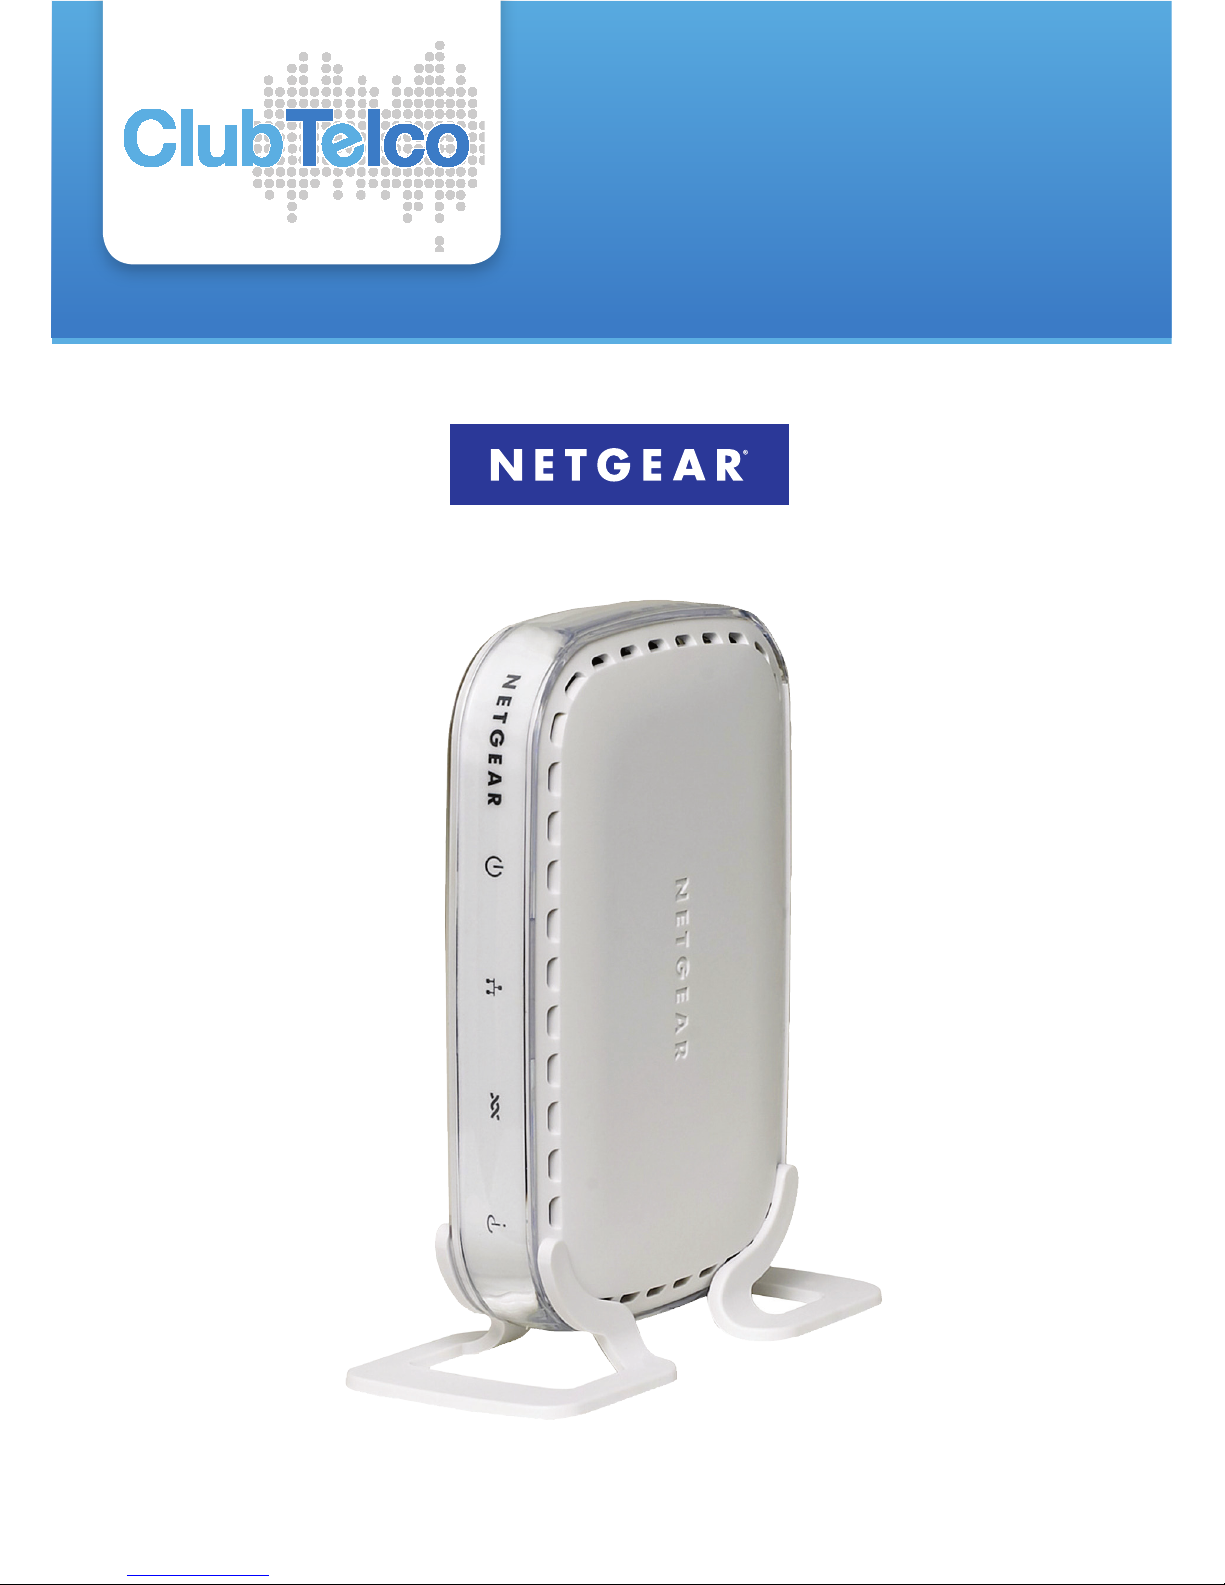
Netgear DM11PSP
Page 2
Broadband Setup Netgear DM11PSP
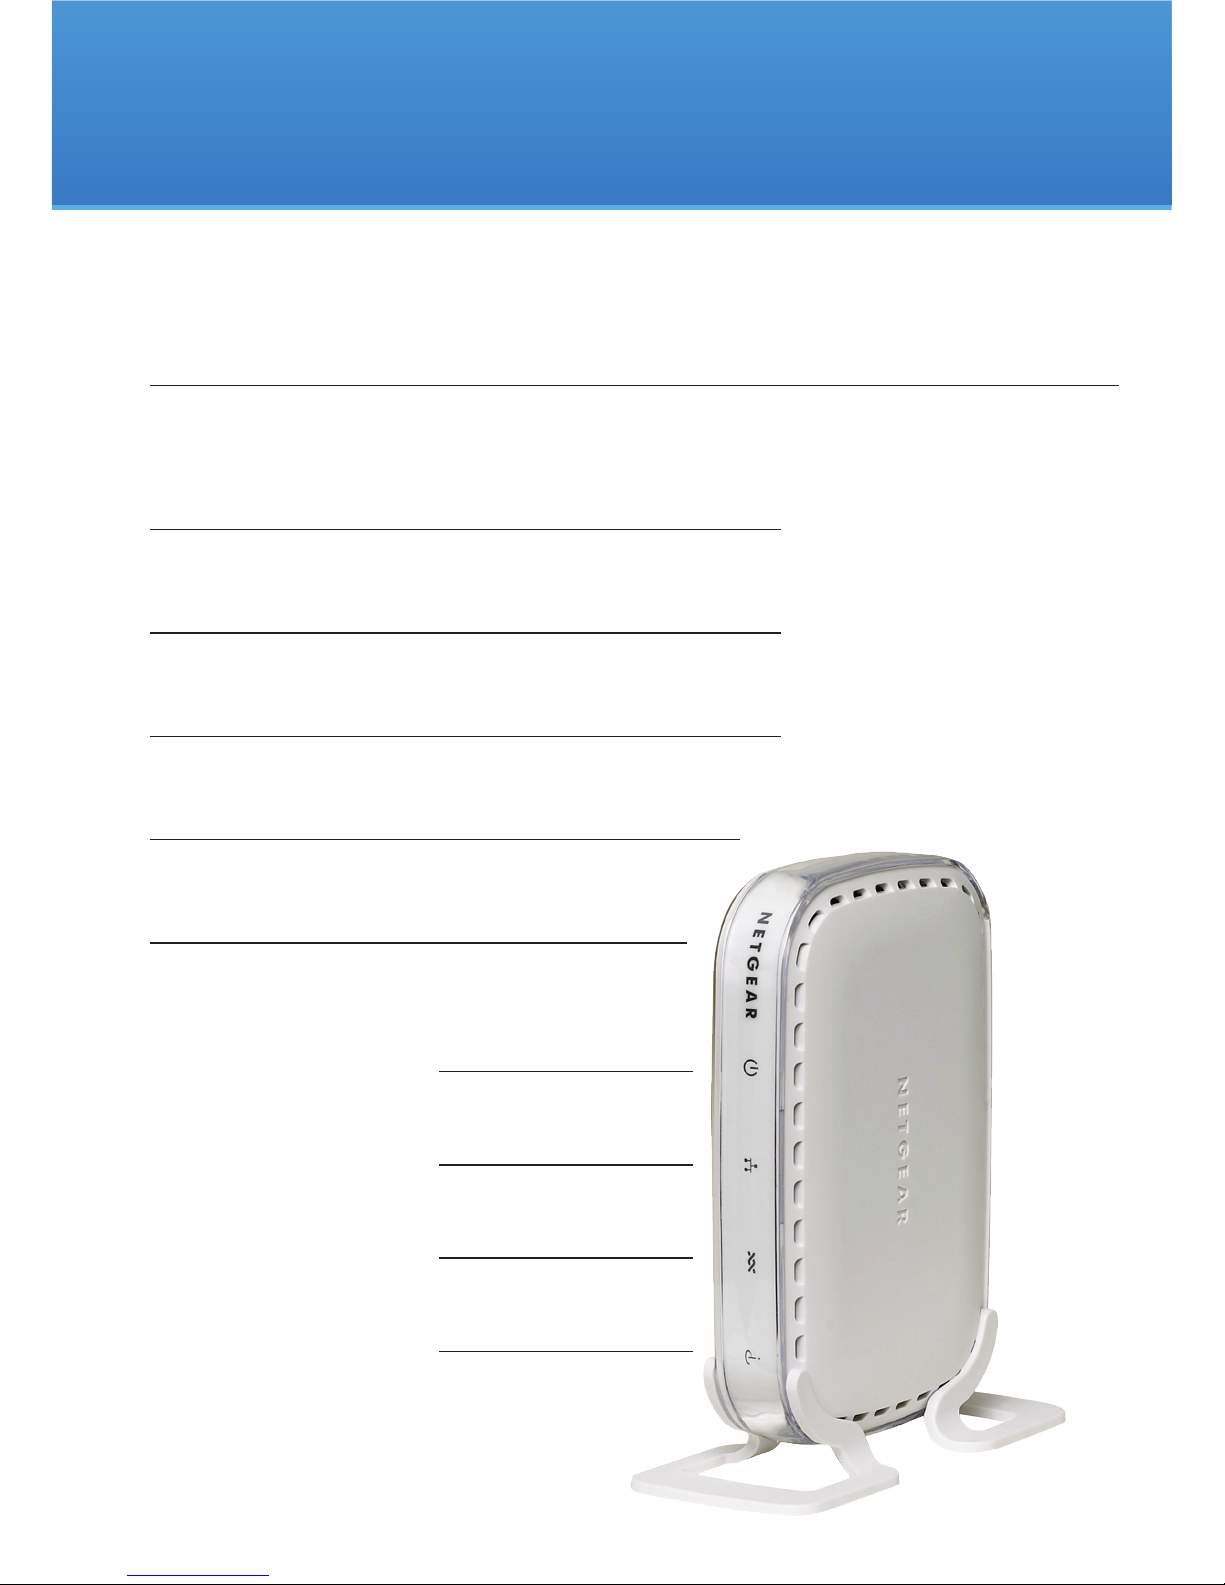
Modem Light Status
On the front of your modem you will notice a number of lights, the below table explains
what each of these lights mean:
Label Action Description
[A] Power O Power is o
Solid Red Modem is initialising
Solid Green Power is on
[B] Ethernet O No Ethernet connection
Solid Green Connected via Ethernet
Blinking Green Data ow
[C] DSL O No DSL signal
Solid Green DSL signal established
Blinking Green Establishing DSL signal
[D] Internet O No internet connection
Solid Green Internet is connected
Blinking Green Data ow
[A]
[B]
[C]
[D]
Modem Reference Guide
Page 3
Broadband Setup Netgear DM11PSP
Requirements
1. Any operating system is compatible however, depending on the version this may aect
your internet experience.
2. Internet Explorer 6.0 or higher/Firefox 2.0 or higher.
3. Ethernet network adapter.
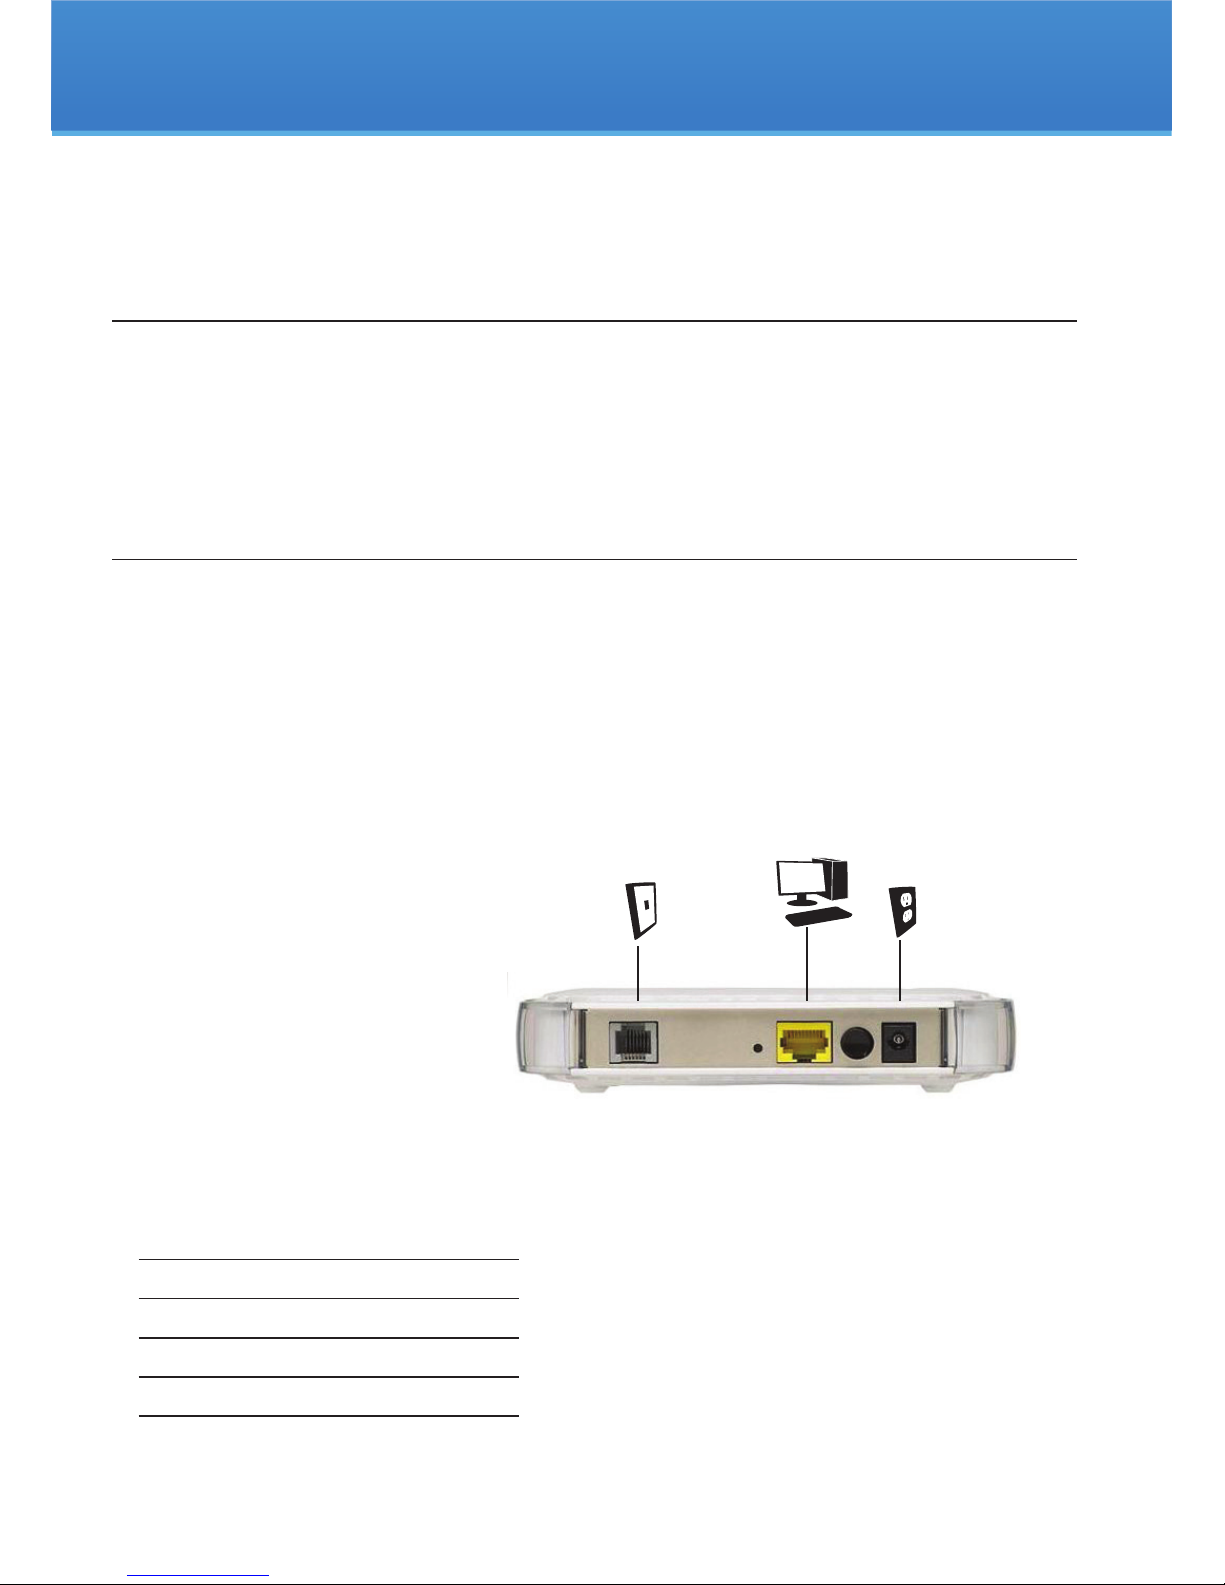
Connecting the DM111PSP to your computer
1. Connect your network cable to the yellow port located at the back of the modem, and
the other end will connect to your computer.
2. Connect a telephone cable to the grey port at the back of the modem, and connect the
other end to your telephone wall socket.
3. Finally, connect the power cable to your modem and the power adapter to your power
point. Press the power button to the “ON” state.
The diagram below shows how the modem connects physically to your phone line,
computer and power point.
4. Now that the modem is connected to your computer, phone line and powered on, you
need to ensure that the lights on the modem indicate the following:
Label Action
Power Solid Green
Ethernet Solid or Blinking Green
DSL Solid Green
Internet O
Computer
Telephone
socket
Power point
Setting Started
Getting Started (Cont.)
Page 4

Broadband Setup Netgear DM11PSPBroadband Setup Netgear DM11PSP
You will also see a network icon appear in your task bar. You are now ready to setup your
ClubTelco Internet connection. The image below shows the message box which should
appear once the modem is connected and powered on.
Connecting Filters
Connecting a Central or Splitter Filter
This lter is used when you need to plug a phone and the ADSL modem in the same
telephone wall socket.
There are 3 ports on the central lter as follows:
Line – This port connects to your telephone wall socket.
ADSL – This port connects to the ADSL modem’s grey port.
Phone – This port connects to a telephone or other telephone device (for example a
fax machine).
From diagram(1.1) below you can see the splitter (micro) lter acts as a double adapter and
lter.
Connecting an Inline Filter
This lter is used on all phones, fax lines, etc.
An inline lter is placed between the telephony device and the telephone wall socket and
should never be installed on the ADSL modem’s phone cable/connection.
Diagram (1.2) below shows that the inline lter only connects to your telephony devices.
Diagram (1.1) Diagram (1.2)
Home Phone
Telephone
Wall Socket
Modem
Micro lter
Phone Jack
ADSL Jack
Telephone
Wall Socket
Home Phone
Modem
Microlter
Phone Jack
Conguring Your Modem
Page 5

Broadband Setup Netgear DM11PSP
Logging into your Modem
1. Open a web browser (usually Internet explorer) and in the address bar enter:
http://192.168.0.1
2. You will be asked for a username and password, simply enter the follow details:
Username: admin
Password: password
As pictured below you can see once the modem address (http://192.168.0.1) has been entered
the login page will automatically appear.
Setting up your ClubTelco ADSL Broadband connection
1. Once you have logged into your modem on the left hand side of the screen click
on ADSL Settings.
2. Under the heading ADSL Settings enter the follow settings:
• VPI: 8
• VCI: 35
• Protocol: PPPoE Bridging
• Multiplexing Method: LLC BASED
• PPP Username: Simply enter your ClubTelco username but much like your email address, for
example; johnsmith@ClubTelco.com.au
Conguring Your Modem (Cont.)
Page 6

Broadband Setup Netgear DM11PSP
3. Now click on the button labeled Apply located at the bottom of the page. Your modem will
now save your settings.
4. Once the settings have saved you should see a Restart Now button appear on the same
screen in the bottom left hand corner. Simply click on this and wait for the modem to
reboot itself.
5. Once your modem has restarted, you should automatically connect to ClubTelco’s Internet
service (this can take up to 5 minutes). If you can see the internet light is now solid green
try browsing to a website such as www.google.com.au to test your connection.
Setting Up Wireless
username@clubtelco.com
Page 7

Broadband Setup Netgear DM11PSP
• PPP Password: Enter the password you’ve selected at sign-up
• Disconnect if no activity (In minutes): 0
3. Now click on the button labeled Apply located at the bottom of the page. Your modem will
now save your settings.
4. Once the settings have saved you should see a Restart Now button appear on the same
screen in the bottom left hand corner. Simply click on this and wait for the modem to
reboot itself.
5. Once your modem has restarted, you should automatically connect to ClubTelco’s Internet
service (this can take up to 5 minutes). If you can see the internet light is now solid green try
browsing to a website such as www.google.com.au to test your connection.
Email Setup
To check your ClubTelco email account you can go to http://www.clubtelco.com/support.html
and under the Login section in the upper left hand side enter your username and password
then click the Webmail button.
Alternatively if you wish to setup your ClubTelco email address on your computer please go to:
http://www.clubtelco.com/support.html and under the Email heading in Self Service select
Email Setup Guides and the mail client you are
using.
Homepage setup
1. If you wish to setup your Homepage simply
open Internet Explorer and select Tools from the
menu selection at the top, and click on Internet
Options.
2. Within Internet Options under the General tab
click in the address bar below the Homepage
heading and enter http://www.clubtelco.com or
the website of your choice. Click OK to complete
the setup.
FAQ & Troubleshooting Tips
http://www.clubtelco.com
Page 8

Broadband Setup Netgear DM11PSP
Call 13 TELCO (13 8352)
Between 9am - 10pm Monday to Friday
Between 8am - 4pm Saturday & Sunday
Email: support@clubtelco.com
 Loading...