


POWER-LINE
Naim Power-Line
OWNERS MANUAL - BEDIENUNGSANLEITUNG - MANUEL D’ U TILISATION
MANUALE DE LL’ U TENT - ANVÄNDARHANDBOK
ENGLISH (INT) - DEUTSCH - FRANÇAIS - ITALIAN0 - SVENSKA

1 Installing the Power-Line
Ensure all equipment is switched off before
connecting or disconnecting the Power-
Line.
The Power-Line will per form optimally if a
few key guidelines are followed:
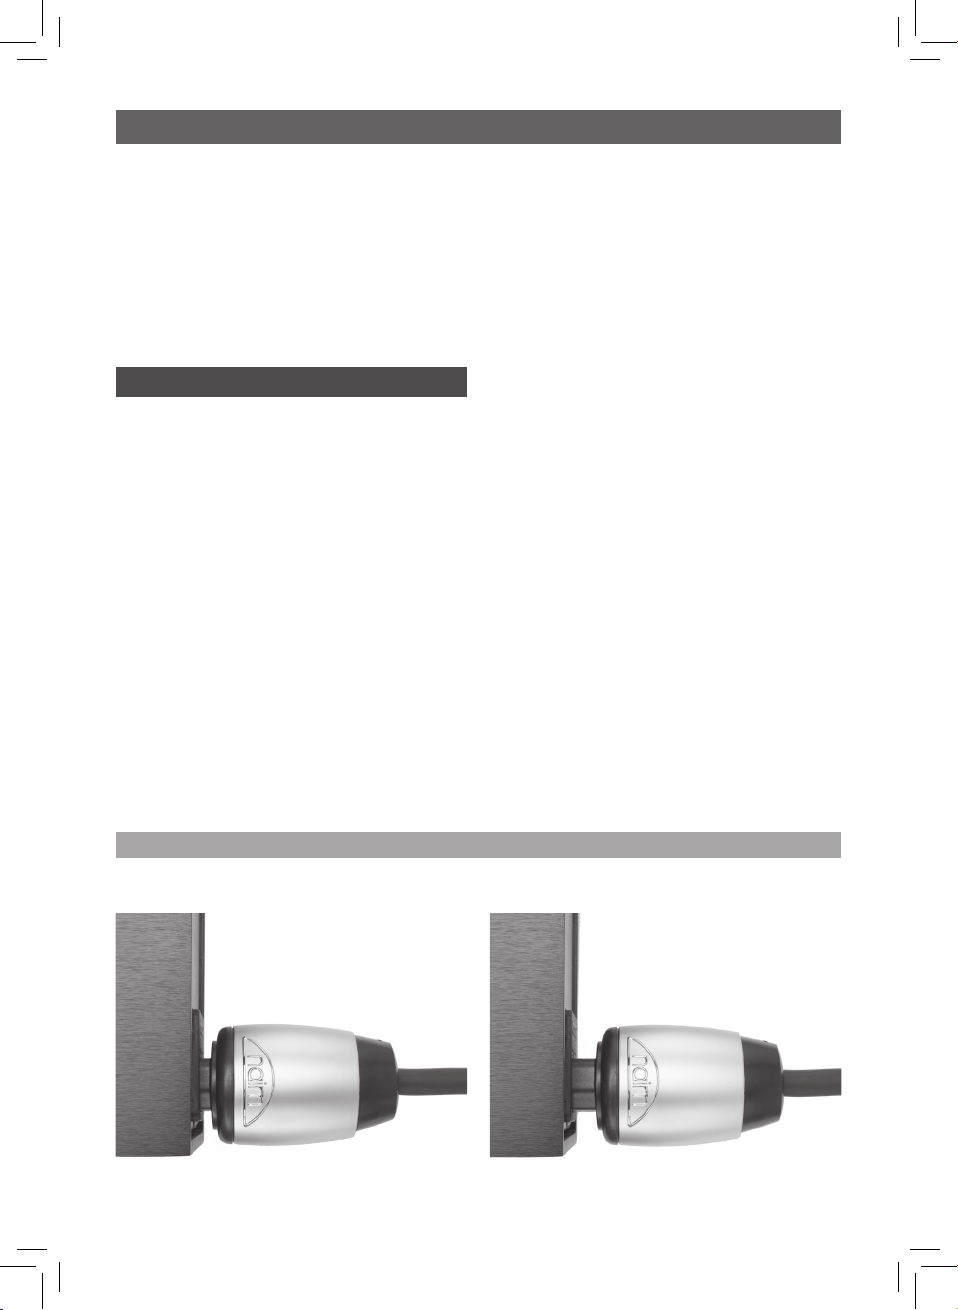
• Insert the IEC connector into a rear panel
mains socket by holding its metal outer
casing.
Do not insert by holding the connector tail
or cable. Doing so will compromise the
performance of the Power-Line.
Note: The metal body of the IEC connector
is able to move a little when the Power-Line
has been inserted into a mains input socket.
This is intentional.
• Ensure that the Power-Line IEC connector
is fully inserted into the rear panel
Naim Audio products are conceived with safety and performance as top priorities. Careful
installation will help ensure that their full potential is achieved. This manual covers the
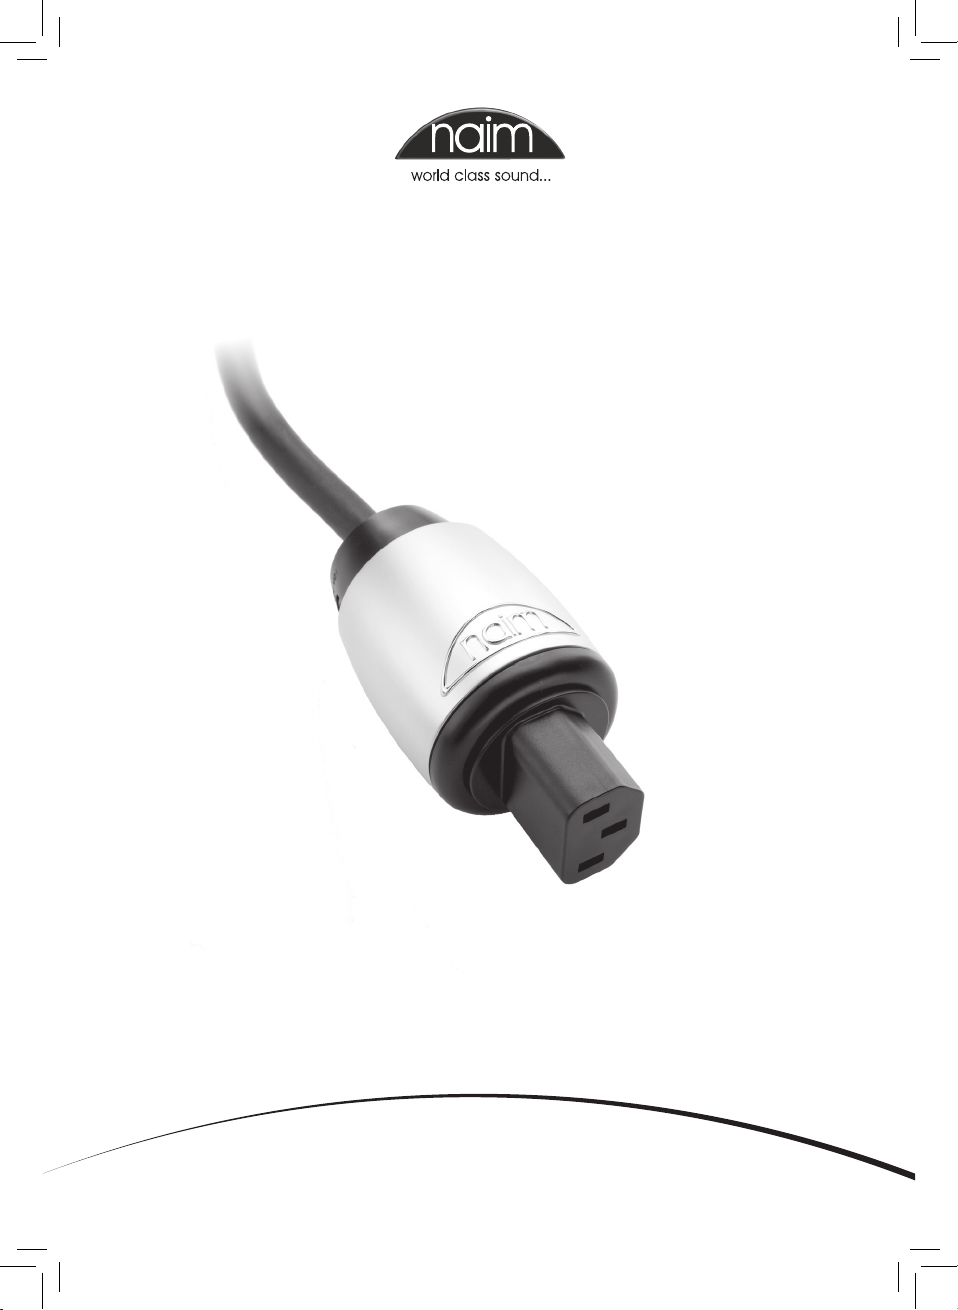
Naim Power-Line mains cable.
The Power-Line offers vibrational energy dissipation and mechanical decoupling in order to
minimise the transfer of energy. It has also been designed to reduce eddy current effects.
The tails of the Power-Line IEC connector and mains plug are designed to articulate relative
to their main bodies. The pins in the IEC connector are also designed to float.
Introduction and Installation
mains socket, as illustrated below. If it
is not fully inserted performance will be
compromised.
Note: The contacts are designed to have a
high insertion force.
• The Mains Plug should be inserted into
the wall socket such that the cable is not
strained.
• The cable itself should be dressed in such
a manner that it avoids contact with
signal and speaker cables.
1.1 Correct and Incorrect IEC Connector Insertion
3
7

Safety, Mains Plug and IEC Connector
2 Safety
WARNING: THIS APPARATUS MUST BE EARTHED
The wires in this mains lead are coloured in
accordance with the following code and
connected as follows:
Brown: Live (L)
Blue: Neutral (N)
Green and Yellow: Earth
Never use the plug with the cover removed.
If the mains plug supplied does not suit the
socket in your home, it should be removed
and an appropriate plug fitted.
Note: If the plug is removed from the mains
lead, no cable should be left attached in
the plug as this presents a serious hazard if
the plug is inserted in a live socket outlet.
3 Mains Plug and IEC Connector
Do not fit voltage dependent resistors or
noise suppressors into the mains plug. They
degrade the mains supply and the sound.
3.1 Mains Plug Wiring
Note: The cable and plugs have been
designed and approved as a complete
lead assembly. We do not advise changing
either the cable or the plug to a different
type as this could cause safety problems.
If the mains plug is rewired the following
guidelines should be followed.
EU Version:
Gold Screw: Live/Hot/Line Brown Wire
Silver Screw: Neutral/Cold Blue Wire
Black Screw: Earth/Ground Green Wire
Cut Lengths: 28mm
Strip Lengths: 8mm
The terminal and cord grip screws should be
firmly tightened (maximum torque: terminal
screws 1.0Nm, cord grip 0.4Nm).
US Version:
Black Screw: Live/Hot/Line Brown Wire
Silver Screw: Neutral/Cold Blue Wire
Green Screw: Earth/Ground Green Wire
Cut Lengths: 28mm
Strip Lengths: 8mm
The terminal and cord grip screws should be
firmly tightened (maximum torque 1.0Nm).
Swiss Version:
Live/Hot/Line: Brown Wire
Neutral/Cold: Blue Wire
Earth/Ground: Green Wire
Cut Lengths: 28mm
Strip Lengths: 8mm
The terminal and cord grip screws should be
firmly tightened (maximum torque: terminal
screws 1.0Nm, cord grip 0.4Nm).
New Zealand Version:
Live/Hot/Line: Brown Wire
Neutral/Cold: Blue Wire
Earth/Ground: Green Wire
Cut Lengths: 40mm
Strip Lengths: 8mm
The terminal and cord grip screws should be
firmly tightened (maximum torque: terminal
screws 1.0Nm, cord grip 0.4Nm).
3.2 Naim IEC Connector
The IEC connector should not be
dismantled. The following information is
provided for compliance with statutory
requirements only.
3.2.1 Naim IEC Connector Wire Strip Lengths
If the IEC connector is rewired the following
cut and strip lengths must be used.
Earth (Green and Yellow):
Cut length: 28mm
Strip length: 8mm
Live (Brown) and Neutral (Blue):
Cut length: 25mm
Strip length: 8mm
Naim IEC connector: Type tested to EN60320-1, Nemko Report Number: 38993. Furutech FI-E35(R) has
KEMA-KEUR approval # 2076430.01. Wattgate 5266i is UL Listed: File E57672CSA Certified: File LR81290.
ERSO 1314 - ESTI approval # 04.0099. PDL Tapon Cat 940 Parkside Laboratories NZ Report #8004-00. Naim
Cable: UL File E61011 Style 20841.
1 Anschluss der Powerline
Schalten Sie vor dem Anschließen oder Abziehen
der Powerline stets sämtliche Geräte aus
.
Die Powerline funktioniert optimal, wenn ein
paar wichtige Richtlinien befolgt werden:
• Fassen Sie den IEC-Stecker an seinem äuße-
ren Metallgehäuse an, wenn Sie ihn in die
Buchse auf der Rückseite eines Geräts ste-
cken.
Fassen Sie das Netzkabel nicht direkt hinter
dem Steckergehäuse und auch nicht direkt
am Kabel an. Hierdurch verschlechtert sich die
Klangqualität der Powerline.
Hinweis: Das Metallgehäuse des IEC-Steckers
kann sich ein bisschen bewegen, wenn die
Powerline an einer Netzsteckdose angeschlos-
sen wurde. Das ist so beabsichtigt.
Bei der Entwicklung von Naim-Audio-Produkten haben Sicherheit und Klangqualität stets oberste
Priorität. Eine sorgfältig durchgeführte Installation gewährleistet, dass das klangliche Potenzial der
Produkte ausgeschöpft wird. Diese Bedienungsanleitung enthält Informationen zum Naim-Netzkabel
Powerline.
Die Powerline minimiert die Übertragung von Energie, indem sie Lautsprecher und Geräte akustisch
und mechanisch entkoppelt. Außerdem wurde sie so konzipiert, dass der Einfluss von Eddy-Strömen
reduziert wird. Die Enden des IEC-Steckers und des Netzsteckers der Powerline sind so ausgelegt,
dass sie relativ zu ihren Gehäusen bewegbar sind. Die Stifte im IEC-Stecker sind außerdem so konst-
ruiert, dass sie völlig erdfrei sind.
Einleitung und Anschluss
• Stecken Sie den IEC-Stecker der Powerline
vollständig in die Buchse auf der Rückseite
eines Geräts (siehe Abbildung unten). Wenn
der Stecker nicht richtig eingesteckt ist, wird
hierdurch die Klangqualität beeinträchtigt.
Hinweis: Die Kontakte sind so ausgelegt, dass
sie eine hohe Bestückungskraft verkraften.
• Der Netzstecker muss so in die
Wandsteckdose gesteckt werden,
dass das Kabel nicht gedehnt wird.
• Das Kabel selbst muss so verlegt werden,
dass es nicht mit den Signal- und den
Lautsprecherkabeln in Berührung kommt.
1.1 Richtiger und falscher Anschluss des IEC-Steckers
3
7
 Loading...