Mini R53, R50 User Manual

Parts and Accessories
Installation Instructions
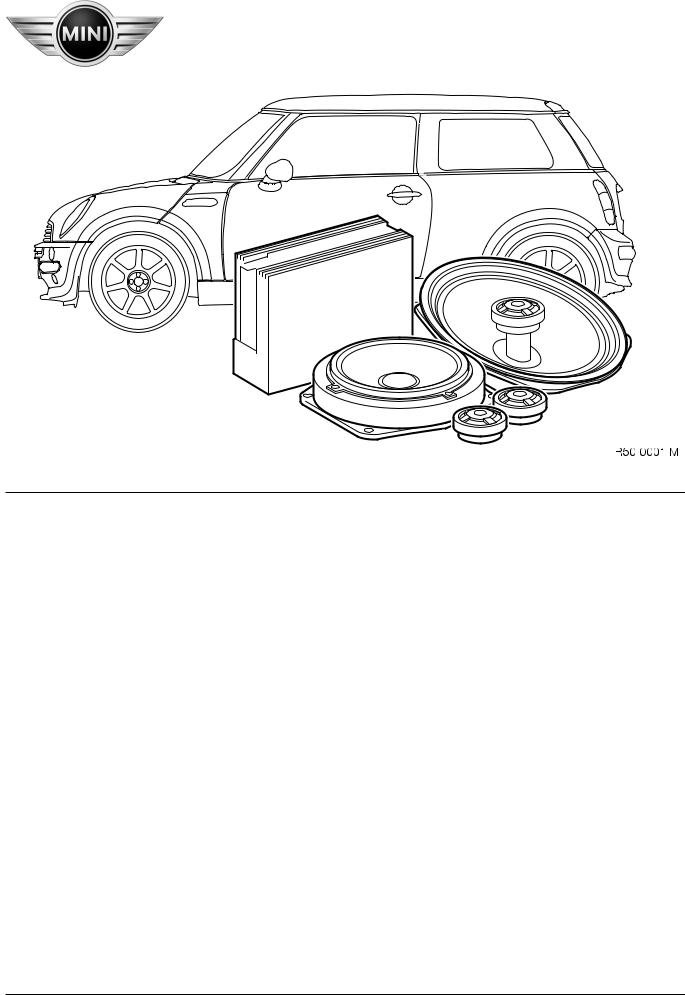
Installation kit, sound module
MINI (R50/R53) Left-hand drive (LHD)
Not suitable for vehicles with on-board monitor radio
Not suitable for vehicles with "NG*" car radio
Not suitable for vehicles with SA 674 ("harman/kardon" HiFi system)
The installation time of approx. 2.5 hours can vary depending on the condition and equipment of the vehicle.
Retrofit/installation kit No. 82 83 0 136 491
* New Generation
Retrofit/installation kit No.: 82 83 0 136 491 |
|
Installation instruction No.: 01 29 0 139 395 |
Status: 06.2001 |
Contents |
|
|
Section |
Page |
|
|
Important Information. . . . . . . . . . . . . . . . . . . . . . . . . . . . . . . . . . . . . . . . . . . . . . . . |
3 |
1. |
Preparation . . . . . . . . . . . . . . . . . . . . . . . . . . . . . . . . . . . . . . . . . . . . . . . . . . . . . . . |
4 |
2. |
Schematic installation and routing diagram . . . . . . . . . . . . . . . . . . . . . . . . . . . . . . . |
5 |
3. |
Connection overview, adapter lead and power cable . . . . . . . . . . . . . . . . . . . . . . . . . |
6 |
4. |
Installing and connecting adapter lead and power cable. . . . . . . . . . . . . . . . . . . . . . . |
7 |
5. |
Installing amplifier . . . . . . . . . . . . . . . . . . . . . . . . . . . . . . . . . . . . . . . . . . . . . . . . . . |
8 |
6. |
Installing tweeters and woofers/mid-range speakers at front . . . . . . . . . . . . . . . . . . |
10 |
7. |
Installing rear coax speakers . . . . . . . . . . . . . . . . . . . . . . . . . . . . . . . . . . . . . . . . . . . |
11 |
8. |
Affixing stickers . . . . . . . . . . . . . . . . . . . . . . . . . . . . . . . . . . . . . . . . . . . . . . . . . . . . |
12 |
9. |
Concluding jobs/encoding. . . . . . . . . . . . . . . . . . . . . . . . . . . . . . . . . . . . . . . . . . . . . |
13 |
10. |
Initial use . . . . . . . . . . . . . . . . . . . . . . . . . . . . . . . . . . . . . . . . . . . . . . . . . . . . . . . . . |
13 |
Retrofit/installation kit No.: 82 83 0 136 491 |
EN/2 |
Installation instruction No.: 01 29 0 139 395 |
Status: 06.2001 |
Important Information
Read out the defect code memories before disconnecting the battery and on completion of assembly.
It is possible that the connections and/or pin assignments change during the course of further development. For this reason, the currently valid ETM (Electrical Troubleshooting Manual) must always be used for installation purposes.
Jumpers, double crimp connections or parallel connections will be required if the specified pin chambers are occupied.
Take care not to kink, bend or damage cables when installing in the vehicle as otherwise faults may occur that require extensive additional work to subsequently locate them. The costs incurred will not be reimbursed!
All wiring harnesses and lines are to be fitted and secured such that they are not bent, cannot sag, chafe or be pinched.
Tie back excessive length of wiring harnesses and lines and use cable straps to secure at suitable positions.
Ensure the wiring cannot snag.
Item numbers refer only to the overviews or to the texts next to the corresponding figure.
Subject to technical modifications.
Retrofit/installation kit No.: 82 83 0 136 491 |
EN/3 |
Installation instruction No.: 01 29 0 139 395 |
Status: 06.2001 |

1 . Preparation
0
Carry out quick test
Disconnect negative terminal of battery
The following components must be disassembled or removed beforehand:
Battery with battery box
Instrument cluster
Radio
Front left door trim panel
Front right door trim panel
Remove woofers/mid-range speakers in front doors (no longer required)
Release rear left side trim panel in front area
Release rear right side trim panel in front area
Remove speakers in rear side sections (no longer required)
Retrofit/installation kit No.: 82 83 0 136 491 |
EN/4 |
Installation instruction No.: 01 29 0 139 395 |
Status: 06.2001 |
 Loading...