

Page 1
Chassis Type II Glass Cleaning Instructions 9/17/2004
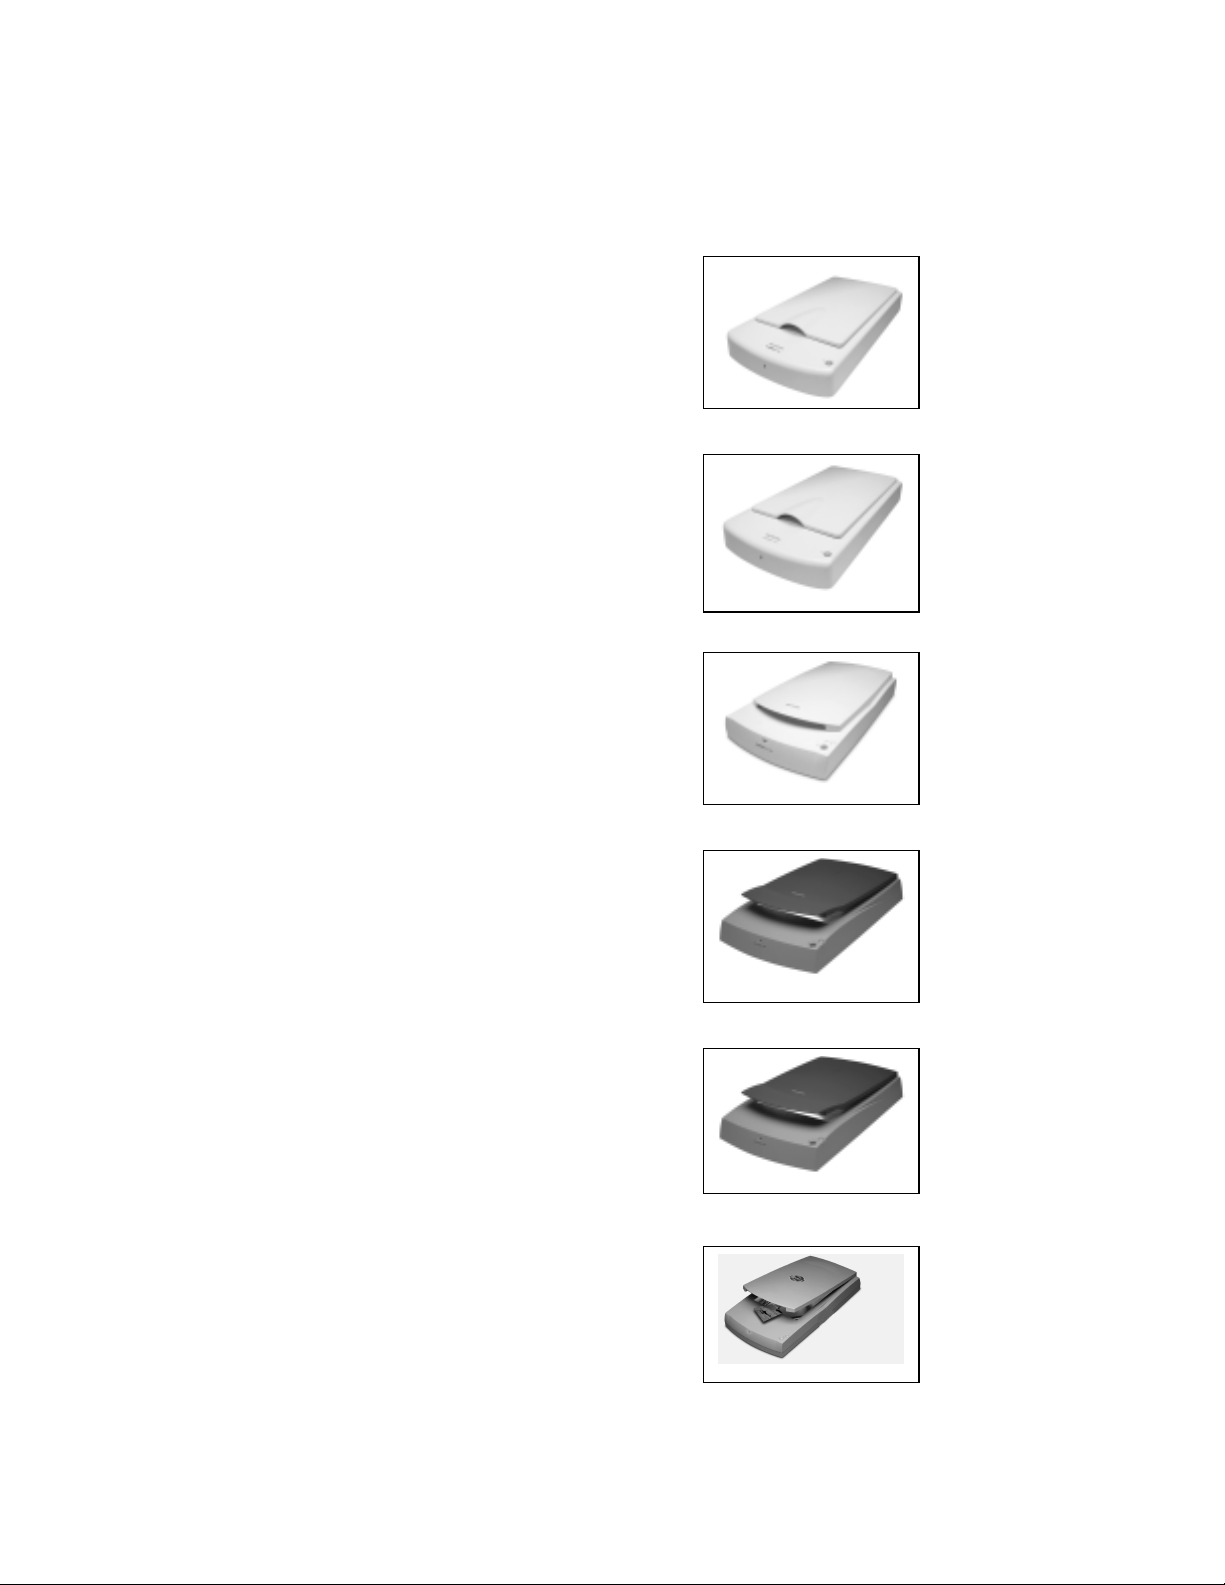
Glass Cleaning Instructions For:
SCANMAKER V6 UPL
SCANMAKER V6 USL
SCANMAKER X12 USL
SCANMAKER X6
SCANMAKER X6 USB
SCANMAKER X6EL
1 of 7 Last Updated On: 8-17-04
Page 2

Chassis Type II Glass Cleaning Instructions 9/17/2004
A scanner is a precision optical instrument and
disassembling the scanner upper housing is a delicate
procedure. We do not recommend that you disassemble the
scanner’s upper housing assembly on your own because of
potential problems that may come up while trying to
disassemble & during the reassembly process. Technical
Support personnel are not trained in repair; therefore, if
you get in trouble, assistance for disassembly & during the
reassembly process is not available. Proceed at your own
risk!
Tools Needed:
Phillips Screw Driver
Flat Screw Driver or small pry bar
Needle Nose Pliers
Recommended Materials:
Glass Cleaning Cloth
Canned Air
Selecting A Work Area
It is important that you begin by planning where you will lay your disassembled parts.
Locate an area with a workbench, table or desk with plenty of space.
Make sure that the area is clear of any other parts from other devices, as the many
screws and nuts can be easily confused.
We recommend that you lay a sheet or tablecloth on the surface you will be
working on. This will prevent tools, parts and screws from sliding around and
falling to the floor. This will also prevent any parts from scratching the surface of
the work area.
2 of 7 Last Updated On: 8-17-04
Page 3

Chassis Type II Glass Cleaning Instructions 9/17/2004
Before You Start
In order to prevent any short-circuiting of the electronic chips on the scanners
motherboard, it is very important that you ground yourself by simply touching the
metal part or parts of your PC.
Make sure that the area you touch on your PC is bare metal and not coated with paint or
plastic. This will allow for any static electricity to discharge from your body.
Note: Make sure that the scanner power cable is disconnected from
the back of the scanner at this point.
Cleaning the Scanner’s Glass Bed
The best way to clean the scanner glass bed is with a clear glass cleaner solution. Make
sure you do not use the blue, red, yellow or any other color dye solutions. Using color
dye solutions can form streaks on the scanners glass bed. Use the clear solutions for best
results. You can also use a 50/50 solution mix distilled water and pure alcohol. Also use
a soft cloth and avoid all abrasive material such as sponges and rough paper towels.
Cleaning Under Side of Glass Bed
To clean the underside of your scanners glass bed, please make sure that it is absolutely
necessary to do this. If cleaning the top of the scanner glass bed was not sufficient you
will need to open your scanners upper housing in order to be able to clean the underside
of the scanners glass bed.
3 of 7 Last Updated On: 8-17-04
Page 4

Chassis Type II Glass Cleaning Instructions 9/17/2004
Removing the Scanner Lid
Removing the scanner lid is probably the easiest part of these instructions. Simply open
the scanner lid to a 90-degree angle and lift upward to remove the lid. (See illustration
below.)
Removing the Scanners Upper Outer Housing
Most of our scanner models have two Phillips head screws holding down the upper
housing. You can locate the Phillips screws by removing the scanners lid off the scanner.
You will notice the Phillips screws to the left and right side of the scanners lid
receptacles. (See illustration below.)
Two Phillip screws
are located in the
two chambers just
next to the scanners
lid receptacles.
4 of 7 Last Updated On: 8-17-04
Page 5

Chassis Type II Glass Cleaning Instructions 9/17/2004
S
B
N
s
1. Remove the Phillips head screws that are located to the left and right side of the
receptacles that hold the scanners lid.
Note: Do not use screwdrivers with magnetic or magnetized tips. Using
magnetized tools around the scanners circuit boards may damage the circuitry,
therefore rendering your scanner useless.
2. Once the scanners upper housing has been released lift the scanners upper housing
making sure that the on/off and go button remain in tact. (See illustration below.)
canner’s Upper Housing
e careful when lifting the upper housing;
make sure that on/off and the go button
remain in tact as you lift the upper housing.
o wires should come loose and the upper
housing should come completely off the
canner chassis.
Assembling the Upper Housing
1. Before putting the upper housing assembly together, it may be a good time for you to
clean the interior si de of the scanners glass bed. Clear glass cleaners and a soft cloth are
the recommended materials to clean the scanners glass bed. Using a clear solution will
prevent streaks from forming on your scanners glass bed.
5 of 7 Last Updated On: 8-17-04
Page 6

Chassis Type II Glass Cleaning Instructions 9/17/2004
N
2. Now take the upper housing and align with the bottom part of the scanner housing. In
order to properly align the upper and lower housing you must insert the upper housings
clip guides into the clip guide receptacles at the bottom of the lower housing. Once the
upper housing clip guides are inserted to the lower housing receptacles, slowly lower the
scanners upper housing all the meanwhile making sure that it aligns just right so that the
on/off button and the go button remain functional once the upper housing has dropped
into place. (See illustrations below.)
Front of Scanner Bottom of Scanner
otice how the upper housings clips
can be guided into the clip guide
receptacles at the bottom of the lower
housing.
Note: When the upper housing clips are inserted into the lower housing’s clip
receptacles, you will easily be able to align both upper and lower housing
together. There should not be any resistance and you should not have to snap
anything into place. The upper housing should simply be allowed to settle into
place once it is aligned properly. (See illustrations below.)
6 of 7 Last Updated On: 8-17-04
Page 7

Chassis Type II Glass Cleaning Instructions 9/17/2004
3. To fasten the scanner’s upper and lower housing replace the Phillips head screws that
are located to the left and right side of the receptacles that hold the scanners lid. Then
position the scanner lid to a 90 angle over the lid receptacles at the rear of the scanner and
insert the lid back in place.
Note: Prior to reconnecting the scanner to you computer, make sure to inspect
the interior of the scanner through the scanners glass bed and check for any loose
or pinched wires.
7 of 7 Last Updated On: 8-17-04
 Loading...