

Page 1
Chassis V Lamp Replacement Instructions
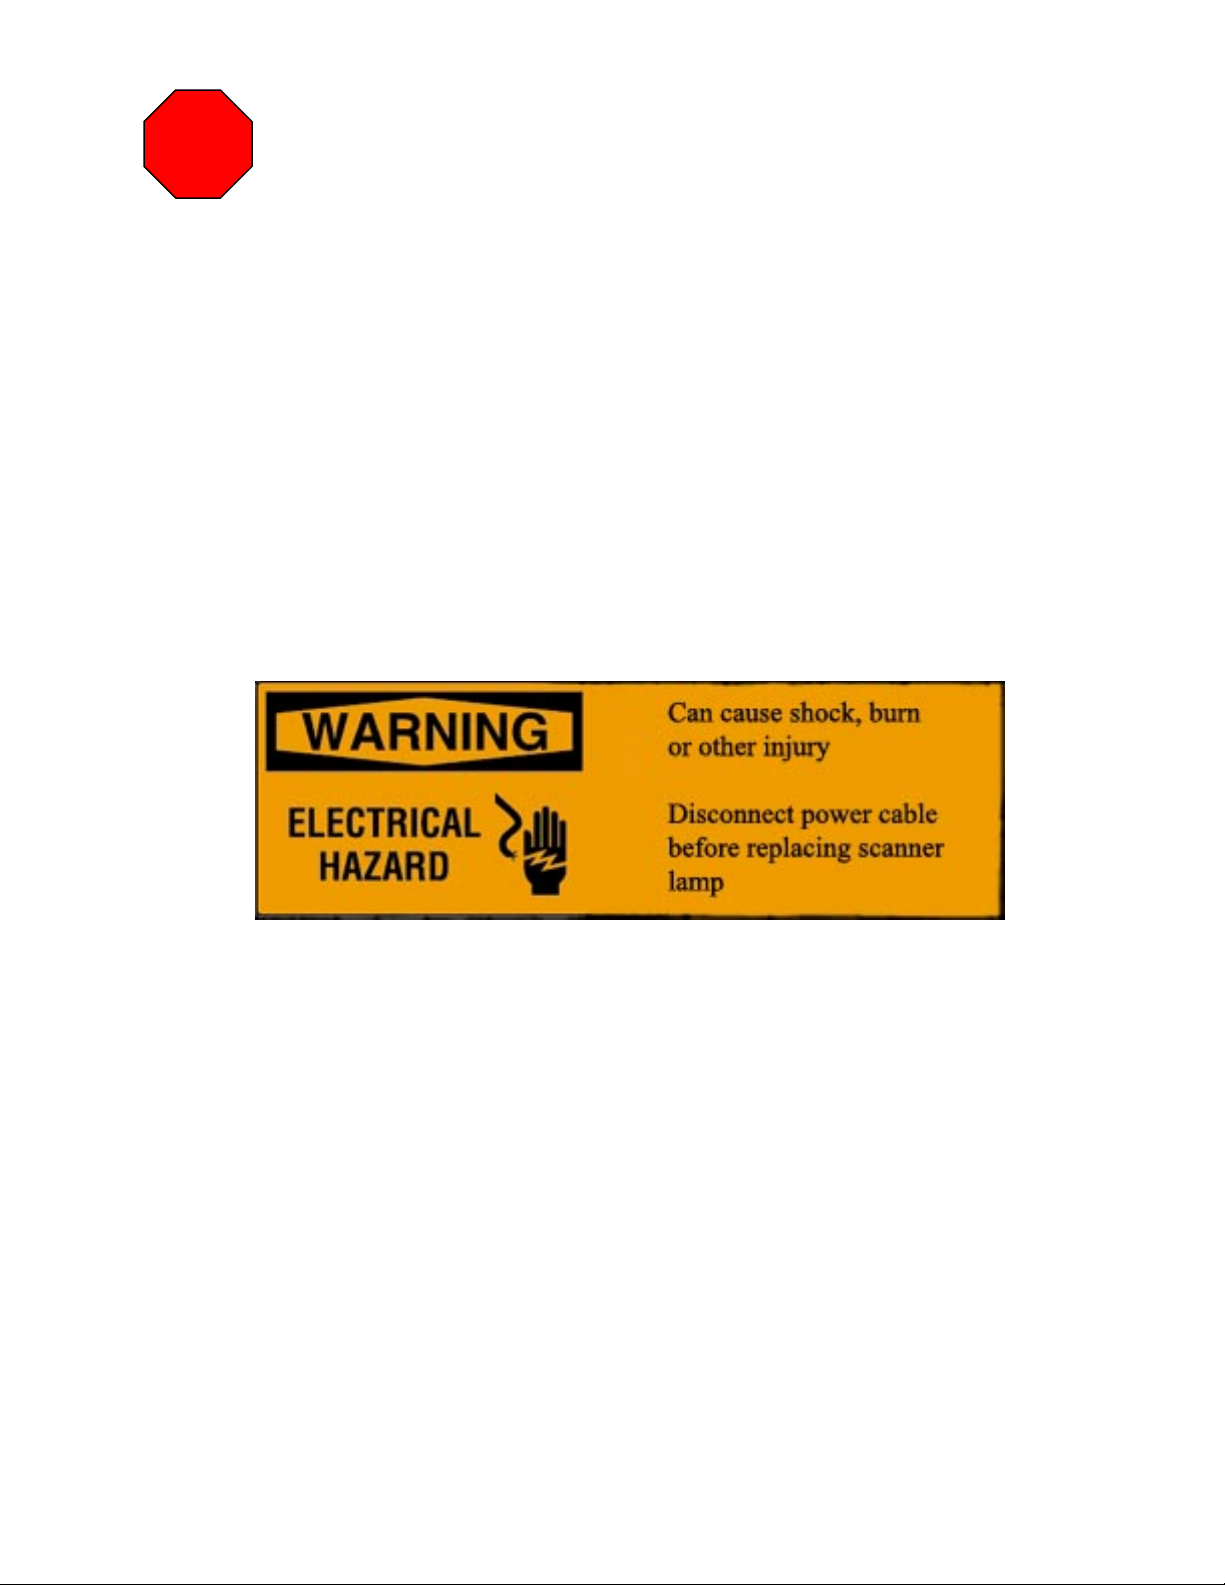
STOP
READ FIRST !
IMPORTANT NOTICE TO USERS:
A scanner is a precision optical instrument. The manufacturer strongly recommends that trained
service personnel perform any and all repairs dealing with the disassembly and reassembly of any
fastened parts. Microtek does not have (live) or email technical support staff to assist with scanner
upper housing disassembly or reassembly. By following these instructions you agree and
acknowledge that neither the manufacturer nor its dealers and resellers shall assume liability or
responsibility for any damage to a scanner unit or personal injury caused by untrained service
personnel or other failure to closely follow the detailed Glass Cleaning Instructions. Proceed solely
at your own risk!
TECHNICAL SUPPORT:
Microtek does not have (live) technical or email support staff to assist with cleaning the
scanner’s glass bed. Proceed solely at your own risk!
Lamp Replacement Procedure for:
ScanMaker E3
ScanMaker E6
ScanMaker IIXE
ScanMaker IIHR
ScanMaker 600z
ScanMaker 600g
ScanMaker 600zs
ScanMaker 600gs
Rev. 1.1 1 of 5
Last Revised on 5/15/06
Page 2

Chassis V Lamp Replacement Instructions
Scanner Disassembly Procedures
Tools Needed:
Phillips Screw Driver or 8mm Allen Wrench
Flat Screw Driver or small pry bar
Needle Nose Pliers
Recommended Materials:
Glass Cleaning Cloth
Clear streak-free glass cleaner
Or 50/50 solution mix distilled water and pure alcohol
• Canned Air
Selecting A Work Area
It is important that you begin by planning where you will lay your disassembled parts.
Locate an area with a workbench, table or desk with plenty of space.
Make sure that the area is clear of any other parts from other devices, as the many screws and
nuts can be easily confused.
We recommend that you lay a sheet or tablecloth on the surface you will be working on. This
will prevent tools, parts and screws from sliding around and falling to the floor. This will also
prevent any parts from scratching the surface of the work area.
Before You Start
In order to prevent any short-circuiting of the electronic chips on the scanners motherboard, it is
very important that you ground yourself by simply touching the metal part or parts of your PC.
Make sure that the area you touch on your PC is bare metal and not coated with paint or plastic.
This will allow for any static electricity to discharge from your body.
Reminder: Make sure that the scanner power cable is disconnected from the back of the scanner at this
point.
Note: Care should be taken throughout all disassembly and reassembly procedures never to smudge or
soil the lens or either mirror.
Rev. 1.1 2 of 5
Last Revised on 5/15/06
Page 3

Chassis V Lamp Replacement Instructions
The housing is opened as follows:
1. Turn off the power and unplug the power cord.
2. Loosen the two pins holding the scanner cover and lift the cover away.
3. Remove the four upper housing screws with a screwdriver.
8mm Allen Wrench or
Phillips
4. Turn the scanner 90° and lift the scanner upper housing.
Rev. 1.1 3 of 5
Last Revised on 5/15/06
Page 4

Chassis V Lamp Replacement Instructions
p
Special Note: This is an opportunity to clean the scanners glass bed. Place the scanners upper
housing on a flat surface with a cloth or towel underneath to prevent scratching on the glass while
clean the glass.
Cleaning Tip: The best way to clean the scanner glass bed is with a clear glass cleaner solution.
Make sure you do not use the blue, red, yellow or any other color dye solutions. Using color dye
solutions can form streaks on the scanners glass bed. Use the clear solutions for best results. You
can also use a 50/50 solution mix distilled water and pure alcohol. Also use a soft cloth and avoid
all abrasive material such as sponges and rough paper towels. Spray or moisten the cloth. Do not
spray directly on the scanner upper housing glass, as there is a calibration strip on the underside of
the glass bed that when stained affects scans adversely.
Reassembling the Scanners Upper Housing:
1. Close the scanner upper housing and align the tabs on the bottom of the upper housing with the
slots at the front and rear of the base.
2. Then re tighten the four screws with a screwdriver.
8mm Allen Wrench or
Philli
s
Rev. 1.1 4 of 5
Last Revised on 5/15/06
Page 5

Chassis V Lamp Replacement Instructions
3. Snap the document cover back on.
Rev. 1.1 5 of 5
Last Revised on 5/15/06
 Loading...