

Logitech Harmony 1100 User Manual
User
User
Manual
Manual
Version 1.0
Version 1.0

Contents
Introduction ......................................................................................................................... 5
Getting to know your remote ...........................................................................................5
How your Harmony 1100 works ..................................................................................5
Activities, devices, and inputs .......................................................................................5
The buttons on your Harmony 1100 ............................................................................6
Navigation icons ............................................................................................................7
What’s on the Harmony 1100 screen ..........................................................................8
Using your Harmony 1100 ...............................................................................................10
Selecting an Activity ....................................................................................................10
Switching between Activities .....................................................................................10
Turning off your devices ..............................................................................................10
Using the Help button ................................................................................................11
Controlling your devices individually .........................................................................12
Charging your remote .................................................................................................12
Setting up your Harmony 1100 for the fi rst time ........................................................13
Overview of the setup process ...................................................................................13
1. Creating your user account .............................................................................14
2. Connecting your Harmony 1100 to your computer .....................................14
3. Setting up the devices you want to control ...................................................15
4. Setting up Activities for your Harmony 1100 .................................................15
5. Updating the remote .......................................................................................16
Testing your setup ............................................................................................................17
Changing your setup ........................................................................................................18
Adding and changing your devices ............................................................................18
Adding and changing your Activities .........................................................................18
Renaming an Activity ...................................................................................................18
Adding an extra device (passthrough) to an Activity ................................................19
Customizing the on-remote help ...............................................................................20
Controlling the Remote Assistant ...............................................................................20
Customizing your Harmony 1100 ...................................................................................22
Renaming an Activity ...................................................................................................22

Changing the order of Activities on your Harmony 1100 screen ............................22
Setting up your favorite channels ...............................................................................22
Changing how buttons work in an Activity ................................................................23
Adding custom-labeled buttons to an Activity ..........................................................23
Adding a slideshow to your Harmony 1100 screen ..................................................24
Viewing a slideshow on your Harmony 1100 screen ................................................24
Changing the backlight settings .................................................................................25
Setting a background ..................................................................................................25
Adding additional features to your Harmony 1100 ....................................................26
Teaching your Harmony 1100 new commands using your old remote .................26
Naming a new command your remote learned ........................................................26
Types of delays or speed settings ...............................................................................27
Adjusting the delay between IR commands (speed settings) ...................................28
Maintaining your Harmony 1100 ...................................................................................29
Testing your remote settings after a remote upgrade ..............................................29
Troubleshooting problems with your Harmony 1100 .................................................30
Figuring out which inputs your system uses ................................................................32
Figuring out which type of input control you have...................................................32
Step 1— Turn on all your devices ...............................................................................33
Step 2 — Watch the TV ...............................................................................................34
Step 3 — Listen to the sound .....................................................................................34
RF Wireless Extender ........................................................................................................35
The lights on the RF Wireless Extender ......................................................................35
Setting up the RF Wireless Extender ...........................................................................36
Assigning Devices to the Harmony Remote or to the RF Wireless Extender ...........36
Controlling a device with the RF Wireless Extender .................................................37
Controlling a device with the Harmony remote .......................................................37
Installing the RF Wireless Extender.............................................................................38
Using the Emitters .......................................................................................................38
Finding where to place the emitters ..........................................................................38
Attaching the emitters ................................................................................................39
Assigning a device to a specifi c port on the RF Wireless Extender ..........................40
Adding additional RF Wireless Extenders ...................................................................40

Removing the RF Wireless Extender from your network ...........................................40
Getting help with your Harmony remote ......................................................................41
Contacting Customer Support ...................................................................................41
Finding answers to questions .....................................................................................41
Getting help with your online setup ..........................................................................41
Using the On-Remote Help .........................................................................................42
Logitech’s Harmony Remote user forums ..................................................................42
Appendix A - Device Information ....................................................................................43
Appendix B - Glossary ........................................................................................................44
Appendix C - Product Specifi cation ................................................................................47

You’re about to experience a new standard in simplicity with even the most complex components.
With just one touch you can start watching, listening or playing.
Whether you’re new to Harmony products or you consider yourself an expert, this User Manual
provides you with useful information to get you going.
Introduction
The Harmony 1100 is an Activity-based infrared (IR) universal remote control. Using the Harmony
Remote Software, you can configure the Harmony 1100 to control up to 15 devices.
When you pair the Harmony 1100 with the optional RF Wireless Extender, you can control up to
eight components that are out of sight, for example, in a cabinet or in another room.
The Harmony 1100 uses Smart State Technology® to deliver powerful Activity-based control. This
technology allows the Harmony 1100 to control your home theatre as a whole. It knows which
devices need to be turned on and which inputs the devices need to be set to. Using Smart State
Technology®, the Harmony 1100 switches effortlessly from watching a DVD to listening to music on
the stereo with the touch of a button.
Activities
are the basis for how the Harmony 1100 works. Watching a DVD, listening to the radio,
and playing a game are all examples of Activities you can set up for your remote using the Harmony
Remote Software.
During setup, a step-by-step wizard walks you through creating these Activities for your system.
When you select an Activity, your Harmony 1100 sends a series of commands to your entertainment
system to turn on the necessary devices and configure them for the selected Activity. All the buttons
you need for that Activity are automatically at your fingertips.
Devices
are the components that make up your entertainment system. The TV, cable box, DVD
player, and game system are all examples of Devices.
Inputs
are how your devices are connected. For example, if you look at the back of your TV, there
are a number of ports where you can connect your devices. These are inputs.
You’re about to experience a new standard in simplicity with even the most complex components.
With just one touch you can start watching, listening or playing.
Whether you’re new to Harmony products or you consider yourself an expert, this User Manual
provides you with useful information to get you going.
Getting to know your remote
How your Harmony 1100 works
The Harmony 1100 is an Activity-based infrared (IR) universal remote control. Using the Harmony
Remote Software, you can configure the Harmony 1100 to control up to 15 devices.
When you pair the Harmony 1100 with the optional RF Wireless Extender, you can control up to
eight components that are out of sight, for example, in a cabinet or in another room.
The Harmony 1100 uses Smart State Technology® to deliver powerful Activity-based control. This
technology allows the Harmony 1100 to control your home theatre as a whole. It knows which
devices need to be turned on and which inputs the devices need to be set to. Using Smart State
Technology®, the Harmony 1100 switches effortlessly from watching a DVD to listening to music on
the stereo with the touch of a button.
Activities, devices, and inputs
Activities
and playing a game are all examples of Activities you can set up for your remote using the Harmony
Remote Software.
During setup, a step-by-step wizard walks you through creating these Activities for your system.
When you select an Activity, your Harmony 1100 sends a series of commands to your entertainment
system to turn on the necessary devices and configure them for the selected Activity. All the buttons
you need for that Activity are automatically at your fingertips.
Devices
player, and game system are all examples of Devices.
Inputs
are a number of ports where you can connect your devices. These are inputs.
are the basis for how the Harmony 1100 works. Watching a DVD, listening to the radio,
are the components that make up your entertainment system. The TV, cable box, DVD
are how your devices are connected. For example, if you look at the back of your TV, there
5
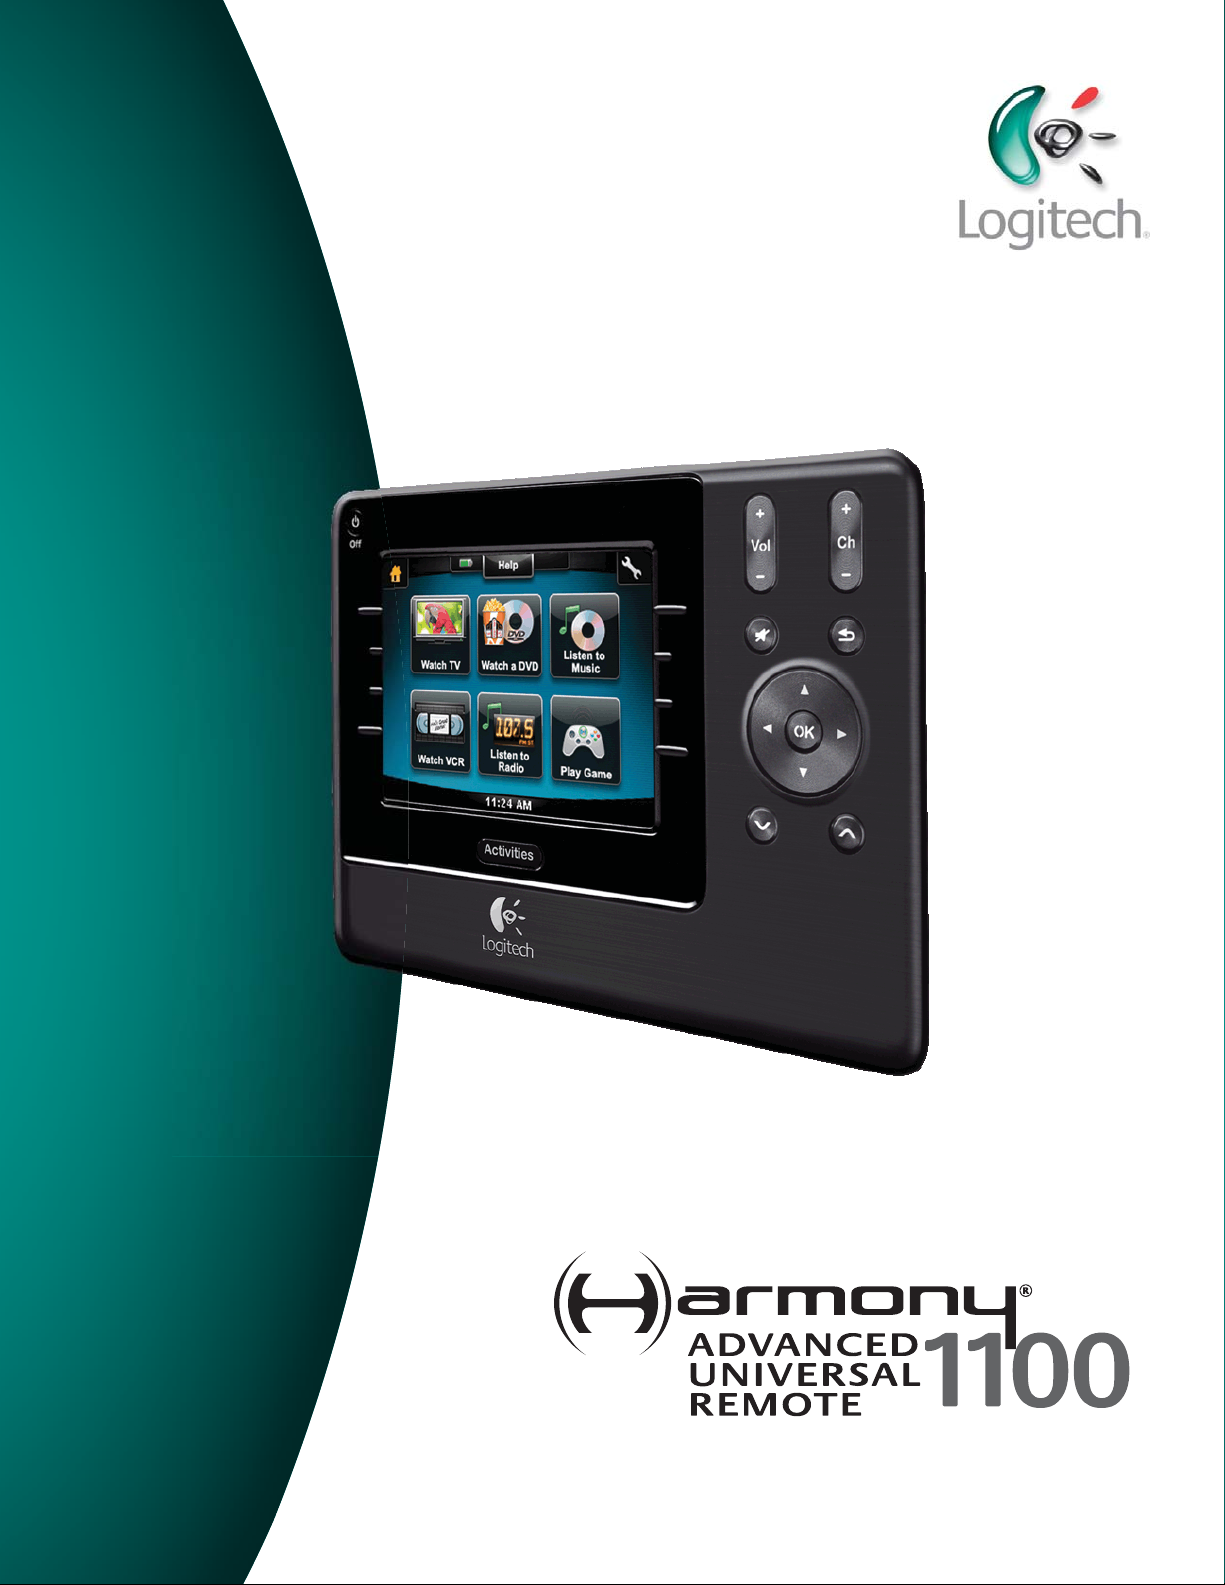
The buttons on your Harmony 1100
The Harmony 1100 buttons can have different functions or control different devices,
depending on which Activity you’re in. For example, when you watch a DVD, the
volume button controls your stereo while the Play and Pause buttons control your
DVD player.
AAOff
Turns off all the devices used in an Activity
B
Volume Up/Down
Increases or decreases the volume of a device
CCChannel Up/Down
Changes channels
DDMute
Temporarily turns off the sound
E
Previous Channel
Returns to the last channel you were watching
F
OK
Confirms a selection from a menu on your device
GGNavigation Buttons
Use these buttons to scroll through menu options
HHSmart Buttons
Customize your buttons
I
Activities
Displays the Activities screen on the remote
The Harmony 1100 buttons can have different functions or control different devices,
depending on which Activity you’re in. For example, when you watch a DVD, the
volume button controls your stereo while the Play and Pause buttons control your
DVD player.
A
Play Music Play Game Watch VCR
Listen to
Watch TV
Raido
Activities
Play DVD
B C
D
E
F
G
H I
Off
B
Volume Up/Down
Channel Up/Down
Mute
E
Previous Channel
F
OK
Navigation Buttons
Smart Buttons
I
Activities
6
Turns off all the devices used in an Activity
Increases or decreases the volume of a device
Changes channels
Temporarily turns off the sound
Returns to the last channel you were watching
Confirms a selection from a menu on your device
Use these buttons to scroll through menu options
Customize your buttons
Displays the Activities screen on the remote
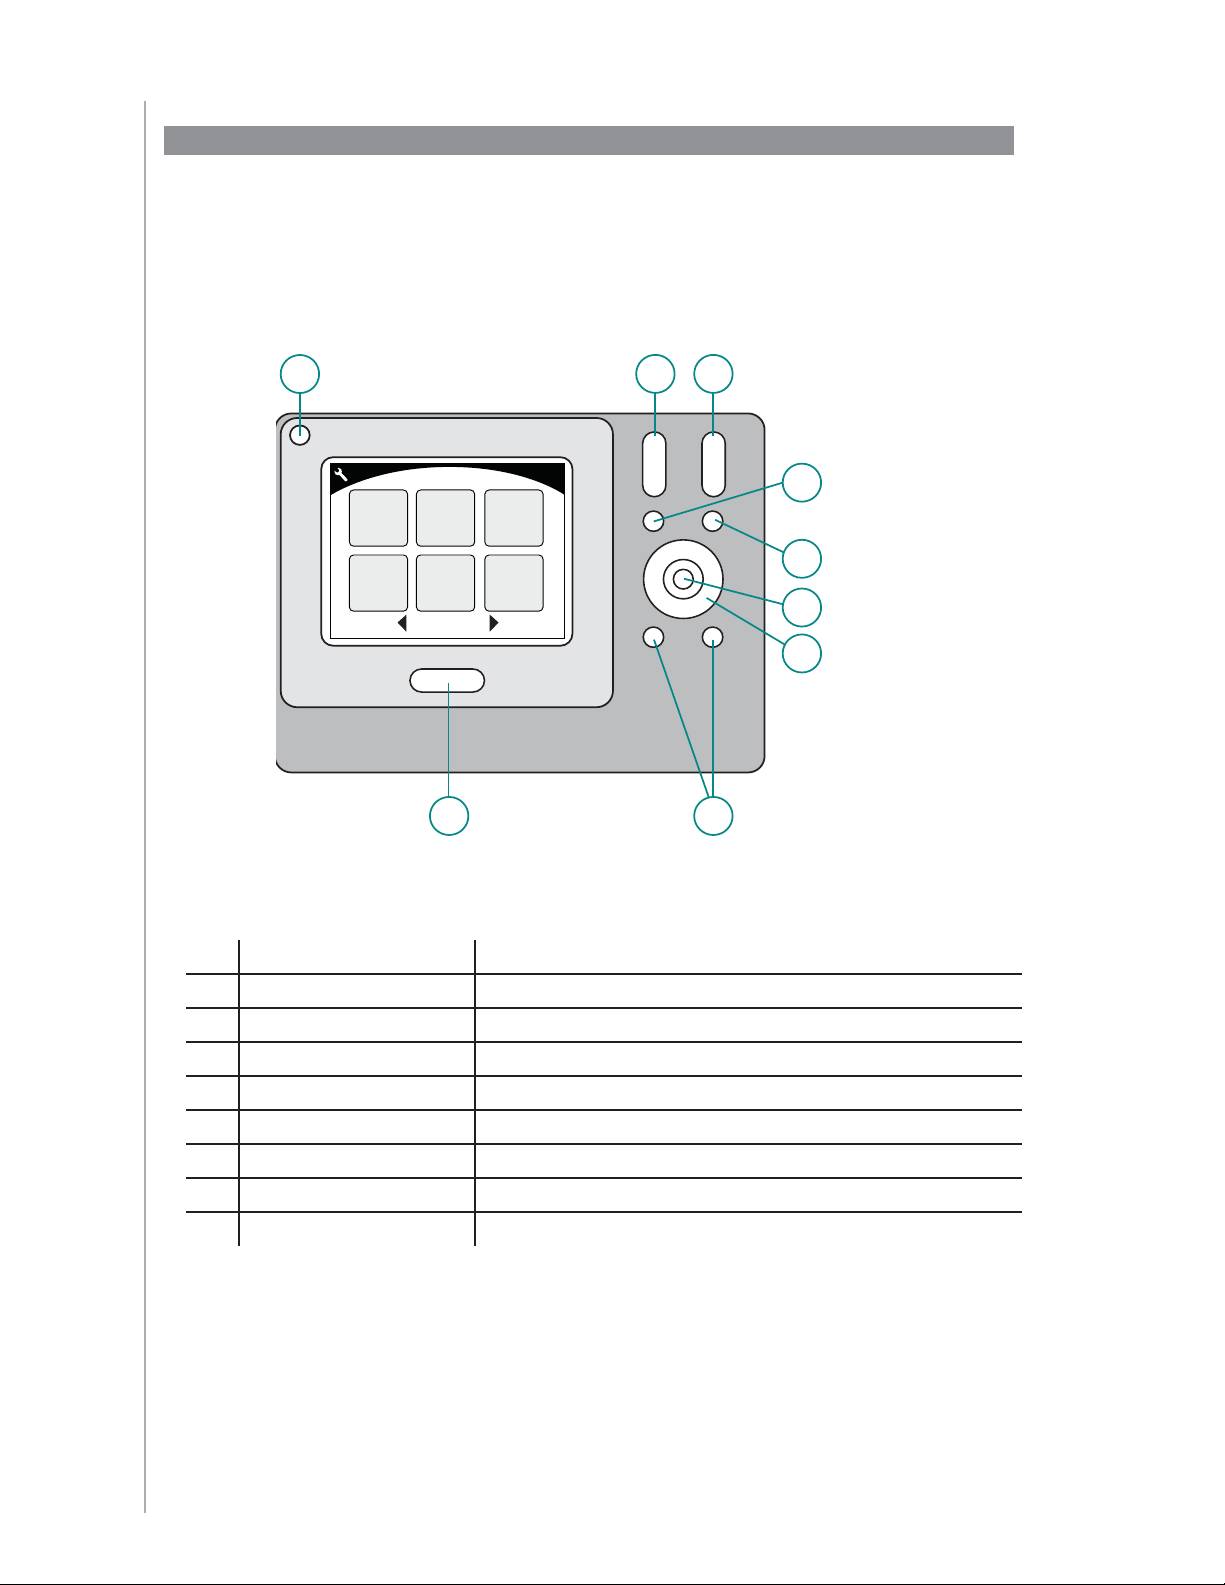
Navigation icons
The navigation icons are displayed in the corners of the LCD screen. Different icons are displayed,
depending on which screen you are in. Pressing the icon takes you to the desired screen.
The navigation icons are displayed in the corners of the LCD screen. Different icons are displayed,
depending on which screen you are in. Pressing the icon takes you to the desired screen.
Home Takes you to the Activity home screen of your Harmony remote.
Settings Provides access to the Slideshow, Remote Settings, and the Devices
home screen.
1
2
3
Numeric Entry Displays a numeric or alpha-numeric keypad to change chan-
nels, CDs, and more, depending on the Activity.
Transport Control Displays buttons like Play, Pause, Stop, and Record when you
are in Activities such as Watch PVR, Watch a DVD, or Play a CD.
Favorite Channels Displays a list of your favorite channels in the TV Activities.
To use this feature, you must set up favorite channels in the Harmony Remote
Software.
Custom Control Displays secondary Activity controls (depending on the Activ-
ity) and additional buttons that you can customize.
Game Controller Provides access to your game controller buttons in certain
video game Activities.
Back Returns you to the previous screen.
7

Activities
The Activities screen is your starting point on the Harmony
1100. From this screen, you select which Activity you want to
start.
Devices
The Devices screen lists all of the devices in your entertainment
system. You can access the Devices screen by pressing the
Settings icon (wrench) from your main Activity page, or if you
are in an Activity, by pressing the Custom Control
icon. From
there, press the Devices button.
Commands common to your Activity
When you’re in an Activity, your Harmony 1100 screen displays
all the commands you need for that Activity. For example,
if you’re watching TV, your screen displays functions and
commands for your Set Top Box and your AV Receiver. You’ll
never have to pick up a different remote to raise the volume
ever again!
Favorite Channels
You can set up your favorite channels on your Harmony so that
you have quick access to the channels you watch the most.
Each channel can have its own custom icon to make it easier
to recognize. Just press the button and the Harmony 1100 will
change to the desired channel for you. To access this feature,
press the Heart Icon from your Watch TV start screen.
What’s on the Harmony 1100 screen
Smart Buttons
Although there is a default setting for the buttons in most
Activities, you can customize these buttons to send other
commands you use on a regular basis. To access your custom
buttons, press the Custom Control icon (star).
Commands common to your Activity
When you’re in an Activity, your Harmony 1100 screen displays
all the commands you need for that Activity. For example,
if you’re watching TV, your screen displays functions and
commands for your Set Top Box and your AV Receiver. You’ll
never have to pick up a different remote to raise the volume
ever again!
Favorite Channels
You can set up your favorite channels on your Harmony so that
you have quick access to the channels you watch the most.
Each channel can have its own custom icon to make it easier
to recognize. Just press the button and the Harmony 1100 will
change to the desired channel for you. To access this feature,
press the Heart Icon from your Watch TV start screen.
Live TV
1
A
B
C
Live TV
1
2
Help
A
B
C
2
3
3
List
PIP
Toggle
31
295
Display
PIP
Swap
Devices
Watch TV
Help
2
100
Watc h TV
Aspect
Ratio
PIP
Move
15
301
Menu
Guide
Info
Exit
Guide
Info
Exit
List
Activities
The Activities screen is your starting point on the Harmony
1100. From this screen, you select which Activity you want to
start.
Devices
The Devices screen lists all of the devices in your entertainment
system. You can access the Devices screen by pressing the
Settings icon (wrench) from your main Activity page, or if you
are in an Activity, by pressing the Custom Control
there, press the Devices button.
Smart Buttons
Although there is a default setting for the buttons in most
Activities, you can customize these buttons to send other
commands you use on a regular basis. To access your custom
buttons, press the Custom Control icon (star).
icon. From
A B
Help
Play Music Play Game Watch VCR
Listen to
Radio
Watch TV
A
List
Display
B
PIP
C
Toggl e
Live TV
Devices
Watch TV
1
1
1
2
Watch TV
2
3
3
3
Thurs, July 11:45 PM
Activities
TV DVD
Help
Help
Aspect
PIP
Swap
Devices
Activities
Ratio
PIP
Move
Play DVD
Digital Set
Top Bo x
Menu
Guide
Info
Exit
C
8

Status icons
Status icons
The status indicator flashes whenever an IR command is being sent from your Harmony 1100.
The battery indicator shows the battery level or charging status. To ensure your Harmony
stays properly charged, see
Charging your remot
The clock is on your main Activity screen so you always know what time it is.
The status indicator flashes whenever an IR command is being sent from your Harmony 1100.
The battery indicator shows the battery level or charging status. To ensure your Harmony
stays properly charged, see
The clock is on your main Activity screen so you always know what time it is.
Charging your remotee. .
A B
Help
Play Music Play Game Watch VCR
Listen to
Radio
Watch T V
Thurs, July 11:45 PM
Play DVD
Activities
C
9
Using your Harmony 1100
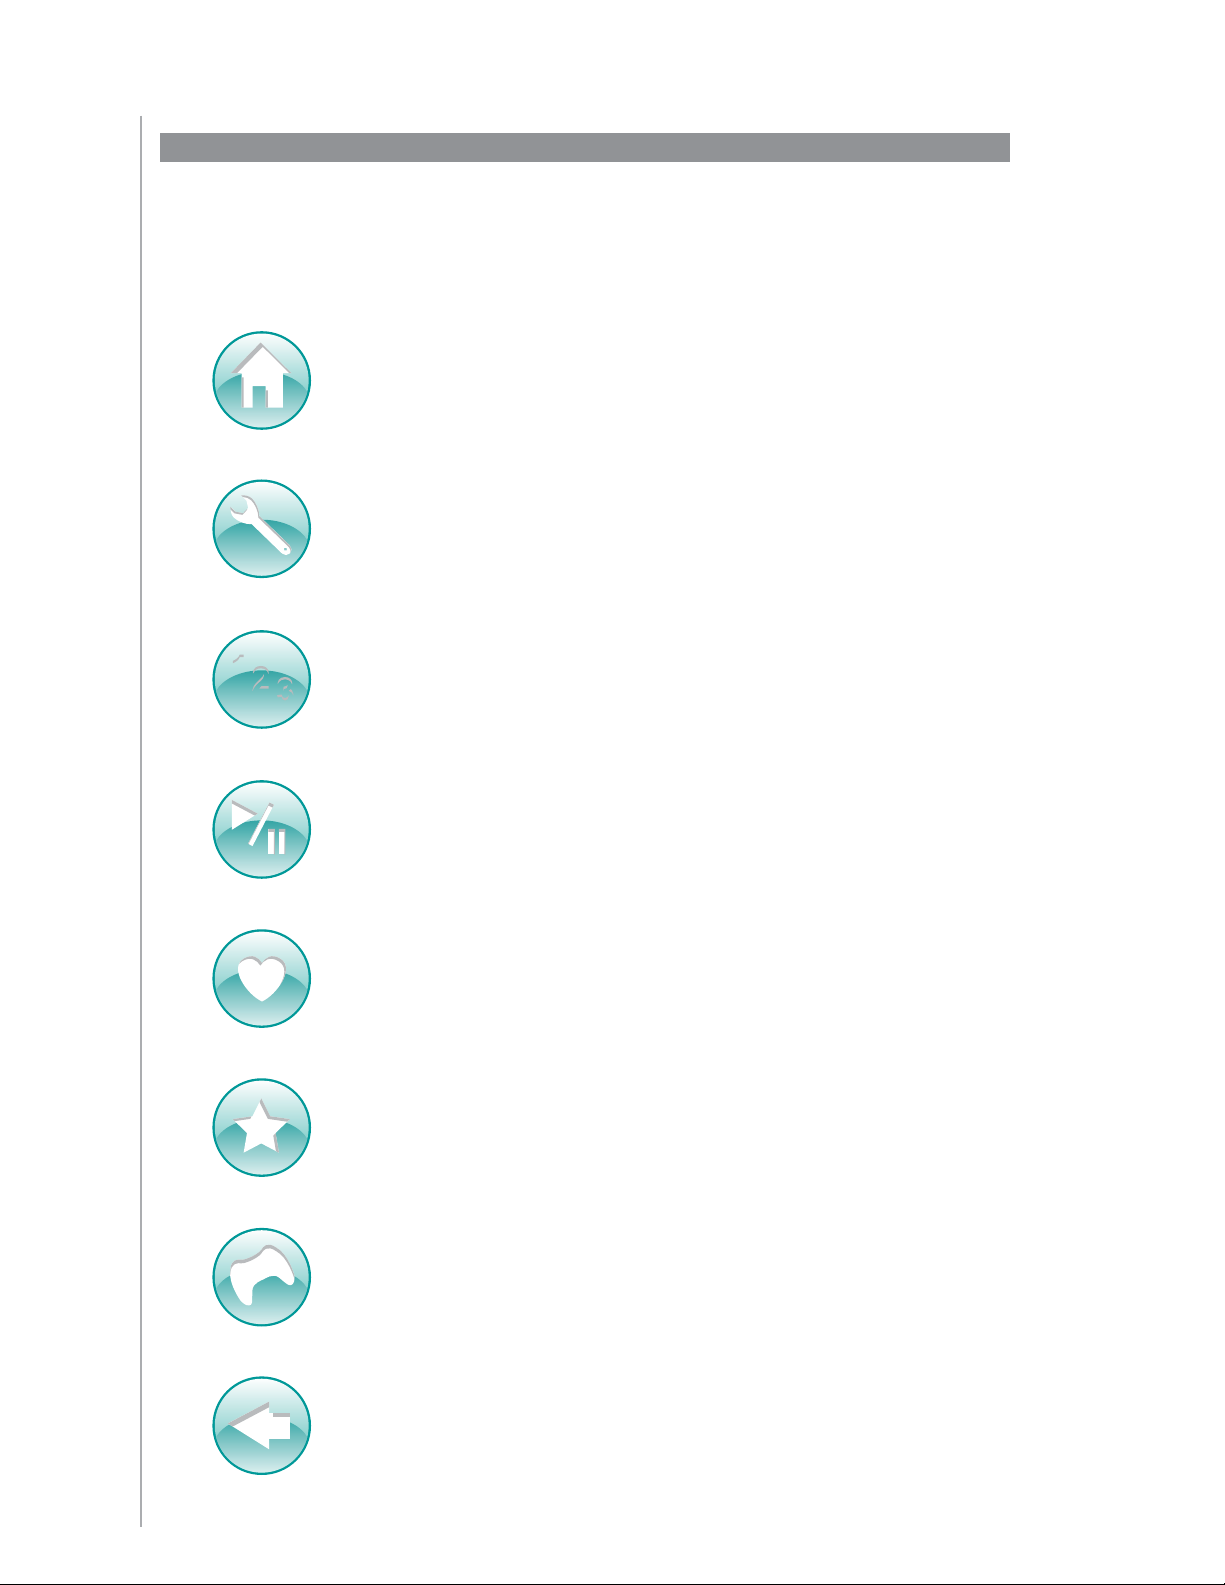
Selecting an Activity
The Activities screen displays the Activities
you created for the remote. You can start
an Activity by touching the item on the
screen.
Help
Play Music Play Game Watch VCR
Listen to
Radio
Watch TV
Play DVD
Thurs, July 11:45 PM
Activities
Switching between Activities
To select a new Activity, press the Activities button, and then select the Activity you want
to enjoy.
The Harmony 1100 takes care of powering on the needed devices, and powering off the
ones not needed.
Turning off your devices
Press the system off button to power off all the devices used in an Activity.
You don’t have to press the system off button when switching between Activities. When
switching to a new Activity, the Harmony turns off the devices from the old Activity and
turns on the devices for the new Activity. For example, if you switch from watching a
DVD to watching TV, the Harmony turns off the DVD player, turns on the cablebox, but
leaves the TV on because it’s still in use.
10
Using the Help button
When you start an Activity, the Harmony 1100 sends out commands to turn your devices
on and sets them to the right input. However, if someone walks between your Harmony
1100 and the TV when you press Watch TV, or you’re too far away from the system
when you start an Activity, or the remote isn’t aimed at your entertainment system, the
command may not reach the device. This causes the device to not respond and your
Harmony 1100 becomes “out of sync” with your devices. The Help feature guides you
through a series of questions to help you fi x the problem and bring your devices back “in
sync” with your remote.
To use the Help feature to get your Harmony 1100 back “in sync” with your
entertainment system, on the Harmony remote screen:
Press the 1. Help button.
Answer the questions on the Harmony 1100 screen by selecting 2. Yes or No.
Based on your answers, the Harmony 1100 re-sends the necessary commands to
synchronize the power and input settings for that Activity.
When you complete this process, the Harmony 1100 is back “in sync” with your devices.
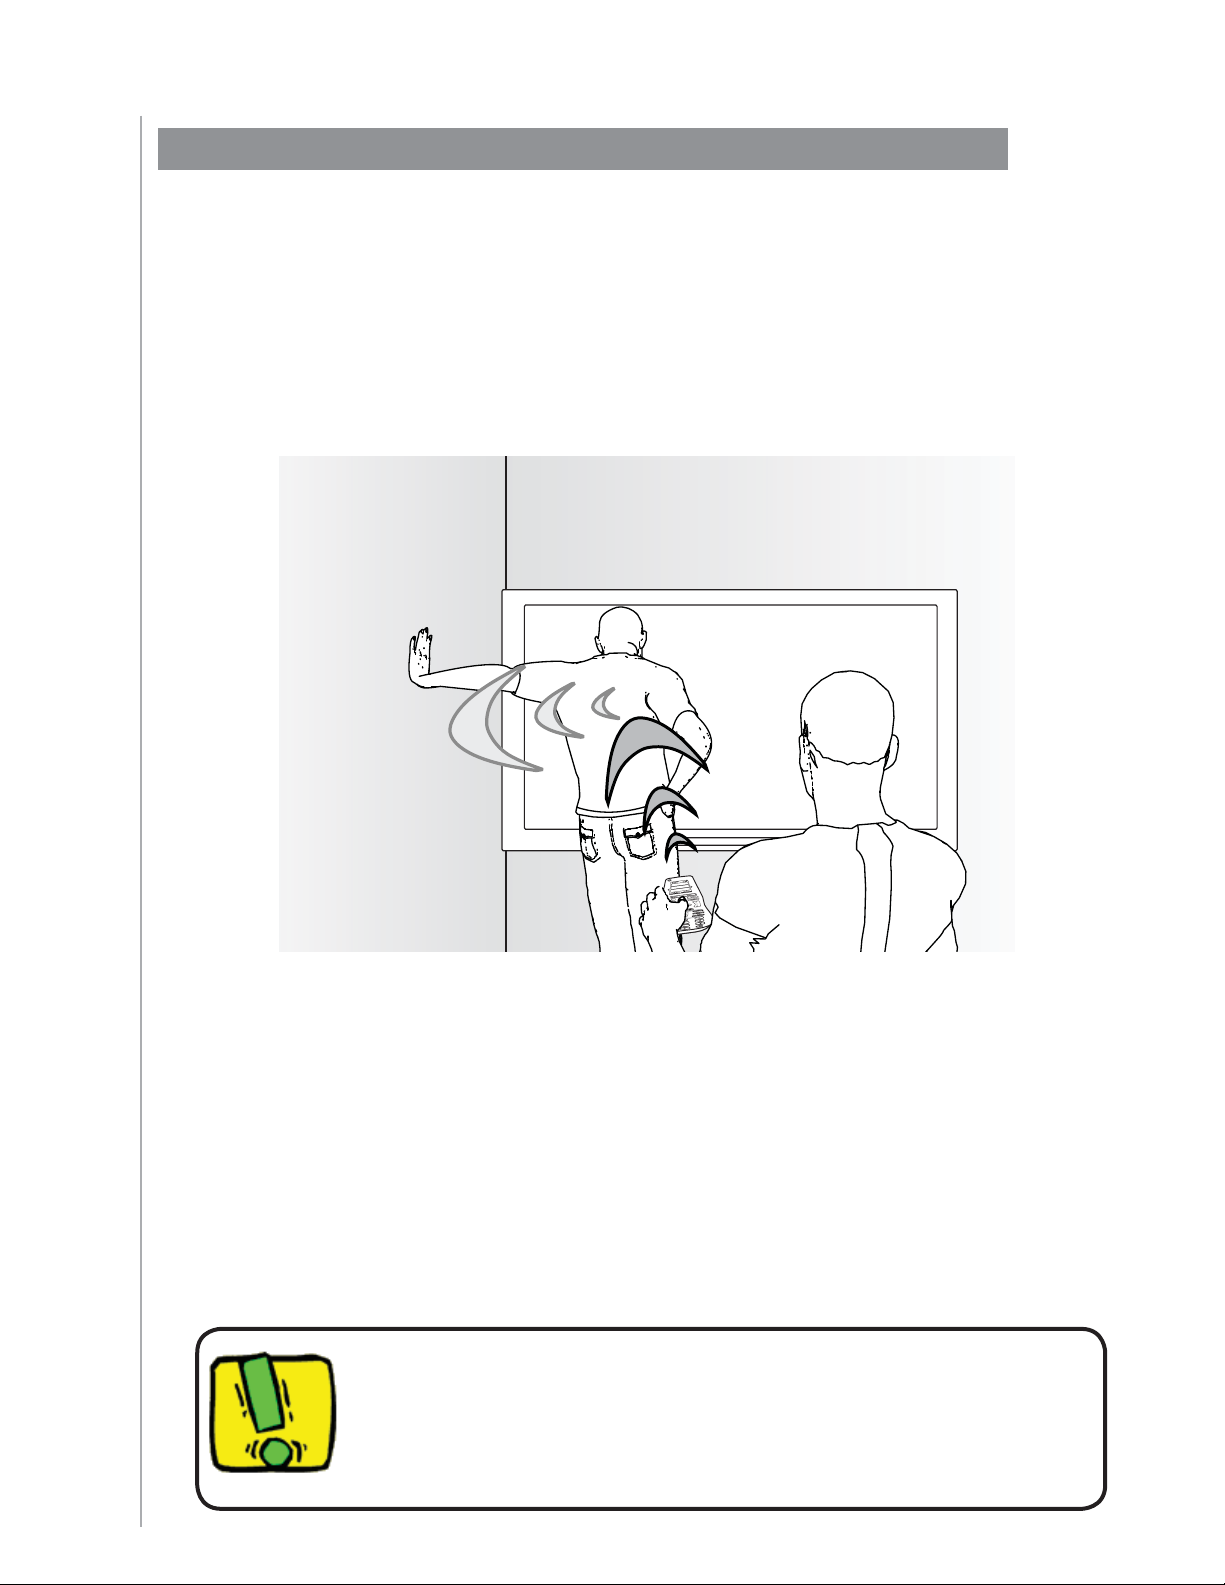
Before using the Help button, make sure you’ve addressed the cause
of the problem, such as removing any obstacles from the line of sight.
11
Controlling your devices individually
When you fi rst set up an Activity, the Harmony Remote Software automatically assigns
common commands for you to use in that Activity. For example, when you set up Watch
TV, the Harmony Remote Software maps the channel and volume buttons in that Activity
so that you can change channels and adjust the volume.
You may need a command that you use only once in awhile that is not in the Activity. To
do this, from the Harmony remote:
From your main Activity page, press the Settings icon . 1.
Select the Device for which you need the command.2.
Cycle through the list of commands until you fi nd the command you need. 3.
Once you’ve fi nished, return to Activities for optimal control of your entertainment
system.
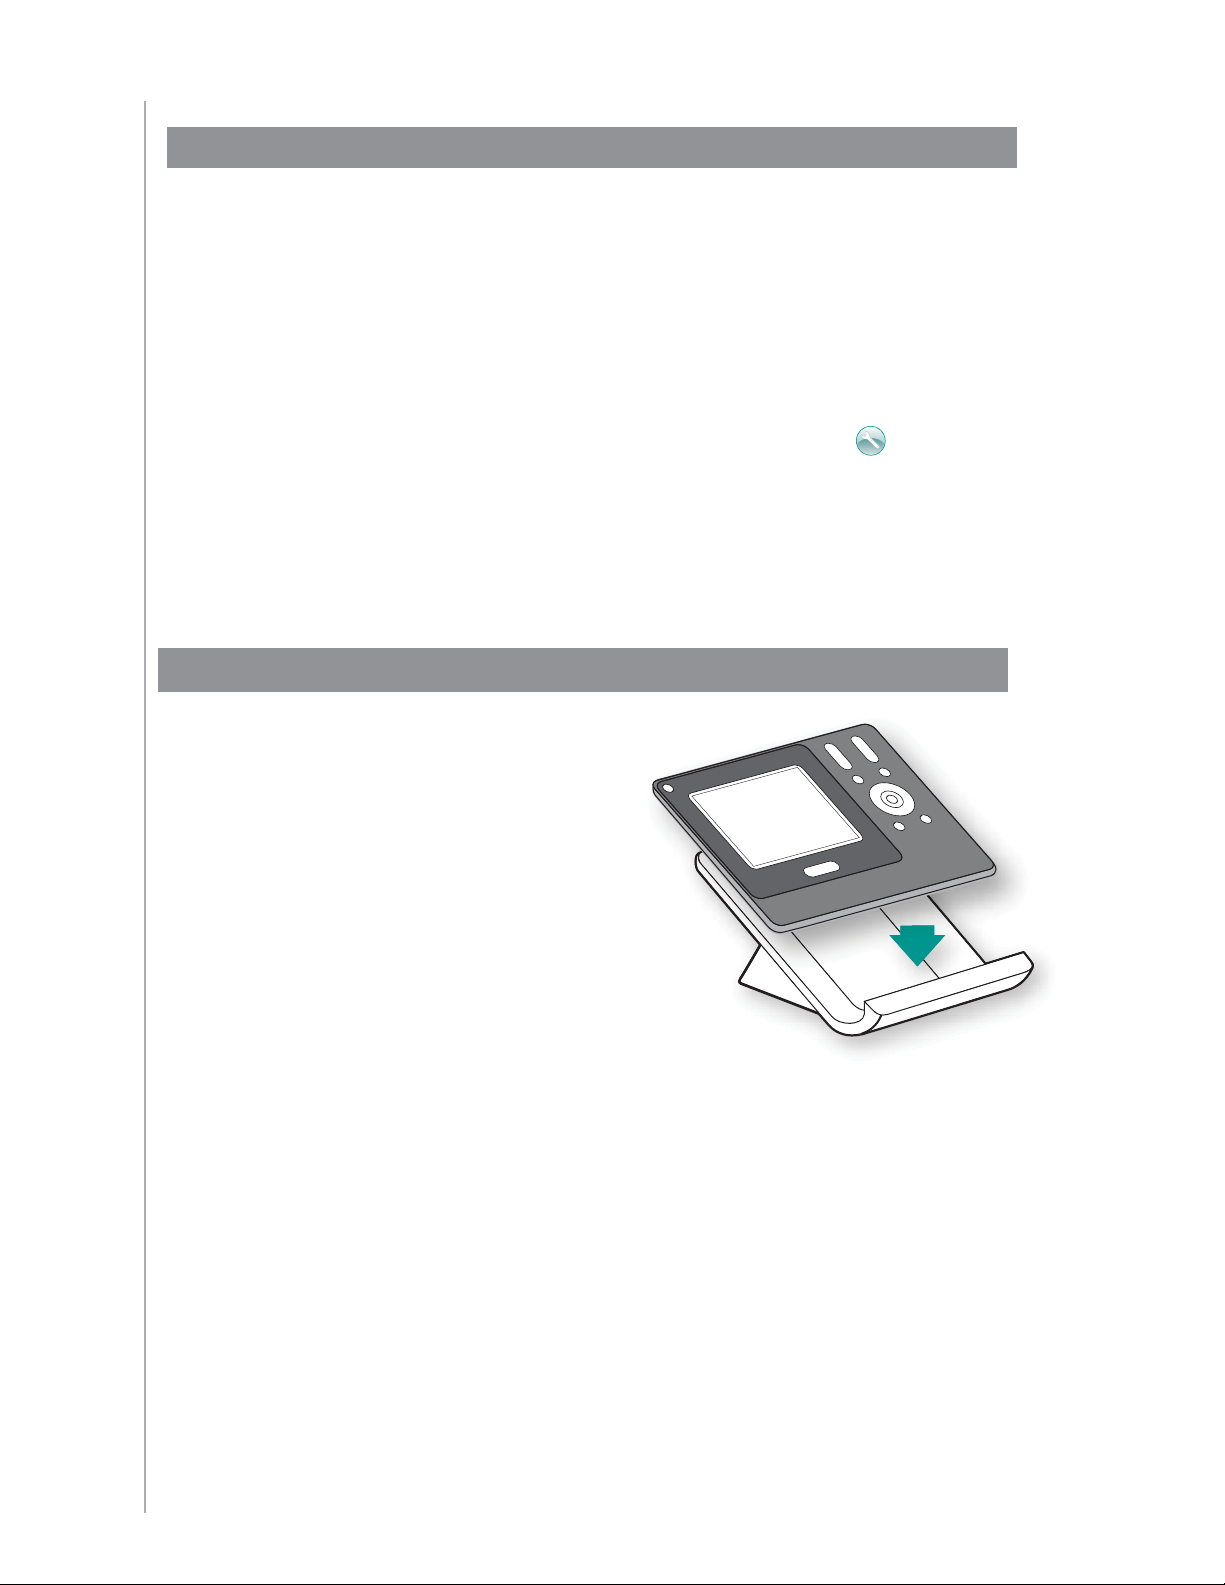
Charging your remote
Your Harmony 1100 comes with a
charging station. The charging station
plugs into a wall outlet and charges the
battery every time you put the remote
on it. All you have to do is pick up the
remote, use it, and place it back on the
charging station when you’re done to
make sure it stays charged.
Activities
12
Setting up your Harmony 1100 for the fi rst time
Overview of the setup process
When you insert the Harmony remote CD in your computer, the guided online setup
launches. Follow the easy setup instructions to install the Harmony Remote Software. For
more information on installing the Harmony Remote Software, refer to the Installation
Guide.
After the software installs, start the Harmony Remote Software. When you start the
Harmony Remote Software, it automatically checks for updates and downloads them if
necessary.
After you install the Harmony Remote Software and gather your device information using
the Device Worksheet, the setup process guides you through fi ve steps in which you
answer a series of questions about how your entertainment system is set up.
Create Account1. : the setup walks you through creating a user account on the
Harmony Remote Software.
Check connection2. : the software ensures your computer and Harmony 1100 are
communicating with each other.
Set up Devices:3. the software walks you through entering the manufacturer and
model numbers of your entertainment system that you collected using the Device
Worksheet.
Set up Activities4. : the software asks you questions about how your entertainment
system is set up, and then saves the settings.
Update Remote5. : the software transfers the information from your PC to the
remote.
Gathering your device information
To simplify the setup process, we recommend you fi ll out the Device
Worksheet
Locating manufacturer and model number on your devices
so that all the device information is at hand when you need it.
Guided online setup
Manufacturer names and model numbers are typically found at the front
of a device, on a label on the back of the device, or in the User Manual
for that device.
13
1. Creating your user account
When you start the Harmony Remote Software for the fi rst time, you must create a user
account.
To create a user account, from the Harmony Remote Software:
Click 1. Create New Account.
Complete the required account information.2.
Follow the instructions in the setup wizard.3.
After you create your user account, the Harmony Remote Software opens your home page
each time you log in.
Your home page is where you manage your Activities and Devices, as well as change the
settings on your remote.
Whether you want to add a new Activity or device, troubleshoot a problem with an
Activity, or customize remote buttons, the Harmony Remote Software home page is the
place to start.
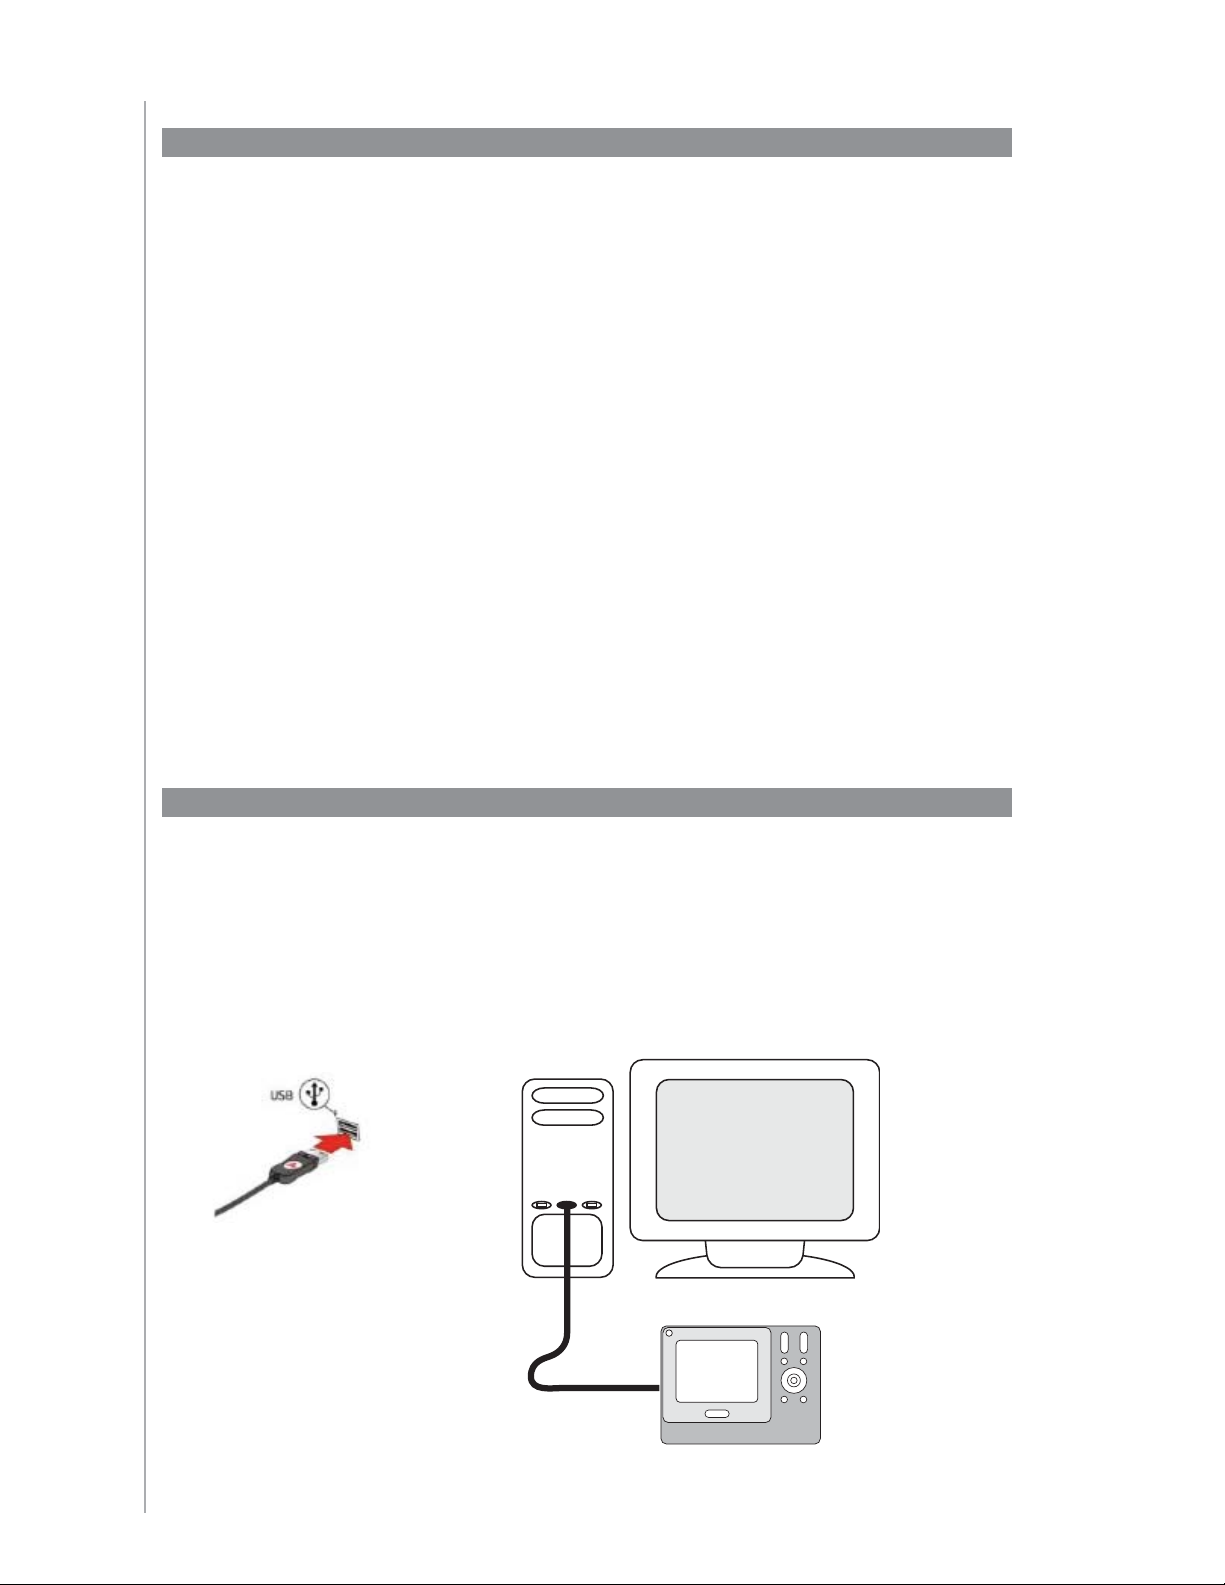
2. Connecting your Harmony 1100 to your computer
To connect your Harmony 1100 to your PC, use the USB cable provided.
Remove your Harmony 1100 from the charging station.1.
Connect the smaller end of the cable to the USB port on your remote.2.
Connect the wider end of the USB cable to a USB port on your computer.3.
14
3. Setting up the devices you want to control
The guided online setup asks you to enter your device information. Enter the information
for all the entertainment components you want to control with your Harmony 1100. You
should use the Device Worksheet to gather all your device information before starting the
setup process.
To set up the devices you want to control, from the Harmony Remote Software:
Select the Device Type for each of your devices.1.
Select the Manufacturer for each device.2.
Enter the Model numbers for each device.3.
Adding new devices at a later time
If you want to add newly acquired devices after the
initial setup, see Adding and changing your devices.
4. Setting up Activities for your Harmony 1100
To set up Activities, you need to enter the information related to the Activities you will be
using on your Harmony 1100. The Harmony Remote Software shows you a selection of
recommended Activities based on the device information you provided.
When you set up Activities, the software asks questions about the function of each device.
For example, if you set up the Watch TV Activity, you’re asked which device changes the
channels (TV or satellite/cable box). If you have only one device that is capable of doing
something, then the software skips the question. For example, if you have only one TV,
the software doesn’t ask you which device displays video.
If the device has more than one input, the software asks you which input the device
needs to set. If you’re not sure which input a device uses, see Determining your inputs for
more information.
Activities are the basis for how the Harmony 1100 works. With
Activities, the Harmony 1100 eliminates the need to use multiple
remotes for simple tasks. Just select the Activity and the Harmony
1100 does the rest. For more information on Activities, see Adding
and changing Activities.
15
 Loading...