

Page 1

English
INSTALLATION GUIDE
PowerLine AV Ethernet
Adapter
Deutsch
Español
Français
Italiano
Nederlands
Português
Models: PLE200/PLK200
Page 2

Page 3

Table of Contents
Installation (English) ................................................2
Installation (Deutsch) ...............................................5
Instalación (Español) ................................................8
Installation (Français) ............................................. 11
Installazione (Italiano) ............................................14
Installatie (Nederlands) ........................................... 17
Instalação (Português) ............................................ 20
Contact Information ....................................................23
Online Resources
Most web browsers allow you to enter the web address without adding the
http:// in front of the address. This User Guide will refer to websites without
including http:// in front of the address. Some older web browsers may require
you to add it.
Resource Website
Linksys www.linksys.com
Linksys Europe www.linksys.eu
Linksys International www.linksys.com/international
Glossary www.linksys.com/glossary
Network Security www.linksys.com/security
Copyright and Trademarks
Specifications are subject to change without notice. Linksys is a registered
trademark or trademark of Cisco Systems, Inc. and/or its affiliates in the U.S. and
certain other countries. Copyright © 2007 Cisco Systems, Inc. All rights reserved.
Other brands and product names are trademarks or registered trademarks of
their respective holders.
1
Page 4
Installation (English)
NOTE: If your computer does not have Microsoft .NET Framework
already installed, the Setup Wizard will install the software.
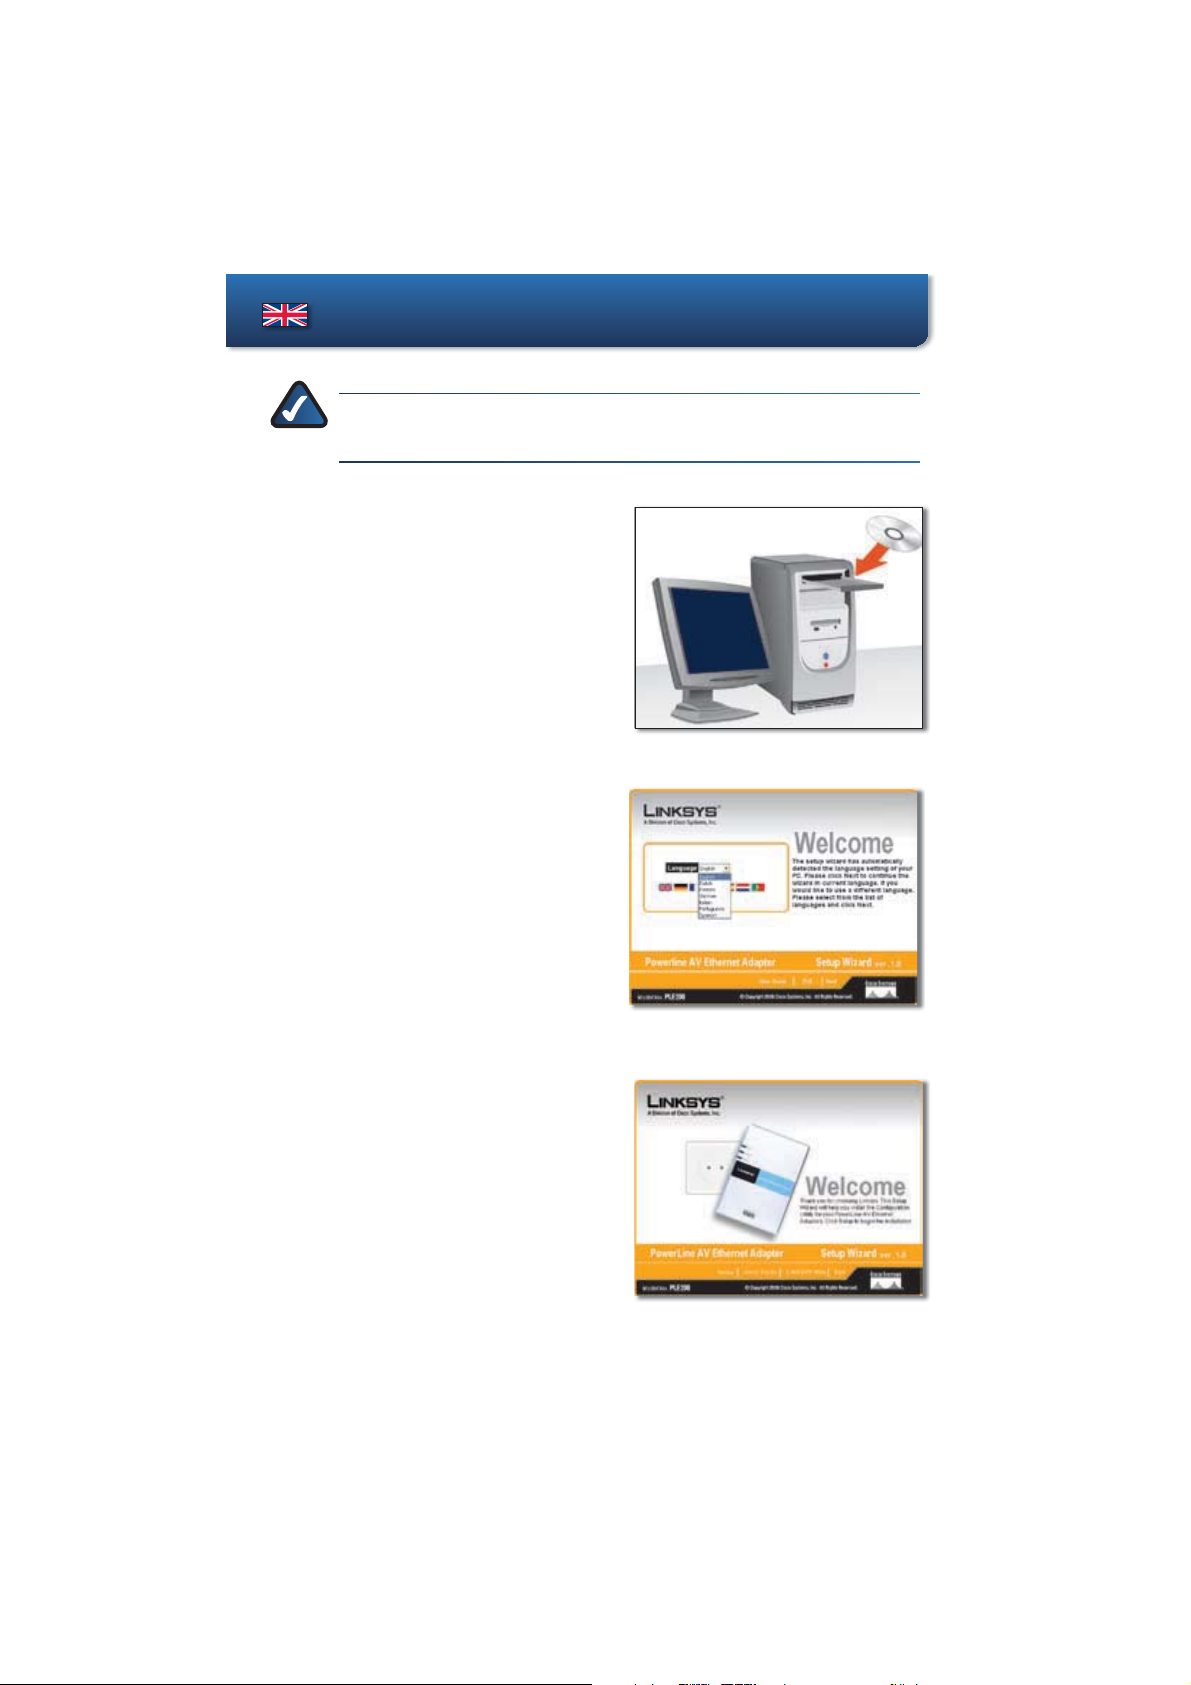
Insert the Setup Wizard CD-ROM
A.
into the CD drive. The Setup Wizard
should run automatically. If it does
not, go to the Start menu and select
Run. In the field that appears, type
D:\setup.exe (if “D” is the letter of
your CD drive) and press Enter.
The Language Selection screen will
B.
appear. Select the appropriate
language and click Next.
Insert the CD-ROMInsert the CD-ROM
Language Selection ScreenLanguage Selection Screen
On the Welcome screen, click Setup
C.
to begin the installation.
2
Welcome
ScreenWelcome Screen
Page 5
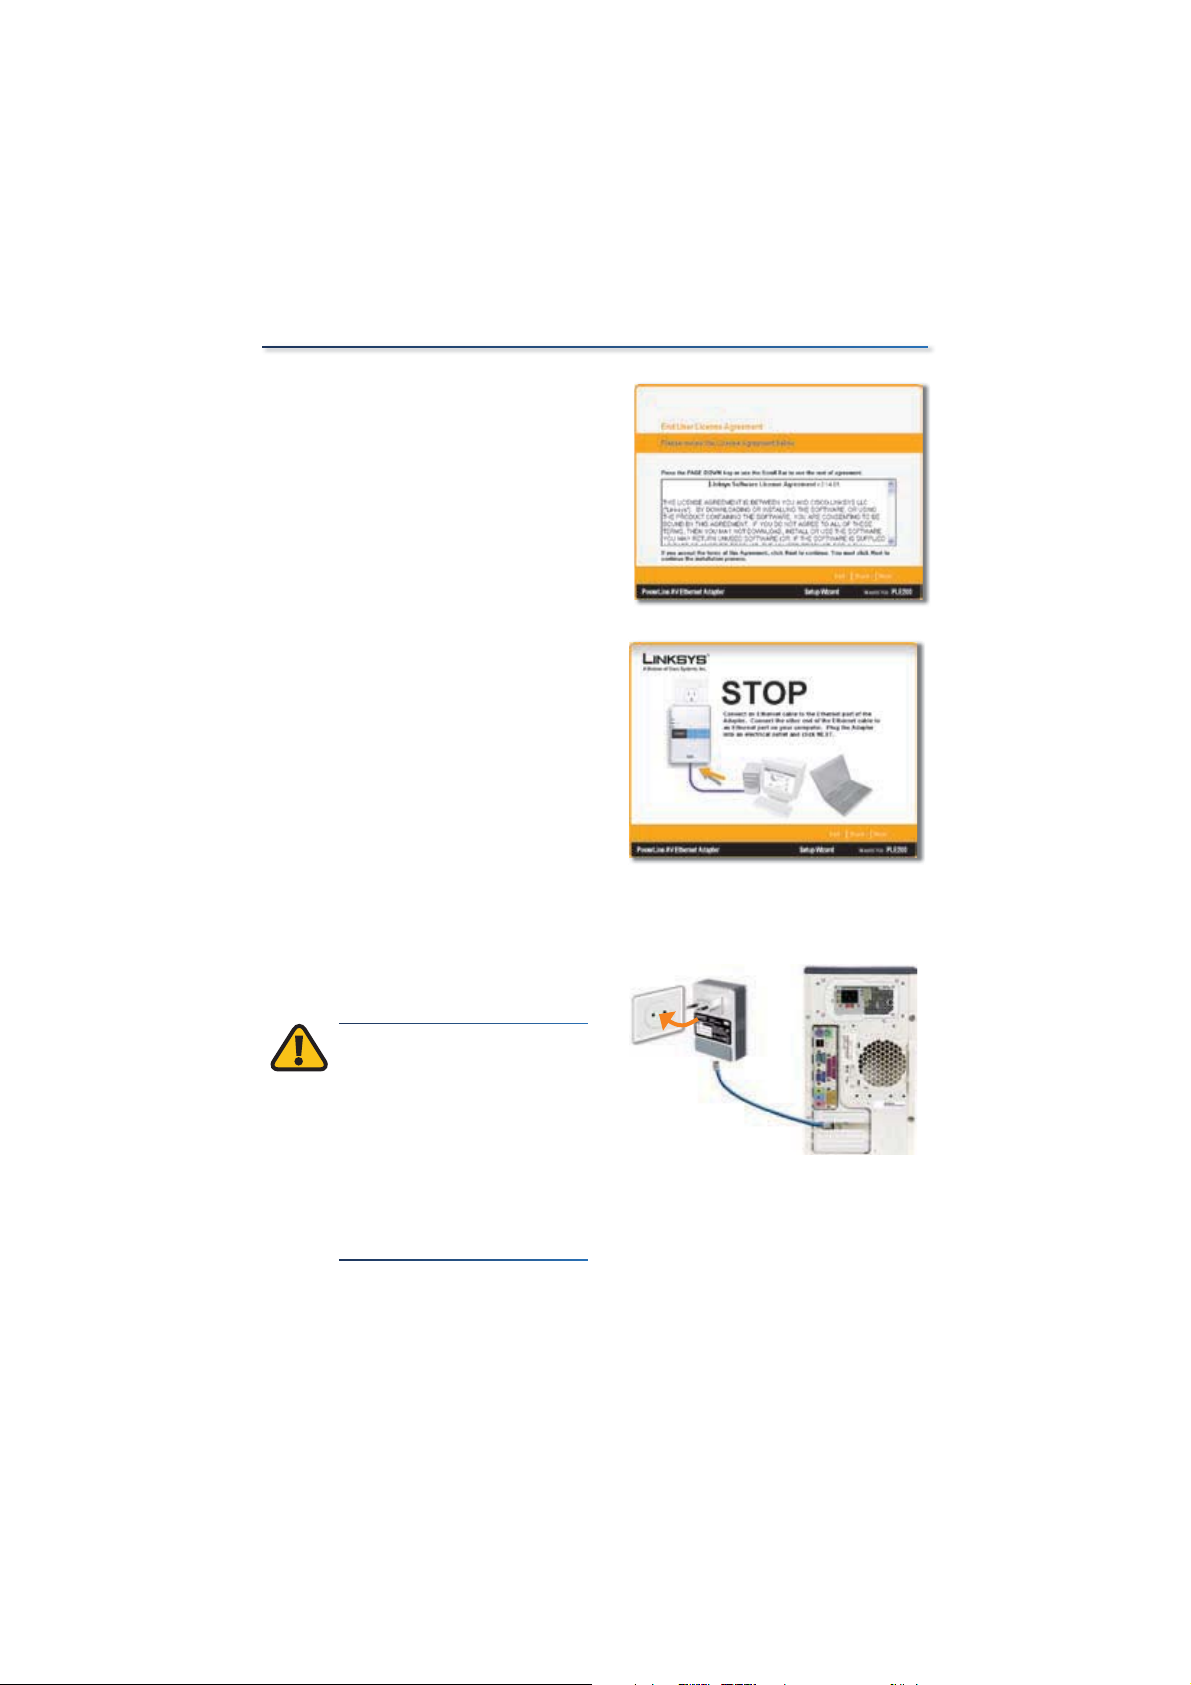
The End User License Agreement
D.
screen will appear. If you agree and
want to begin the installation, click
Next.
The Preparing to Install screen
E.
will appear briefly, followed by a
STOP screen. At this point, connect
one end of an Ethernet network
cable to the Ethernet port of the
Adapter. Connect the other end to
an Ethernet port on the computer
running the Setup Wizard.
Before plugging in the Adapter,
write down the Device Password
printed on the unit.
Installation
End User License Agreement ScreenEnd User License Agreement Screen
ConnectConnect
Plug the Adapter into an electrical
F.
outlet and then click Next.
IMPORTANT: Because
the Adapter sends data
over the power lines of
your residence, Linksys
recommends that you plug
the Adapter directly into an
electrical outlet. The Adapter
has its own power filter for
protection against surges.
Plugs directly into outlet
Plugs directly into outlet
Connection to a Desktop Computer
Connection to a Desktop Computer
3
Page 6
Installation
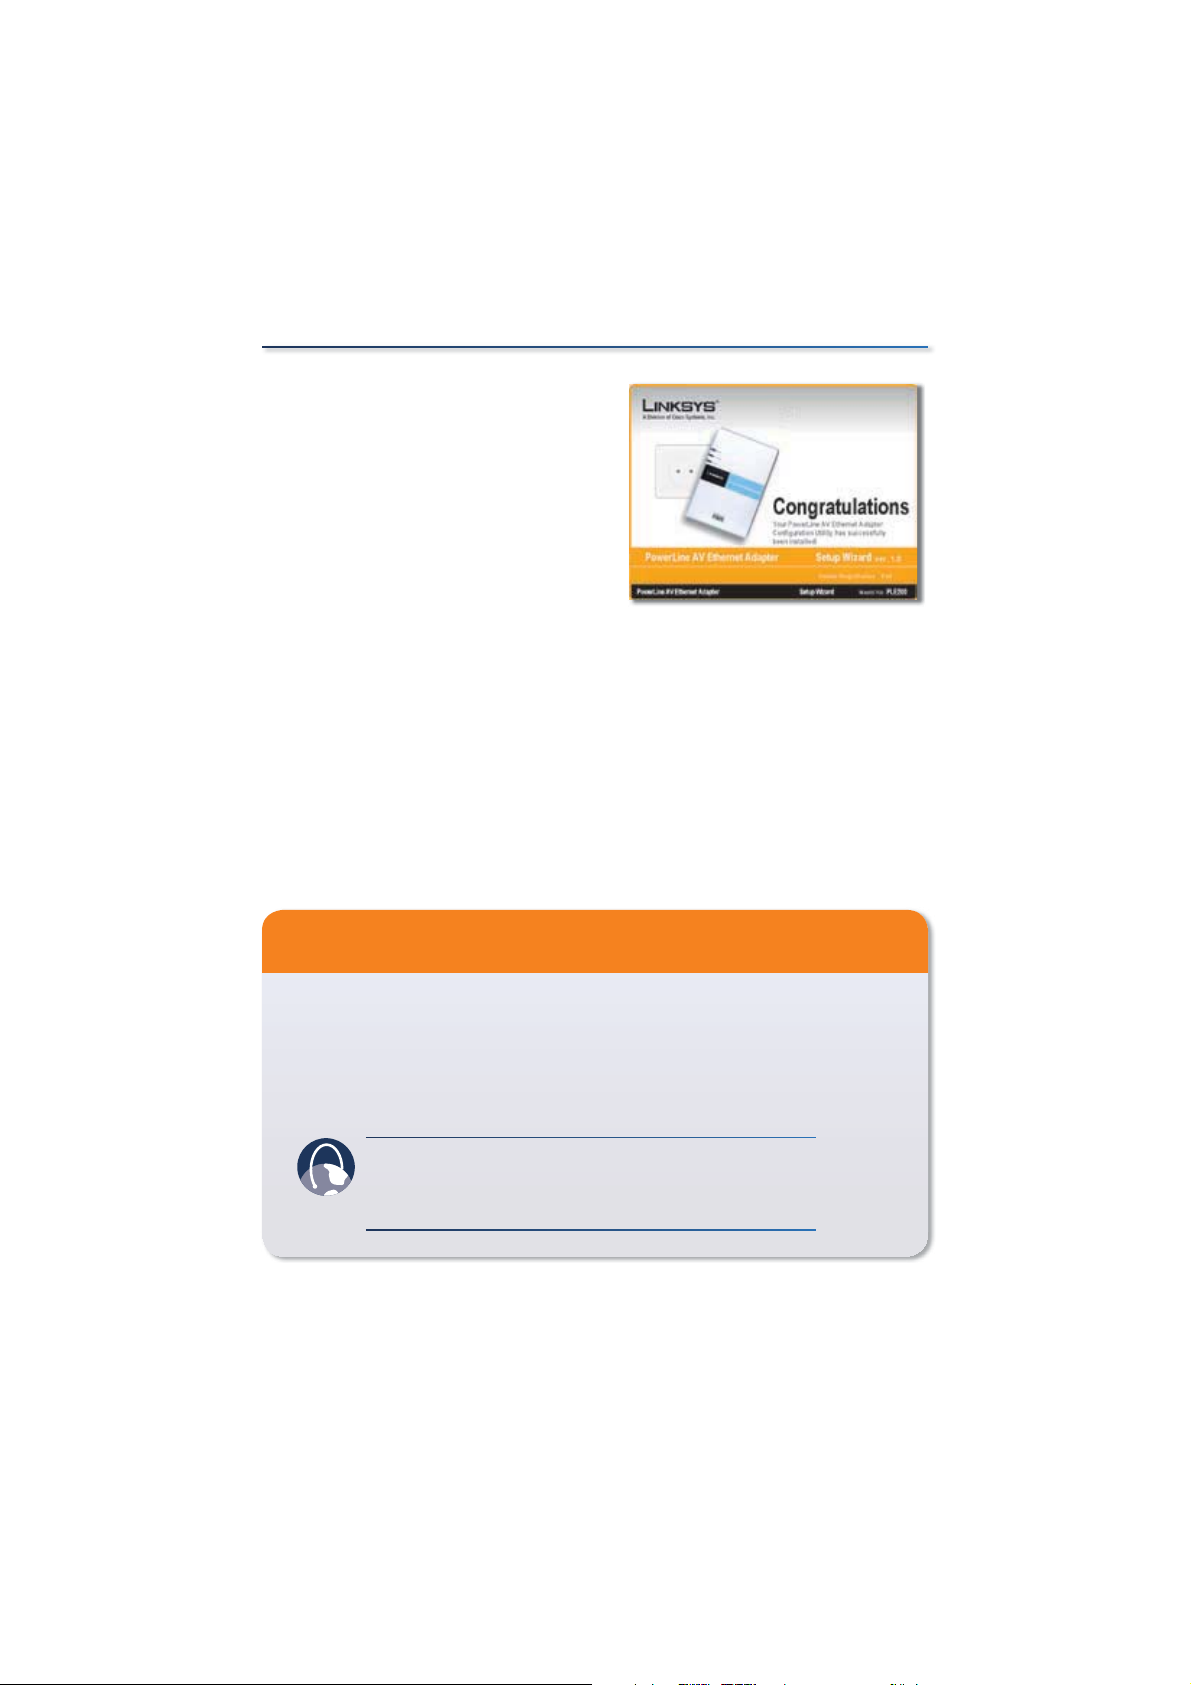
The Install Configuration Utility
G.
screen will appear and copy the
necessary files to your computer.
After the files have been copied, the
Congratulations screen will appear.
Click Online Registration to
register the Adapter at
www.linksys.com/registration
(Internet connection required)
Click Exit to close the Setup Wizard.
Hardware installation is complete. If you have more than one PLE200 (PLK200
is a kit containing 2 PLE200s), connect the additional Adapter(s) now. Be sure
to use the Configuration Utility (Accessible via the PLE200 Utility icon on your
desktop) to configure the Adapter(s) and change the default network password.
The default network password (HomePlug AV) should be changed to a new
password on all devices. For details, please refer to the User Guide located on
the CD-ROM.
Congratulations ScreenCongratulations Screen
Additional Information
For warranty, regulatory, user information for consumer products covered
by EU Directive 2002/96/EC on Waste Electric and Electronic Equipment
(WEEE), and specifications, refer to the User Guide on the CD-ROM.
Linksys contact information is available at the end of this document
and on the CD-ROM (or as an insert included in the box).
WEB: Visit us online for information on the latest
products and updates to your existing products at
www.linksys.eu or www.linksys.com/international
4
Page 7

HINWEIS: Wenn Microsoft.NET Framework noch nicht auf Ihrem Computer
installiert ist, wird die Software durch den Setup-Assistenten installiert.
Legen Sie die Setup-Assistenten-
A.
CD-ROM in das CD-Laufwerk ein.
Der Setup-Assistent sollte automatisch
ausgeführt werden. Ist dies nicht der
Fall, rufen Sie das Menü Start auf, und
wählen Sie dann Ausführen aus.
Geben Sie im daraufhin angezeigten
Feld D:\setup.exe ein (wobei „D“
für den Buchstaben Ihres CD-ROMLaufwerks steht), und drücken Sie die
Eingabetaste.
Das Fenster zur Sprachauswahl
B.
wird angezeigt. Wählen Sie die
gewünschte Sprache aus, und
klicken Sie auf Weiter.
Installation (Deutsch)
Einlegen der CD-ROMEinlegen der CD-ROM
Fenster Sprachauswahl
Fenster Sprachauswahl
Klicken Sie im Fenster Willkommen
C.
auf Einrichten, um mit der
Installation zu beginnen.
Fenster
WillkommenFenster Willkommen
5
Page 8
Installation
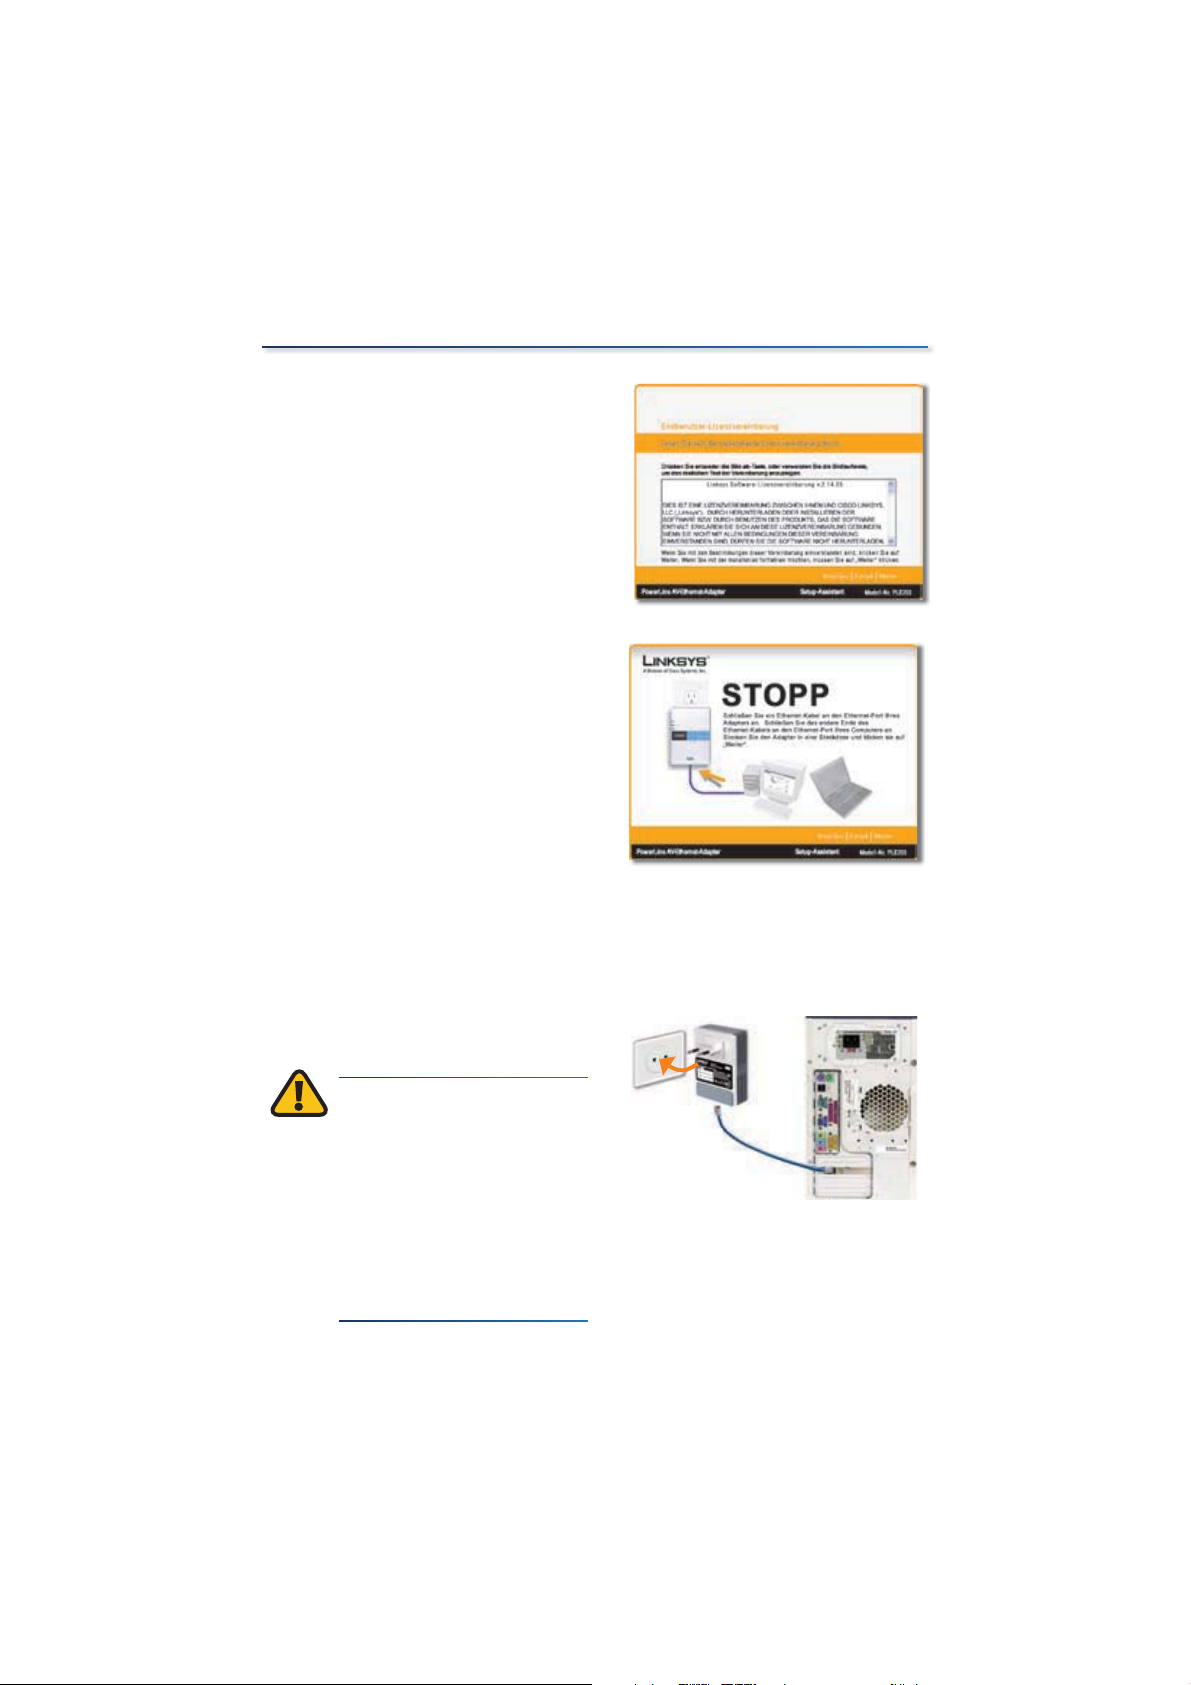
Das Fenster Endbenutzer-
D.
Lizenzvereinbarung wird angezeigt.
Wenn Sie zustimmen und mit der
Installation beginnen möchten,
klicken Sie auf Weiter.
Das Fenster Installation wird
E.
vorbereitet wird kurz angezeigt,
gefolgt von dem Fenster STOPP.
Schließen Sie nun ein Ende des
Ethernet-Netzwerkkabels an den
Ethernet-Port des Adapters an.
Schließen Sie das andere Ende an
den Ethernet-Port des Computers
an, auf dem der Setup-Assistent
ausgeführt wird.
Notieren Sie sich das
Gerätepasswort auf dem Adapter,
bevor Sie ihn anschließen.
Fenster Endbenutzer-LizenzvereinbarungFenster Endbenutzer-Lizenzvereinbarung
Verbinden
Verbinden
Stecken Sie den Adapter in
F.
eine Steckdose, und klicken sie
anschließend auf Weiter.
WICHTIG: Da der
Adapter Daten über die
Stromleitungen Ihrer
Wohnung überträgt, sollten
Sie den Adapter direkt an
einer Steckdose anschließen.
Zum Schutz gegen
Überspannung verfügt der
Adapter über einen eigenen
Überspannungsschutz.
6
Direktes Anschließen an
Direktes Anschließen an
der Steckdose
der Steckdose
Verbindung mit einem Desktop-Computer
Verbindung mit einem Desktop-Computer
Page 9
Installation
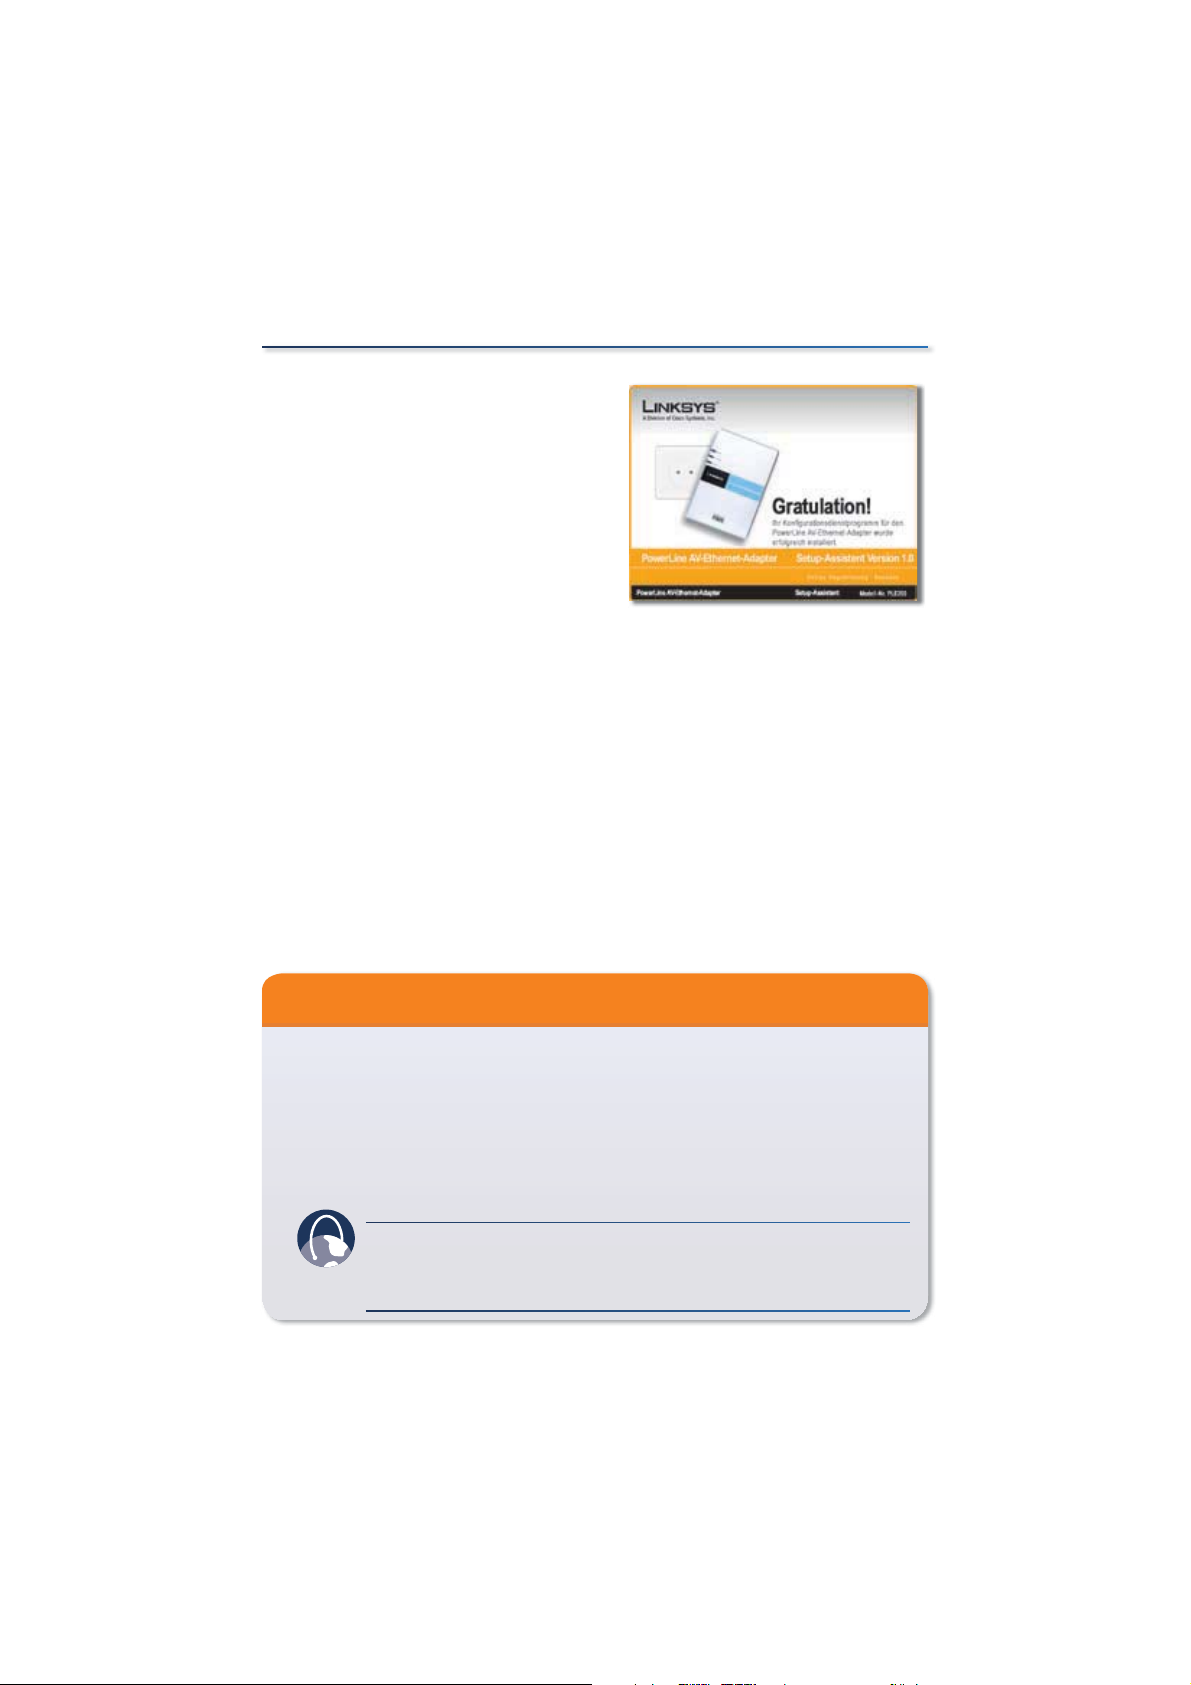
Das Fenster Installieren des
G.
Konfigurationsdienstprogramms wird
angezeigt, und die erforderlichen
Dateien werden auf den Computer
kopiert. Nach dem Kopieren der
Dateien wird das Fenster Gratulation
angezeigt.
Klicken Sie auf Online-Registrierung,
um den Adapter unter
www.linksys.com/registration
zu registrieren (Internetverbindung
erforderlich).
Klicken Sie auf Beenden, um den
Assistenten zu beenden.
Damit ist die Hardwareinstallation abgeschlossen. Wenn Sie über zwei oder
mehr PLE200-Einheiten (PLK200 ist ein Kit, das 2 PLE200-Einheiten enthält)
verfügen, schließen Sie den/die zusätzlichen Adapter jetzt an. Verwenden
Sie nur das Konfigurationsdienstprogramm (Zugriff über das Symbol für
das PLE200-Dienstprogramm auf Ihrem Desktop), um den/die Adapter zu
konfigurieren und das Standard-Netzwerkpasswort zu ändern. Das StandardNetzwerkpasswort (HomePlug AV) sollte auf allen Geräten geändert werden.
Nähere Informationen finden Sie im Benutzerhandbuch auf der CD-ROM.
Fenster GratulationFenster Gratulation
Weitere Informationen
Informationen zu Garantie, Zulassungsbestimmungen und
Benutzerinformationen für Konsumgüter, die der EU-Richtlinie
2002/96/EG über Elektro- und Elektronik-Altgeräte (WEEE, Waste
Electric and Electronic Equipment) unterliegen, sowie Informationen zu
Spezifikationen finden Sie im Benutzerhandbuch auf der CD-ROM.
Kontaktinformationen zu Linksys finden Sie am Ende dieses Dokuments
und auf der CD-ROM (oder als Beilage in der Verpackung).
INTERNET: Weitere Informationen zu den aktuellen Produkten und
Aktualisierungen für bereits installierte Produkte finden Sie online
unter www.linksys.eu oder www.linksys.com/international
7
Page 10

Instalación (Español)
NOTA: si el ordenador no tiene instalado Microsoft .NET
Framework, el asistente de configuración instalará el software.
Introduzca el CD-ROM del asistente
A.
de configuración en la unidad de
CD. El asistente de configuración
se ejecuta automáticamente. Si
no lo hace, vaya al menú Inicio y
seleccione Ejecutar. En el campo
que aparece, escriba D:\setup.exe
(si “D“ es la letra de la unidad de CD)
y pulse Intro.
Aparecerá la pantalla Selección
B.
de idioma. Seleccione el idioma
adecuado y haga clic en Siguiente.
Inserte el CD-ROMInserte el CD-ROM
Pantalla Selección de idioma
Pantalla Selección de idioma
C.
En la pantalla Bienvenido, haga clic
en Configuración para comenzar el
proceso de instalación.
8
Pantalla Bienvenido
Pantalla Bienvenido
Page 11

Aparecerá la pantalla Acuerdo de
D.
licencia del usuario final. Si está de
acuerdo y desea continuar con la
instalación, haga clic en Siguiente.
Aparecerá brevemente la pantalla
E.
Preparando la instalación, seguida
de la pantalla DETENER. En ese
momento, conecte un extremo
del cable de red Ethernet al puerto
Ethernet del adaptador. Conecte
el otro extremo a un puerto
Ethernet del ordenador en el que
esté ejecutando el asistente de
configuración.
Antes de conectar el adaptador,
anote la contraseña del dispositivo
que aparece impresa en la unidad.
Instalación
Pantalla Acuerdo de licencia del usuario finalPantalla Acuerdo de licencia del usuario final
Conectar
Conectar
Enchufe el adaptador a una toma
F.
de corriente y, a continuación,
haga clic en Siguiente.
IMPORTANTE: puesto que el
adaptador envía datos a través
de las líneas de alimentación
domésticas, Linksys recomienda
que conecte el adaptador
en una toma de corriente
directamente. El adaptador tiene
su propio filtro de alimentación
para proporcionar protección
frente a las subidas de tensión.
Se conecta
Se conecta
directamente a la toma
directamente a la toma
de corriente
de corriente
Conexión a un ordenador
Conexión a un ordenador
9
Page 12

Instalación
Aparecerá la pantalla Instalar la
G.
utilidad de configuración. Copie
los archivos necesarios en el
ordenador. Una vez copiados los
archivos, aparecerá la pantalla
Enhorabuena.
Haga clic en Registro en línea para
registrar el adaptador en
www.linksys.com/registration
(se necesita conexión a Internet)
Haga clic en Salir para cerrar el
asistente de configuración.
La instalación del hardware ha finalizado. Si dispone de más de un PLE200
(PLK200 es un kit que contiene 2 PLE200), conecte ahora los adaptadores
adicionales. Asegúrese de utilizar la utilidad de configuración (a la que puede
acceder a través del icono de la utilidad PLE200 que hay en el escritorio) para
configurar los adaptadores y cambie la contraseña de red predeterminada.
Es recomendable cambiar la contraseña de red predeterminada (HomePlug AV)
por una contraseña nueva en todos los dispositivos. Para obtener más
información, consulte la guía del usuario que se encuentra en el CD-ROM.
Pantalla EnhorabuenaPantalla Enhorabuena
Información adicional
Para obtener más información sobre la garantía, las normativas y la
información de usuario para productos de consumo afectados por la
directiva de la UE 2002/96/CE sobre residuos de aparatos eléctricos y
electrónicos (RAEE) y otras especificaciones, consulte la guía del usuario
del CD-ROM.
La información de contacto de Linksys está disponible al final de este
documento y en el CD-ROM (o como un añadido dentro de la caja).
WEB: visítenos en línea para obtener información sobre los
productos más recientes y las actualizaciones de productos
existentes en: www.linksys.eu o www.linksys.com/international
10
Page 13

Installation (Français)
REMARQUE : Si le module Microsoft .NET Framework n’est pas déjà installé
sur votre ordinateur, l’assistant d’installation procède à son installation.
Insérez le CD-ROM Setup Wizard
A.
(Assistant de configuration) dans le
lecteur CD. L’assistant de configuration
doit démarrer automatiquement. Si
ce n’est pas le cas, accédez au menu
Démarrer, puis cliquez sur Exécuter.
Dans le champ qui s’affiche, entrez
D:\setup.exe (si D est la lettre de votre
lecteur CD), puis appuyez sur Entrée.
B.
L’écran Sélection de la langue
s’affiche. Séectionnez la langue
de votre choix, puis cliquez sur
Suivant.
Insérez le CD-ROMInsérez le CD-ROM
Ecran Sélection de la langue
Ecran Sélection de la langue
Sur l’écran Bienvenue, cliquez
C.
sur Configuration pour lancer
l’installation.
Ecran Bienvenue
Ecran Bienvenue
11
Page 14

Installation
L’écran Accord de licence de
D.
l’utilisateur final s’affiche. Si vous
acceptez l’accord et que vous
souhaitez lancer l’installation,
cliquez sur Suivant.
L’écran Préparation de l’installation
E.
s’affiche, suivi de l’écran ARRETER.
Connectez alors une extrémité du
câble réseau Ethernet dans le port
Ethernet de l’adaptateur. Connectez
l’autre extrémité à un port Ethernet
de l’ordinateur sur lequel s’exécute
l’assistant de configuration.
Ecran Accord de licence de l’utilisateur final Ecran Accord de licence de l’utilisateur final
Avant de brancher l’adaptateur,
inscrivez le Mot de passe du
périphérique imprimé sur
l’appareil.
Branchez l’adaptateur sur une prise
F.
murale puis cliquez sur Suivant.
IMPORTANT : L’adaptateur
envoie les données via les
lignes électriques de votre
résidence. Linksys vous
recommande de brancher
l’adaptateur directement
dans une prise murale.
L’adaptateur dispose de sa
propre protection contre
les surchages électriques.
12
Connecter
Connecter
Branchement direct
Branchement direct
dans une prise murale
dans une prise murale
Connexion à un ordinateur de bureau
Connexion à un ordinateur de bureau
Page 15

Installation
L’écran Utilitaire de configuration
G.
d’installation s’affiche et copie les
fichiers requis sur votre ordinateur.
Une fois les fichiers copiés, l’écran
Félicitations s’affiche.
Cliquez sur Enregistrement en
ligne pour enregistrer l’adaptateur
à l’adresse
www.linksys.com/registration
(connexion Internet requise)
Cliquez sur Quitter pour fermer
l’assistant d’installation.
L’installation matérielle est terminée. Si vous disposez de plus d’un PLE200
(PLK200 est un kit contenant deux unités PLE200), connectez le ou les autres
adaptateurs maintenant. Veillez à utiliser l’utilitaire de configuration (accessible
via l’icône de l’utilitaire PLE200 sur votre bureau) pour configurer le ou les
adaptateurs et modifier le mot de passe réseau par défaut. Il est conseillé de
changer le mot de passe par défaut (HomePlug AV) et d’en utiliser un nouveau
pour l’ensemble des périphériques. Pour obtenir de plus amples informations,
reportez-vous au Guide de l’utilisateur figurant sur le CD-ROM.
Ecran Félicitations Ecran Félicitations
Informations supplémentaires
Pour les informations utilisateurs relatives à la garantie et aux réglementations
sur les biens de consommation dans le cadre de l’application de la directive
européenne 2002/96/EC relative aux déchets d’équipements électriques
et électroniques (DEEE) et les spécifications, reportez-vous au Guide de
l’utilisateur sur le CD-ROM.
Les informations de contact Linksys sont disponibles à la fin du présent
document et sur le CD-ROM (ou sous forme de feuillet inclus dans la boîte).
WEB : Consultez notre site Web pour obtenir des
informations sur les derniers produits et les mises à
jour disponibles pour vos produits à l’adresse suivante :
www.linksys.eu ou www.linksys.com/international
13
Page 16

Installazione (Italiano)
NOTA: se sul computer non è presente Microsoft .NET Framework,
questo software verrà installato durante l’installazione guidata.
Inserire il CD-ROM per l’installazione
A.
guidata nell’apposita unità.
L’installazione guidata dovrebbe
avviarsi automaticamente. In caso
contrario, andare al menu Start
e selezionare Esegui. Nel campo
visualizzato, digitare D:\setup.exe
(dove “D” è la lettera corrispondente
all’unità CD-ROM) e premere Invio.
Viene visualizzata la schermata
B.
Selezione della lingua. Selezionare
la lingua appropriata e fare clic su
Avanti.
Inserire il CD-ROMInserire il CD-ROM
Schermata Selezione della lingua
Schermata Selezione della lingua
Nella schermata Benvenuti,
C.
fare clic su Installa per avviare
l’installazione.
14
Schermata Benvenuti
Schermata Benvenuti
Page 17

Viene visualizzata la schermata
D.
Contratto di licenza dell’utente
finale. Se si accettano i termini e si
desidera avviare l’installazione, fare
clic su Avanti.
Viene visualizzata rapidamente
E.
la schermata Preparazione
dell’installazione, seguita dalla
schermata STOP. A questo punto,
collegare un’estremità del cavo di
rete Ethernet alla relativa porta
dell’adattatore. Collegare l’altra
estremità a una porta Ethernet del
computer su cui è in esecuzione
l’installazione guidata.
Prima di inserire l’adattatore,
annotare la Password del
dispositivo stampata sull’unità.
Installazione
Schermata Contratto di licenza
Schermata Contratto di licenza
dell’utente finale
dell’utente finale
Collegamento
Collegamento
Inserire l’adattatore in una presa
F.
elettrica e fare clic su Avanti.
IMPORTANTE: dal momento
che l’adattatore invia dati
attraverso la rete elettrica
domestica, Linksys consiglia
di collegare l’adattatore
direttamente a una presa
elettrica. L’adattatore
dispone di un filtro di
alimentazione per la
protezione da sovratensione.
Inserimento diretto
Inserimento diretto
nella presa elettrica
nella presa elettrica
Collegamento a un computer desktop
Collegamento a un computer desktop
15
Page 18

Installazione
Viene visualizzata la schermata
G.
Installa Utilità di configurazione e i
file necessari vengono copiati sul
computer. Al termine del processo
di copia, viene visualizzata la
schermata Congratulazioni.
Fare clic su Registrazione online
per registrare l’adattatore in
www.linksys.com/registration
(richiesta connessione Internet)
Fare clic su Esci per chiudere
l’installazione guidata.
L’installazione hardware è completata. Se si dispone di più dispositivi PLE200
(PLK200 è un kit contenente 2 PLE200), collegare a questo punto gli adattatori
aggiuntivi. Assicurarsi di utilizzare l’Utilità di configurazione (accessibile
mediante l’icona dell’utilità PLE200 sul desktop) per configurare gli adattatori e
modificare la password di rete predefinita. È necessario sostituire la password di
rete predefinita (HomePlug AV) con una nuova password su tutti i dispositivi.
Per ulteriori informazioni, fare riferimento alla Guida per l’utente sul CD-ROM.
Schermata CongratulazioniSchermata Congratulazioni
Ulteriori informazioni
Per informazioni sulla garanzia, sulle normative, sui prodotti di consumo
coperti dalla Direttiva EU 2002/96/CE per le apparecchiature WEEE (Waste
Electric and Electronic Equipment) e sulle specifiche, fare riferimento alla
Guida per l’utente sul CD-ROM.
Le informazioni sui contatti Linksys sono disponibili alla fine del presente
documento e sul CD-ROM (o come inserto fornito nella confezione).
WEB: per informazioni sugli ultimi prodotti e sugli
aggiornamenti per i prodotti disponibili, visitare il sito Linksys
all’indirizzo www.linksys. eu o www.linksys.com/international
16
Page 19

Installatie (Nederlands)
OPMERKING: als er nog geen Microsoft .NET Framework op uw computer
is geïnstalleerd, zal de installatiewizard deze software installeren.
Plaats de cd-rom met de
A.
installatiewizard in het
cd-romstation. Als het goed
is, wordt de installatiewizard
automatisch opgestart. Als dit niet
gebeurt, gaat u naar menu Start en
selecteert u Uitvoeren. In het veld
dat verschijnt, typt u D:\setup.exe
(als “D” de letter van uw cd-station is)
en drukt u op Enter.
Het scherm Taalselectie wordt
B.
weergegeven. Selecteer de juiste
taal en klik op Volgende.
Plaats de cd-romPlaats de cd-rom
In het scherm Welkom klikt u op
C.
Installeren om te beginnen met de
installatie.
Scherm Taalselectie
Scherm Taalselectie
Scherm Welkom
Scherm Welkom
17
Page 20

Installatie
De Licentieovereenkomst
D.
voor de eindgebruiker wordt
weergegeven. Als u instemt met
de licentieovereenkomst en wilt
beginnen met de installatie, klikt
u op Volgende.
Het scherm Installatie voorbereiden
E.
wordt kort weergegeven, gevolgd
door een STOP-scherm. Sluit
nu het ene uiteinde van een
Ethernet-netwerkkabel aan op de
Ethernet-poort van de adapter.
Sluit het andere uiteinde aan op
een Ethernet-poort op de computer
waarop de installatiewizard wordt
uitgevoerd.
Voordat u de adapter aansluit op
een wandcontactdoos, noteert u
het Apparaatwachtwoord (device
password) dat u op de achterkant
van de adapter vindt.
Scherm Licentieovereenkomst voor
Scherm Licentieovereenkomst voor
de indgebruiker
de indgebruiker
Aansluiten
Aansluiten
Sluit de adapter aan op een
F.
wandcontactdoos en klik daarna
op Volgende.
BELANGRIJK: omdat de
adapter gegevens verzendt
via de elektriciteitsleidingen
in uw woning, adviseert
Linksys u om de adapter
rechtstreeks aan te sluiten
op een wandcontactdoos.
De adapter heeft een
ingebouwde beveiliging
tegen netspanningspieken.
18
Wordt rechtstreeks
Wordt rechtstreeks
aangesloten op een
aangesloten op een
wandcontactdoos
wandcontactdoos
Verbinding met een desktopcomputer
Verbinding met een desktopcomputer
Page 21

Installatie
Het scherm Configuratieprogramma
G.
installeren wordt weergegeven
en de benodigde bestanden
worden gekopieerd naar uw
computer. Nadat de bestanden zijn
gekopieerd, verschijnt het scherm
Installatie voltooid.
Klik op Onlineregistratie om de
adapter te registreren op
www.linksys.com/registration
(Hiervoor is een verbinding met
internet benodigd)
Klik op Afsluiten om de
installatiewizard af te sluiten.
De installatie van de hardware is voltooid. Als u meer dan één PLE200
hebt (PLK200 is een pakket met twee PLE200’s), sluit u nu de extra
adapter(s) aan. Gebruik het configuratieprogramma (toegankelijk via
het PLE200-programmapictogram op uw bureaublad) om de adapter(s)
te configureren en het standaardnetwerkwachtwoord te wijzigen. Het
standaardnetwerkwachtwoord (HomePlug AV) moet worden gewijzigd in een
nieuw wachtwoord op alle apparaten. Meer informatie hierover vindt u in de
gebruikershandleiding op de cd-rom.
Scherm Installatie voltooid Scherm Installatie voltooid
Aanvullende informatie
Garantie-informatie, informatie over regelgeving en gebruikersinformatie
voor consumentenproducten onder EU-richtlijn 2002/96/EC inzake
afgedankte elektrische elektronische apparatuur (WEEE) vindt u in de
gebruikershandleiding op de cd-rom.
Linksys-contactgegevens vindt u aan het einde van dit document en
op de cd-rom (of als een bijlage in de doos).
WEB: bezoek ons online voor informatie over de nieuwste
producten en updates voor uw bestaande producten op:
www.linksys.eu of www.linksys.com/international
19
Page 22

Instalação (Português)
NOTA: Se o seu computador ainda não tiver o Microsoft .NET
Framework instalado, o Assistente de configuração instalará o software.
Coloque o CD-ROM do Assistente de
A.
configuração na unidade de CD. O
Assistente de configuração deverá
ser executado automaticamente.
Se tal não acontecer, vá para o
menu Iniciar e seleccione Executar.
No campo apresentado, escreva
D:\setup.exe (se “D” corresponder
à letra da unidade de CD) e prima
Enter.
Será apresentado o ecrã Selecção
B.
do idioma. Seleccione o idioma
adequado e clique em Seguinte.
Colocar o CD-ROMColocar o CD-ROM
Ecrã Selecção do idioma
Ecrã Selecção do idioma
No ecrã Bem-vindo, clique em
C.
Configurar para iniciar a instalação.
20
Ecrã Bem-vindo
Ecrã Bem-vindo
Page 23

Será apresentado o ecrã Contrato
D.
de licença do utilizador final. Se
concordar e pretender iniciar a
instalação, clique em Seguinte.
O ecrã A preparar para instalar será
E.
apresentado por breves instantes,
seguido do ecrã PARE. Nesta altura,
ligue uma extremidade de um
cabo de rede Ethernet à porta
Ethernet do Adaptador. Ligue a
outra extremidade a uma porta
Ethernet do computador no qual
está a executar o Assistente de
configuração.
Antes de ligar o Adaptador,
tome nota da Palavra-passe do
dispositivo impressa na unidade.
Instalação
Ecrã Contrato de licença do utilizador final Ecrã Contrato de licença do utilizador final
Ligar
Ligar
Ligue o Adaptador a uma tomada
F.
eléctrica e clique em Seguinte.
IMPORTANTE: Uma vez
que o Adaptador envia os
dados através da instalação
eléctrica da sua residência, a
Linksys recomenda que ligue
o Adaptador directamente a
uma tomada eléctrica.
O Adaptador tem um filtro
próprio para proteger
contra picos de tensão.
Liga-se directamente
Liga-se directamente
à tomada
à tomada
Ligação a um computador de secretária
Ligação a um computador de secretária
21
Page 24

Instalação
Será apresentado o ecrã Instalar
G.
o Utilitário de configuração e os
ficheiros necessários serão copiados
para o computador. Depois de os
ficheiros terem sido copiados, será
apresentado o ecrã Parabéns.
Clique em Registo online para
registar o Adaptador em
www.linksys.com/registration
(é necessária uma ligação à
Internet)
Clique em Sair para fechar o
Assistente de configuração.
A instalação do hardware está concluída. Se tiver mais de um PLE200 (o PLK200
é um kit que contém 2 PLE200), ligue agora os Adaptadores adicionais.
Certifique-se de que utiliza o Utilitário de configuração (acessível através do
ícone Utilitário do PLE200 existente no ambiente de trabalho) para configurar os
Adaptadores e alterar a palavra-passe de rede predefinida. A palavra-passe de
rede predefinida (HomePlugAV) deverá ser alterada para uma nova
palavra-passe em todos os dispositivos. Para obter informações detalhadas,
consulte o Manual do Utilizador existente no CD-ROM.
Ecrã Parabéns Ecrã Parabéns
Informações adicionais
Para obter informações sobre a garantia, informações de regulamentação,
informações do utilizador para produtos de consumidor abrangidos pela
Directiva 2002/96/CE da UE sobre Resíduos de Equipamentos Eléctricos e
Electrónicos (REEE) e especificações, consulte o Manual do Utilizador no
CD-ROM.
As informações de contacto da Linksys estão disponíveis no fim deste
documento e no CD-ROM (ou num folheto inserido na caixa).
WEB: Para obter informações sobre os produtos mais recentes e
para obter actualizações para os produtos que já possui, visite-nos
online em www.linksys.eu ou www.linksys.com/international
22
Page 25

Contact Information
If you experience problems with any Linksys product, you can e-mail us at:
Europe
Location E-mail Address
Austria support.at@linksys.com
Belgium support.be@linksys.com
Czech Republic support.cz@linksys.com
Denmark support.dk@linksys.com
Finland support.fi@linksys.com
France support.fr@linksys.com
Germany support.de@linksys.com
Greece support.gr@linksys.com (English only)
Hungary support.hu@linksys.com
Ireland support.ie@linksys.com
Italy support.it@linksys.com
Netherlands support.nl@linksys.com
Norway support.no@linksys.com
23
Page 26

Contact Information
Location E-mail Address
Poland support.pl@linksys.com
Portugal support.pt@linksys.com
Russia support.ru@linksys.com
Spain support.es@linksys.com
Sweden support.se@linksys.com
Switzerland support.ch@linksys.com
Turkey support.tk@linksys.com
United Kingdom support.uk@linksys.com
Outside of Europe
Location E-mail Address
Asia Pacific asiasupport@linksys.com (English only)
Latin America
Middle East & Africa support.mea@linksys.com (English only)
South Africa support.ze@linksys.com (English only)
UAE support.ae@linksys.com (English only)
U.S. and Canada support@linksys.com
NOTE: For some countries, support may be available only in English
24
support.portuguese@linksys.com or
support.spanish@linksys.com
Page 27

Page 28

www.linksys.com
 Loading...