

LEGRAND Archimod Maintenance Manual
Archimod®
Maintenance Manual
Manuale di manutenzione
®
Part. LE05761AA-08/12-01 GF

Archimod®
2
®
EN
IT
ENGLISH 3
ITALIANO 9

Archimod®
Maintenance Manual
3
Index
1 Maintenance 4
1.1 Introduction 4
1.2 Preventive maintenance 4
1.3 Periodical checks 4
1.3.1 Preparing the UPS for maintenance. Forced bypass mode 4
1.4 Hot-swap replacing of power modules or adding new modules 5
1.5 Preparing the ups for maintenance in the manual maintenance bypass mode 6
1.5.1 Manual bypass mode 6
1.5.2 Replacing a power module or adding new modules 6
1.5.3 Exiting maintenance bypass 7
1.6 Installing/replacing battery boxes 7
4
®
WARNING
The instructions given in this chapter are not addressed to a normal operator but to a specialised technician,
authorised to work only if he uses the Individual Protective Gear mentioned in Operating and Maintenance manual
(see Chapter 3).
1.1 Introduction
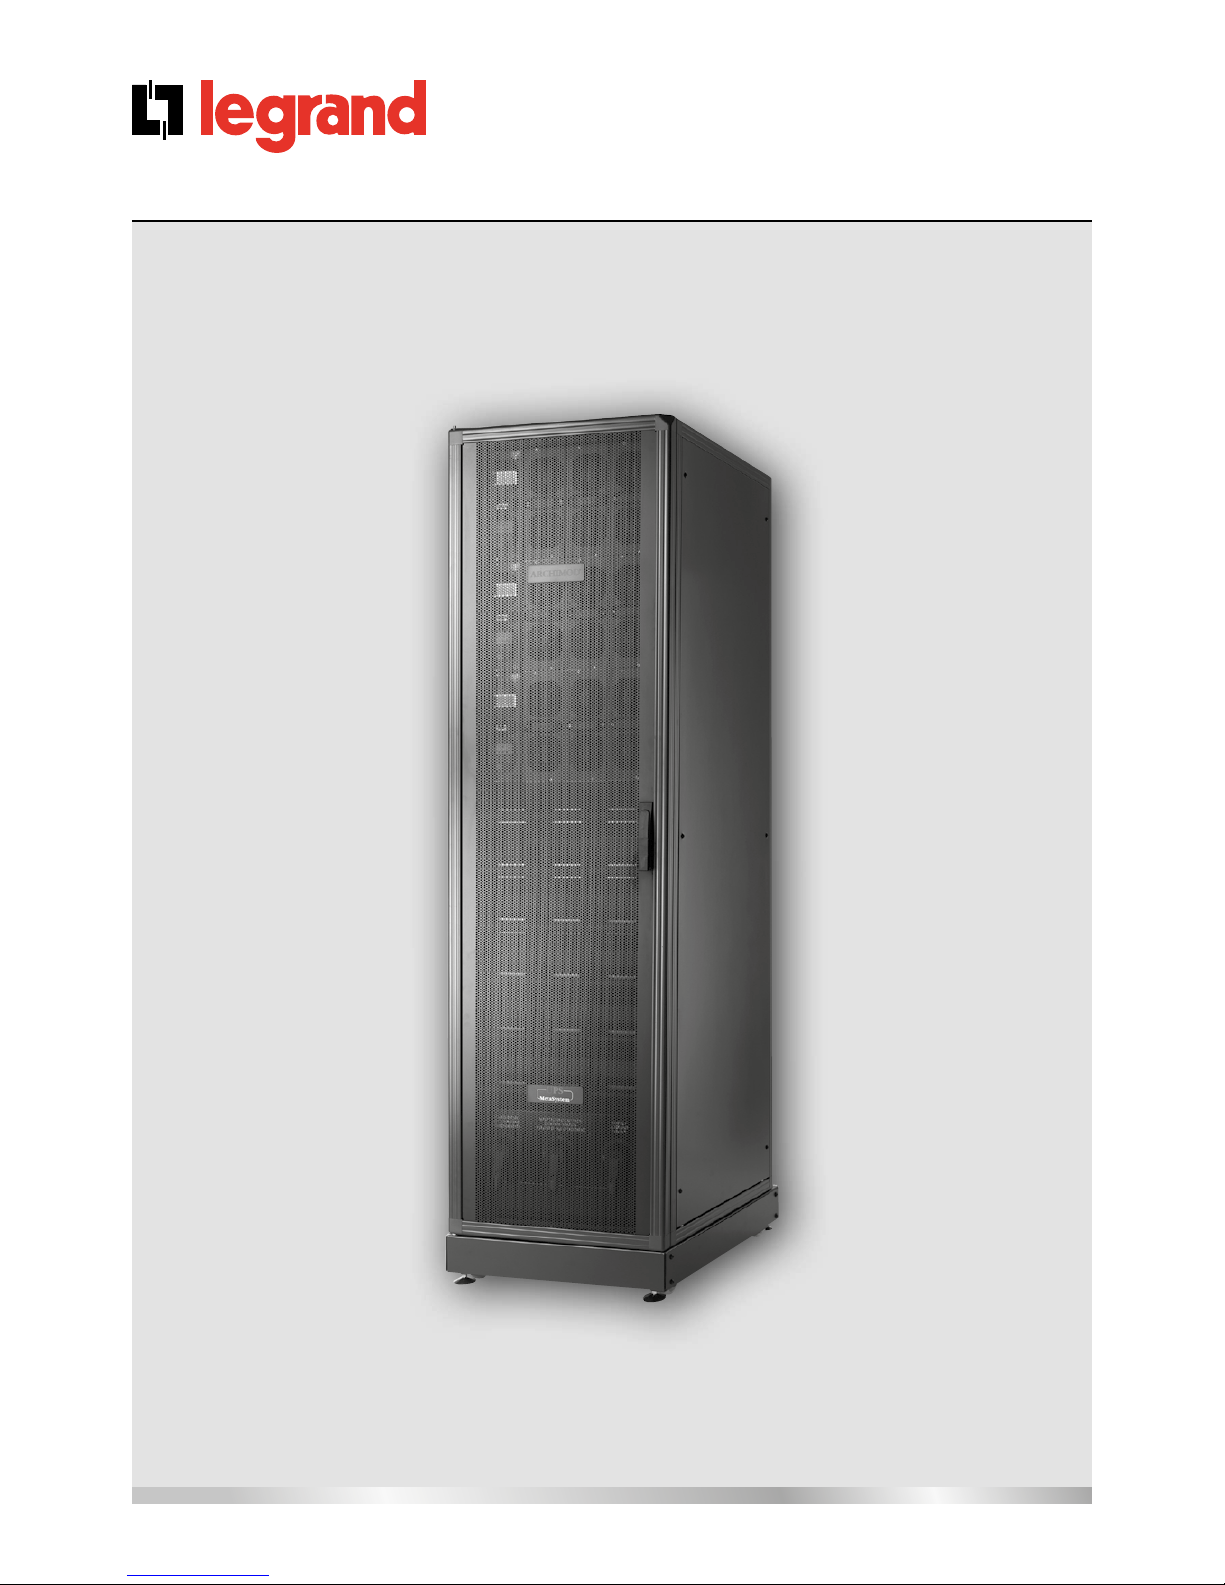
This chapter contains all the information necessary for a correct maintenance of the UPS ARCHIMOD® unit.
All the operations described in this section must be carried out by authorised technicians or qualified personnel.
LEGRAND® is not liable for any injury to persons or damage to things caused by incorrect operations or activities if not
carried out according to the instructions given in this manual, with particular reference to the safety rules and regulations
that can be found in Operating and Maintenance manual (see Chapter 3).
To ensure optimum operation of the UPS ARCHIMOD® and continuous and effective protection of the load connected
to it, the batteries must be checked every six months after the first year of the machine’s life, via the battery calibration
function (see Operating and Maintenance manual - Chapter 7.2.4).
1.2 Preventive maintenance
The UPS does not contain parts subject to preventive maintenance by the end user.
Therefore, with the exception of normal cleaning, all the user has to do is periodically check there are no alarms on the
display and that both fans on each power module are working correctly.
If there are any problems contact the LEGRAND® assistance centre immediately.
1.3 Periodical checks
Correct operation of the UPS must be guaranteed by periodical maintenance inspections, essential for safeguarding
the unit’s operating life and reliability.
WARNING
The periodical checks entail operations inside the UPS where dangerous voltages are present. Only maintenance
personnel, trained and authorised by LEGRAND®, know all the parts of the UPS that are live with dangerous voltages
and, therefore, authorised to work on them.
During a preventive maintenance inspection, the maintenance technician must check the following:
- there are no alarms;
- the list of any events stored;
- correct operation of the static and maintenance bypass;
- integrity of the electrical installation;
- flow of cooling air;
- condition of the batteries;
- characteristics of the load applied;
- conditions of the installation premises.
1.3.1 Preparing the UPS for maintenance. Forced bypass mode
WARNING
It is strictly forbidden to change the power modules if first the following instructions have not been scrupulously
complied with!
1. Open the door of the UPS ARCHIMOD®;
2. Enable t1he UPS forced bypass operation via the front display.
To do this, proceed as follows:
Config. UPS ➞ Bypass ➞ Forced Mode Config.;
In these conditions the power modules are excluded and the load is fed directly by the mains.
When the unit is in the forced bypass mode, the wording UPS LEGRAND® on the front of the panel flashes quickly.
1. Maintenance
Archimod®
Maintenance Manual
5
Likewise, the LEDs on the various power modules also flash quickly.
3. Turn the manual switch S1 (manual bypass) round to the ON position. The load is now being powered directly by the
mains; the wording MANUAL BYPASS appears on the panel.
4. Turn the unit off, holding the ‘ON/OFF’ pushbutton down on the control panel for a few seconds;
5. Open the output switch S2;
6. Open the mains disconnecting switches (F L1, F L2 and F L3);
7. Open the battery disconnecting switches (F B+ and F B-) of the unit and of the ARCHIMOD® BATTERY units (if present);
8. Hold the “ON/OFF” pushbutton down on the control panel in order to discharge internal capacities.
1.4 Hot-Swap replacing of power modules or adding new modules
The ARCHIMOD® UPS allows any faulty power modules (Hot-Swap) to be replaced when they are hot. This means that the
load is powered by the UPS which still protects the user points without them being powered by the bypass line. To do
this the modules managed by the same control unit have to be turned off but the load will be powered by the remaining
power modules.
To use this function it is necessary for the UPS to be sized correctly. If the load percentage is such that the Hot-Swap
cannot be done without overloading, it is advisable to follow the maintenance procedure bypassing the UPS.
Example: in a 60kVA ARCHIMOD® where there are 3 controls and 9 power modules, to replace the module in the PM1
position, modules PM0, PM1 and PM2 will be turned off by means of control number 1 (the first from the top).
During the Hot-Swap we will not have 20kVA of power which means that the maximum applicable load, so as not to
overload the UPS, is 40kVA.
1. Make sure that the load percentage applied to the UPS allows the Hot-Swap procedure without overloading the UPS;
2. See which is the control for the power module you wish to service;
3. Briefly press (less than 0.5 seconds) the ON/OFF button of this control ;
4. Access the CM - Hot-swap menu, set OFF and press Enter: This control will turn all the modules off of the tunnels it
controls and remains in standby;
5. Wait for all modules to turn off completely (front LED off);
6. Undo the securing screws of the modules you are going to replace and put them aside without losing them;
7. Take the modules out to replace one at a time;
8. Check that on all the new power modules the two LEDs that can be seen through the two holes on the cover are off.
If they are on wait until they have turned off.
9. Put the new modules in, one at a time, and screw them in with the screws removed at step 6), without tightening
them too much;
10. Briefly press (less than 0.5 seconds) the ON/OFF button on the control of the tunnel where the power modules are
being replaced;
11. Select the CM - Hot-swap menu, set ON and press Enter: the control will start all modules automatically in the tunnels
it controls.
12. Completion of the operation can be monitored by means of the progress bar.
ATTENTION:
by pressing the ON/OFF button continuously for more than 2 seconds the whole UPS will turn off cutting power to
the load.
WARNING:
Never touch the backplane of the tunnel left uncovered after the modules have been removed – there are some
dangerous live parts.
There are two holes on the cover of the power module through which it is possible to see two LEDs; if they are on
it means there is dangerous voltage on the rear connector. MAKE ABSOLUTELY CERTAIN THAT THESE LEDs ARE OFF
before handling the module. If they are on, wait until they have turned off.
ATTENTION:
if one or more screws have been lost use only M4x20mm Allen screws to fix the power modules. If the bottom screw
of a module is not put back in place the control prevents the tunnel from restarting.
ATTENTION:
if the bottom screw of a module is undone while the UPS is on, the control switches that module off and all the
modules it controls in order to make the UPS safe in the event an attempt is made to take the power module out
before having carried out the Hot-Swap procedure explained in this paragraph 1.4.
 Loading...