

Page 1
QUICKSTART
Warning
These are only brief instructions! Please read and comply with these instructions prior to using or servicing your appliance.
The non-compliance of the operating and safety instructions may lead to damages of the appliance and to dangers for the operator and other persons.
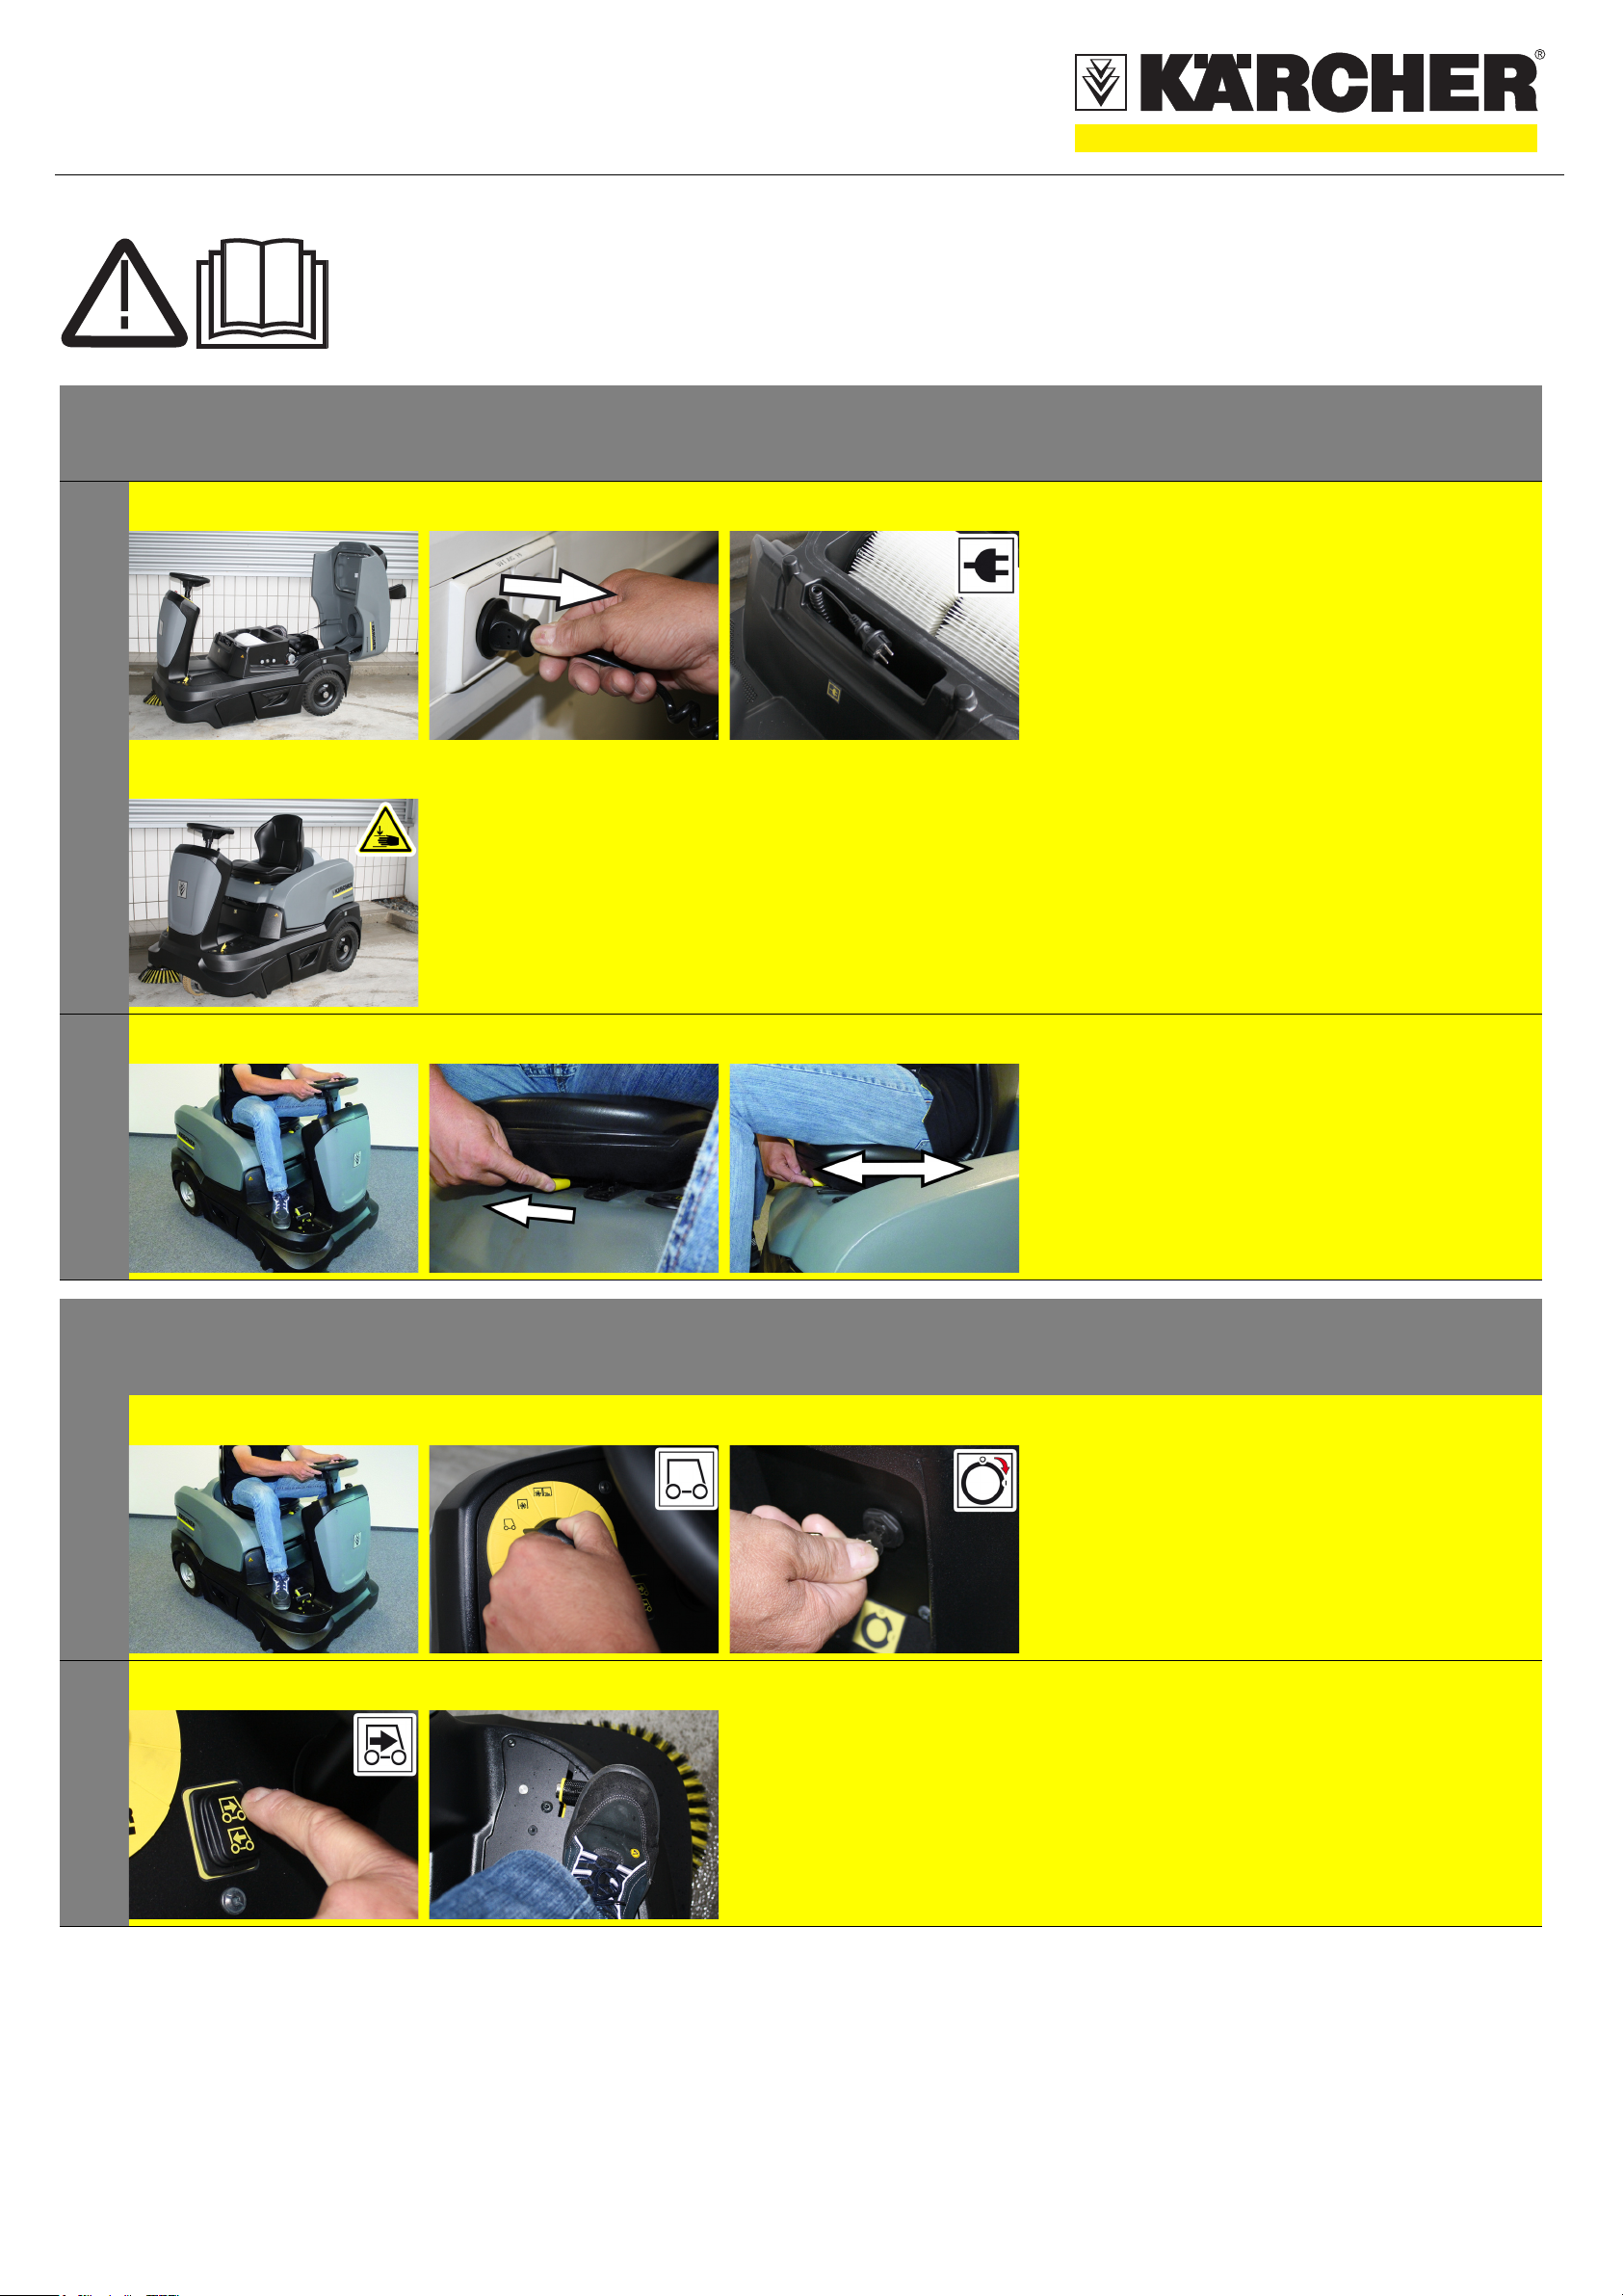
Start up
1
2
A
D
a b C A Sit on the driver's seat.
B C A Open the device hood.
B Unplug the charger from the mains.
C Place the mains cable into the storage
compartment.
D Close cover.
B Pull seat adjustment lever inwards.
C Slide seat, release lever and lock in place.
Check that the seat is properly locked in position by attempting to move it backwards and forwards.
1
2
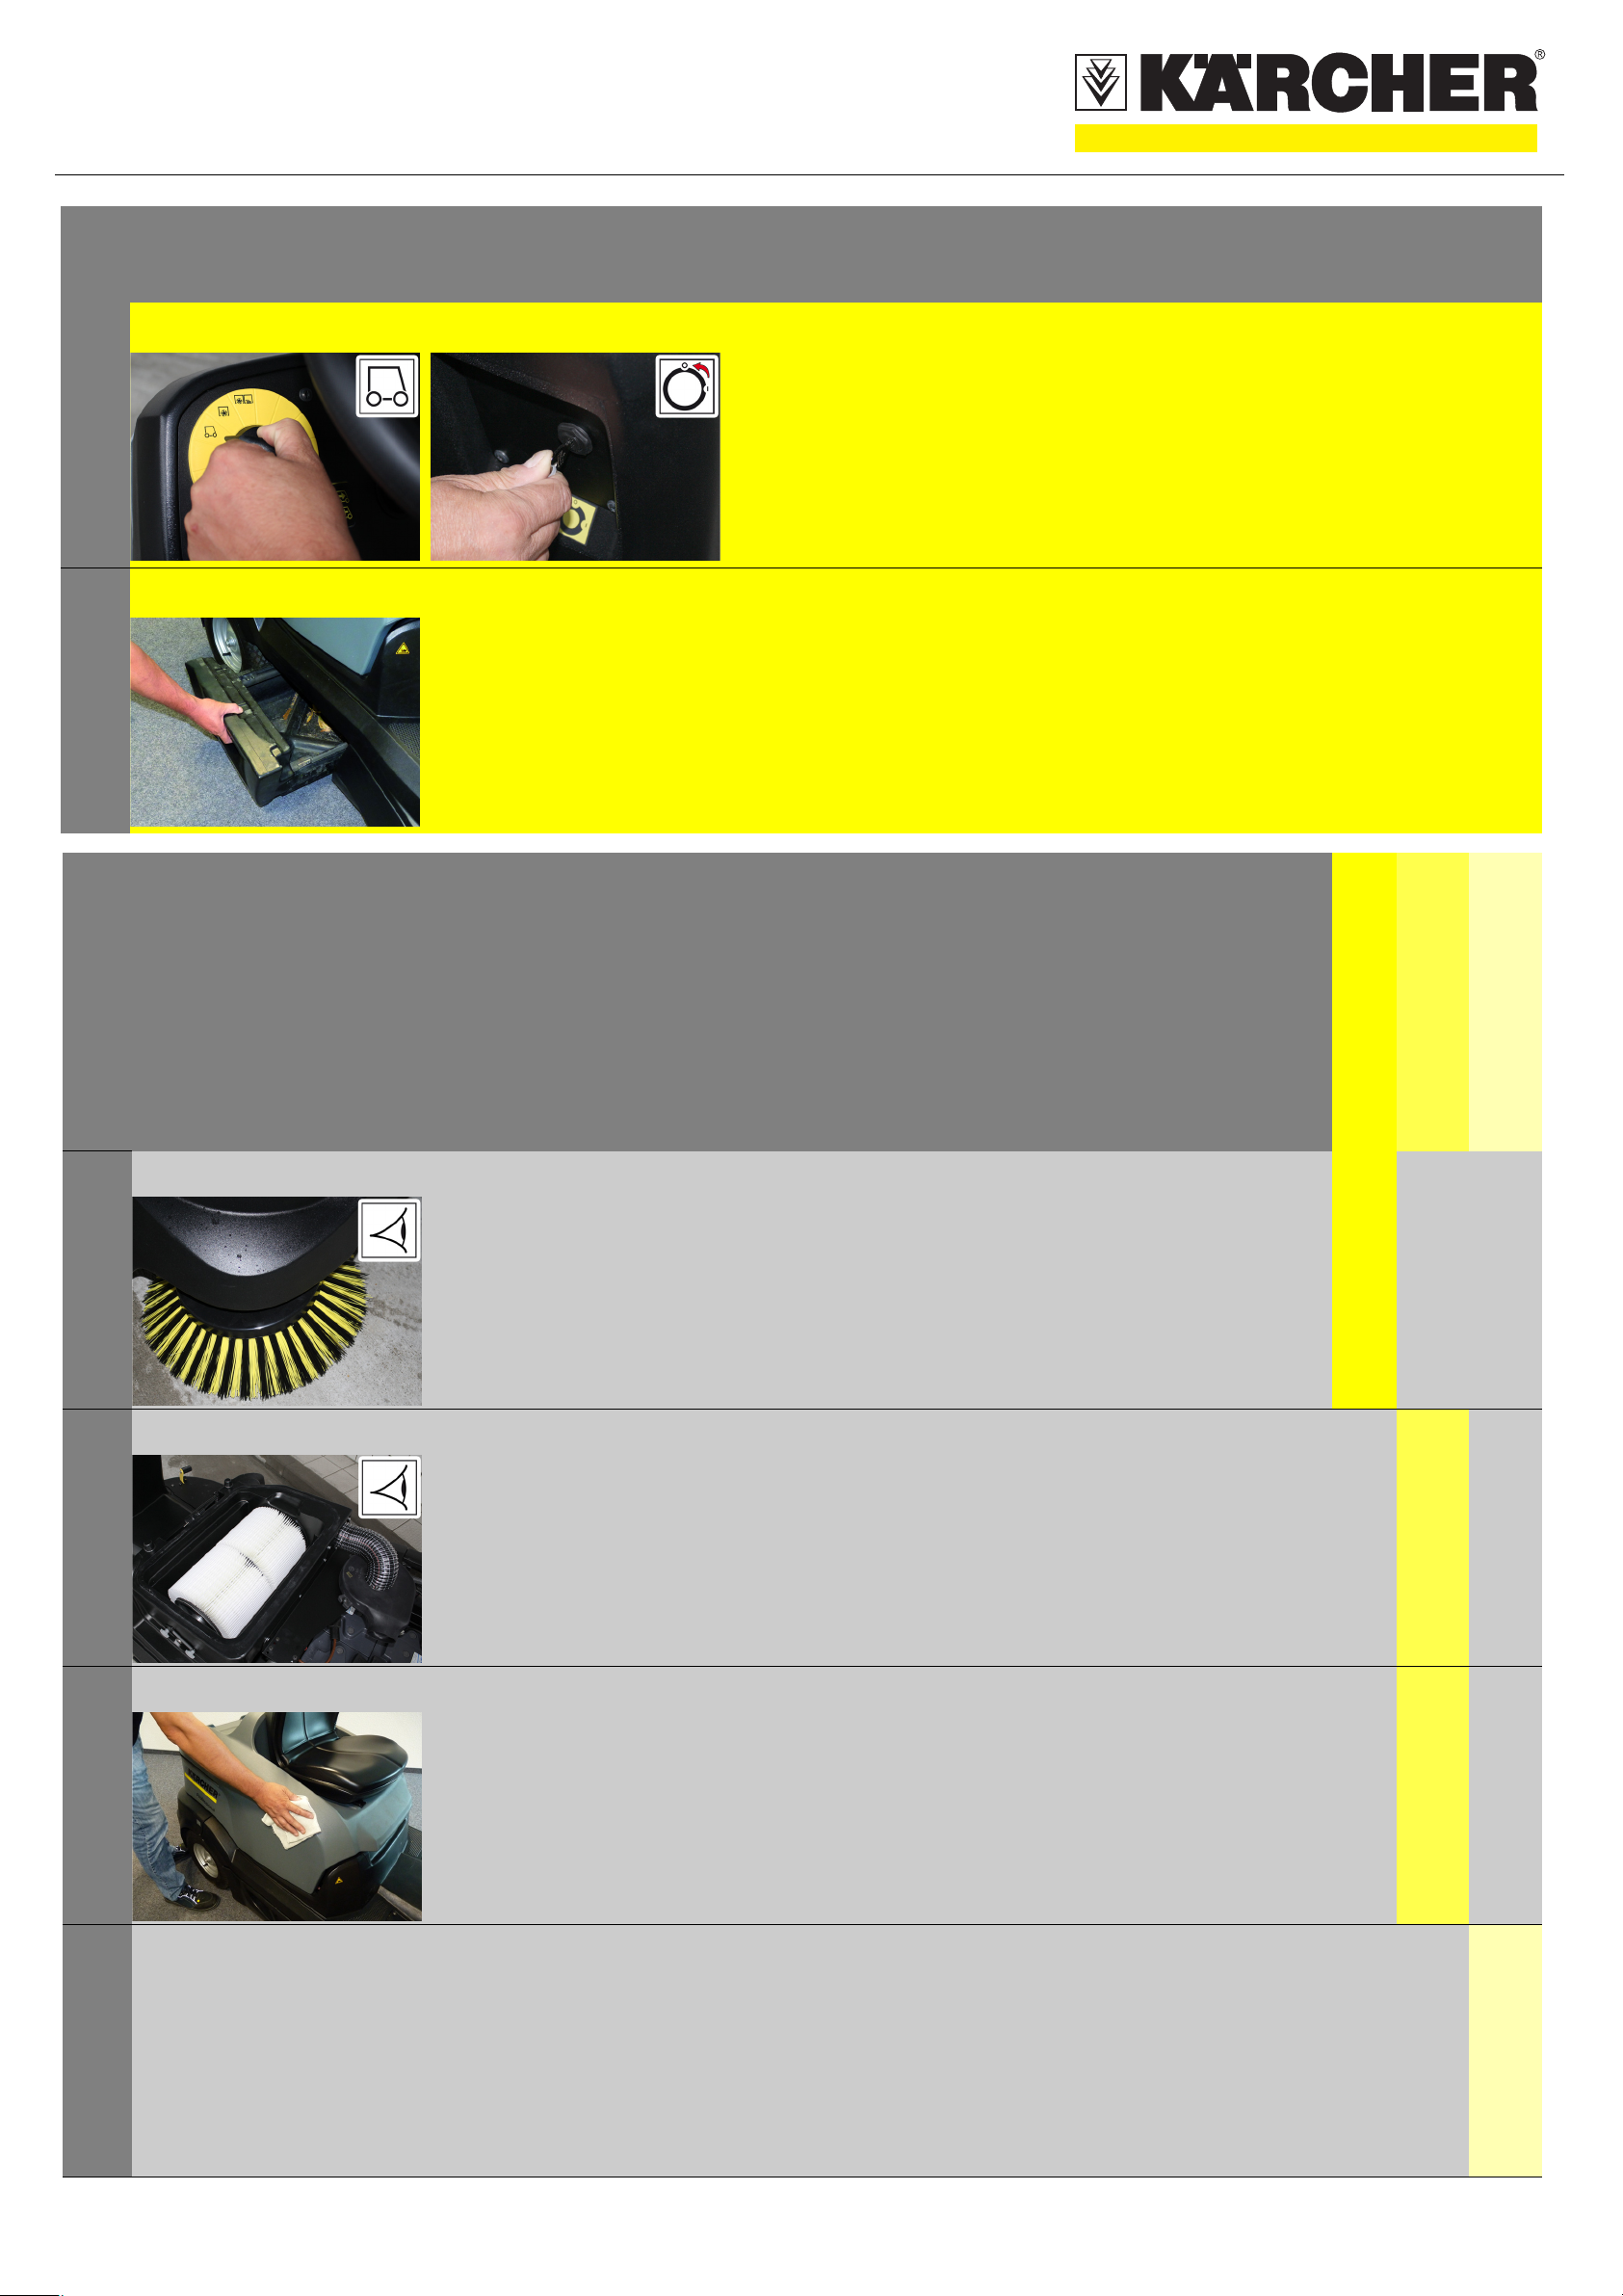
Operation
A B C Starting the machine
A Sit on the driver's seat.
Do NOT press the accelerator pedal.
B Set programme switch to step 1 (driving).
C Set main switch to "1".
A B Drive forward
A Set the travel direction switch to "forward".
B Press accelerator pedal down slowly.
Release the accelerator pedal, the machine
brakes automatically and stops.
5.963-992.0 04/11
Page 2

QUICKSTART
3
4
Operation
A B Reverse drive
A Set the travel direction switch to "backwards".
B Press accelerator pedal down slowly.
Release the accelerator pedal, the machine
brakes automatically and stops.
A Sweeping with sweep roller
A Set programme switch to step 2. Roller brush
is lowered. The roller brush and the side
brush will rotate.
5
6
7
A Sweeping with side brushes
A Set programme switch to step 3.
Side brushes and roller brush are lowered.
A Sweeping with bulk waste flap raised
A Press the pedal for the bulk waste flap
forwards and keep pressed down.
To lower it, take foot off pedal.
A Sweeping damp or wet floors
A Open wet/dry flap.
8
9
A Cleaning the dust filter
A During operations, the dust filter should be
shaken and cleaned every 15-30 minutes
depending on the amount of collected dust.
A Emptying waste container
A Raise the waste container slightly and pull it
out.
Empty waste container.
Push in the waste container and lock it.
Empty opposite waste container.
5.963-992.0 04/11
Page 3
QUICKSTART
1
2
Finish operation
A B Turn off the appliance
A Set programme switch to step 1 (driving).
The side brush and roller brush are raised.
B Turn main key to "0" and remove it.
A Emptying waste container
A Raise the waste container slightly and pull it
out.
Empty waste container.
Push in the waste container and lock it.
Empty opposite waste container.
1
2
Maintenance and care
A A Check the sweeping roller and the
side brush for wear and wrapped
belts.
A A Check dust filter and clean filter box,
if required.
daily
weekly
Kärcher Customer Service
A A Clean the machine with a damp
3
4
cloth which has been soaked in mild
detergent.
몇 Warning
Risk of damage! Do not wash down the
appliance with water and do not use aggressive detergents.
Maintenance to be carried out every 50
operating hours
Maintenance to be carried out every
100 operating hours
5.963-992.0 04/11
Page 4
QUICKSTART
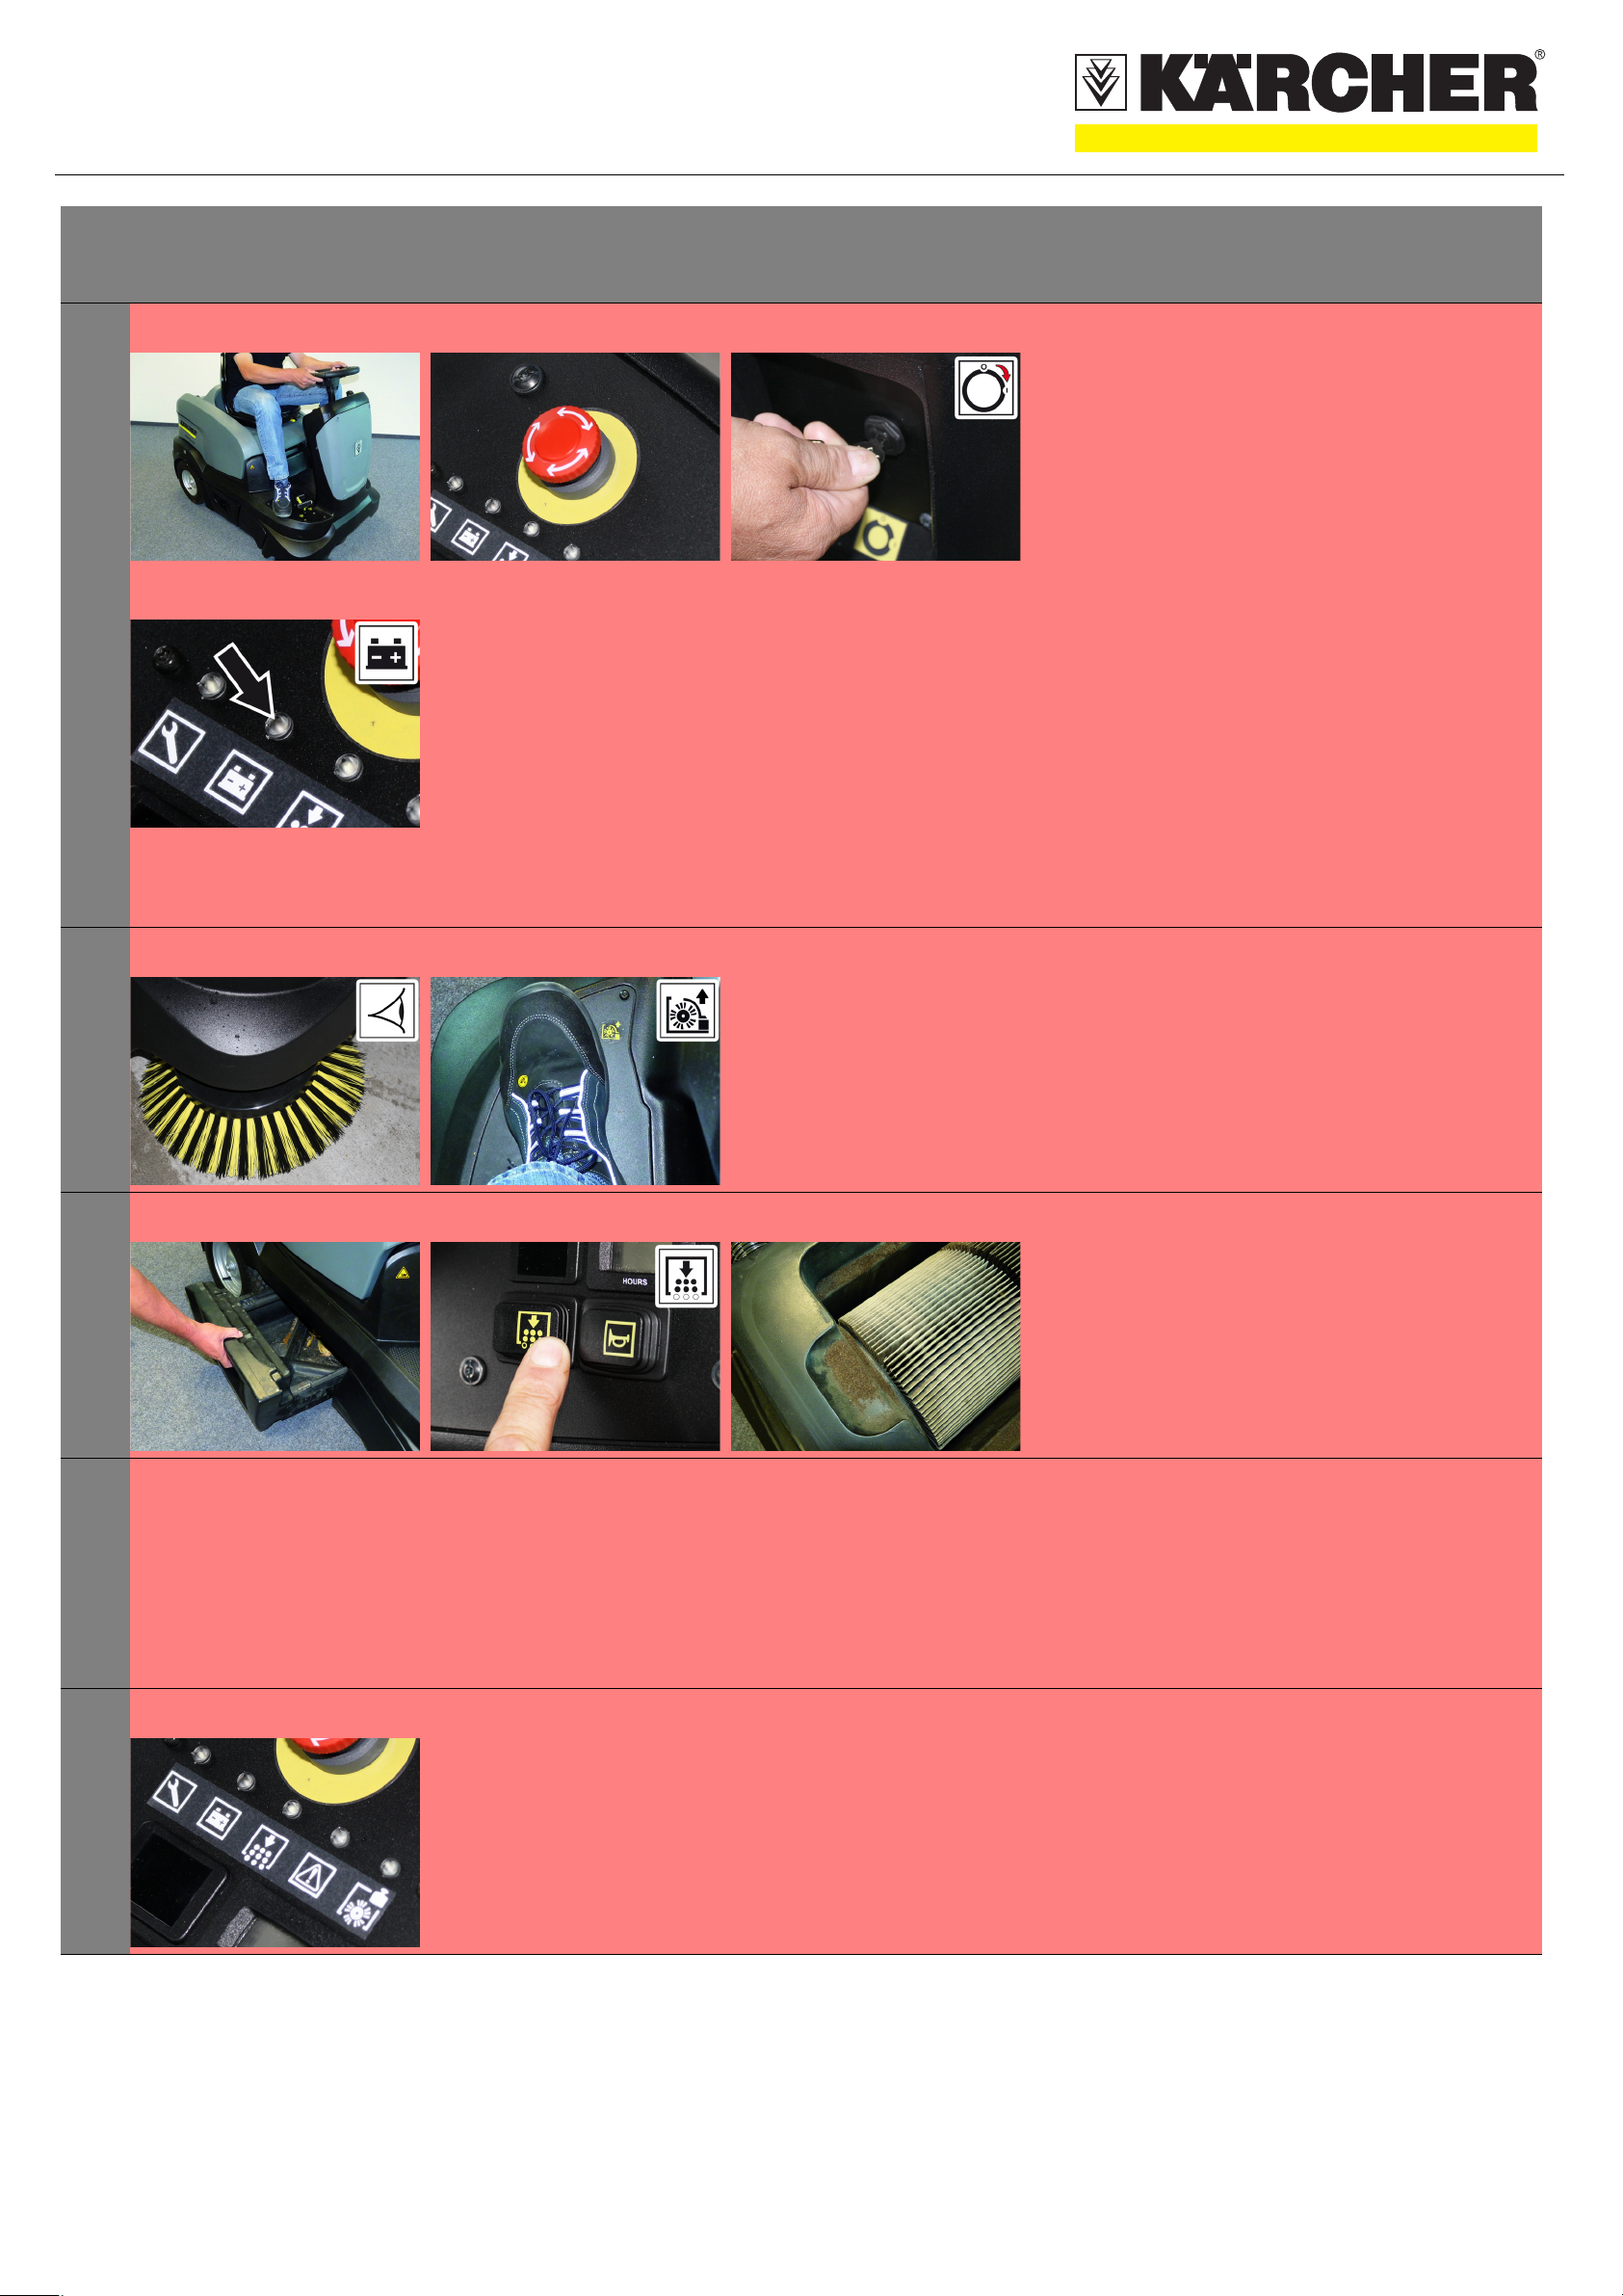
Troubleshooting
1
A
D
B C Appliance cannot be started
A Sit on the driver seat, the seat contact switch
gets activated
B Release emergency-stop button.
C Set main switch to "1".
D Check charging status of battery.
Indicator lamp glows green
Battery is charged (100...40%).
Indicator lamp glows yellow
Battery is discharged to 40 ... 20%.
Indicator lamp blinks red
Battery is almost discharged. The sweeping
mode will be shortly switched off automatically.
Indicator lamp glows red
Battery is discharged. The sweeping mode will
be terminated automatically (the sweeping aggregates cannot be taken into operation until the
battery is charged).
2
3
4
A B Machine is not sweeping properly
A Check roller brush and side brushes for wear,
replace if necessary.
B Check function of bulk waste flap
A B Dust gathers in the machine
A Empty waste container
B Check dust filter, clean or replace
A Roller brush does not turn.
A Remove belts or cords from roller brush
A Error code is displayed.
5
A Completely switch of the appliance and turn it
back on.
5.963-992.0 04/11
 Loading...