KitchenAid KUIC18PNXS, KUIC15PRXS, KUIS18PNXW, KUIS18PNXB, KUIC15PLXS Instruction Sheet

INSTALLATION INSTRUCTIONS
for Ice Maker Drain Pump
wWARNING
Electrical Shock Hazard
Disconnect power before servicing.
Replace all panels before operating.
Failure to do so can result in death or electrical shock.
NOTE: Connect drain pump to your drain in accordance with all state and local codes and ordinances. It may be desirable to insulate drain tube thoroughly up to drain inlet to minimize condensation on the drain tube. Drain pump is designed to pump water to a maximum height of 10 feet.
Kit Contains:
1 Drain Pump
1Drain Tube, 5⁄8" ID x 51⁄8" (ice maker bin to pump reservoir inlet)
1 Drain Tube, 3⁄8" ID x 10' (pump check valve to household drain)
1 Vent Tube, 3⁄8" ID x 32" (pump reservoir vent to ice maker cabinet back)
3 Cable Clamp (secures vent tube to back of ice maker) 3 Screw, #8 x 1⁄2" (secures clamps to back of ice maker) 2 Screw, #8-32 x 3⁄8" (secures pump to baseplate or ice
maker)
2 Small Hose Clamps, 5⁄8" (secures vent and drain tube to pump)
1 Large Hose Clamp, 7⁄8" (secures drain tube to bin)
Please follow the steps to install the drain pump.
1.Unplug ice maker or disconnect power.
2.Remove rear cover. Carefully pull rear cover away from drain tube.
3.Remove old drain tube and clamp attached to bin. Discard old tube. Clamp will be reused.
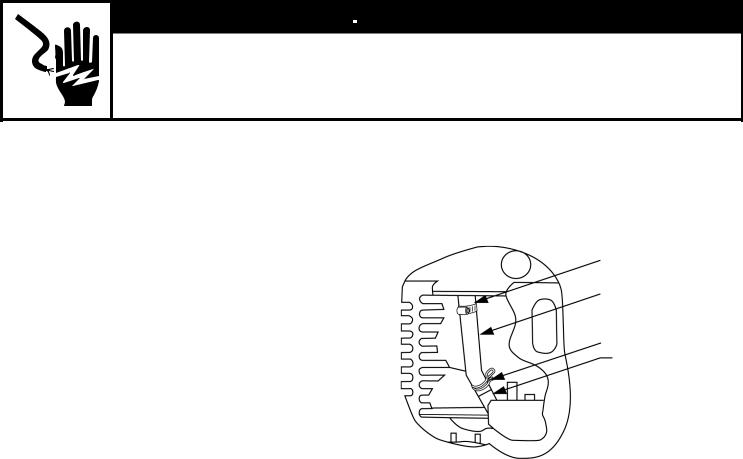
4.Install new drain tube (5⁄8" ID x 51⁄8") to pump reservoir inlet using old clamp from step 3. See Figure 1.
7⁄8" Adjustable hose clamp
Drain tube (bin to pump) (Do not kink; trim tube length if required)
7⁄8" Hose clamp from discarded drain tube
Drain pump reservoir inlet
Figure 1
5.Install vent tube (3⁄8" ID x 32") to pump reservoir vent. Use one (1) 5⁄8" small adjustable clamp, supplied.
NOTE: DO NOT install household drain tube at this time.
6.Remove clamp and ground screw attached to ice maker power cord which is mounted to the unit base. Clamp and screw will be reused.
(continued)
© 2001 |
Instruction Sheet 2185944 Rev. B 7/01 |
(All Rights Reserved) |
1 |

7.Coil power cord of ice maker into a 4" diameter coil. Wrap electrical tape around the power cord in several places to keep the cord in a coil. Lay the coiled power cord on top of the pump over the check valve and plug in the receptacle of the drain pump. See Figure 2.
|
Drain tube |
|
(pump to |
|
household |
Vent tube |
drain) |
|
Power cord
Power cord |
Pump mounting |
|
clamp and |
||
screws, |
||
screw |
||
#8-32 x 3⁄8" (2) |
Coil ice maker power cord in 4" diameter.
Tape together and lay on top of pump over the check valve
5⁄8" Hose clamps (2)
Drain pump
Figure 2
10.Connect drain tube to ice maker bin (5⁄8" ID x 51⁄8") to pump reservoir inlet using one (1) 7⁄8" adjustable clamp. See Figure 1.
11.Line up the two (2) screw holes at the rear of pump. Use two (2) #8-32 x 3⁄8" screws supplied. See Figure 2.
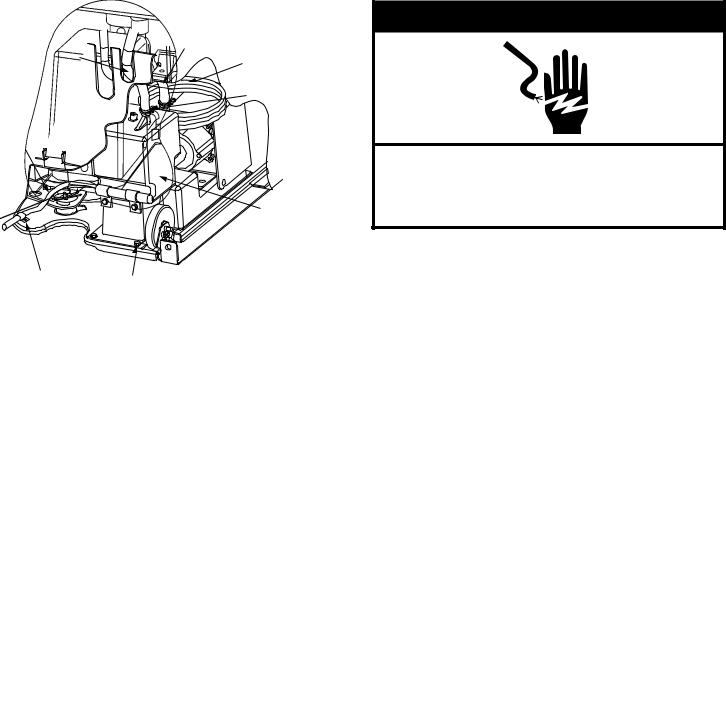
wWARNING
Electrical Shock Hazard
Connect green ground wire to ground screw.
Failure to do so can result in death or electrical shock.
12.Attach the drain pump power cord to ice maker unit base with clamp and ground screw used to attach ice maker power cord from step 6. See Figure 2.
8.Attach 3⁄8" ID x 10' drain tube to pump check valve outlet using 5⁄8" hose clamp. See Figure 2. Use wire tie as a relief, secure the household drain tube to heat exchanger.
9.Install drain pump. Carefully slide in aligning the tab on pump to rectangular slot in the unit base. You may need to tip the pump downward in the front to slip in the slot.
See Figure 3.
Pump mounting tab
Figure 3
(continued)
2185944-B |
2 |
 Loading...