

Page 1
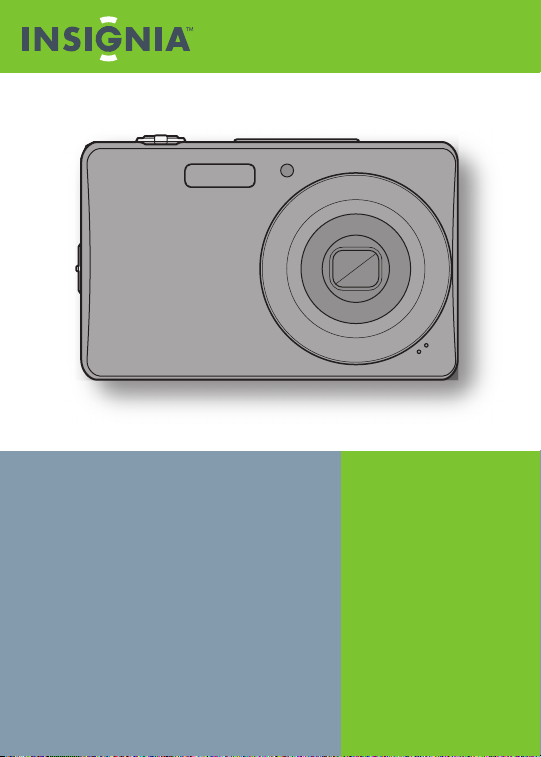
Quick Setup Guide
NS-DSC10SL 10mp digital camera
Congratulations on your purchase
of a high-quality Insignia product.
Your Insignia digital camera is
designed for reliable and trouble-
free performance. Use this guide
for initial setup of your camera. If
you have questions, see your User
Guide on the enclosed CD for more
information.
Package contents
10 mp digital camera
USB cable
Quick Setup Guide
Li-ion battery (1)
Battery charger
CD with User Guide
Wrist strap
1
Page 2
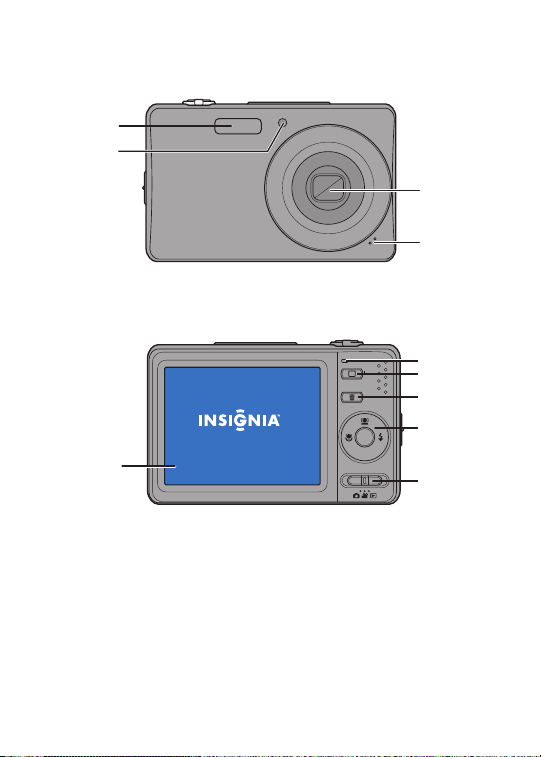
Features
Front
Flash
Self-timer/
focus light
Back
LCD screen
Zoom lens
Microphone
M
SET
DISP
Operation lamp
Menu button
Delete button
SET button/4-way
navigation control
Mode slider
2
Page 3
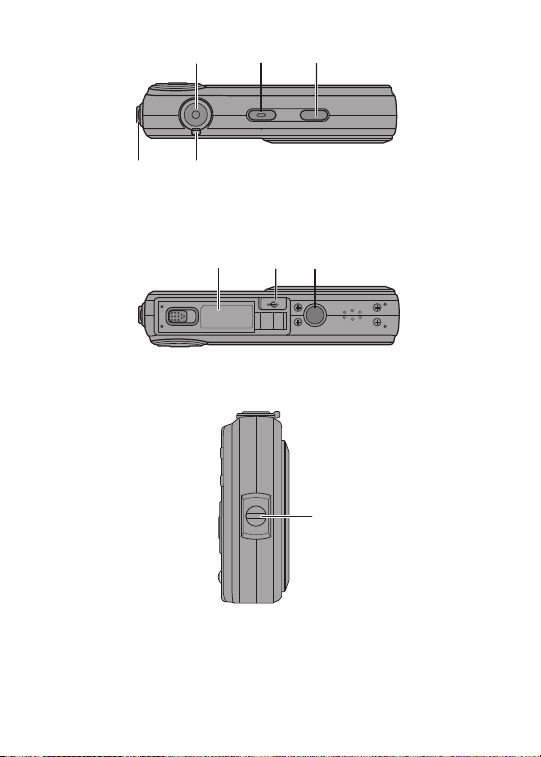
Top
Stabilizer buttonPOWER buttonShutter button
Strap ring Zoom control
Bottom
Left
Battery/SD/SDHC
card compartment
Tripod screw holeUSB port
Strap ring
3
Page 4

Installing the battery
1
1 Slide the lock to the unlocked
position, then open the battery/SD/
SDHC card compartment on the
bottom of your camera.
2 Insert the battery matching the
1
+ and - symbols on the battery
with the + and
- symbols in the
compartment.
3 Close the compartment cover,
then slide the lock into the
2
locked position.
Inserting a memory card
1 Slide the lock to the unlocked
position, then open the battery/
SD/SDHC card compartment on
the bottom of your camera.
2 Insert an SD or SDHC card into
the card slot with the card’s
metal contacts facing the front
of the camera.
3 Close the compartment cover, then slide the lock into the
locked position.
Note: To remove the card, gently press on the edge of the card and release it.
Pull the card out, then close and lock the battery cover.
LOC
K
4
Page 5

Turning the power on and o
1 Press and hold the POWER button until the startup image
displays. If sounds are enabled, the startup sound plays and the
zoom lens extends.
2 Press the POWER button again to turn the camera o .
Taking photos
NOTE: The zoom lens does not extend if the mode slider is set to Playback
mode when the camera is on.
To take a photo:
1 Turn the camera on, then
slide the mode slider to
(Photo mode).
2 Press the POWER button to
turn the camera on.
3 Frame the shot using the
focus bracket on the LCD
screen.
4 Press the shutter button halfway. The camera automatically
adjusts the focus and exposure. When the camera is ready
to capture the image, the focus bracket turns green, and the
aperture value, shutter speed, and ISO setting are displayed.
5 Press the shutter button to capture the image.
NOTE: If the shake warning icon ( ) appears, hold the camera steady, with
your arms at your side, or use a tripod to stabilize the camera and prevent
blurred images.
5
Page 6

Recording videos
You can record videos with your camera. The available recording
time depends on the available capacity of the internal memory
or the memory card in use. Videos can be recorded until the
maximum memory capacity has been reached. In VGA mode,
about 15 minutes of video can be recorded for every gigabyte of
memory space.
To record video:
1 Turn the camera on, then
slide the mode slider to
(Video mode).
2 Focus your camera on the
subject that you want to
record.
3 Press the shutter button to
start recording.
4 Press to pause recording.
5 Press again to continue recording.
6 Press the shutter button to stop recording.
Viewing photos and videos
Slide the mode slider to Playback mode to view images and
videos. When your camera is in Playback mode, images and videos
are displayed on the LCD screen one by one. If the le is a video,
the rst frame of the video is displayed.
To view photos and videos:
1 Switch the camera to (Playback mode). The LCD screen
displays an image.
2 Press or to see the next/previous image or video.
3 Press to play a video.
6
Page 7

Using menus
Fine
10M
Auto
Off
Quality
Resolution
ISO
Color Balance
Self Timer
On
On
Off
Set
On
Sounds
Quick View
Date Stamp
Date & Time
Power Save
English
On
Language
Help Text
Factory Reset
Copy to Card
Slideshow On
Your camera has four menus.
Record menu Setup menu
Quality
Resolution
ISO
Color Balance
Self Timer
Fine
10M
Auto
Off
Sounds
Quick View
Date Stamp
Date & Time
Power Save
On
On
Off
Set
On
Tools menu Playback menu
Language
Help Text
Factory Reset
English
On
Erase Pictures
Copy to Card
Slideshow On
NOTE: screens shown with Simple Mode set to O
To use a menu:
1 To use the record, setup, or tools menus, slide the mode slider
to (Photo mode) or (Video mode).
Or,
To use the playback menu, slide the mode slider to
mode).
2 Press
3 To access the setup or tools menu, press or .
4 Press
M
. The on-screen menu opens.
or to select a setting, then press SET to open the
sub-menu.
(Playback
7
Page 8

5 Press or to select an option, then press SET to save your
selection.
6 Press M to close the menu.
One-year limited warranty
See the User Guide on the included CD-ROM or visit
www.insigniaproducts.com for details.
© 2009 Best Buy Enterprise Services, Inc. All rights reserved.
8
ENGLISH 09-0632
 Loading...