

Page 1
GETTING STARTED
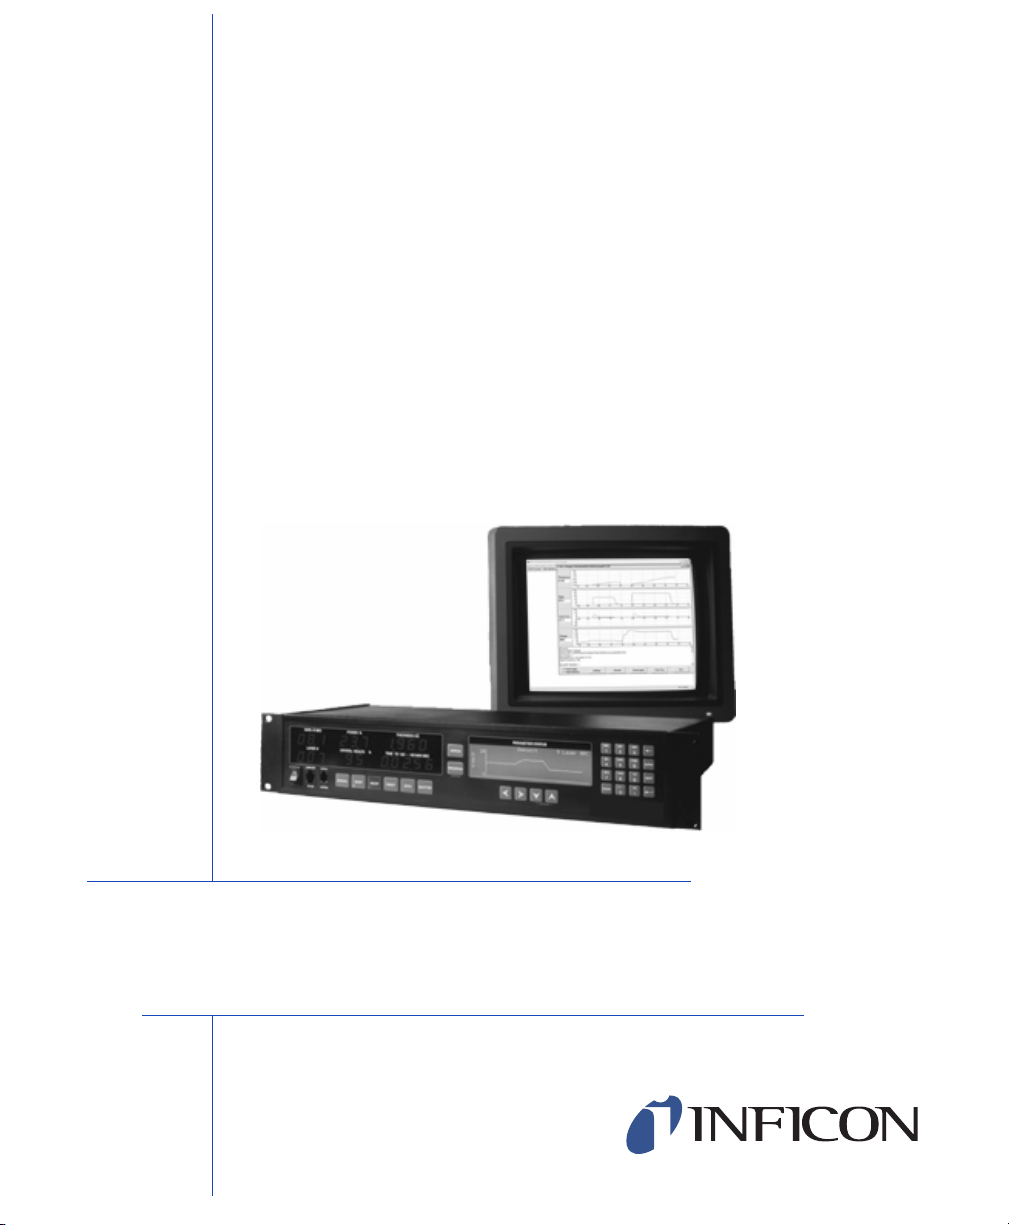
DCM-250
Deposition Control Monitor
IPN 611802 Rev. B
Page 2

Page 3

GETTING STARTED
DCM-250
Deposition Control Monitor
IPN 611802 Rev. B
®
www.inficon.com reachus@inficon.com
Due to our continuing program of product improvements, specifications are subject to change without notice.
©2007 INFICON
Page 4

Trademarks
The trademarks of the products mentioned in this manual are held by the companies that
produce them.
INFICON® is a trademark of INFICON Inc.
All other brand and product names are trademarks or registered trademarks of their respective companies.
Disclaimer
The information contained in this manual is believed to be accurate and reliable. However, INFICON assumes
no responsibility for its use and shall not be liable for any special, incidental, or consequential damages related
to the use of this product.
Disclosure
The disclosure of this information is to assist owners of INFICON equipment to properly operate and maintain
their equipment, and does not constitute the release of rights thereof. Reproduction of this information and
equipment described herein is prohibited without prior written consent from INFICON, Two Technology Place,
East Syracuse, NY 13057-9714. Phone 315.434.1100. See www.inficon.com.
Copyright
©2007 All rights reserved.
Reproduction or adaptation of any part of this document without permission is unlawful.
Rev. A - November 2007
Rev. B - December 2007
Page 5

DCM-250 SPECIFICATIONS
Deposition Controller Software MDC-260/360C/361C can have any software version installed.
Pentium 233 MHz or faster
(PIII-500 or better recommended)
Windows 98SE/ME/2000/XP We recommend that you install the latest service pack prior to
16 MB RAM minimum
In addition to the operating system
requirements.
1 Communications Port Depending on the hardware configuration of the deposition
SVGA Monitor 800 × 600 minimum resolution.
CD-ROM drive Required for CD-ROM installation, only.
Internet Explorer 5.5 or later The DCM-250's Help system requires Internet Explorer version
11 MB Free Hard Disk Space Additional space is required to record run time data. The exact
MDC-360/361 must have a minimum of software version 3.9e
installed* to use the DCM-250, but 3.9m or later is required to
use the Run Process command.
MDC-370 must have software version 1.2 or later installed*.
See the Sign-On Screen section of the respective Operation
and Service Manual for details on determining the software
version
If your controller doesn't meet these requirements you will need
to contact us and/or your local distributor for details on the
possible upgrade options.
Equivalent processors may also be used, but typically require a
faster speed for the same performance level.
installing this software. Contact Microsoft for more details.
More memory is recommended with later versions of Windows.
controller you will need either an RS-232, RS-485, USB or
IEEE-488 controller card installed in the host computer.
Special hardware drivers must be installed prior to using the
respective function.
1024 × 768 or higher recommended.
5.5 or later to be installed to work properly. If you are using an
earlier release, you will need to upgrade prior to using Help.
amount varies with the Data Points/Minute setting.
* These versions added a new auto-data logging command, which is required by the DCM-250's Monitor
Process screen.
Page 6

INSTALLING THE DCM-250
The setup program should start automatically when you close the DCM-250
installation CD-ROM into your drive. If it doesn’t you will need to start it
manually by clicking START >> RUN, type X:SETUP in the OPEN field as
show, then click OK, where X is your computer’s CD-ROM drive letter. Then
follow the instructions to complete the setup process.
Page 7

ESTABLISHING COMMUNICATIONS WITH THE DEPOSITION
CONTROLLER (RS-232 OR 485*)
1. Connect your computer's serial port to the controller's serial port using a
D-sub straight 9-pin female to 9-pin female cable.
2. Turn on the Computer
3. Turn on the Deposition Controller.
4. Check the Controller's Interface Address.
• From the Main Menu, go to Edit System Setup >> Edit Utility Setup.
5. Start the DCM-250 software.
• If the DCM displays an error message, choose the option that enables the
SIMULATE mode.
6. Click Utilities >> COMM Port Settings, which opens the COMM Port
Settings dialog.
7. Select "Serial (RS-232/485)" in the Communication Port Type combo box
if it's not selected already
• Older versions of the DCM call this setting "RS-232"
8. Verify that the DCM-250's Interface Address setting is the same as the
Controller's (see step 4).
9. Set "RS-232/485 Serial Port" to the port you plan to use to communicate
with the controller.
10. Click OK
The DCM-250 will attempt to communicate
with the Controller using the new settings. If
successful, it will display the Controller
Configuration as shown on the right.
Page 8

COMMUNICATION MODE SETTINGS
The DCM-250 has three communication modes:
• Simulate Mode
Select this mode to run a demonstration of the DCM software. In this
mode, the DCM-250 does not communicate with the deposition controller.
It only simulates some of the functionality of the DCM. This mode is
helpful for testing how program will run off-line (similar the controller's
simulate mode).
• Controller Mode
This mode allows you to fully configure your DCM-250 from your
computer. It also enables the real-time Data Logging functions. When
selected, the DCM-250 will attempt to communicate with the controller
using the Communications Port Type specified in the COMM Port
Settings dialog. If successful, The DCM will display the Controller
Configuration.
• System Setup File Mode
Select this mode if you would like to view/edit a previously saved System
Setup file. A system setup file contains the complete parameter setup of
the controller at the time that the file was created. When System Setup File
mode is selected, all parameter viewing and editing is done with the setup
file data. This allows the user to view and edit the setup when not
connected to controller.
Page 9

To change the DCM-250 communication mode, select the Options item from the
Process menu.
Page 10

SA VING AND RESTORING THE CONTROLLER SETUP
The DCM-250 allows you to save and restore the complete parameter setup of the
MDC-360/370 series deposition controller at any time. When saved, the data is
written to a system setup file. The DCM allows you to save any number of setup
files.
To save the controller's system setup, select Save Controller Setup from the
Utilities menu. The Select System Setup File Screen will come up asking for the
filename and path. Once entered, the complete parameter setup of the MDC-360
will be saved to the selected file.
To restore a system setup file to the controller, select Restore Controller Setup
from the Utilities menu. The Select System Setup File screen will come up asking
for the system setup filename. Once entered, all of the system setup data will be
sent to the MDC-360.
Page 11

It's a good idea to make periodic backup copies of the setup files. This will
minimize the possibility of having to manually re-program the deposition
controller in the event that it gets damaged or the program gets changed
inadvertently.
Page 12

COMMUNICATIONS TROUBLESHOOTING
If you have any communication errors then check the following:
• Make sure the Deposition Controller’s power is on.
• Check the cable connection between the Controller and the computer.
• Make sure that you have the correct communications port selected in the
DCM's RS-232 Setup Screen. Select Serial Port from the Utilities menu to
see the dialogue for this setting.
• Make sure that the Interface Address setting in the Controller is the same
as the DCM.
To test the communications select the Version item from the Process menu. If
there aren't any problems then the Deposition Controller's configuration data will
be displayed.
 Loading...