

Hyun Won AR210 User Manual

Page 2 Welcome to the DUAL-Play Experience
Page 3 Included with Your DUAL-Play
Page 3 PC System Requirements
Page 4 DUAL-Play Hardware Overview
Page 6 Software CD Contents
Page 7 Installing the M •ANY Loader
Page 9 Getting Started with DUAL-Play
Page 10 Using the M •ANY Loader
Page 13 How to download files to DUAL-Play
Page 14 Operating the DUAL-Play(Stand-alone with headphones)
Page 15 Inserting the DUAL-Play into a Cassette Deck
Page 16 DUAL-Play Cassette Deck Operation
Page 17 Audible.com Content Playback Operation
Page 19 Handling and Storing Instructions
Page 20 Battery and Charger (AC and DC charger) Usage
Page 22 Troubleshooting Problems
Page 24 Installing the USB Drive
Page 25 Warranty Service
Page 26 Voice Recording, Music Encoding
CONTENTS 1
Congratulations on your purchase of the DUAL-Play portable digital player - the only player
on the market specifically designed to play digital music on any standard analog cassette deck
with high fidelity sound and without the need for cumbersome and inconvenient wired
adapters. The DUAL-Play contains 32 / 64 / 128MB of on-board memory that is easily
expandable to via the MultiMediaCard (MMC) flash memory slot. The DUAL-Play was
designed with a programmable, upgradeable Digital Signal Processor (DSP) to support new
audio formats and digital rights management systems. Please check the Hyan Won website at
www.m-any.com for the latest software upgrades and accessories. You are now ready to enjoy
the world of digital audio with the most versatile digital audio player on the market today.
WELCOME TO THE DUAL-Play EXPERIENCE 2
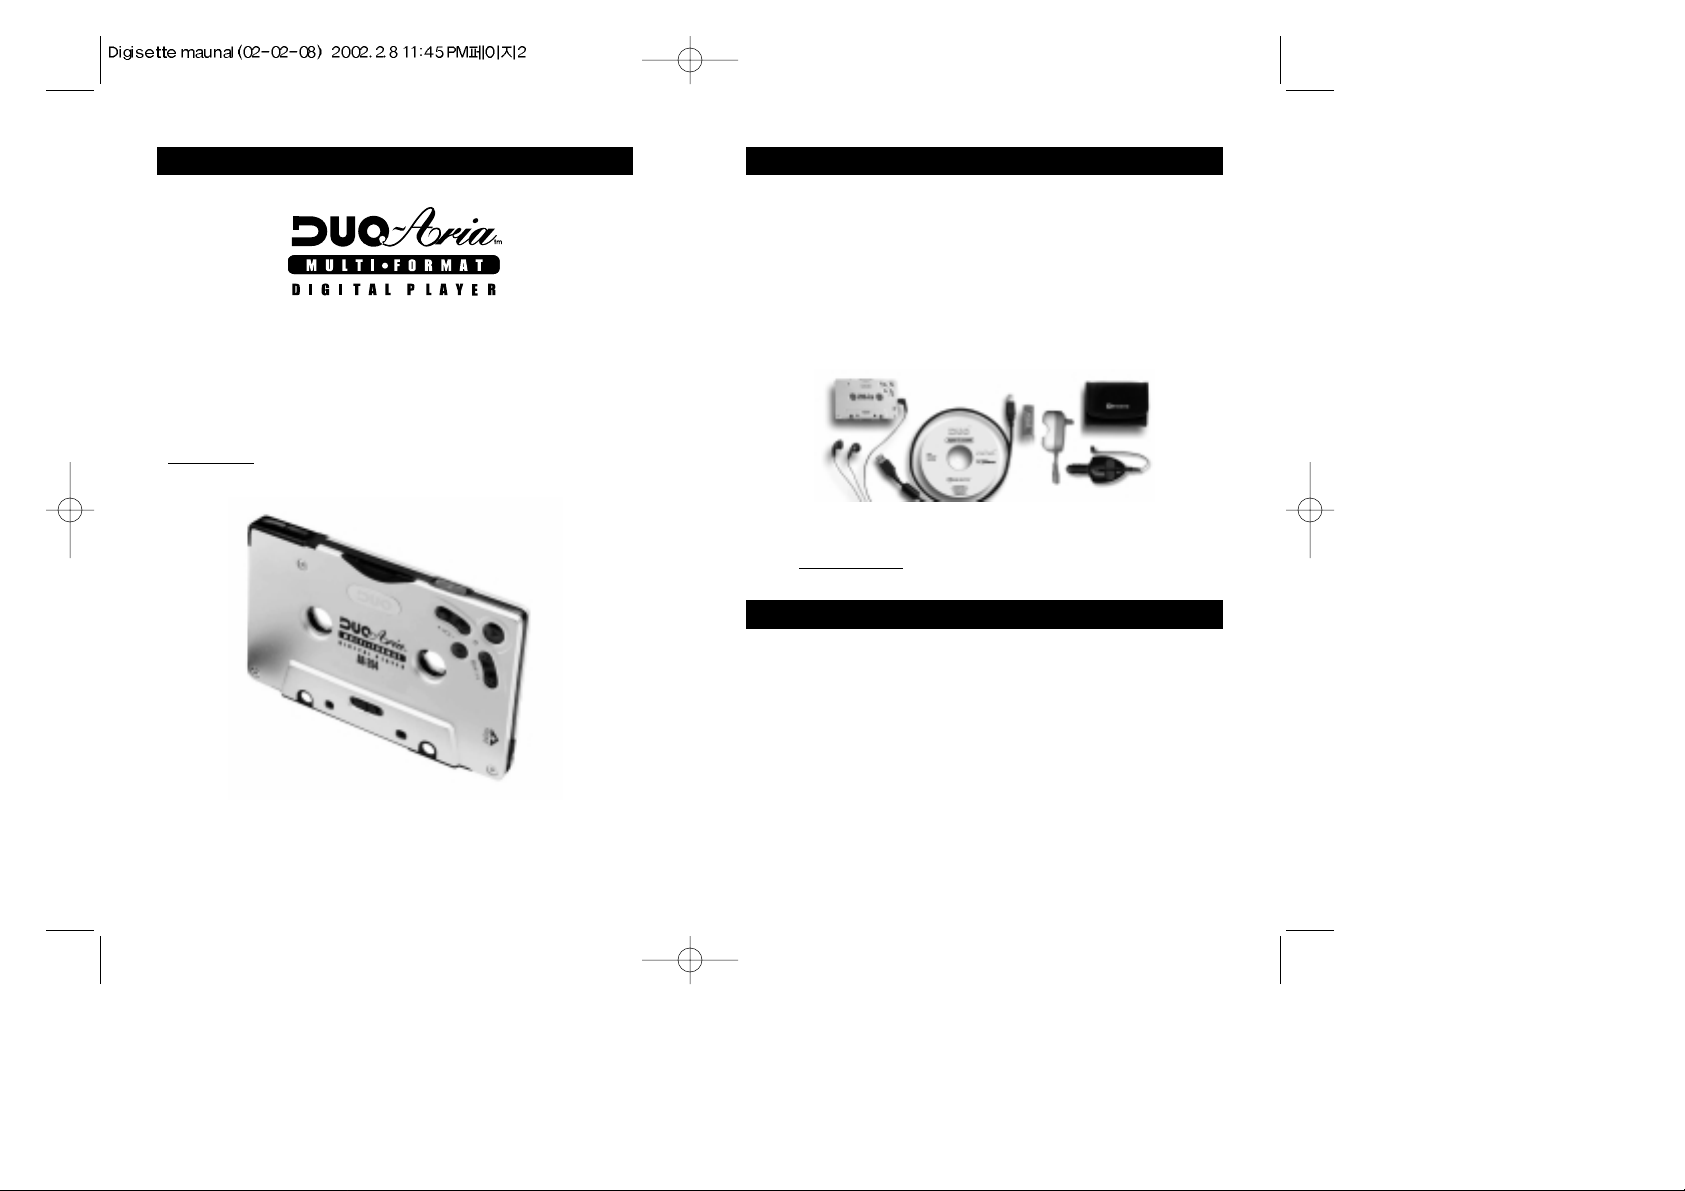
The following components are included with your DUAL-Play:
A. AC Battery Charger
B. DC Car Battery Charger / Charger Connection Cable (Option)
C. 2 Ni-MH Rechargeable Batteries
D. Software CD
E. USB Connection Cable
F. Carrying Case
G. Earphones
H. Owner's Manual
Note : Accessories and optional items are subject to change. Please check
www.m-any.com for the latest in DUAL-Play accessories and
software upgrades.
INCLUDED WITH YOUR DUAL-Play
The following PC specifications are required for DUAL-Play
compatibility:
Microsoft®Windows®98, ME or 2000 Operating System
CD-ROM Drive with digital audio extraction support
Pentium (or compatible) 200MHz or higher processor
32MB RAM (64MB for Windows®ME or 2000) or greater
32MB free Hard Disk Space (more for digital audio file storage)
Sound card
USB port capability
PC SYSTEM REQUIREMENTS
3
AC Battery Charger
Ni-MH Rechargeable
Batteries
DC Car Battery Charger
(Option)
Software CD
Carrying Case
Earphones
USB Connection Cable
Your DUAL-Play has the following hardware features :
Top and side panel
Top and Side Panel
A. Battery Cover : Slide the cover on top of the unit away from the control buttons to open,
and then insert your rechargeable DUAL-Play battery.
B. Memory Card Slot : A removable MultiMediaCardTM(MMC) flash memory card (sold
separately) enables your DUAL-Play to expand its memory capacity
and store more audio files. MMC memory cards are inserted
completely into the unit with the gold contacts facing downward and
positioned facing the back of the player.
C. Power Switch : Powers your DUAL-Play on and off as well as enabling the Hold feature,
which disables the on-board controls.
D. Earphones Audio Output : Connects your earphones for stereo output.
E.
Remote Control Slot:
Connects remote control.
F. USB Port Connector : Connects your DUAL-Play to your computer for fast, efficient file
transfers at speeds up to 2.5 Mbps.
G. Charger Connector : The DC/AC charger and cable allow users to play DUAL-Play
when battery is discharged.
* In case of voice or MP3 encoding models the power switch has
REC/ON/OFF position. The REC position disables button control like a
HOLD function.
DUAL-Play HARDWARE OVERVIEW 4
Removable Memory Card
The DUAL-Play is compatible with MultiMediaCardTM(MMC) removable flash
memory (sold separately), which enables your DUAL-Play to expand its memory
capacity and store more audio content. When inserting or removing a MMC card,
make sure the DUAL-Play is OFF or the memory card may be damaged. MMC
flash memory cards are inserted completely into the unit with the gold contacts
facing downward and positioned facing the back of the player.
Note :
When an MMC card is not used, the MMC cover that comes with the unit must be
used and fully inserted into the player to prevent damage to the internal MMC slot.
If there is an error reading the MMC card (such as error code 4), briefly remove the
MMC card, check that it is oriented properly (gold contacts facing the back of the
player and down) and then re-insert it into the player while the player is still
connected to the PC.
DUAL-Play HARDWARE OVERVIEW 5
A. Battery Cover
G. Charger Connector
F. USB Port Connector
D. Earphones Audio Output
E. Remote Control Slot
C. Power Switch(HOLD/ON/OFF) *
B. Memory Card Slot

INSTALLING THE M •ANY Loader
7
In order for the DUAL-Play and your PC to communicate and transfer
digital files, you must first install the M •ANY Loader by completing the
following steps:
1. Insert the M •ANY Loader CD into the CD-ROM drive. The following
screen should display:
Note : If the setup file is executed automatically, follow the install program instructions.
If the setup file is not executed automatically, browse the installation CD and
double click on the install.exe file on the CD-ROM file directory. (Example
"D:\install.exe", where D: is your CD-ROM drive) You can locate these files by
going to your Windows Start menu, and then Run.
2. Click on the M•ANY Loader button. The following page will display.
3. Click on the Next button. The following page will display.
6
Application Function
M•ANY Loader Transfer digital audio files to/from DUAL-Play
Windows Media Player Manage audio files
Audible Manager Download, playback of and transfer of
Audible.com content to DUAL-Play*
* Requires latest version Audible Manager software downloaded via included
software CD and Internet download. Connect to the Internet, insert the
Software CD, then select "Audible Manager" from the software installation
menu.
SOFTWARE CD CONTENTS
Front Panel
G. Volume + Button: Press once to increase Play Volume one step.
H. Volume - Button: Press once to decrease Play Volume one step.
I. Play/ EQ Setting Button: Press to start Play. Press again to change EQ setting when playing.
J. LED Indicator: When LED is flashing green, this indicates unit is playing. Amber LED indicates
initial booting or USB communication.
K. Rew Button: Press to select previous file or Search.
L. F.F. Button: Press to select next file or Search.
M. Stop/Bookmark Button : Press to Stop, Pause Play/Bookmark or Power Save Mode.
N. Head Control: Slide control to adjust tape head alignment for optimal sound quality and
compatibility in cassette decks.
J. LED Indicator
K. Rew Button
L. F.F. Button
M. Stop/Bookmark Button
G. Vol + Button
H. Vol - Button
I. Play/EQ Setting Button
N. Head Control
Front Panel
9GETTING STARTED WITH DUAL-Play
Complete the following steps to get started with your DUAL-Play:
1. Make sure the battery is fully charged and insert it into your DUAL-Play. It is
recommended to charge the battery for 4 hours before its first use.
2. Initialize the DSP on the DUAL-Play by moving the power switch from Off to the On
position. The LED should automatically illuminate an amber color for approximately 2
seconds, and then turn off. If the amber LED does not turn on automatically after the
power is switched On, press the Play button once and it should initialize properly.
3. Alternatively, if the battery is removed from the player, such as when charging in the
charger, move the power switch to the On position.
4. Connect the USB port cable to the DUAL-Play and then to the PC USB port.
5. Launch the M•ANY Loader. When using the M•ANY Loader for the first time, please
select the model to be connected as the product and choose the server location closest to
you on the "Preferences" menu.
6. Using the included software, download music to your computer from the Internet (or convert it
to digital audio format from an existing CD). Using the M•ANY Loader, navigate to the folder
that contains your music files. Select the files you wish to transfer and drag them to the bottom
portion of the window. Click on the transfer button located in the bottom right hand corner of the
window. The files will transfer individually and the progress will be displayed in the Memory
Contents Window.
7. Disconnect the DUAL-Play from the USB cable, and re-initialize the DSP as in step 2 by
turning the power switch Off then On again. The amber LED will illuminate for
approximately 2 seconds and then turn off.
8. Press play with headphones inserted or insert into a cassette deck to enjoy digital audio
from your DUAL-Play.
Note :
If the DUAL-Play indicator LED stays on and there is no audio output after disconnecting
the USB cable, open the battery door briefly take the battery out then reinsert it, close the
battery door and press Play with the power switch on. Doing this will fully "reboot" the
DSP and restore normal operation. Please do not attempt to use any other USB peripheral,
such as a digital camera or scanner simultaneously with the DUAL-Play and Windows
Media Player, Audible Manager or M •ANY Loader software as communication errors
may result.
INSTALLING THE M •ANY Loader
8
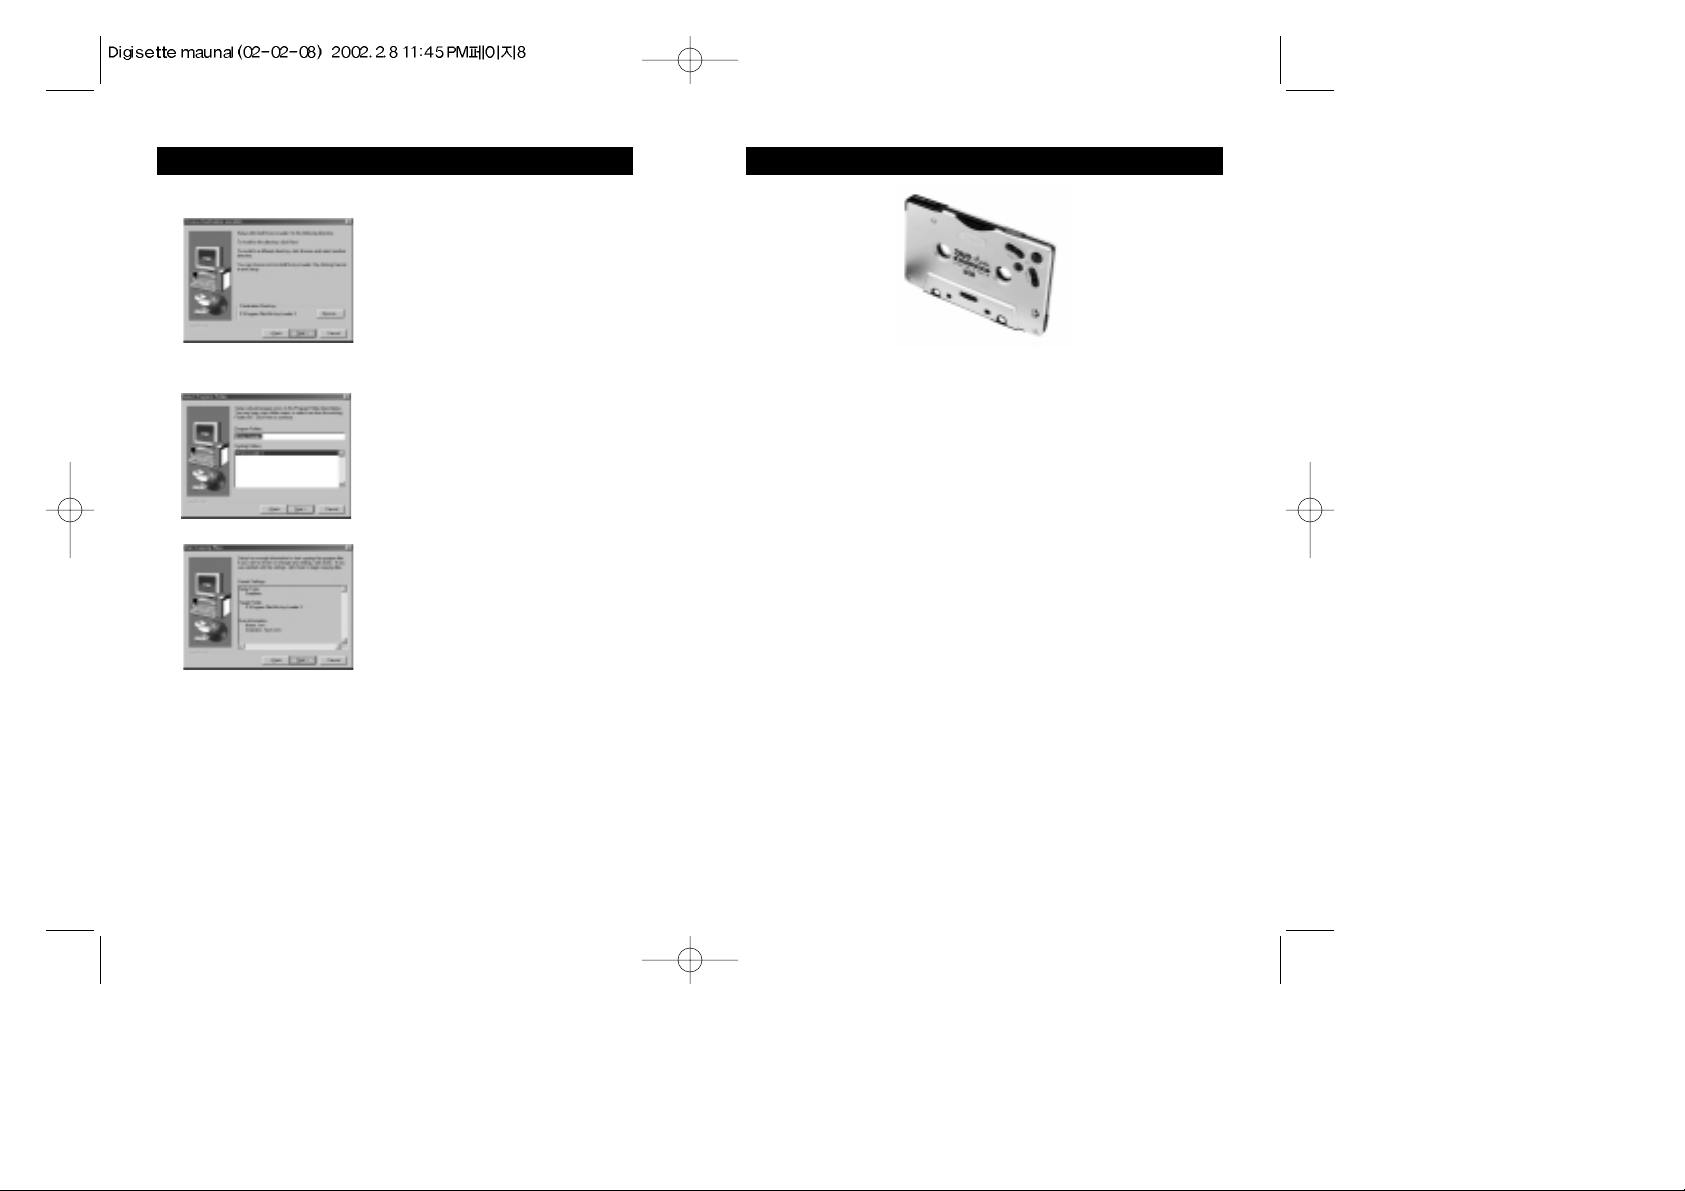
4. Enter your Name and the Company name and click on the Next button.
The following page will display.
5. Choose the directory for the M•ANY Loader and click on the Next
button. The following page will display.
6. Select the program folder and click on the next button.
7. Verify the Setup details and click on the next button. Once you have
done these steps, it will complete the installation and bring you back to
the main page displayed in number 1.
8. Once the installation of the M•ANY Loader finishes, click the shortcut
icon on the desktop or click on the Windows Start menu, then
Programs, then the shortcut to run the M•ANY Loader.
Note : If a rebooting message displays during setup, install again
after rebooting the computer.
 Loading...