


50 Rancher
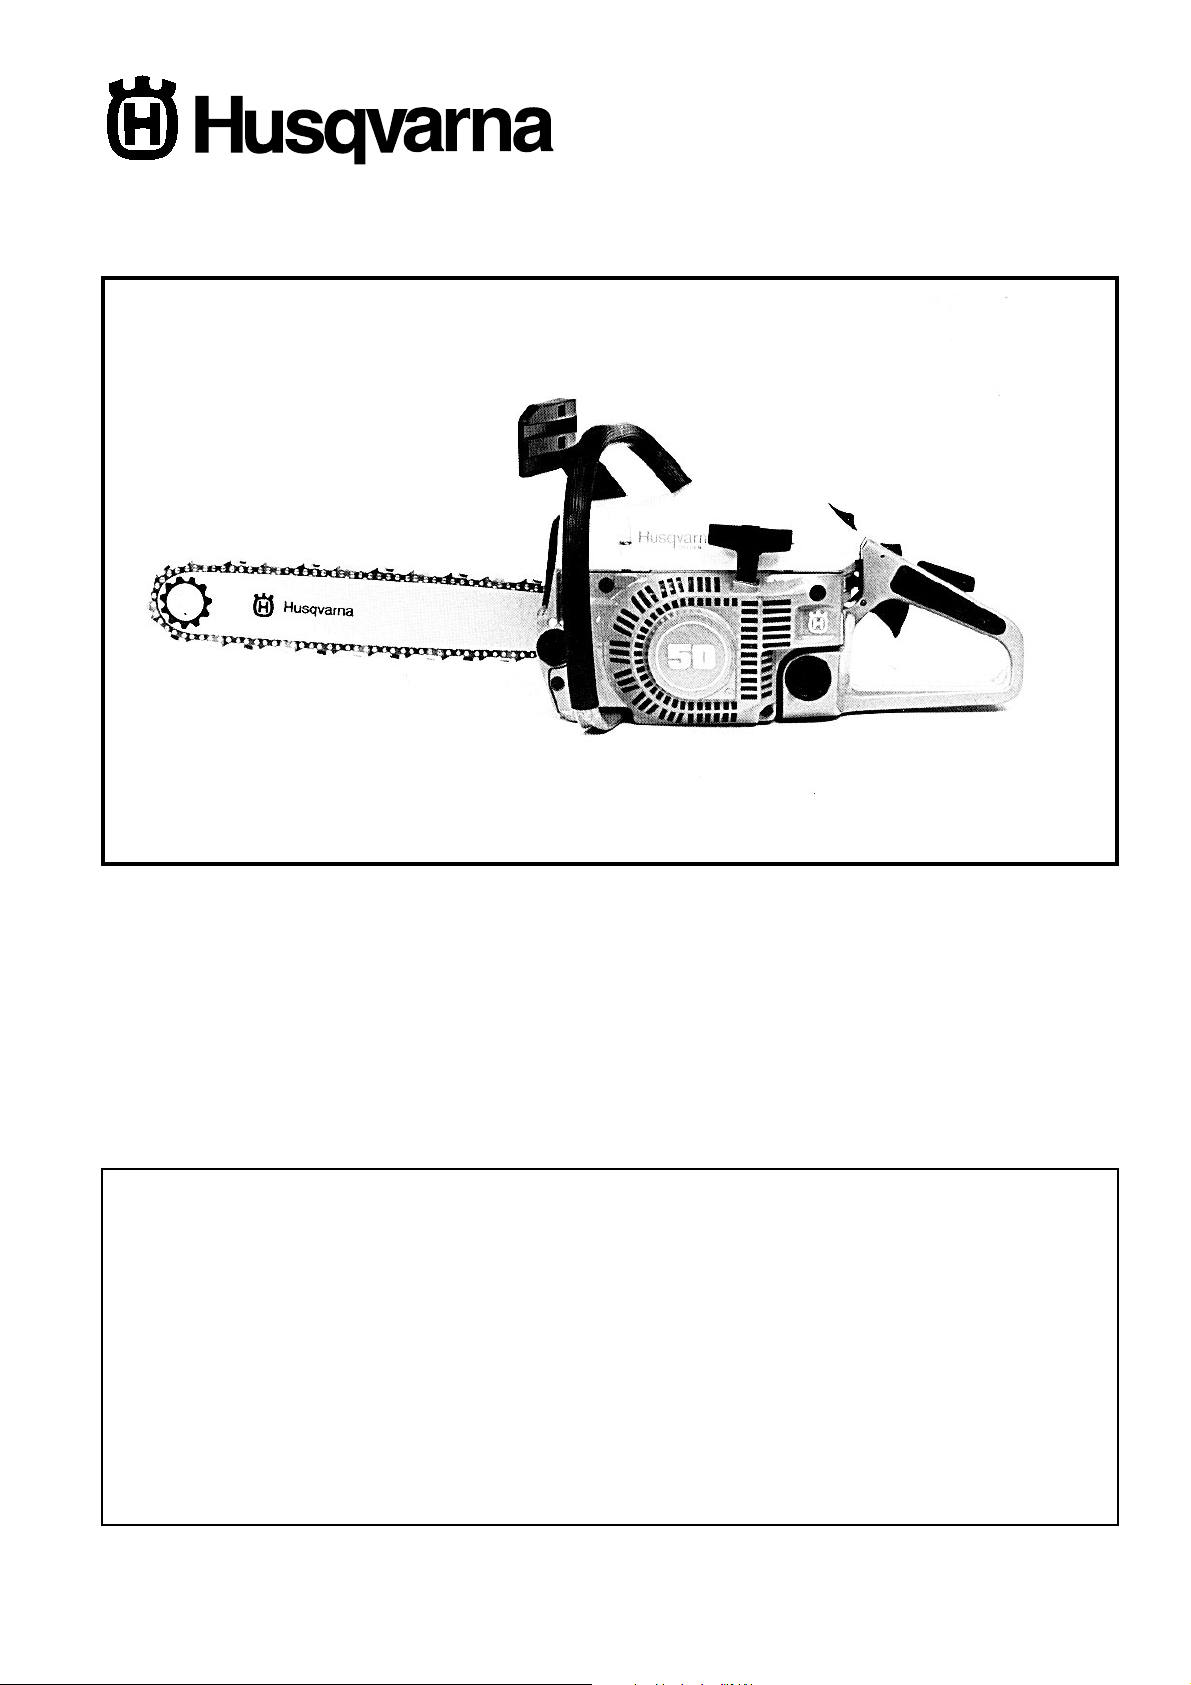
Chain saw
50 Rancher
TECHNICAL SPECIFICATION
Displacement . . . . 48.7 cm
Bore . . . . . . . . . . . 44 mm
Stroke. . . . . . . . . . 32 mm
Ignition advance. . . . . 26˚ bef ore t.d.c.at 8400 rpm
Sparking Plug . . . . Champion CJ 7Y
Electrode gap . . . . 0.5 mm
Carburettor . . . . . . Diaphragm type
Owner’s maintenance manual
3
Fuel tank capacity . . . .0.6 l
Oil tank capacity . . . . . 0.3 l
Sawing chain. . . . . . .325” pitch
Guide Bar . . . . . . . . . . 15” (38 cm)
Weight empty, incl.38 cm
guide bar , chain
and chain brake . . . . . 6.0 kg
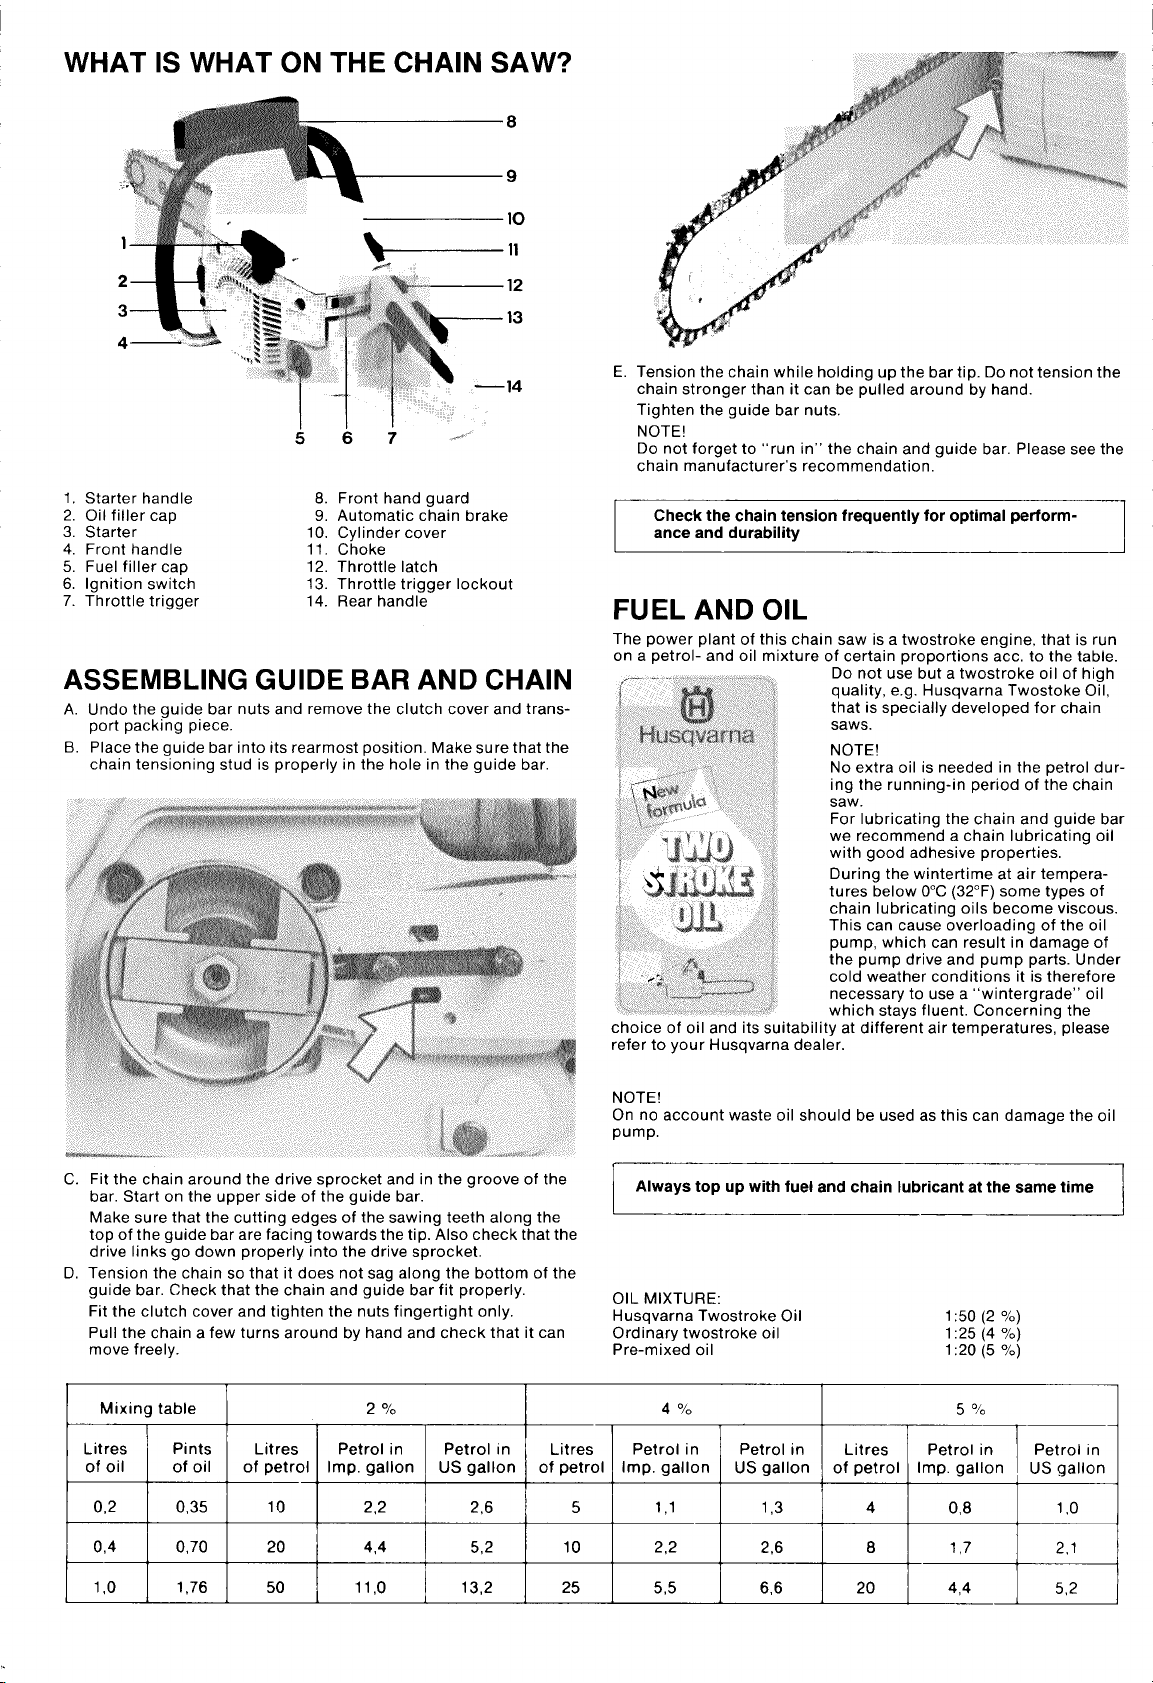
WHAT IS WHAT ON THE CHAIN SAW?
8
11
5
1, Starter handle 8.
2. Oil filler cap 9.
3. Starter 10,
4. Front handle
5. Fuel filler cap
6. Ignition switch
7. Throttle trigger 14.
11.
12.
13.
%--
6 7 ---
Front hand guard
Automatic chain brake
Cylinder cover
Choke
Throttle latch
Throttle trigger lockout
Rear handle
ASSEMBLING GUIDE BAR AND CHAIN
A. Undo the guide bar nuts and remove the clutch cover and trans-
port packing piece.
B. Place the guide bar into its rearmost position. Make sure that the
chain tensioning stud is properly in the hole in the guide bar.
E[Tension the chain while holding up the bar tip. Do not tension the
chain stronger than it can be pulled around by hand.
Tighten the guide bar nuts.
NOTE!
Do not forget to “run in” the chain and guide bar. Please see the
chain manufacturer’s recommendation.
Check the chain tension frequently for optimal performance and durability
FUEL AND OIL
C. Fit the chain around the drive sprocket and in the groove of the
bar. Start on the upper side of the guide bar.
Make sure that the cutting edges of the sawing teeth along the
top of the guide bar are facing towards the tip. Also check that the
drive links go down properly into the drive sprocket.
D, Tension the chain so that it does not sag along the bottom of the
guide bar. Check that the chain and guide bar fit properly.
Fit the clutch cover and tighten the nuts fingertight only,
Pull the chain a few turns around by hand and check that it can
move freely.
Mixing table 2 % 4 %
Litres Pints Litres Petrol in Petrol in
of oil of oil
0,2 0,35
0,4 0,70
1,0 1,76 50 11,0 13,2 25
of petrol Imp. gallon
10
20 4,4
2,2
US gallon
2,6 5
5,2
Litres
of petrol Imp, gallon
10 2,2 2,6 8 1,7
NOTE!
On no account waste oil should be used as this can damage the oil
pump.
Always top up with fuel and chain lubricant at the same time
OIL MIXTURE:
Husqvarna Twostroke Oil
Ordinary twostroke oil
Pre-mixed oil
Petrol in
1,1
5,5
Petrol in
US gallon
1,3
6,6 20
Litres Petrol in Petrol In
of petrol Imp. gallon
4
1:50 (2 %)
1:25 (4 %)
1:20 (5 %)
“10
5
0,8
4,4
US gallon
1,0
2,1
5,2

MAINTAINING THE CHAIN BRAKE
This chain saw is equipped with a new type of automatic chain brake
that has been adjusted at the factory. It will need no further adjustment.
Release the chain brake as soon as you move or cease working even
if it is for a short break. Push the front hand guard to release the
brake. ‘:”
During the break: .
Check that the brake mechanism works smoothly.
If not, remove resin and sawdust. Check that supports and sliding
surfaces are lubricated with grease or temperature-resistant engine
oil.
Apply full throttle and release the chain brake. The chain should
immediately stop rotating.
ADJUSTING THE CARBURETOR
The carburetor has three adjusting screws:
L = Low speed needle
H = High spaed needle
T = Throttle adjusting screw
The carburetor is adjusted as follows:
1. Clean the air filter.
2. Screw the needles H and L carefully right in.
3. Then screw the needles out to recommended basic position:
H = 1 turn out
L = 1 turn out
4.
Start the engine and warm it up. Adjust the idling speed by means
of the throttle adjusting screw so that the chain starts rotating.
Adjust the low speed needle to reach the highest speed at which
5.
the engine is still idling, Then screw the needle out equivalent to
10 minutes on a clock-face.
~,,
Use the following procedw’e to check that the automatic chain brake
actuates correctly;
Hold the chain saw horizontally abt 20 cm over a trunk. NOTE! Switch
off the engine! Release your grip on the front handle. As the saw by
force of its own weight swings around the rear handle and the guide
bar tip hits the trunk, the brake should actuate.
At the service workshop:
Check that the brake mechanism and the brake band are free from
sawdust and dirt.
Check the wear of the brake band. In unbraked position it must not
touch the clutch drum.
Check the wear of the chain brake mechanism.
Check that the front hand guard is not damaged.
Lubricate the supports and gliding surfaces of the front hand guard
with grease or temperature-resistant engine oil.
67Again adjust the idling speed by means of the throttle screw (see
under 4 above) so that a speed of approx 2,500 r/rein is received.
ADDIV full throttle, At correct adjustment of the hiqh sDeed needle,
the e’ngine should be fourstrok~ng.
If this is not the case screw out the needle to reach a distinct
fourstroke.
Engine speed: Maximum 12,500 r/rein.
NOTE!
Should the engine not be fourstroking, there is a risk
of piston seizure.
Adjust the high speed needle for maximum power and not
for maximum speed!
-
-.
 Loading...