

Page 1
™
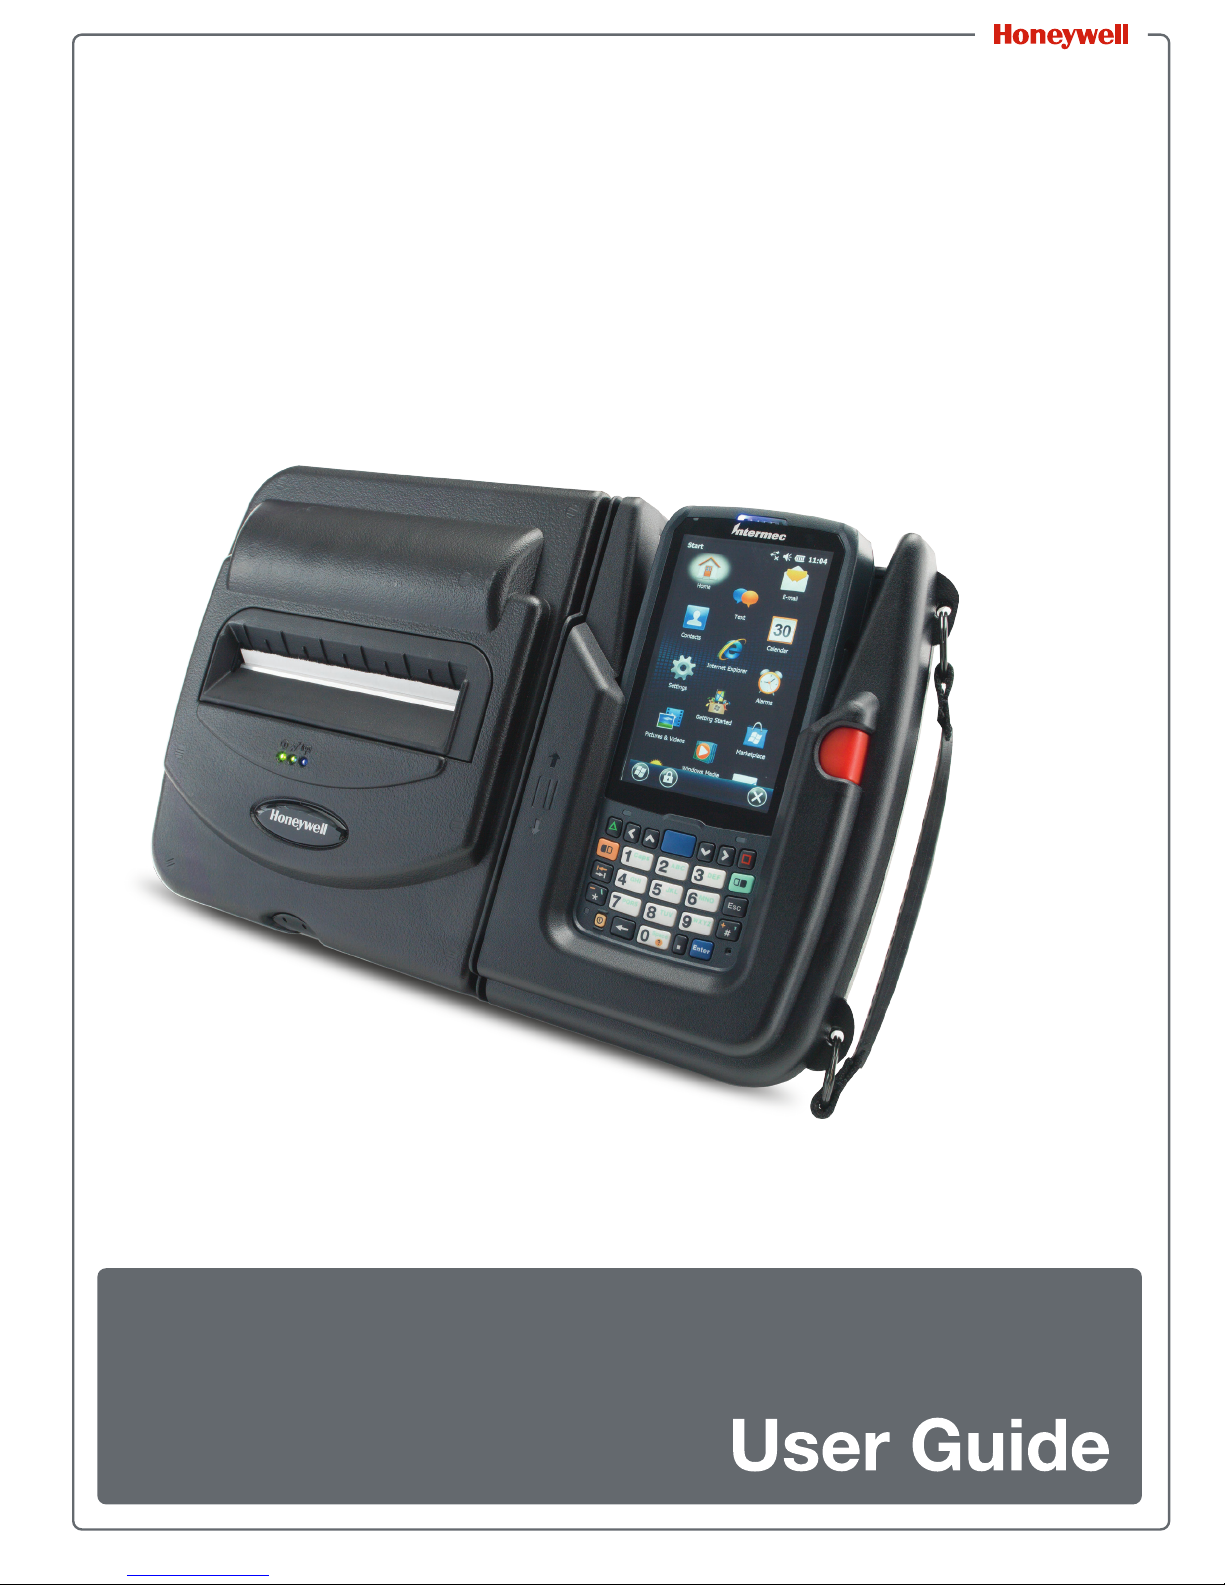
PrintPAD
CN70/70e & CN51
Series
Page 2

Disclaimer
Honeywell International Inc. (“HII”) reserves the right to make changes in specifications and other
information contained in this document without prior notice, and the reader should in all cases consult HII to
determine whether any such changes have been made. The information in this publication does not
represent a commitment on the part of HII.
HII shall not be liable for technical or editorial errors or omissions contained herein; nor for incidental or
consequential damages resulting from the furnishing, performance, or use of this material. HII disclaims all
responsibility for the selection and use of software and/or hardware to achieve intended results.
This document contains proprietary information that is protected by copyright. All rights are reserved. No
part of this document may be photocopied, reproduced, or translated into another language without the
prior written consent of HII.
Trademarks
Microsoft, Windows, Windows Embedded Handheld, Excel and the Windows logo are either registered
trademarks or registered trademarks of Microsoft Corporation in the United States and/or other countries.
Bluetooth is a trademark of Bluetooth SIG, Inc., U.S.A.
All product and company names are trademarks, service marks or registered trademarks of their respective
owners.
Patents
For patent information, please refer to www.hsmpats.com.
Copyright © 2016 Honeywell International Inc. All rights reserved.
ii PrintPAD Series CN70/70e & CN51 User Guide
Page 3

PrintPAD Series CN70/70e & CN51 User Guide iii
Page 4

iv PrintPAD Series CN70/70e & CN51 User Guide
Page 5

Contents
Customer Support . . . . . . . . . . . . . . . . . . . . . . . . . . . . . . . . . . . . . . . . . . . . . . . . . . . . . . . .vii
Product Service and Repair . . . . . . . . . . . . . . . . . . . . . . . . . . . . . . . . . . . . . . . . . . .vii
Media Supplies. . . . . . . . . . . . . . . . . . . . . . . . . . . . . . . . . . . . . . . . . . . . . . . . . . . . .vii
Maintenance Supplies . . . . . . . . . . . . . . . . . . . . . . . . . . . . . . . . . . . . . . . . . . . . . . .vii
Limited Warranty . . . . . . . . . . . . . . . . . . . . . . . . . . . . . . . . . . . . . . . . . . . . . . . . . . viii
Send Feedback . . . . . . . . . . . . . . . . . . . . . . . . . . . . . . . . . . . . . . . . . . . . . . . . . . . viii
Agency Approvals . . . . . . . . . . . . . . . . . . . . . . . . . . . . . . . . . . . . . . . . . . . . . . . . . . . . . . . . ix
Safety Information . . . . . . . . . . . . . . . . . . . . . . . . . . . . . . . . . . . . . . . . . . . . . . . . . . . . . . . . . . . . . . . . . .1
1
Important Safety Requirements . . . . . . . . . . . . . . . . . . . . . . . . . . . . . . . . . . . . . . . . . . . . . . 2
Printer Basics . . . . . . . . . . . . . . . . . . . . . . . . . . . . . . . . . . . . . . . . . . . . . . . . . . . . . . . . . . . . . . . . . . . . . . .3
2
Printer Component Identification . . . . . . . . . . . . . . . . . . . . . . . . . . . . . . . . . . . . . . . . . . . . . 4
Open View . . . . . . . . . . . . . . . . . . . . . . . . . . . . . . . . . . . . . . . . . . . . . . . . . . . . . . . . 4
Closed View . . . . . . . . . . . . . . . . . . . . . . . . . . . . . . . . . . . . . . . . . . . . . . . . . . . . . . . 4
Status LEDs and Indicators . . . . . . . . . . . . . . . . . . . . . . . . . . . . . . . . . . . . . . . . . . . . . . . . . 5
How to Use the Batteries . . . . . . . . . . . . . . . . . . . . . . . . . . . . . . . . . . . . . . . . . . . . . . . . . . . 7
Install and Replace Batteries . . . . . . . . . . . . . . . . . . . . . . . . . . . . . . . . . . . . . . . . . . 7
Charge the Batteries and Mobile Computer. . . . . . . . . . . . . . . . . . . . . . . . . . . . . . . 8
Determine Battery Condition . . . . . . . . . . . . . . . . . . . . . . . . . . . . . . . . . . . . . . . . . . 9
Load the Media . . . . . . . . . . . . . . . . . . . . . . . . . . . . . . . . . . . . . . . . . . . . . . . . . . . . . . . . . 10
Print a Self-Test . . . . . . . . . . . . . . . . . . . . . . . . . . . . . . . . . . . . . . . . . . . . . . . . . . . 11
Printer Configuration. . . . . . . . . . . . . . . . . . . . . . . . . . . . . . . . . . . . . . . . . . . . . . . . . . . . . . . . . . . . . .13
3
Printer Data Cables . . . . . . . . . . . . . . . . . . . . . . . . . . . . . . . . . . . . . . . . . . . . . . . . . . . . . . 14
Update Firmware and Drivers . . . . . . . . . . . . . . . . . . . . . . . . . . . . . . . . . . . . . . . . . . . . . . 15
Establish a Printer Connection. . . . . . . . . . . . . . . . . . . . . . . . . . . . . . . . . . . . . . . . . . . . . . 16
Setup Serial Connection. . . . . . . . . . . . . . . . . . . . . . . . . . . . . . . . . . . . . . . . . . . . . 16
Setup USB Connection . . . . . . . . . . . . . . . . . . . . . . . . . . . . . . . . . . . . . . . . . . . . . 16
Setup Bluetooth Connection. . . . . . . . . . . . . . . . . . . . . . . . . . . . . . . . . . . . . . . . . . 17
Verify Printer Connection . . . . . . . . . . . . . . . . . . . . . . . . . . . . . . . . . . . . . . . . . . . . . . . . . . 18
Printer Demo Utility . . . . . . . . . . . . . . . . . . . . . . . . . . . . . . . . . . . . . . . . . . . . . . . . 18
Update Printer Settings . . . . . . . . . . . . . . . . . . . . . . . . . . . . . . . . . . . . . . . . . . . . . . . . . . . 19
MFlash Configuration Utility . . . . . . . . . . . . . . . . . . . . . . . . . . . . . . . . . . . . . . . . . . 19
Setup Bluetooth Parameters . . . . . . . . . . . . . . . . . . . . . . . . . . . . . . . . . . . . . . . . . 20
PrintPAD Series CN70/70e & CN51 User Guide v
Page 6

Printer Options . . . . . . . . . . . . . . . . . . . . . . . . . . . . . . . . . . . . . . . . . . . . . . . . . . . . . . . . . . . . . . . . . . . . .21
4
DEX/UCS Port . . . . . . . . . . . . . . . . . . . . . . . . . . . . . . . . . . . . . . . . . . . . . . . . . . . . . . . . . . 22
Magnetic Stripe Card Reader. . . . . . . . . . . . . . . . . . . . . . . . . . . . . . . . . . . . . . . . . . . . . . . 23
External Charge Contacts . . . . . . . . . . . . . . . . . . . . . . . . . . . . . . . . . . . . . . . . . . . . . . . . . 24
Printer Specifications . . . . . . . . . . . . . . . . . . . . . . . . . . . . . . . . . . . . . . . . . . . . . . . . . . . . . . . . . . . .25
A
PrintPAD Series . . . . . . . . . . . . . . . . . . . . . . . . . . . . . . . . . . . . . . . . . . . . . . . . . . . . . . . . . 26
vi PrintPAD Series CN70/70e & CN51 User Guide
Page 7

Customer Support
If you need assistance installing or troubleshooting your product, contact us by
using one of these methods:
Knowledge Base: www.hsmknowledgebase.com
Our Knowledge Base provides thousands of immediate solutions. If the
Knowledge Base does not help you solve your problem, log into the Technical
Support Portal to submit your problem or ask your question.
Technical Support Portal: www.hsmsupportportal.com
Log into the Technical Support Portal to search our Knowledge Base, submit
your problem or question, request a call back, or provide feedback. When filling
out one of the forms, provide as much detail as possible. You can even include
attachments.
Telephone: www.honeywellaidc.com/locations
For our latest contact information, please check our website.
Product Service and Repair
Customer Support
Honeywell International Inc. provides service for all of its products through
service centers throughout the world. To find your service center, go to
www.honeywellaidc.com and select Support > Contact Support > Service
and Repair. Contact your service center to obtain a Return Material
Authorization number (RMA #) before you return the product.
To obtain warranty or non
(postage paid) with a copy of the dated purchase record.
Media Supplies
Honeywell offers seven certified grades of paper for use in the PrintPAD series
of printers. Our certified supplies are guaranteed compatible — this important
qualification means that rigorous performance and image life testing have been
performed. Quality supplies are key to obtaining optimal image quality and print
performance. Quality supplies are also the key to extending the life of the
printer. Honeywell strongly recommends using Honeywell Certified Supplies
only.
For more information, contact Honeywell at 407.523.5650.
Maintenance Supplies
We recommend that you follow a regular maintenance schedule using our
cleaning card (or cleaning kit when using linerless labels). Honeywell cleaning
cards are designed to effectively remove dirt and other contaminants from the
thermal printhead, rollers, and paper path...resulting in a clean, crisp image
output — every time. Our cleaning kits remove any adhesive residue in addition
to dirt and other contaminants.
-warranty service, return your product to Honeywell
For more information, contact Honeywell at 407.523.5650.
PrintPAD Series CN70/70e & CN51 User Guide vii
Page 8

Customer Support
Limited Warranty
For warranty information, go to www.honeywellaidc.com and click Resources
> Warranty.
Send Feedback
Your feedback is crucial to the continual improvement of our documentation. To
provide feedback about this manual, please contact the Technical
Communications department directly at
ACSHSMTechnicalCommunications@honeywell.com.
viii PrintPAD Series CN70/70e & CN51 User Guide
Page 9

Agency Approvals
FCC Notice
This equipment has been tested and found to comply with the limits for a Class
B digital device, pursuant to Part 15 of the FCC Rules. These limits are
designed to provide reasonable protection against harmful interference in a
residential installation.
This equipment generates, uses and can radiate radio frequency energy and, if
not installed and used in accordance with the instructions, it may cause harmful
interference to radio communications. However there is no guarantee that
interference will not occur in a particular installation. If this equipment does
cause harmful interference to radio or television reception, which can be
determined by turning the equipment off and on, the user is encouraged to try
to correct the interference by one or more of the following measures:
• Reorient or relocate the receiving antenna.
Chapter 1 —
• Increase the separation between the equipment and receiver.
• Connect the equipment to an outlet on a circuit different from that to which
the receiver is connected.
• Consult the dealer or an experienced radio/TV technician for help.
The manufacturer declares under sole responsibility that this product conforms
to the following standards or other normative documents:
• EMC: EN 55022 (2010+AC:2011 Class A)
• EMC: EN 50024 (2010)
Complies with EU directives:
• EMC: 2004/108/EC
• LVD: 2006/95/EC
• ROH52: 2011/65/EU
UL60950
CSA C22.2 No. 60950
-1; 2nd Edition
?1?07, 2nd Edition, 2007-03
PrintPAD Series CN70/70e & CN51 User Guide ix
Page 10

x PrintPAD Series CN70/70e & CN51 User Guide
Page 11

1
Safety Information
Please read the following safety information prior to setting up or
operating your printer.
1
Page 12

Chapter 1 — Safety Information
Important Safety Requirements
The PrinterPad Series has been carefully designed to provide many years of
safe, reliable performance. As with all types of electrical equipment, however,
there are a few basic precautions you should take to avoid hurting yourself or
damaging the equipment:
• Carefully read the provided installation and operating instructions.
• Read and follow all warning instruction labels on the printer.
• Place the printer on a flat, firm, solid surface.
• Make sure all openings on the printer remain unblocked; never insert
anything into the openings or ventilation slots.
• Do not place the printer near a heat source.
• Do not use your printer near water or spill liquid into it.
• Be certain that your power source matches a listed voltage rating for the
printer (if unsure, check with your dealer or local utility company).
• Do not place the power cord where it can be stepped on and, if the power
cord becomes damaged, immediately replace it.
• If service is required, use only qualified trained technicians to repair your
printer.
2 PrintPAD Series CN70/70e & CN51 User Guide
Page 13

2
Printer Basics
Learn to use the printer basic features, including how to load the media;
install, replace and charge the batteries; and perform a test to ensure
the printer is operating properly. Also in this chapter, refer to the printer
status LEDs and indicators for proper usage and functionality.
3
Page 14

Chapter 2 — Printer Basics
Roller
Battery/battery cavity
Battery clip
Paper/paper cavity
Data port
Bluetooth button
Self–test/paper feed button
Battery Status LED
Radio LED
Powe r LED
Reset button
2.5 mm DC jack port
Battery
Status
Power LED
Mobile computer cavity
Latch
Paper opening
LEDs
DC power port
DEX/UCS port
Card Reader slot
Radio LED
Printer Component Identification
Open View
Closed View
Open View: Use this illustration to familiarize yourself with the printer components in the open position.
Closed View: Use this illustration to familiarize yourself with the printer components in
the closed position.
4 PrintPAD Series CN70/70e & CN51 User Guide
Page 15

Chapter 2 — Printer Basics
Powe r LED
Radio LED
Battery Status LED
Status LEDs and Indicators
Printer LEDs: Use this illustration to reference the location of the printer LEDs.
Power LEDs
Battery LED Status Description Action
Red (solid)
The battery has less than
5% power.
Orange (solid)
The battery has less than
25% power.
Green (solid)
The battery is near or at full
capacity
Red to orange flash – fast
Orange flash – slow
Orange flash – fast
Orange, red, or green
flash – fast
Audio Indicators
• If AC power is not plugged in, the printer will soon turn
off.
• If the AC power is plugged in, the LED flashes and
charging is in progress.
• If AC power is not plugged in, the battery charge is low.
• If AC power is plugged in, the LED flashes and
charging is in progress.
• If AC power is not plugged in, the battery is well
charged.
• Charge the battery.
• None. Wait for the charge
LED to turn green.
• Charge the battery.
• None. Wait for the charge
LED to turn green.
• None.
• If AC power is plugged in, the LED is solid and
charging is complete.
• Battery voltage is too high. • Replace battery.
• Charge has timed out. • Restart battery charge
(battery may be bad).
• Internal code error. • Remove the battery, then
reconnect AC power.
• When AC power is plugged into the printer’s power
port, the battery status LED flashes orange, red, or
green (depending on the battery status) to indicate the
AC adapter is plugged in.
• None.
Beeps Description Action
1 Printer wakes up. None.
2 Out of paper. Install paper.
3 Low battery. Charge battery.
1 short RF power is on (when blue, RF power button is pressed
and power was turned off).
2 short RF power is off (when blue, RF power button is pressed
and power was turned on).
PrintPAD Series CN70/70e & CN51 User Guide 5
None.
None.
Page 16

Chapter 2 — Printer Basics
Audio Indicators (continued)
Beeps Description Action
1 long Boot code is starting or restarting (when downloading
new firmware).
8 short CRC error in firmware. Redownload firmware.
Redownload firmware.
Radio LEDs
LED Description
Blue flash – slow RF power is on and printer is asleep.
Blue flash – fast RF power is on and printer is awake.
Off RF power is off.
Power LED
LED Description
Off Printer is asleep.
Red flash Out of paper.
Green Printer is awake.
CardReader Audio Indicators – Magnetic
Beeps Description Action
1 long Bad read. Swipe card again.
2 short Good read. None.
6 PrintPAD Series CN70/70e & CN51 User Guide
Page 17

How to Use the Batteries
The printer ships with two batteries installed, but they are not operational.
Before operating the printer, remove the two red battery isolator labels either by
gently pulling the labels out or by lifting the batteries up.
If you are storing your printer for a long period of time or shipping it, reinstall the
battery isolator labels. Both batteries must be installed for your printer to
operate properly.
Install and Replace Batteries
1 Open the printer by unsnapping the latch on the front of the case.
Chapter 2 — Printer Basics
2 Lift the battery cover upward by pushing the retainer clip inward with your
finger.
3 Lift up the outside end of the battery to remove it.
4 Insert the new batteries. Verify the battery contacts are facing down and are
facing the outside edge of the printer.
Contacts
5 Close the battery cover by snapping it into place.
PrintPAD Series CN70/70e & CN51 User Guide 7
Page 18

Chapter 2 — Printer Basics
Charge the Batteries and Mobile Computer
If the battery is low when the printer “wakes up,” the printer sounds three short
beeps.
1 Remove the red battery isolator labels, if necessary.
2 Plug the power supply connector into the printer’s external DC power port.
The DC power port is located on the side of the printer’s case.
DC power port (Input voltage: 12V 1.5A minimum)
DEX/UCS port
3 Plug the adapter into an appropriate power source.
The Charge LED flashes red when charging and flashes green when fully
charged. The Charge LED is visible when the printer's lid is open or closed. A
complete charge takes approximately 7 to 9 hours.
For more information on Charge LEDs, see “Status LEDs and Indicators” on
page 5.
Note: To obtain full battery capacity, a new battery must cycle through two to
three charges. To restart a charge, unplug the power cord. Wait 30 seconds,
then replug the power cord. The mobile computer will charge while power is
plugged into the DC power port while properly seated in the mobile computer
cavity.
Do not plug DC power into the internal and external power ports at the
same time. Do not plug the DC power supply into the printer if the printer
is being charged by means of external charge contacts.
8 PrintPAD Series CN70/70e & CN51 User Guide
Page 19

Determine Battery Condition
You can determine the relative battery condition by printing a self test. For more
information, see “Printing a Self-Test” on page 11. On the printout, “Battery Volt”
varies between 6.8 and 8.4 volts.
There is a risk of explosion if the battery is replaced by an incorrect type.
Dispose of the used batteries according to the instructions. The maximum
operating temperature of the portable printer is 122 °F (50 °C). However,
the operating temperature when used with a Datamax-O’Neil by Honeywell
power supply for charging, the portable printer is limited to 104 °F (40 °C).
Charge the printer in a suitable location that meets this temperature
requirement.
(For U.S.A./Canada) Use only the Datamax-O’Neil by Honeywell part
number 220240-100 power supply with this product.
Chapter 2 — Printer Basics
PrintPAD Series CN70/70e & CN51 User Guide 9
Page 20

Chapter 2 — Printer Basics
Load the Media
1 Press a new roll of paper in the paper cavity. The end of the roll should exit
from the bottom of the paper cavity and face the printer’s roller. When
properly installed, the roll of paper latches into place.
Roller
End of paper roll
Paper latch
2 Raise the printhead release lever until it is fully open. The lever clicks
midway at the partially open position; however, do not stop here and
continue to raise the lever until it is fully open.
Printhead release lever
3 Wake up the printer by momentarily pressing the red self
Self-test button
-test button.
4 Feed the end of the paper and center it under the roller until the paper exits
from the top of the printhead. The printer has an auto
-advance feature that
will aid moving the paper through the printer. Verify the paper exits straight.
10 PrintPAD Series CN70/70e & CN51 User Guide
Page 21

Print a Self-Test
Chapter 2 — Printer Basics
5 Lower the printhead release lever.
6 Remove any excess paper by grasping the top corner of the paper and
pulling it up and away.
7 Close and latch the printer’s cover.
1 Open the printer's cover.
2 Press and hold the red self
starts to print.
3 After printing starts, release the red self
-test button for 4 to 5 seconds until the printer
-test button.
PrintPAD Series CN70/70e & CN51 User Guide 11
Page 22

Chapter 2 — Printer Basics
12 PrintPAD Series CN70/70e & CN51 User Guide
Page 23

3
Printer Configuration
Use this chapter to configure your printer.
13
Page 24

Chapter 3 — Printer Configuration
Printer Data Cables
1 Select the appropriate cable for use with the host and device you are using.
2 Insert the plug into the printer’s data port.
Note: Do not close the lid or damage will occur to the cable. The data cable is
intended for reflashing the printer.
Please note that printer data cables are not included.
14 PrintPAD Series CN70/70e & CN51 User Guide
Page 25

Update Firmware and Drivers
To configure or upgrade the firmware, download the Windows configuration
program at www.honeywellaidc.com.
Before using the handheld computer and printer, it is necessary that the
appropriate USB driver is installed. To obtain the appropriate driver for the
PrintPAD:
To Install the USB Driver:
1 Go to www.datamax-oneil.com and select Supports & Download.
2 Select Downloads and Drivers.
3 Select PrintPAD Series.
4 Download the USB-CDC driver that matches the device operating system
(OS).
Install the driver (.cab file) onto the handheld computer.
Chapter 3 — Printer Configuration
PrintPAD Series CN70/70e & CN51 User Guide 15
Page 26

Chapter 3 — Printer Configuration
Establish a Printer Connection
A printer connection to your host PC must be established before proceeding to
setup the parameters of the printer. The connection is established through
various options included with the model you are using. Below provides the
setup based on your preferred connection type. Once connected, proceed with
“MFlash Configuration Utility” on page 18 for adjusting the settings and
parameters of the printer.
Setup Serial Connection
To setup a serial connection, an RJ-11-to-Serial interface cable is required
(optional).
1 Connect the RJ-11 connector to the PrintPAD printer. The port is located on
the top of the printer. The connector should click in-place once secured.
2 Connect the serial connector of the cable to your host computer’s serial port
or to the DB9 connector of the USB-to-Serial adapter cable. Then plug the
USB connector to an available USB port on the host Windows PC. The
printer will automatically assign the connection that was setup for the USB-toSerial adapter.
Setup USB Connection
To connect the printer via USB connection, an Internet connection may
required. You may also need administrative access rights to your host computer
for completing this installation. If you do not have these access rights under
your profile, you will need to log off and log in under a profile that has the
administrative rights for your host computer.
To connect the printer to the host computer, a USB cable (P/N: 210267-000) is
required (optional).
To setup a USB connection on Windows OS 7.0, or later device:
1 Connect the RJ-11 end of the USB cable to the RS-232 port on the printer,
then power on the printer.
2 Connect the standard USB connector to an available USB port of the host
Windows PC. Your host computer should recognize the printer and begin
“Adding Device Driver.”
• If the setup does not start, locate the Devices and Printers section on
the Control Panel. Select “Add a Printer.” Once initiated, select the
printer model under Datamax-O’Neil Printers.
• If the model is not located, follow the steps to “Locate Driver thru
Windows Update.” Follow the instructions to complete the installation.
Once completed, you should see the PrintPAD as an available printer
from your host PC.
3 The default setting will setup as a “CDC Composite” printer type.
16 PrintPAD Series CN70/70e & CN51 User Guide
Page 27

Setup Bluetooth Connection
Power on the printer and confirm that the wireless radio is on.
Follow your host PC for adding a new Bluetooth device.
Once connected and connection is established, proceed to “Setup Bluetooth
Parameters” on page 20.
Chapter 3 — Printer Configuration
PrintPAD Series CN70/70e & CN51 User Guide 17
Page 28

Chapter 3 — Printer Configuration
Verify Printer Connection
Printer Demo Utility
The Printer Demo program is used to verify a connection and to send demo
print formats to the printer.
1 To download the Printer Demo program, go to www.datamax-oneil.com
and select Supports & Download > Downloads and Drivers > PrintPAD
Series > Utility > Printer Demo.
2 Launch the Printer Demo utility.
3 Locate and select a file from the “Select File to Print” dropdown menu.
4 Select “Settings” to set the communication parameters for the
communication type selected.
5 Select “Print Demo” to send the file to the printer.
18 PrintPAD Series CN70/70e & CN51 User Guide
Page 29

Update Printer Settings
MFlash Configuration Utility
The MFlash Configuration utility is used to verify or change printer settings.
1 To download the Printer Demo program, go to www.datamax-oneil.com
and select Supports & Download > Downloads and Drivers > PrintPAD
Series > Utility > MFlash Configuration.
2 Launch the MFlash Configuration utility.
3 Verify the communication port and query the printer.
Chapter 3 — Printer Configuration
PrintPAD Series CN70/70e & CN51 User Guide 19
Page 30

Chapter 3 — Printer Configuration
Setup Bluetooth Parameters
Note: The following information applies to printers with Bluetooth capabilities.
Radio printers are configured with the default factory settings. To determine
your printer’s radio configuration, print a self
page 11. If you have multiple printers, configure them specifically for use in your
environment.
For proper system operation, set the following parameters on your printer and
host computer.
Bluetooth Parameters
• Device Name
• Authentication (This must be set to “Yes” for Android devices, and Windows
7 and above host PCs)
• Bondable
• Discoverable
-test. See “Printing a Self-Tes t ” on
• Connectable
• Encryption
Contact your network administrator to verify the proper radio settings for your
environment.
20 PrintPAD Series CN70/70e & CN51 User Guide
Page 31

4
Printer Options
Learn to use the optional printer capabilities, including the DEX/UCS
port for data transfer, the Magnetic Stripe Card Reader option and the
External Charge Contacts option.
21
Page 32

Chapter 4 — Printer Options
DEX/UCS port
DEX/UCS Port
DEX/UCS Port: Use this illustration to locate the DEX/UCS port on the printer.
The direct exchange (DEX)/UCS port can only be used with the Datamax-
O’Neil by Honeywell-approved DEX cable (P/N: 210237-xxx).
When the DEX cable is plugged into the data port, the printer automatically
turns off to allow data transfer between the mobile computer and the DEX port.
Remove the DEX cable to resume normal connection to the printer.
Note: Do not unplug the cable in the middle of the data transfer session. Your
application needs to be programmed to communicate in the DEX/UCS
language.
22 PrintPAD Series CN70/70e & CN51 User Guide
Page 33

Magnetic Stripe Card Reader
Note: The following information applies to printers with the Card Reader option.
Card Reader in Use
Chapter 4 — Printer Options
To wake the Card Reader, insert a card into the Card Reader slot. One short
beep indicates the Card Reader and printer are awake.
When using the Magnetic Card Reader, insert a card with the stripe facing away
from the printer. The card can be swiped in either direction.
For information on Card Reader LED indicators and audio indicators, see the
following table.
Card Reader Indicators – Audio Indicators
Beeps Description Action
1 long Bad read. Swipe card again.
2 short Good read. None.
PrintPAD Series CN70/70e & CN51 User Guide 23
Page 34

Chapter 4 — Printer Options
External Charge Contacts
Note: The following information applies to printers installed with the external
charge capabilities.
External Charging: External charge-capable printers have two charging contact points
located on the back of the printer’s case.
External charge-capable printers can be used with various Datamax-O’Neil by
Honeywell accessories, such as the truck mount bracket. When an external
charge
batteries are automatically charged.
When using with an accessory, verify proper position of printer on external
charge contacts. Refer to the status LEDs for proper charging.
-capable printer is mounted to one of these accessories, the printer’s
For more information, see the instruction sheets included with the accessories.
Use of any product not approved by Honeywell for use with their printers
could cause damage to the batteries or printer and will void the warranty.
U
Do NOT plug the DC jack power supply into the printer if the printer is
being used with an external charging bracket, mount or stand.
Failure to observe these instructions or warnings specified in the
documentation may result in damage to your printer. Honeywell does not
accept liability for resulting damage or injuries.
24 PrintPAD Series CN70/70e & CN51 User Guide
Page 35

A
Printer Specifications
25
Page 36

Appendix A — Printer Specifications
PrintPAD Series
Technical Specifications: CN70/CN70e/CN51
Physical Characteristics
Dimensions (H x W x L) 190.5 x 299.7 x 60.9 mm (7.5 x 11.8 x 2.4 in)
Weight With CN51 handheld: 1.7 kg (60.0 oz)
With CN70/70e handheld: 1.9 kg (70.3 oz)
Drop specification 1.8 m (6 ft) tested with handheld
User Environment
Operating temperature -20°C to 50°C (-4°F to 122°F)
Storage temperature -40°C to 70°C (-40° F to 158° F)
Charging temperature 5°C to 40°C (41°F to 104°F)
Relative humidity 10% to 90% non-condensing
ESD protection 8 kV Air, 4 kV contact
Print Technology
Printerhead Direct thermal, 8 dots per mm (203 dots per in)
Print width 104.1 mm (4.1 in)
Print mechanism speed 51 mm per second (2 in per second)
Power Source
Batteries (2) 7.2V Lithium-ion (Li-ion), 2200 mAh (for a total of 4400 mAh)
DC inputs (for charging only) External DC jack, 12-15V, built-in spike and surge protection
Endurance Bluetooth: prints approx. 1,320, 157.5 mm (6.2 in) receipts, or 207.9
mm (8.2 in) receipts on a single battery charge
Printer recharging 7-9 hrs from AC adapter or 12V auto power adapter
Handheld recharging 5 hrs from AC adapter or 12V auto power adapter
Media
Media type Direct thermal receipt paper (standard, premium, heavy-duty, long-life,
image protect, hi-temp and all-weather), synthetic media, UV-coated
media; limited label support
Maximum roll capacity 57.2 mm (2.3 in) O.D.; 10.2 mm (0.4 in) I.D. core
Roll width 112 mm (4.4 in)
Barcodes/Fonts/Graphics
Memory 2MB RAM / 4MB Flash
Standard Fonts 5.5CPI, 7.2CPI, 10.2 CPI, 10.7CPI, 18.5CPI 20.4CPI, 22.6CPI &
34.0CPI (additional fonts available)
Optional Characters Arabic, Greek, Hebrew, OCRA, OCRB, Unicode subset, including
Latin & Thai; Asian (including Big 5, Simplified Chinese, Korean and
Shift JIS) - additional international characters available
Barcodes Linear: Codabar, Code 39, Code 93, Code 128, EAN-8, EAN13,
Interleaved 2 of 5, MSI/Plessey, UCC/EAN-128, UPC-A, UPC-E; 2D
symbologies: PDF417, AZTEC, QR, GS1, Datamatrix (available on
wireless only)
Graphics Supports storage of graphics/logos in Flash memory and transient
“print once” graphics
26 PrintPAD Series CN70/70e & CN51 User Guide
Page 37

Appendix A — Printer Specifications
Technical Specifications: CN70/CN70e/CN51
Communication
Serial RS-232; up to 460.8 kbps
USB: 2.0 (full speed)
Bluetooth Supported versions: v1.2 (compatible with v1.1 devices)
DEX Port (optional) DEX/UCS standard
Software/Firmware
Protocol Line Printer Mode, Easy Print®
Drivers Windows CE and Desktop
Compatible label design
software
Software development kit C++, Visual Basic, Java, Microsoft Dynamics Configuration Tool
NiceLabel, BarTender®, DP Designer
PrintPAD Series CN70/70e & CN51 User Guide 27
Page 38

Appendix A — Printer Specifications
28 PrintPAD Series CN70/70e & CN51 User Guide
Page 39

Page 40

Honeywell
www.honeywellaidc.com
PrintPAD Series CN70/70e &CN51 User Guide
P/N 110287–001
 Loading...